Fix open source vulnerabilities directly from your Eclipse IDE
July 25, 2019
0 mins readWe are excited to share that developers can now test and monitor their projects for open source vulnerabilities, natively from within their Eclipse IDE (integrated development environment) instance.
As a rule, software developers mainly work from their favorite IDE, and the IDE they prefer is usually one that integrates well with their existing workflow. At Snyk, we also believe tooling should integrate seamlessly with your existing software development process in order to be most efficient.
For this reason, we have released a Snyk plugin that you can install directly from within Eclipse. Once installed, when you run the security scanning tool, Snyk analyzes the direct and indirect dependencies in your projects, identifies security vulnerabilities and license issues, and reports them back to you with essential details so that you can remediate them more quickly and smoothly.
The power of the Snyk CLI
To implement the Eclipse IDE plugin, we used our existing CLI capabilities to scan the projects in your workspace — enabling you thorough scans, remediation advice, and support for your projects regardless of language or package manager.
The core business of Snyk is to find and fix vulnerabilities in your project’s dependencies. Through our CLI, Snyk scans your different projects, built through different ecosystems, from within your local development environment. Snyk then automatically detects the type of project you have (language and package manager), creates a dependency tree in order to analyze all direct and indirect dependencies and then validates these dependencies against our proprietary vulnerability database. Based on this analysis, we then show whether a direct or transitive dependency contains a vulnerability, and we also direct you to the most recommended fix available for the issue.
Seamlessly set Eclipse up with the Snyk plugin
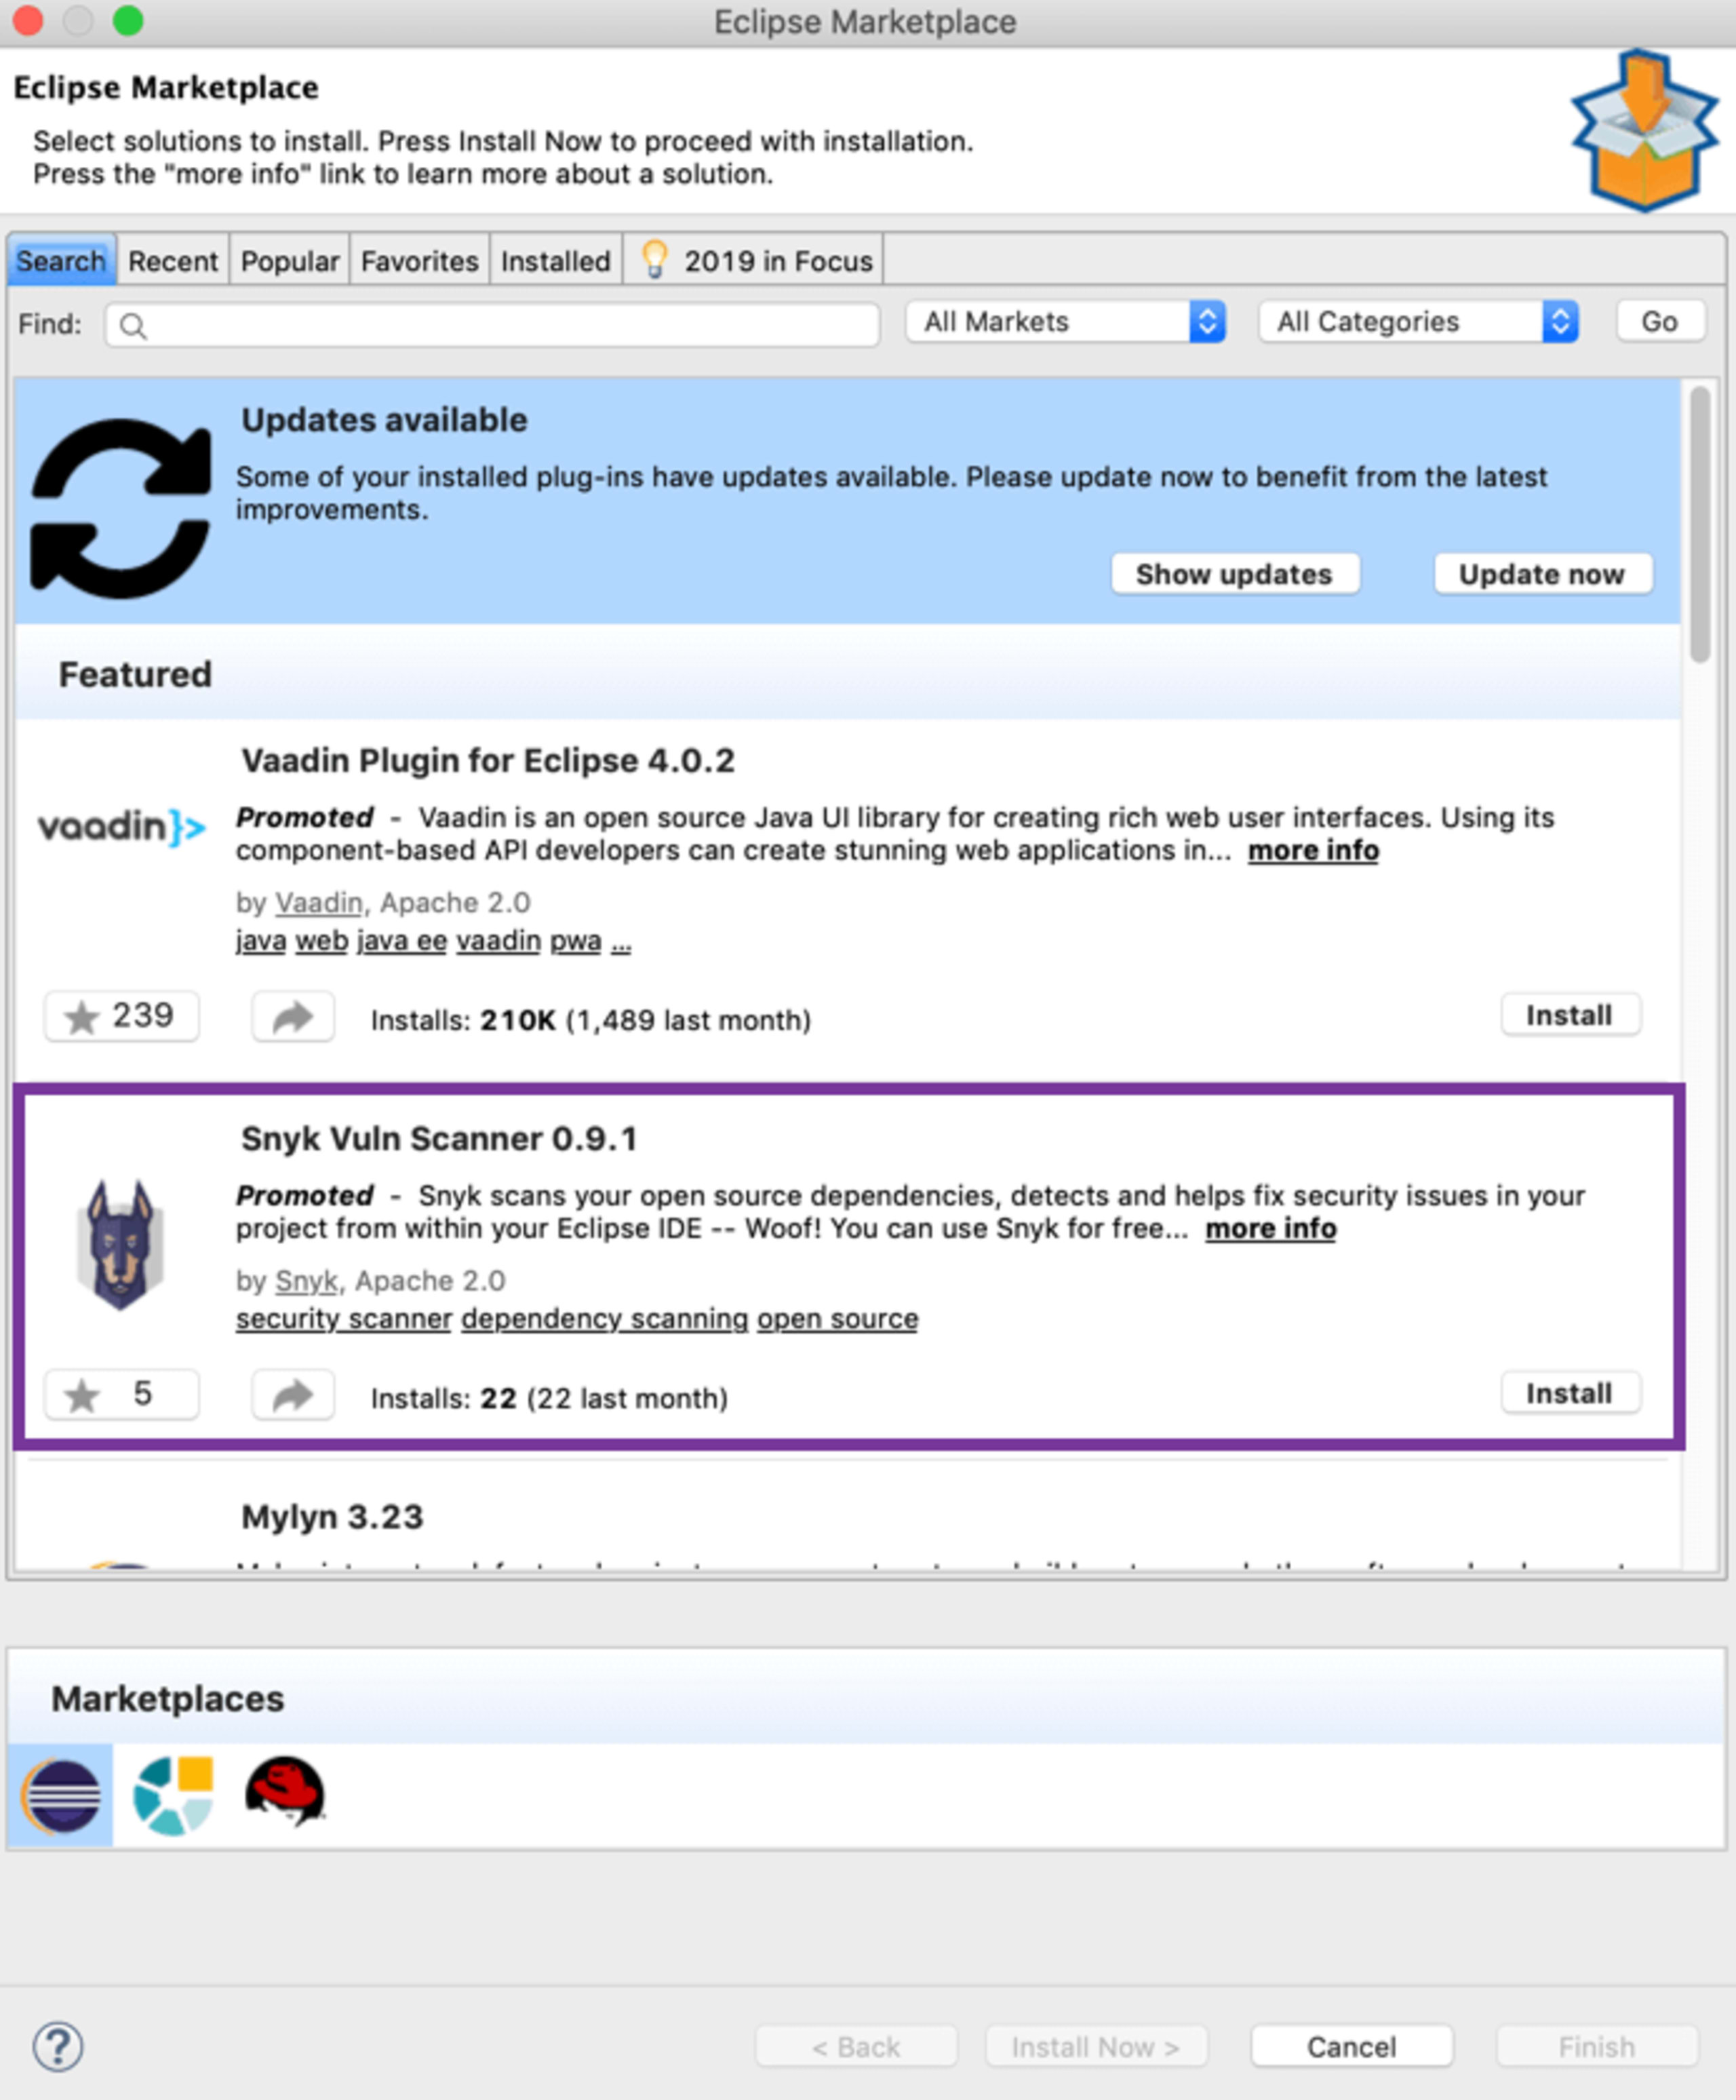
Installing the Snyk Vulnerability Scanner for Eclipse is easy. Search for Snyk from the Eclipse Marketplace, click install, follow the instructions and you are good to go.

Once the plugin is installed, open the Snyk view:

Next, authenticate your Eclipse Snyk plugin installation with your Snyk account from the Snyk preferences window:

Optionally, add extra directories to the path if the package manager you use in your project is not part of the system path.
Native detection of vulnerabilities within Eclipse
Once configured, click the play button in theSnyk view to scan your entire workspace and receive results for all of the projects currently open. Alternatively, right-click a single project from the project root folder and click Snyk test.

For every project scanned, vulnerabilities that are found are displayed in the Snyk View tab. Results are grouped per project, under which every vulnerability occurrence is listed separately, displaying the direct dependency in your project that is affected by the vulnerability.

Additionally displayed for indirect dependencies is the entire dependency path through which the vulnerability or issue was introduced.

Finally, displayed from the Fix column is a suggested upgrade if one is available. Snyk always recommends the minimum upgrade possible for the direct dependency to eliminate the vulnerability with the least amount of risk.

Making security part of your workflow
Just as plugins for unit testing and code quality seamlessly integrate and ease your workflow from within Eclipse, so is the Snyk plugin a powerful tool for developers in creating more secure software. By intercepting and avoiding vulnerable dependencies during the development process, directly from inside the Eclipse IDE, we “shift security left” without ever changing the way you work!
Getting started
Add the new Snyk plugin from your Eclipse. Read more about the plugin in our Eclipse Snyk plugin overview.
What’s next
Next steps: just as we offer for so many of our integrations, for Eclipse we too plan on adding an automated fix feature based on recommended fixes when vulnerabilities are found.
Get started in capture the flag
Learn how to solve capture the flag challenges by watching our virtual 101 workshop on demand.
