How to write tests in Python using doctest
Mannan Tirmizi
November 21, 2022
0 mins readAs developers, we often write test cases and comments to explain our code. Commenting improves the codebase’s readability and quality. Detailed comments can remind us why we implemented a specific functionality. They can also help other programmers understand, maintain, use, and expand codebases.
One of the best practices is to write your functions’ comments and test cases first, which helps you write higher quality code while keeping the function’s various corner cases and requirements in view. However, traditional methods prove incredibly time-consuming since we must prepare a separate case file and write extended functions for each test.
Python’s doctest tool comes in extremely handy in such situations. The open source community developed the doctest module to provide an efficient testing framework for development. We can use doctest to write tests for the code in our function by defining both the input and output values, saving us time and effort while writing top quality code.
This sounds good, but how exactly do you write a doctest in Python? In this article, we’ll walk through setup, write, and test your first doctest — giving you all the information you need to get started.
How to write your first doctest
Before you begin writing your first Python doctest, ensure you have Python 3 and an appropriate programming environment installed on your computer, such as Visual Studio Code (VS Code). This tutorial will use VS Code as the integrated development environment (IDE) of choice for this piece.
Setting up the IDE
After installing Python 3, verify the installation has been successful. For Windows, type the following code snippet at the command prompt:
For macOS or Unix, launch the terminal and type the following command:
Next, download the Visual Studio Code IDE.
Launch the Setup wizard and follow the on-screen instructions to install VS Code.
After launching VS Code, download the Python extension from the Extensions tab. You’re now all set to use Python in VS Code.
Introducing docstring
Python has a module named docstring. docstrings are string literals that we use in a function, class, or module declaration to write comments and test cases within our functions. Therefore, docstrings are essential for both documentation and testing purposes.
We can write a docstring between three quotes:
Following the docstring, we can write both the comments and the tests, also between three quotes.
We will learn the syntax of test cases and comments during this tutorial. At first sight, a docstring and a comment might seem similar. However, they serve different purposes. Comments explain the implementation of the code, while docstrings document classes, methods, and functions. They help other programmers understand the purpose of a function and how they can use it in their work.
The doctest module identifies a docstring within functions or class definitions for its purpose. We preface the test cases within the docstring with the symbol >>> to identify and differentiate between the comments and the test code.
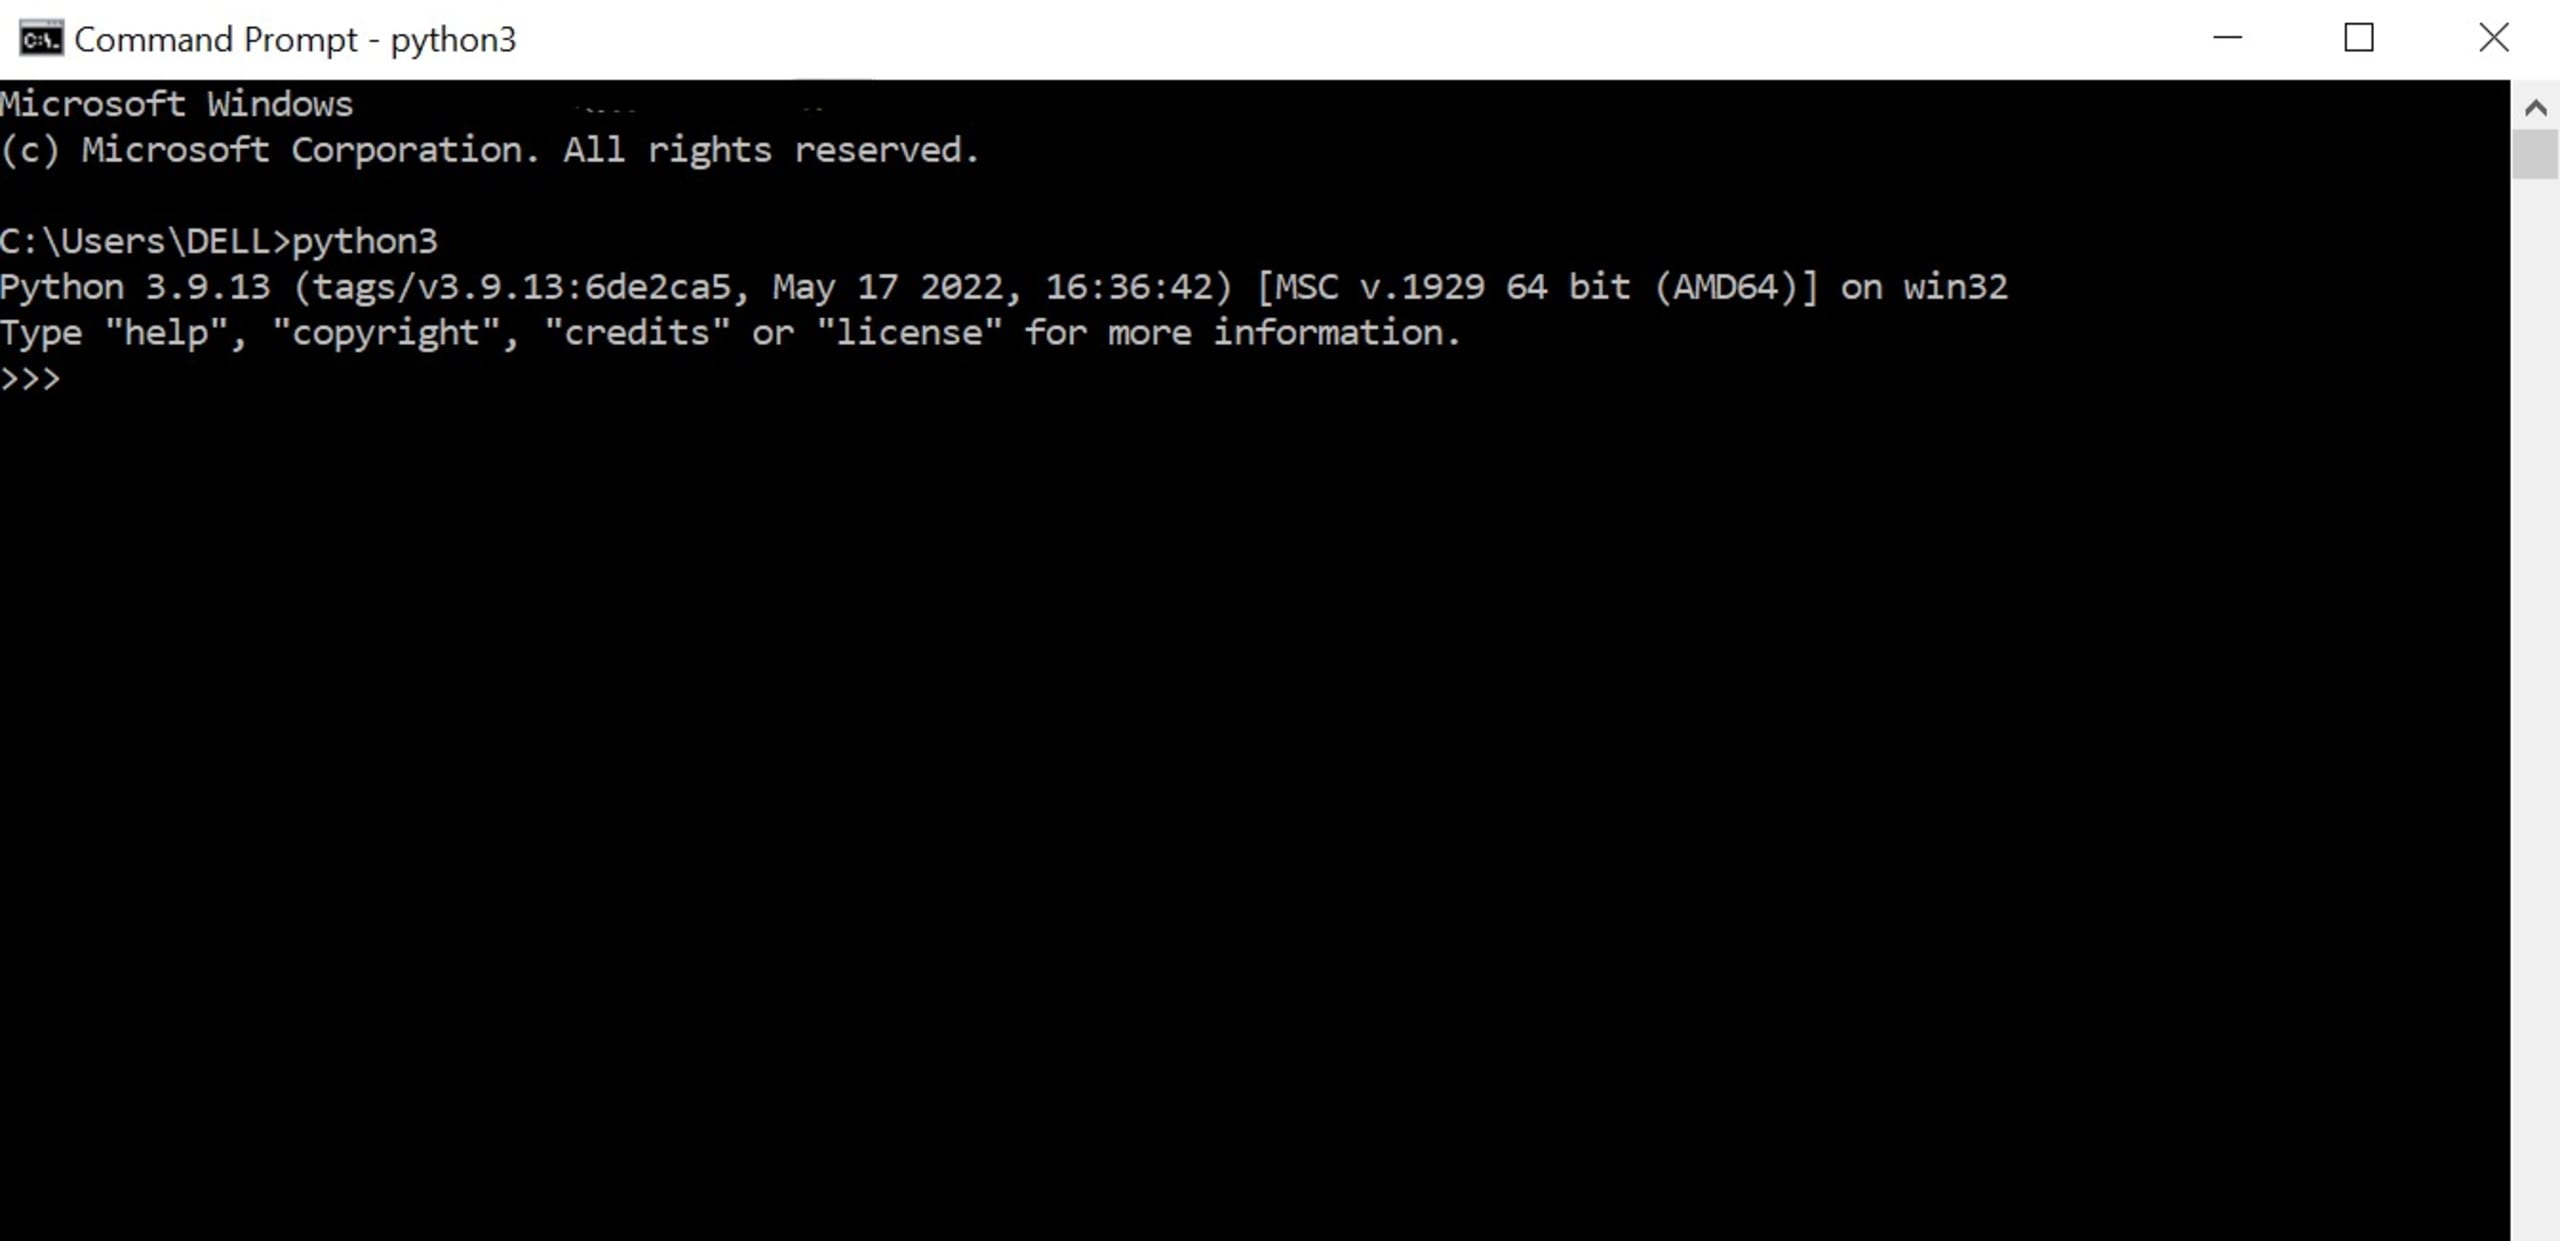
Open the command line on your operating system and type python3.

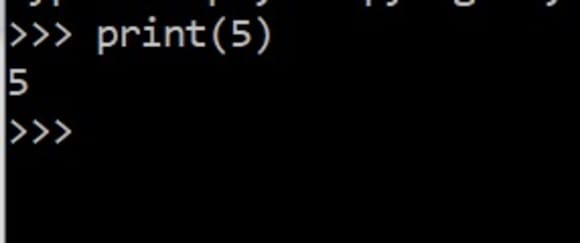
"The Python 3interactive shell uses the >>> symbol as a prompt, and returns the output without the symbol. Suppose we print a value. The interactive session looks like this:

The doctest module looks for and detects patterns in the docstring that look like interactive Python sessions. Once detected, the doctest executes them. The doctests must exist in the initial docstring right after the function call or method header. Make sure to avoid extra spaces after writing the doctest to avoid any unexpected errors or failures.
Writing a doctest
To be able to use doctests, let’s first write some sample code. For this tutorial, let’s write a basic module named square.py, which has a function named square. The function finds the square of the input provided.
We now include a docstring within our function. This docstring contains our documentation specifying what the function does. It also contains two test cases, including the input and expected output values. It uses these values to test the processed output.
How is the processed output tested?
The doctest module parses the docstring and produces text. It executes the parsed text as a Python shell command. Then, it compares the outcome to the anticipated end product in the docstring.
How to run a doctest
To run the doctest using our module, square.py, we add the testmod function of the doctest. The doctest.testmod function tests the module m or the module "_main_" if m is not supplied. This function is required to run doctest.
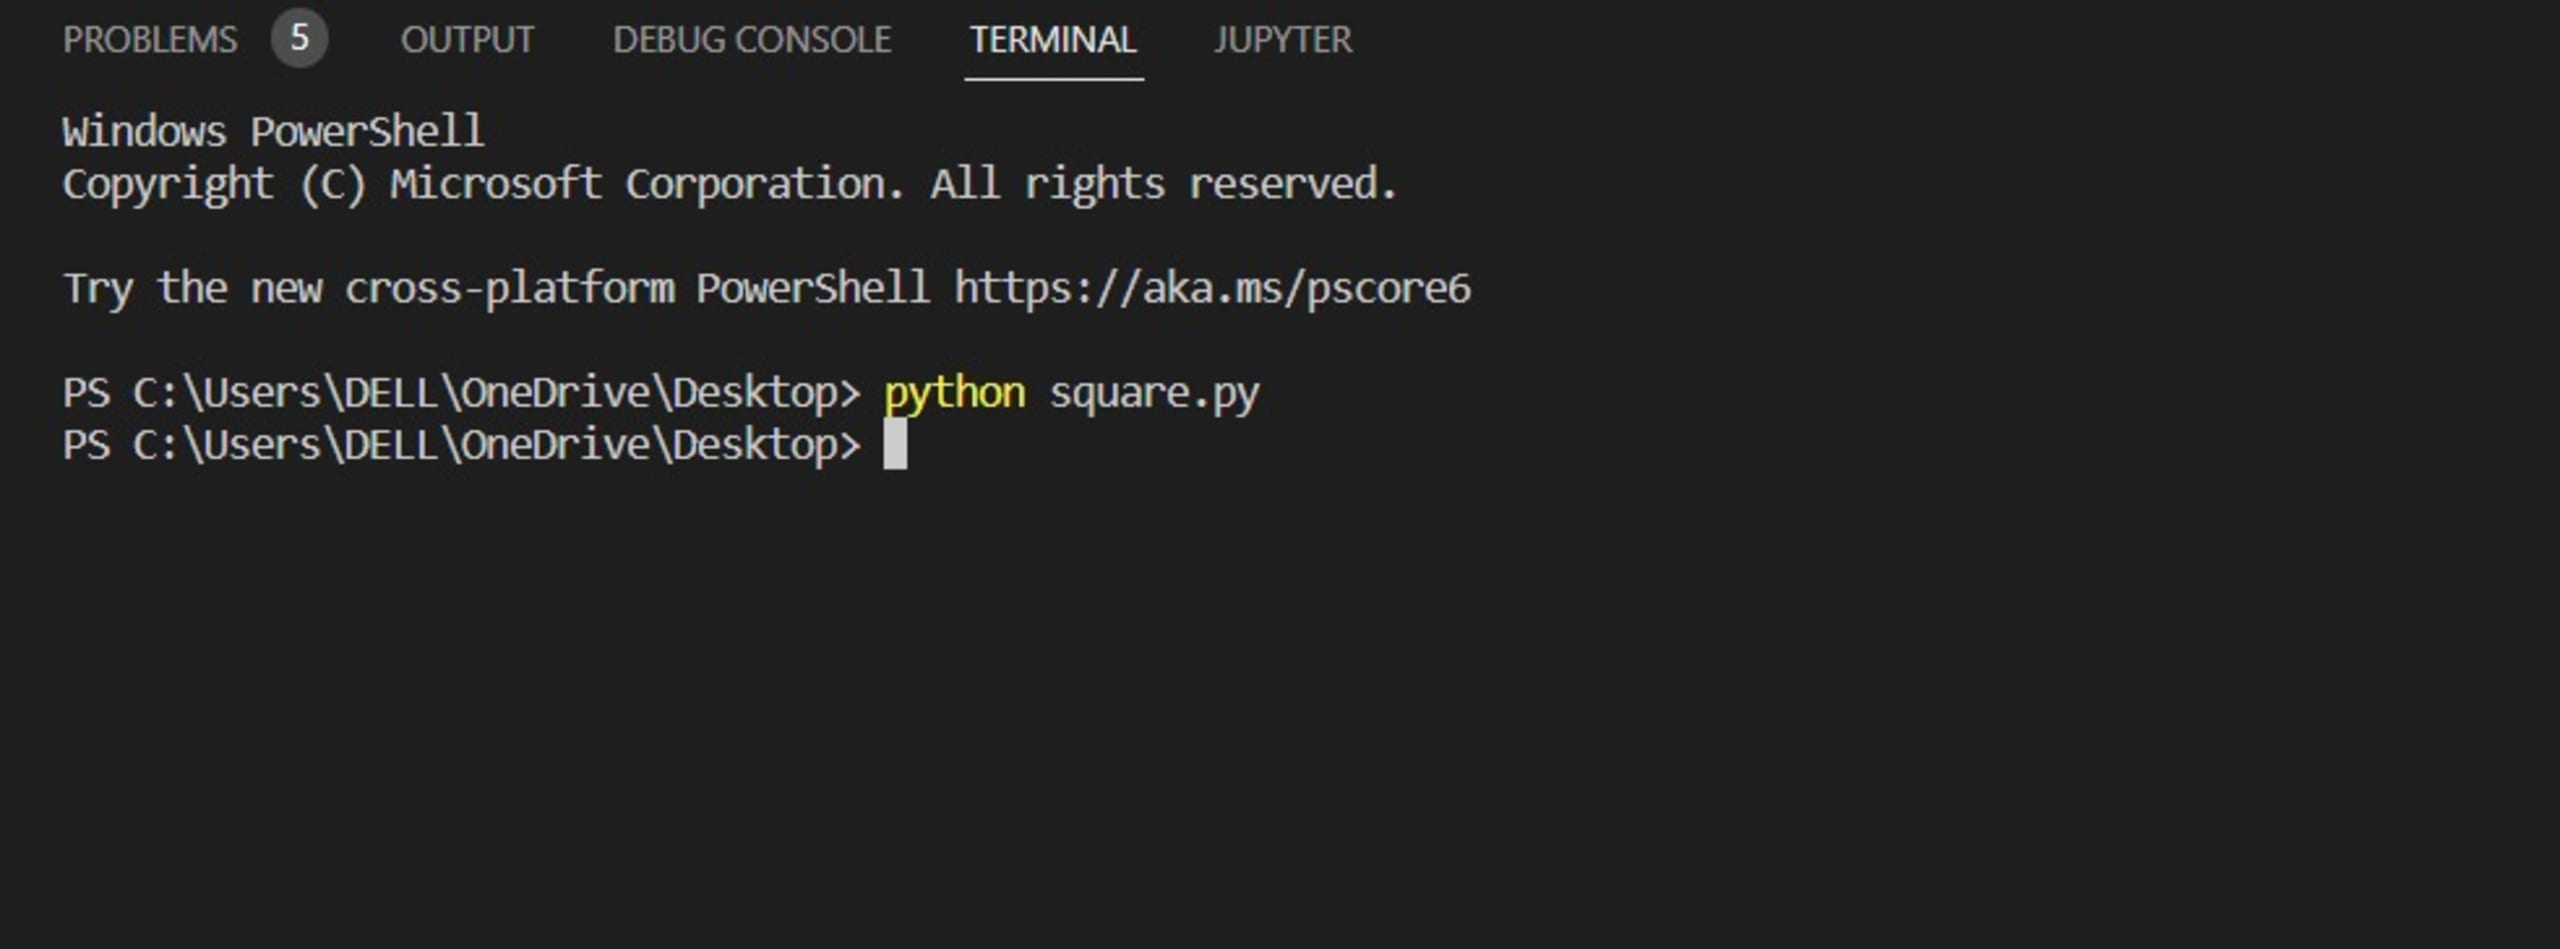
Then we simply run the square.py module in the terminal using the command:
Since square.py only has one function, the doctest module tests only that function.

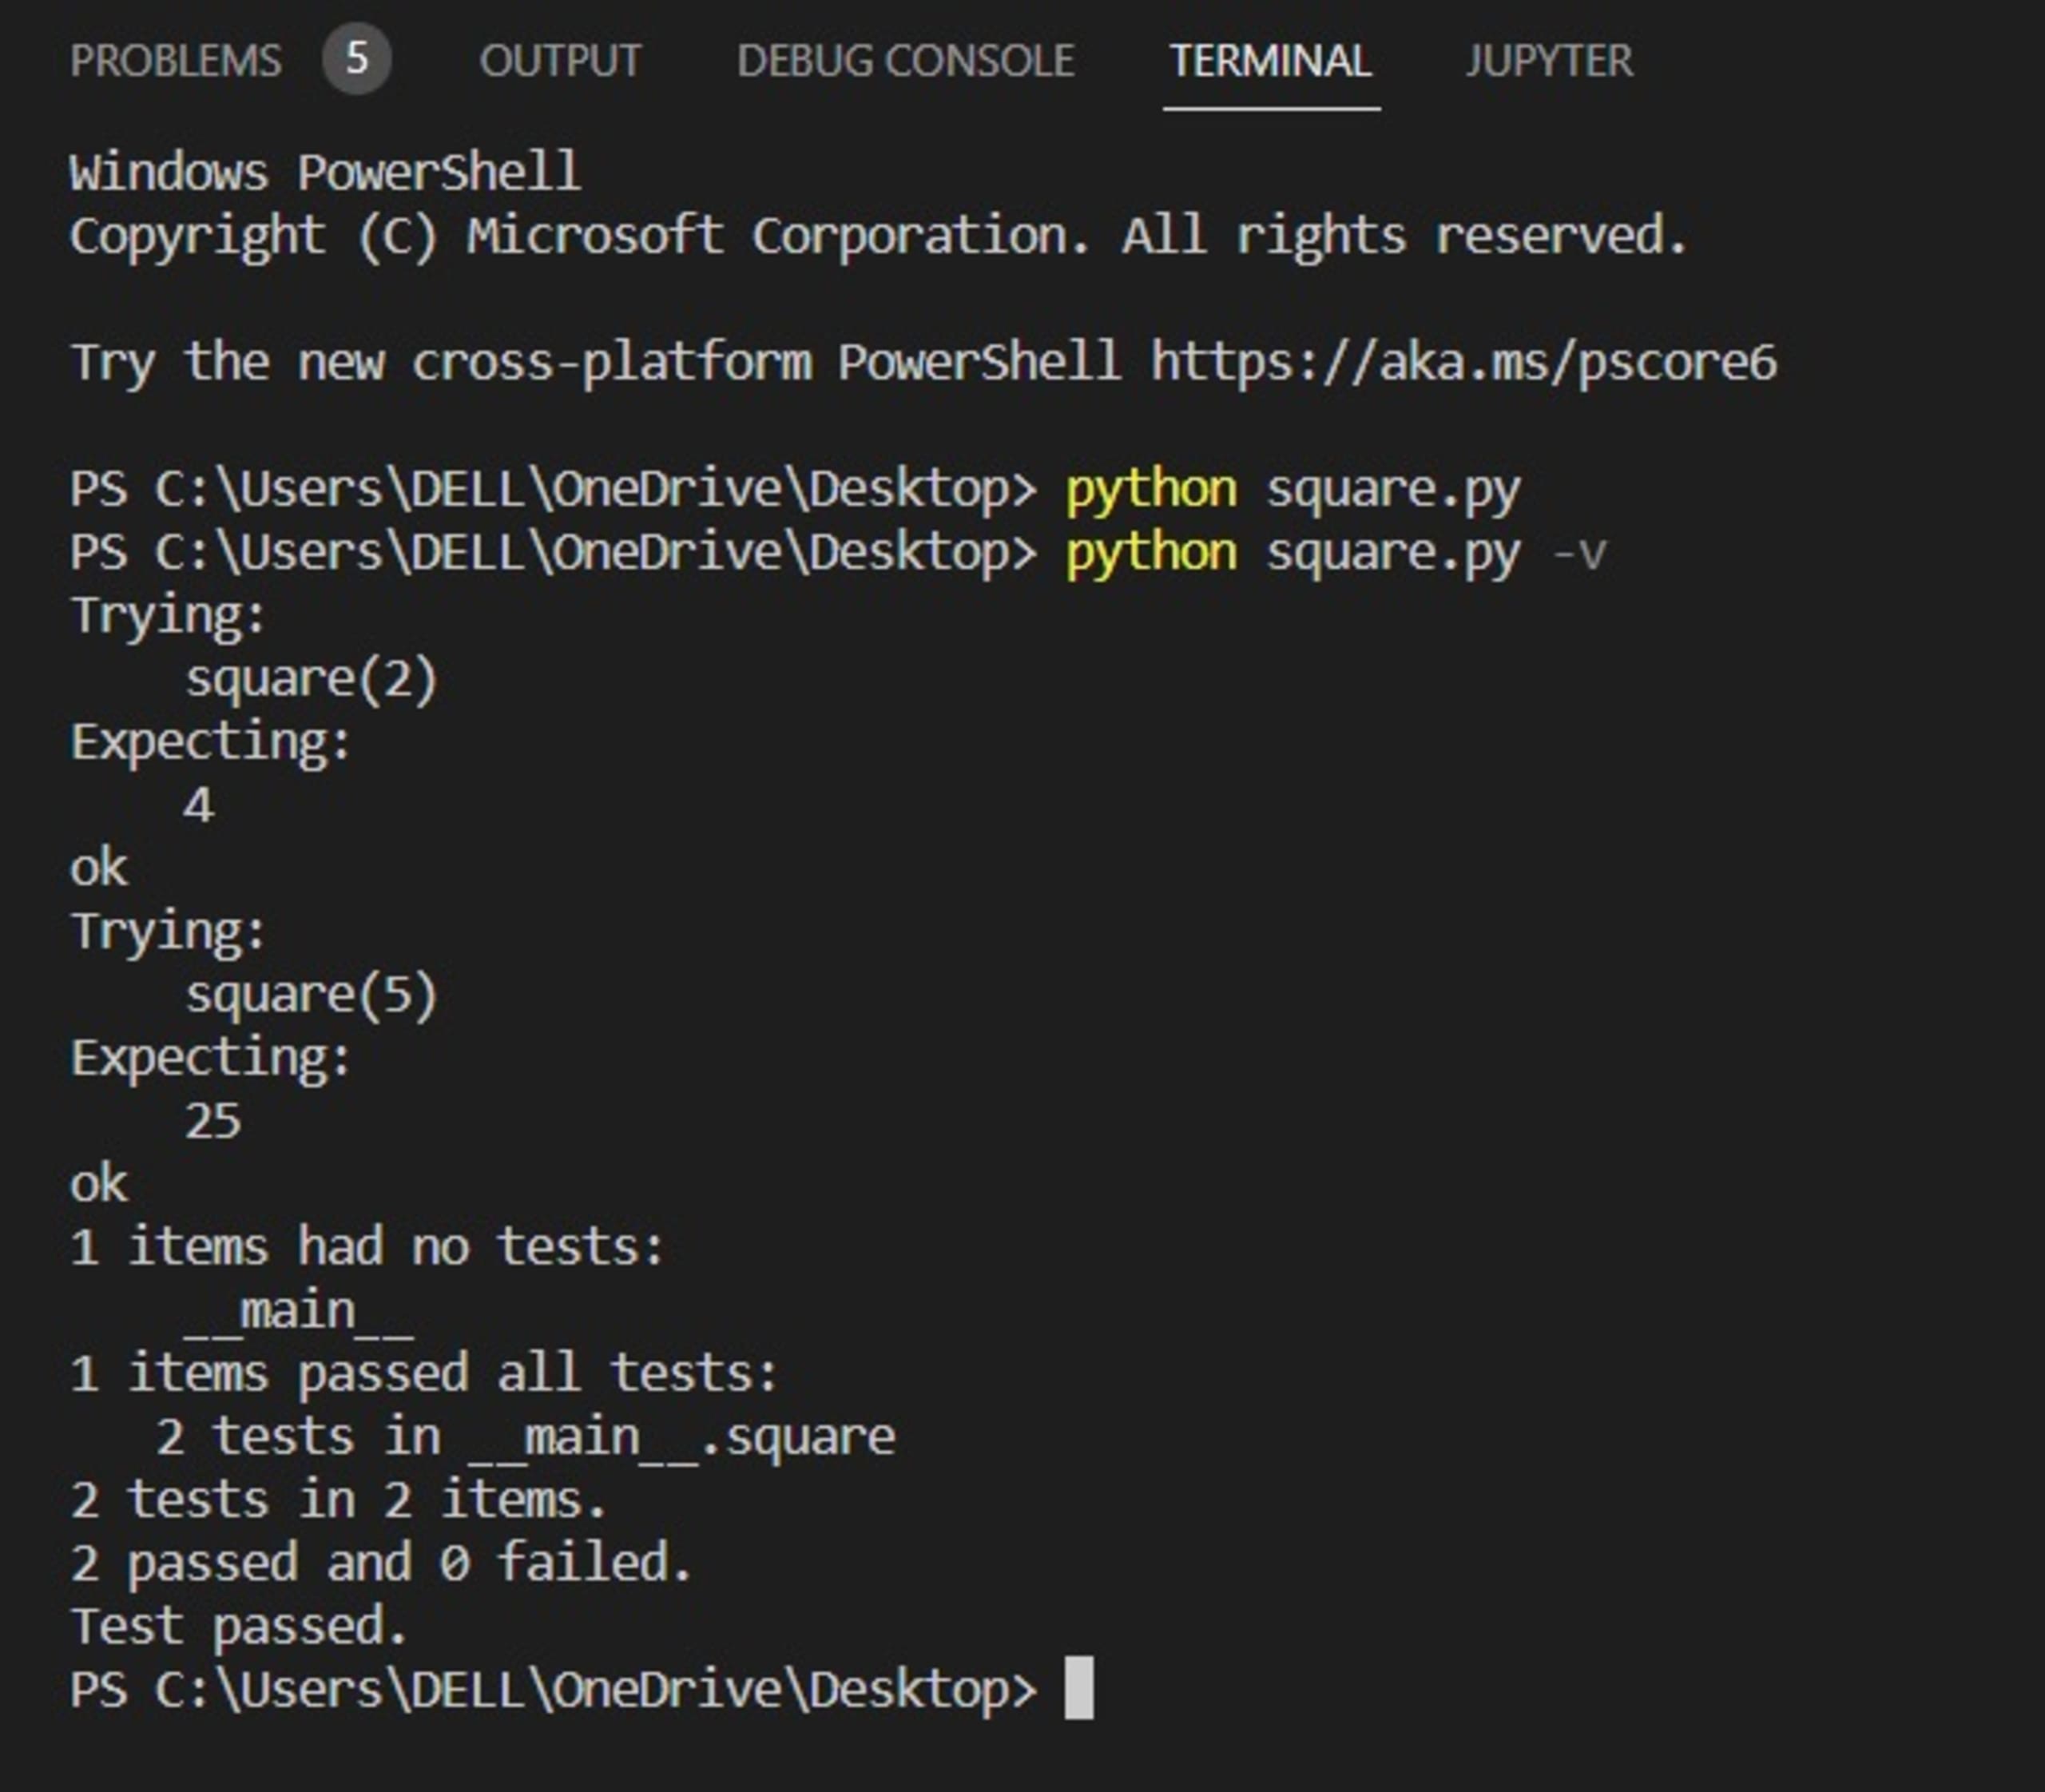
Since there is no output, all the tests have passed. If we fail a test, the error appears on the terminal, and we can deal with it accordingly. If we want to view the log, we change the script by adding a -v:

Logs give us a more detailed view of the result, by showing the success and failure rates of our tests. We can also use a handy shortcut to execute the testmod function without the main function — the doctest module we can run directly using the standard library. We do this by passing the module name to the command line interface:
Now, let’s expand just a little bit on the previous example. What if you want to specify your function’s input and output data types? To do that, we make a simple modification to our docstring. Using our previous example, we simply add:
So, our docstring becomes:
If we have more than one input parameter, we can modify :param. Suppose we have two input parameters. The relevant docstring would be:
We can continue to do this for as many input parameters as we require.
Congratulations! You’ve just written a doctest.
Conclusion
This article introduced Python’s doctest module to give you a basic introduction, and demonstrate how doctests can improve code quality and provide a better programming approach.
The article also showed how to incorporate doctests into functions, and run doctests using the code file and the terminal — and demonstrated how easy it is to use the doctest module in our coding.
The classic approach to testing functions is to write an independent script with your test cases. Doctests remove the need to write such scripts, allowing us to test our code more efficiently. In summary, it eases our testing frustrations and improves the quality of our Python code.
Get started in capture the flag
Learn how to solve capture the flag challenges by watching our virtual 101 workshop on demand.
