How to make a mock API server in JavaScript
David Ekete
October 20, 2022
0 mins readDeveloping and testing a frontend feature can be difficult, especially when the backend it depends on is not ready. This dependency on a backend API often slows down the development process.
In scenarios like this, developing a mock API can save you a lot of time by allowing you to develop your feature independent of the backend, and make it easier to test and identify scenarios where your API might fail before it is ready.
In this article, you'll learn more about mock API servers, the tools you can use to create mock APIs, how you can use them to speed up your development and testing, and how to set up a simple mock server.
What is a mock API server?
A mock API server is a simulated API server that provides realistic responses to the requests it receives from a client. Typically, a mock API server is used to stand in for a backend server that's still in development.
A mock API server mimics a real API by using placeholder data that contains realistic response values, but lacks many of the functional and non-functional characteristics of the original component, such as data persistence.
Mock API servers can be used in various scenarios, including the following:
Development: Mock API servers temporarily remove the dependency between the frontend and backend teams, allowing them to work, develop, and test their components independently.
Testing: Mock API servers facilitate testing, a crucial part of software development, by allowing the frontend team to test their features without waiting for the backend team to develop a fully functional API. Mock API servers also prevent the pollution of a real API with test data because all test calls are made to the mock API server, not the real one.
External components: Mock API servers also help to mock out external dependencies when using tools like Storybook to demonstrate frontend features.
Best practices for mock APIs
When creating a mock API server, you should keep the following best practices in mind:
A mock API should support the same schema and interfaces as the actual API. This makes sure the responses are more realistic.
If your application requires external dependencies, your mock API should mock those dependencies, as well.
A mock API should support request forwarding. This ensures that you can gradually switch from mock responses to real responses when the real API has been developed.
A mock API should be able to simulate unexpected errors, slow performance, and invalid user inputs. This practice ensures that your applications can handle these scenarios properly.
API Mocking Tools
There are many tools that can help create Mock API servers. Some of them include:
Mock Service Worker (MSW): Mock Service Worker is an API mocking library which leverages the Service Worker API. This API allows MSW to intercept actual requests and return mock responses by acting as a proxy server. Request interceptions happen on the network level, ensuring that your application does not know that the responses are coming from a mock API.
Postman: Postman is a platform for building, using, testing, and documenting APIs. Postman also allows users to create mock API servers that return saved mock data. Postman returns the mock responses by matching the request configuration to the saved examples, and responds with the data that matches the configuration most closely. Postman offers an interactive GUI, which makes setting up a Postman mock server relatively easy.
Mirage JS: Mirage JS is an API mocking library that allows you to build and test a JavaScript application without depending on any backend services. Mirage JS makes it easy to create dynamic scenarios, making your mock API more realistic. Due to its ability to create dynamic scenarios and its in-memory database, Mirage JS provides the most flexibility for creating mock API servers.
Creating a mock API server with Mirage JS
This section will teach you how to create a simple mock API server with Mirage JS.
Prerequisites
Before you begin, you need to have the following:
To follow along in your editor, begin by cloning the tutorial's GitHub repository.
Setting up your mock server
Run the following commands on your terminal to install the required dependencies and start your development server:
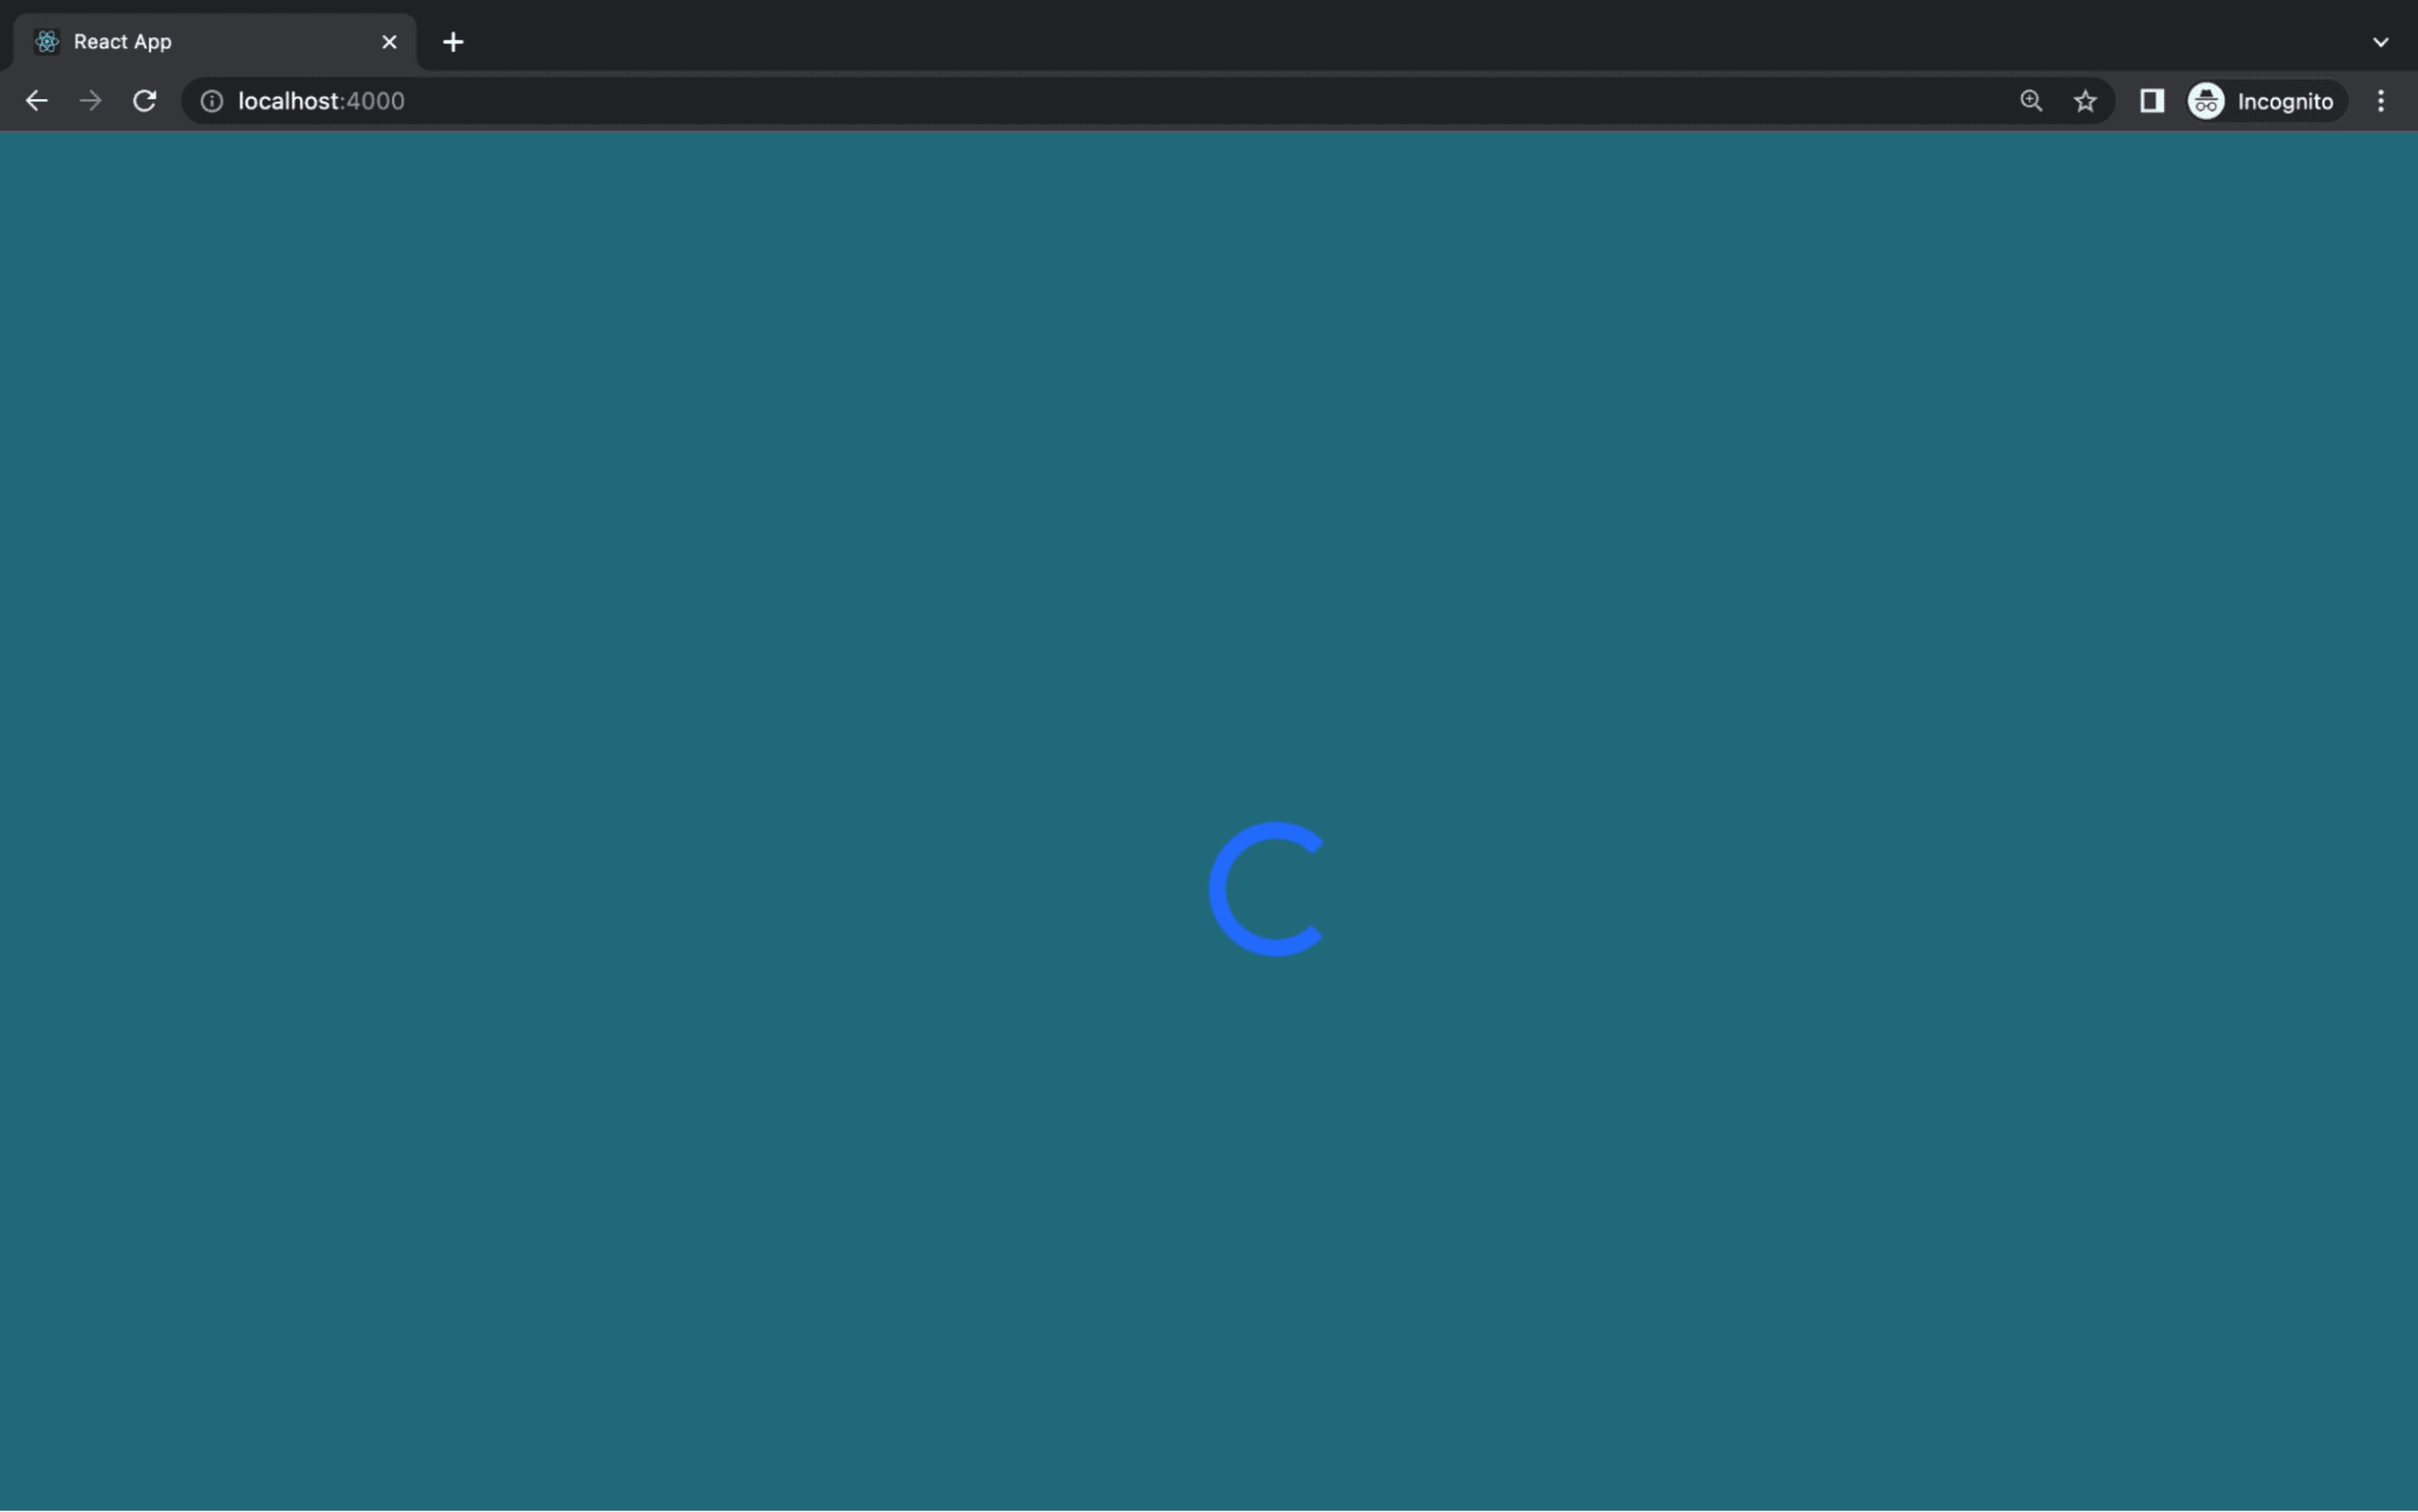
You should see a spinning widget, and no functionality in the app. This is because your app is trying to fetch data from an API that isn't ready. To speed up your development process, you will create a mock server.

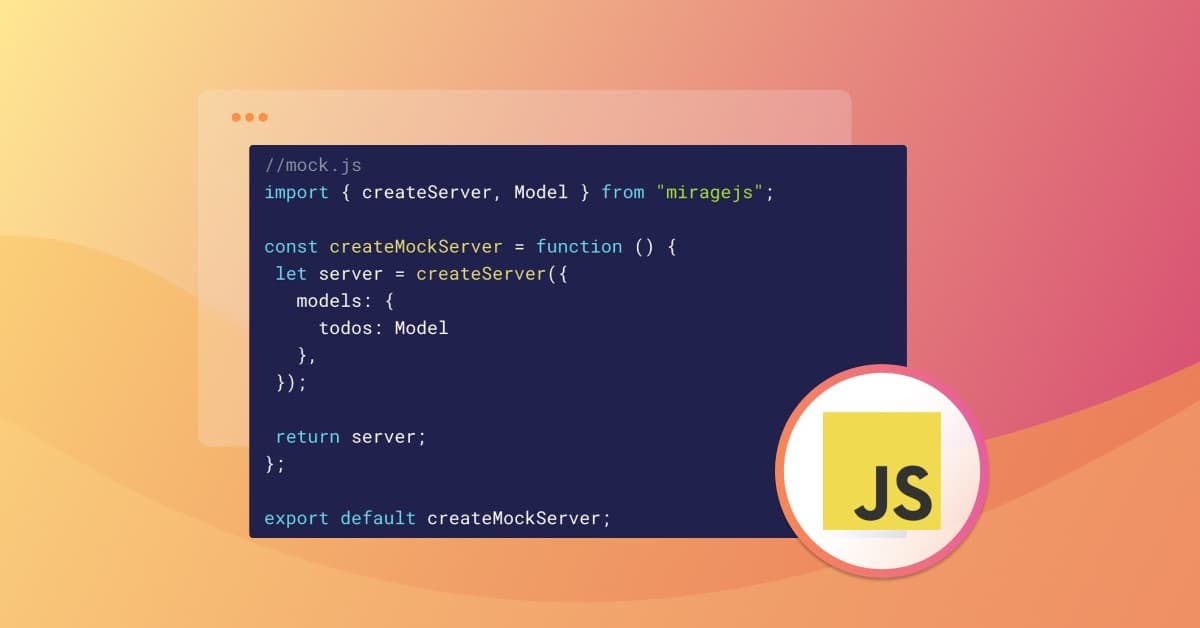
In your src directory, create a file called mock.js and add the code block below:
In the code block above, you imported createServer from miragejs. This function starts up a Mirage server with a given configuration object. The configuration object can contain information such as various routes your server will handle, a mock in-memory database, and namespace.
The createMockServer function is responsible for creating and returning the instance.
Creating an in-memory mock database
Next, you will create a simple mock database using Mirage’s data layer to store and return data.
Update your mock.js file to match the code block below:
In the revised code block, you're also importing Model, the base definition for Mirage models, from miragejs.
Then you passed createServer a configuration object as an argument. Inside the configuration object, the models property is set to object, and inside the object of the models property, todos is set to model. This will tell Mirage to create an empty todos collection in its in-memory database.
Seeding an in-memory database
Next, you'll manually add some data to the in-memory database using the seeds hook. The seeds hook allows you to populate Mirage with some initial data so your mock API will have data to render when the application starts up for the first time.
To seed your database with some initial data, add the following code block under the models property in your createServer configuration object:
In the code block above, you added the seeds hook to your configuration object. The seeds hook takes an instance of the server as an argument.
Then you added some data to your in-memory database by calling the create method on the server instance. The create method takes in two arguments: the singularized name (e.g. "todos" becomes "todo") of the collection you wish to save the data to, and the data you want to save.
Defining mock route handlers
Next, you'll need to define the routes handlers using the routes hook. The routes hook allows you to specify route handlers for each available path and HTTP request.
Add the following code block to your createServer configuration object directly under the seeds hook to add the route handlers for your API calls:
In the code block above, you used the routes hook to define a global namespace for all the route handlers (api/todos) so that you don't have to repeat it in each route handler.
Then you defined a GET route handler with the get method, which takes in a path and a callback. In the callback, the app is given access to the schema argument, which is used to access your in-memory database, and the request argument, which provides access to the request body.
Finally, you returned all the todos in your in-memory database by calling the all method on schema.todos. You can access the in-memory model by chaining its name to the schema argument. The all method returns a Collection object with two properties, modelName and models.
The modelName property is the name of your model, and the models property is an array containing your seeded data.
Define the POST route handler by adding the following code into your routes hook:
In the callback function above, you get and parse the request body from the request object. Then you set the completed property to false, because by default, new tasks should not be complete. Mirage automatically assigns a unique id to every new todo by incrementing the id of the last todo that was initially seeded in the in-memory database. Finally, you used the `create`` method to add the new todo to the database.
Next, define the PATCH route handler by adding the following code into your routes hook:
In the callback function above, you retrieve and parse the request body from the request object. Then, you destructure the id property from the params object attached to the request body. Using the find method, you query your in-memory database for a todo with a matching id. Finally, using the update method, you update the todo.
Define the DELETE route handler by adding the following code into your routes hook:
In this function, you destructured the id property from the params object attached to the request body. Then, using the find method, you queried your in-memory database for a todo with a matching id, and called the destroy method to remove it from your in-memory database.
Your completed mock server should look like this:
Finally, import the createMockServer function into your App.js file, and start up your mock server by calling the createMockServer function in your App.js file.
For example:
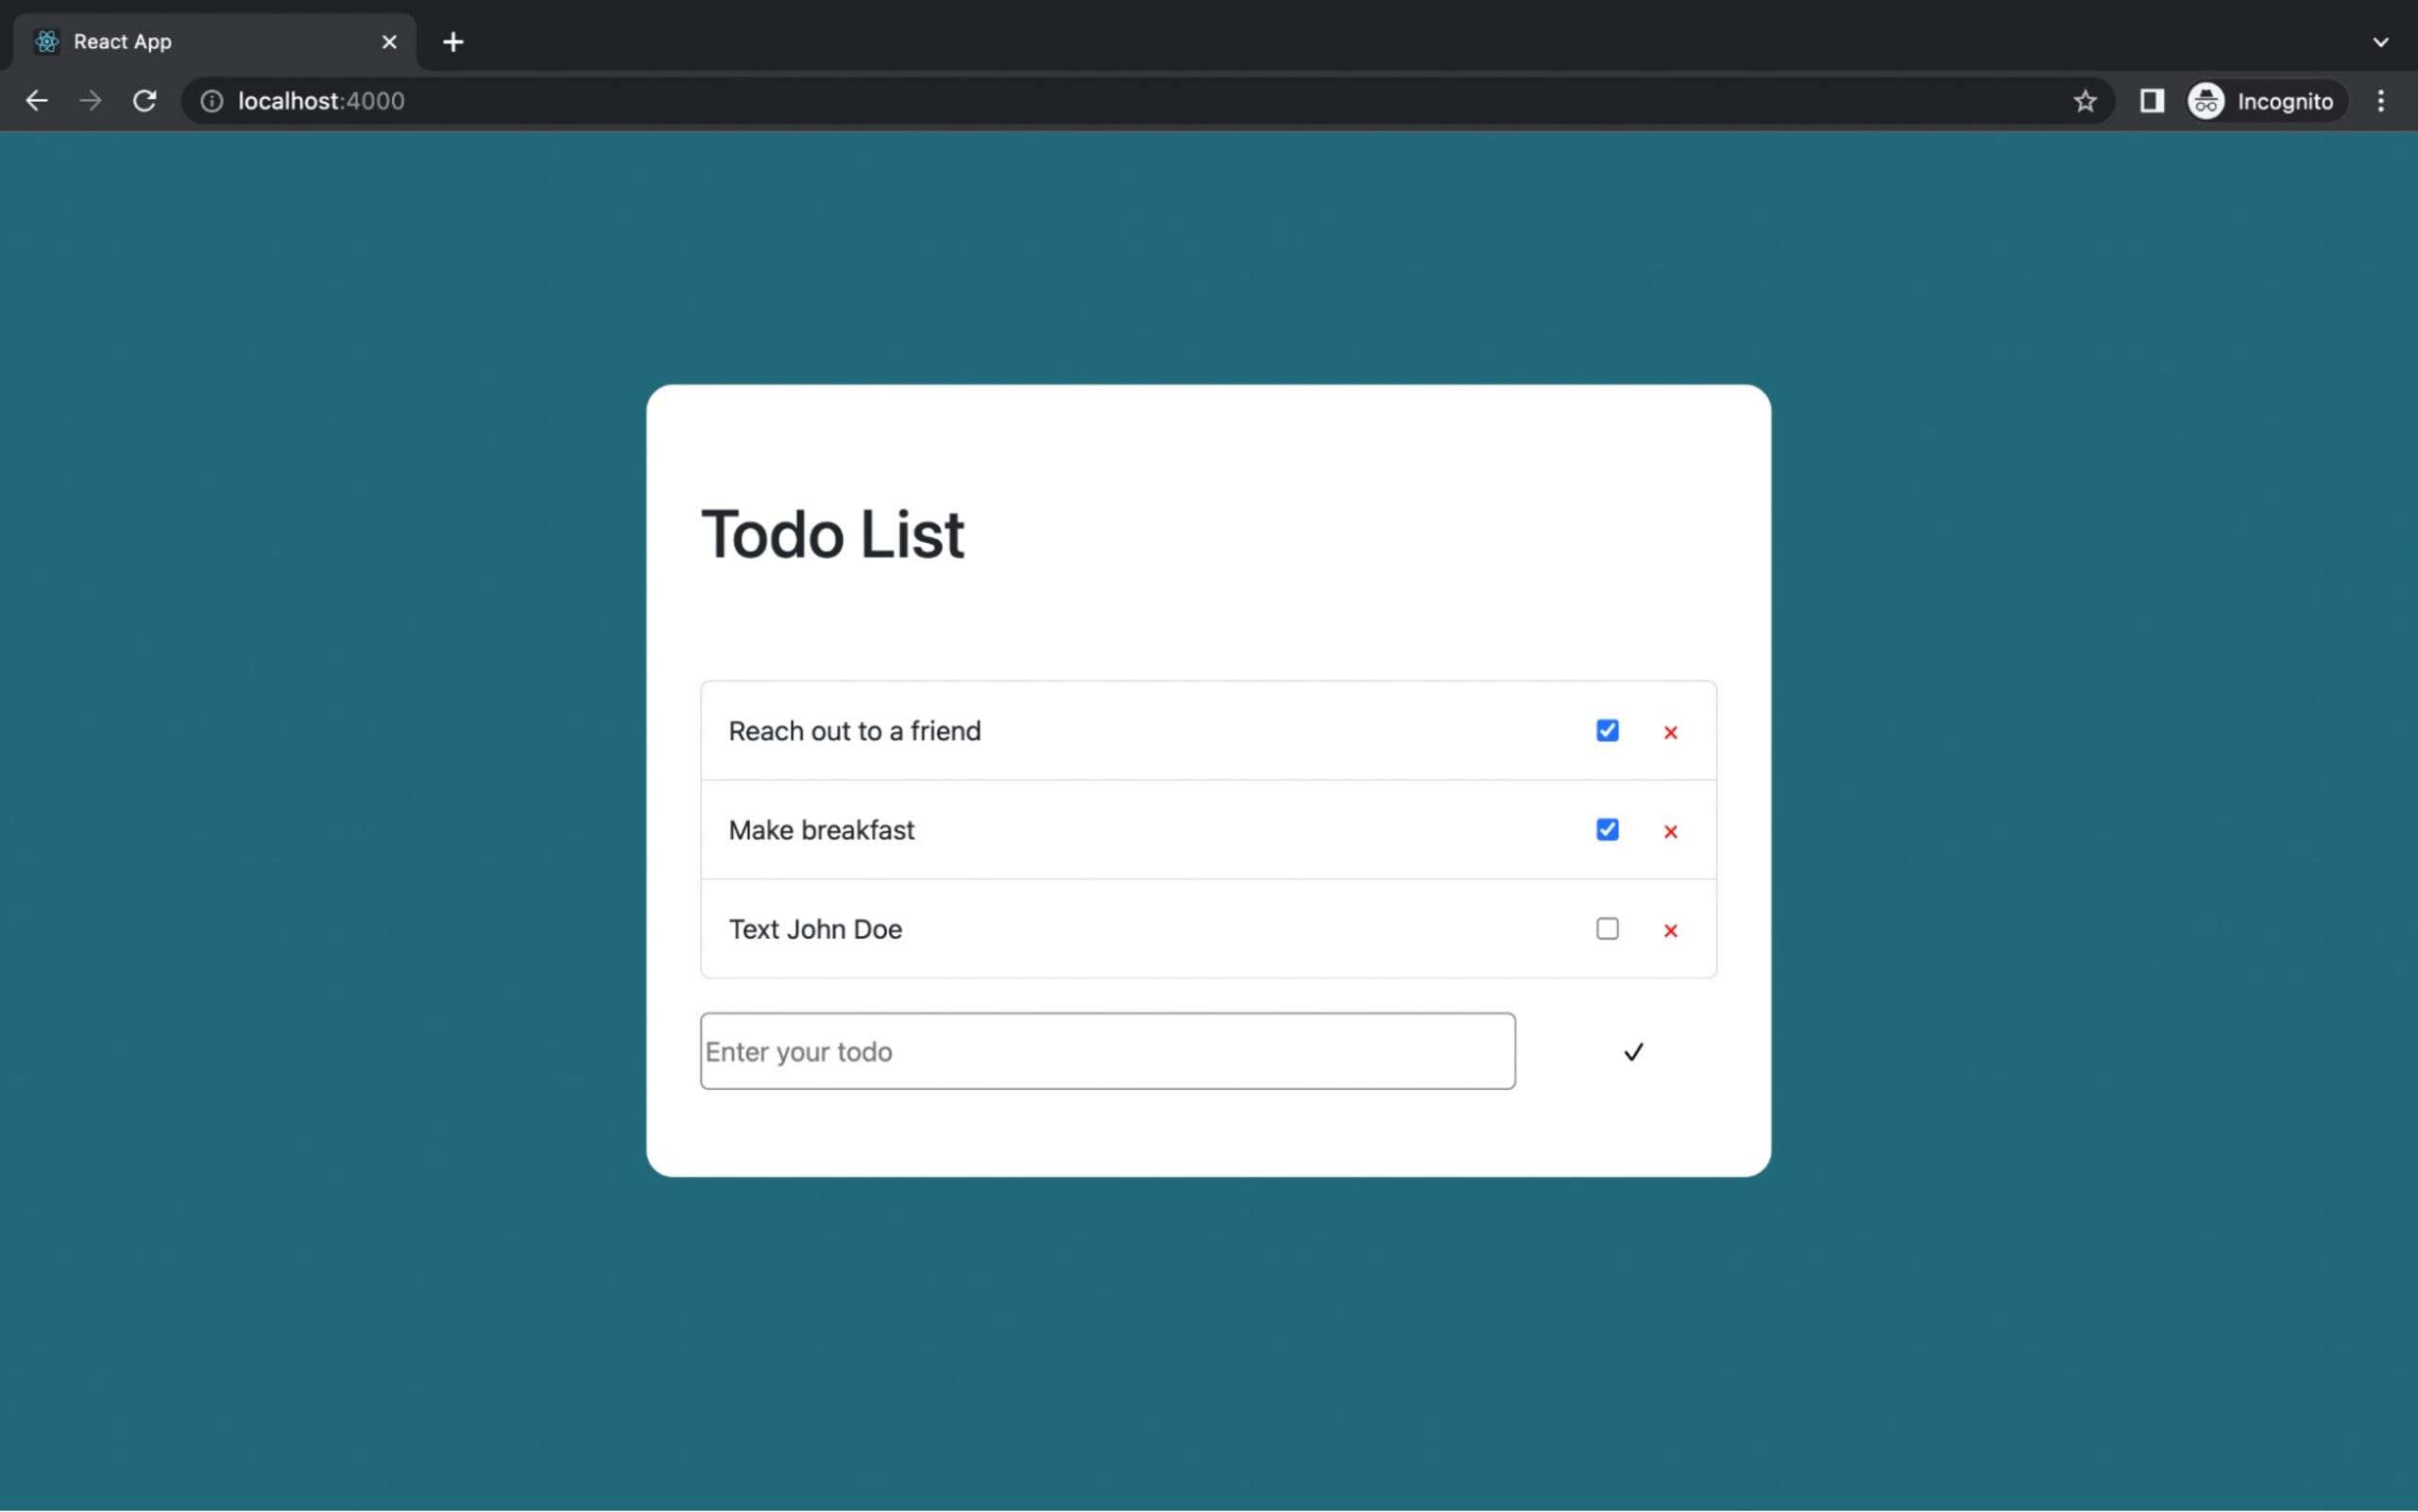
If you open your React application, you should see the to-do app rendering the seeded data from your mock API.

You can now test your to-do app as you would with a real backend API.
Wrapping up on mock API servers
This article taught you about mock API servers, their relevance, best practices for creating them, and tools that can help you make them. You've also learned how to create a simple mock API server using Mirage JS.
Incorporating mock API servers in your development process will speed up your development and allow you to work independently, leading to a better workflow.
