How to Dockerize MCP Servers in JavaScript
Written by
0 mins read
MCP Servers are easily pluggable extensions to LLMs, but sometimes are a pain to set up because they require a development environment. Let’s work around that by providing a Docker image for our MCP Servers.
In a previous post, I explained how to run MCP Servers with Docker so that, as a user who wants to connect MCP Servers, you don’t need to struggle with installing the right Python version or figuring out how to get npm or npx installed for JavaScript-based MCP Servers.
In this post, we’ll focus on you as the developer of MCP Servers and look at how simple it is to provide MCP consumers with a Docker image they can use. We will achieve the following MCP development setup:
Set up a
Dockerfilefor your MCP ServerCreate a GitHub Action workflow that builds the Docker image
Create a GitHub Action workflow that pushes the Docker image to GitHub Packages
We assume the MCP Server project is built in JavaScript (or TypeScript) and is based on Node.js development environment.
As a pre-requisite, you’ll need a Node.js development environment, the MCP project you want to dockerize, and the Docker Desktop application available locally.
Set up a Dockerfile for your MCP Server
A Dockerfile is the building block for Docker images. It defines how an image is built and how it is executed when a container is created.
Create the following Dockerfile:
What is happening in this Dockerfile?
This is a multi-step Docker image build workflow that follows the best practice of separating the image used for building the project from the one used for instantiating a Docker container. It follows the 10 Node.js best practices to containerize Node.js applications with Docker.
It defines a
/appdirectory, which is where the MCP Server project files will exist in the containerWhen the Docker container executes, it will run the
/app/dist/bin/cli.cjsfile as an argument to thenoderuntime. Likely, you’ll want to change this to match your MCP Server entry point, such asindex.jsorserver.js.
What next? Now that we have a Dockerfile we can build it locally and execute it to ensure it actually works. Here is how to build this Docker image (you can change my-mcp-server with the name you want to tag this Docker image as):
Run the above command in the project’s root directory, where you should also place your Dockerfile at and a new Docker image will be built.
How does the MCP Server run from a Docker image? Use this command:
We are running a new container from the my-mcp-server Docker image that we built before. We then use the -i and --rm arguments to tell Docker that this is an interactive process that connects to STDIO, and once the container gets killed, it also gets removed in a nice, clean up process.
How do users consume an MCP Server via Docker?
Now that we have an MCP Server, how would MCP clients and host applications consume it? How do they configure the command to run if it isn’t Python’s ux, pip, or Node.js’s npx?
They do need Docker to be available, and likely many developers will have either Docker or a Docker-compatible alternative like Podman. Once they have Docker, they can configure the MCP Server as follows:
Almost! This isn’t a complete example, and it will not work for MCP users. You might have noticed that we reference the my-mcp-server in the Docker command, but how does Docker know where to get this image from, and did we even publish it there?
Right, this is the part that’s missing. We created a Dockerfile, we built a Docker image locally but we didn’t publish it anywhere. To make things easy for software developers building on GitHub we will publish the image to the GitHub Packages registry which can host Docker images. In fact, this is exactly what the official GitHub MCP Server does as well.
Create a GitHub Action workflow that builds the Docker image and publish to GitHub Packages
We will start with creating a GitHub Action workflow that creates a Docker image, and will have the following steps in the CI workflow:
Build the Docker image
Publish the Docker image to GitHub Packages
Sign the Docker image
Following is the complete workflow file that you should create in the following directory in your project’s root: .github/workflows/docker-publish-to-github.yml.
Before running and saving this file, you’ll want to modify the IMAGE_NAME environment variable to use your own Docker image name instead of the example reference we use of my-mcp-server:
You will also notice that the above GitHub Actions workflow file for building the Docker image assumes the trunk branch name for the branch is main.
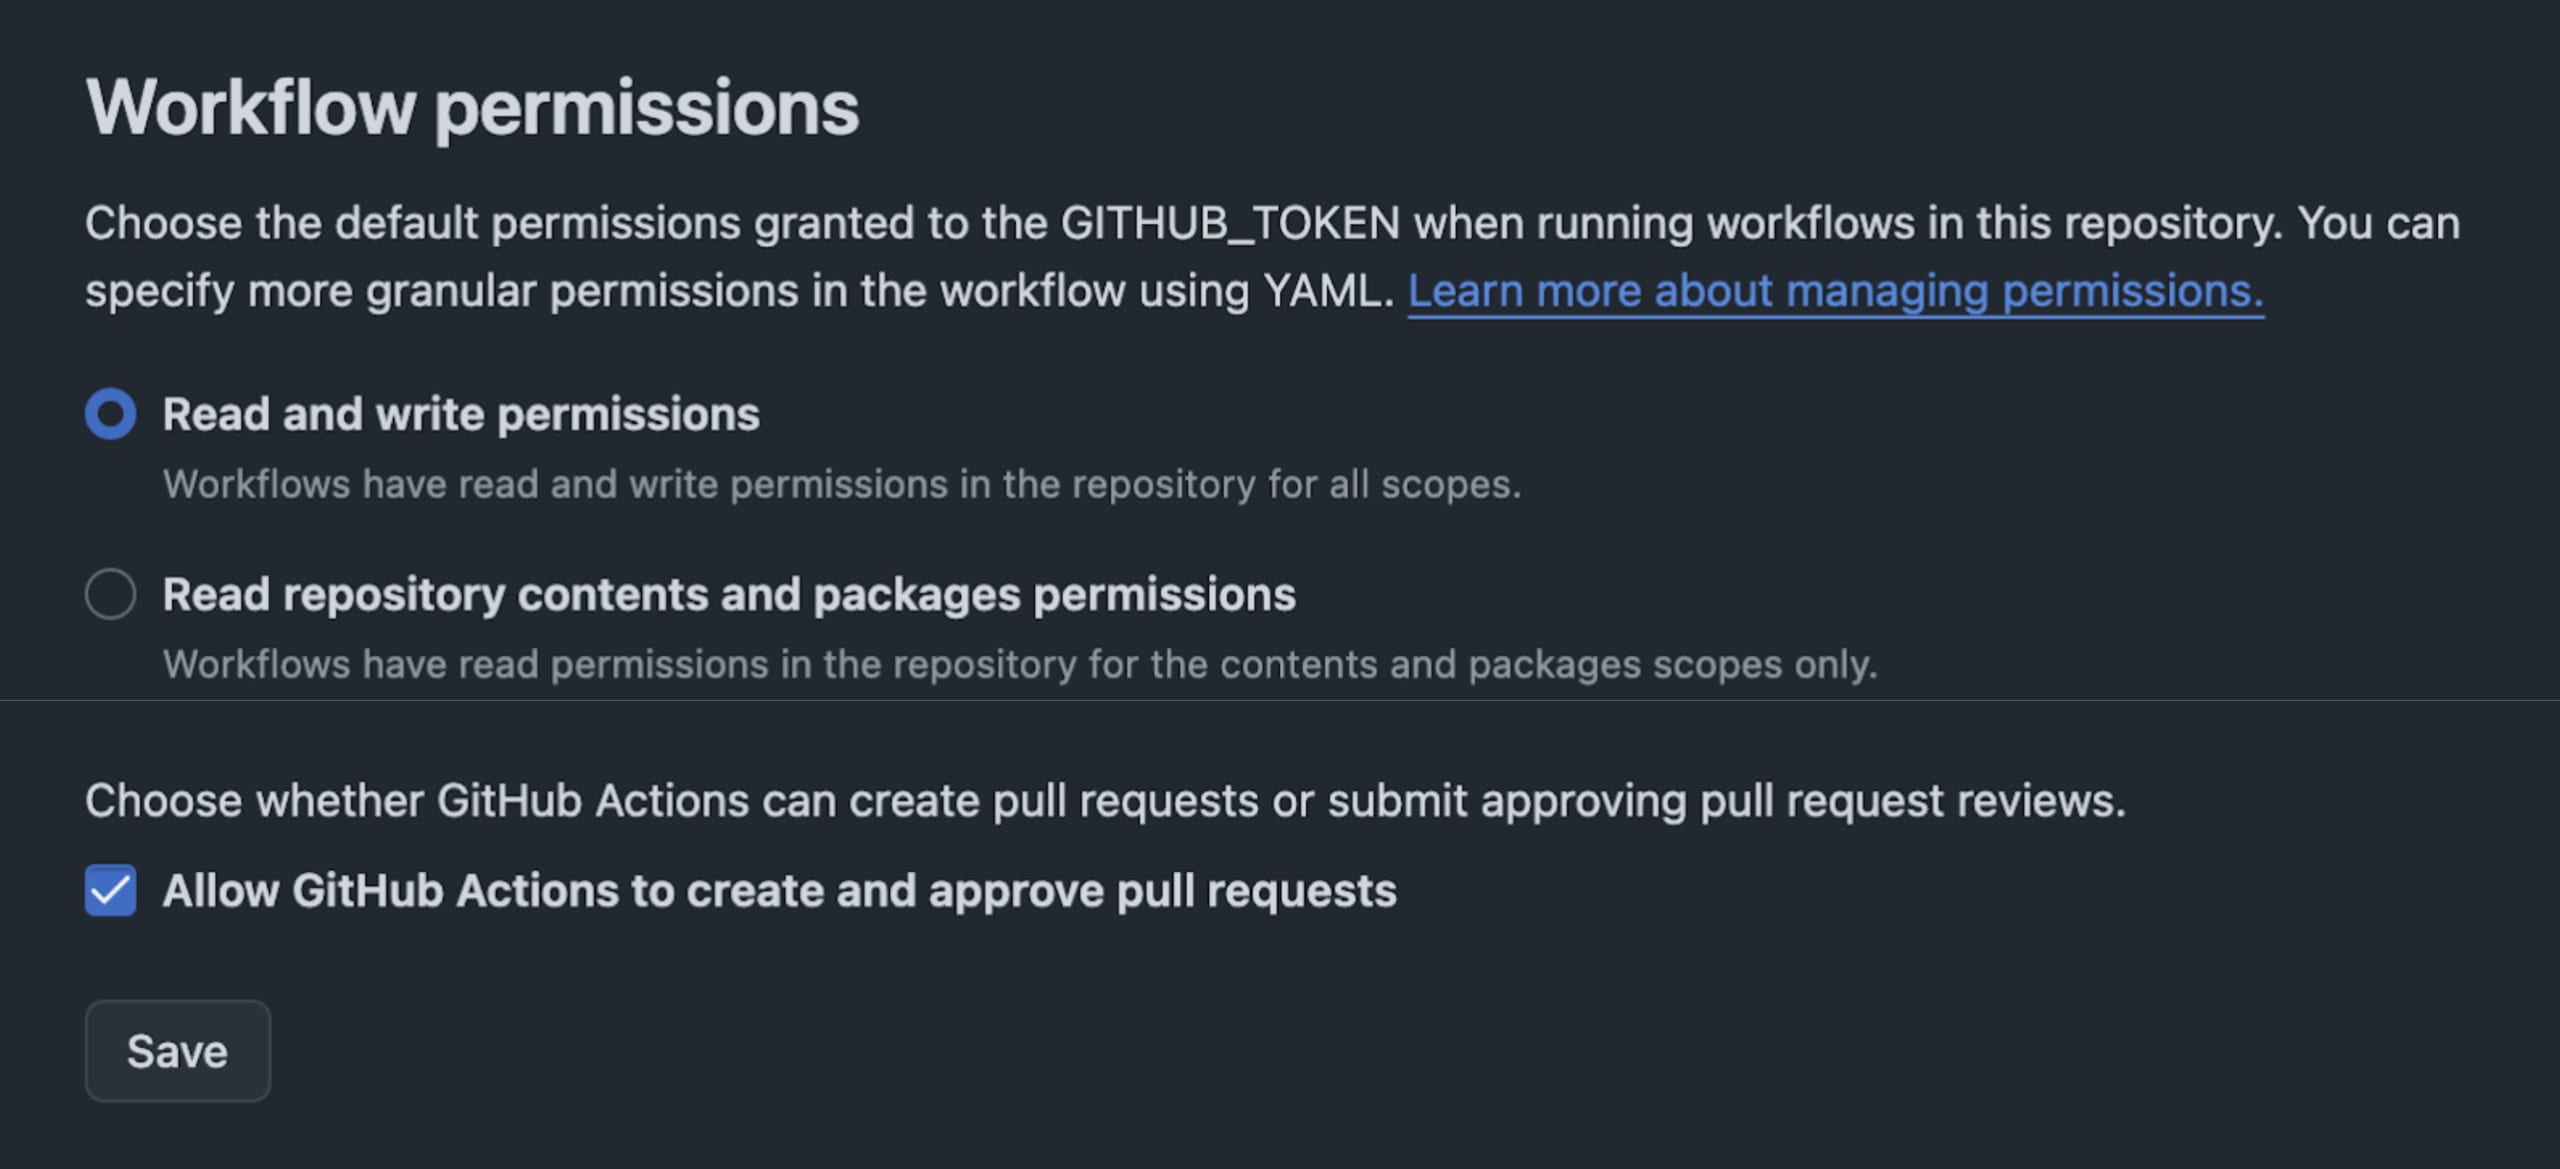
Next, you’ll need to provide GitHub Actions runners with a write permission. To do that, go to the repository Settings -> Actions -> General and make sure you toggle read and write permissions as follows:
Building more with MCPs?
Curious where to proceed from here? I’ve lined up a few helpful resources to help guide you through productive understanding and security of MCP Servers:
A Beginner's Guide to Visually Understanding MCP Architecture
From prompt injection to other security vulnerabilities, MCP Security – What's Old is New Again
October 22, 2025
DevSecCon2025 - The AI Security Summit
Secure your spot and secure the shift to AI native