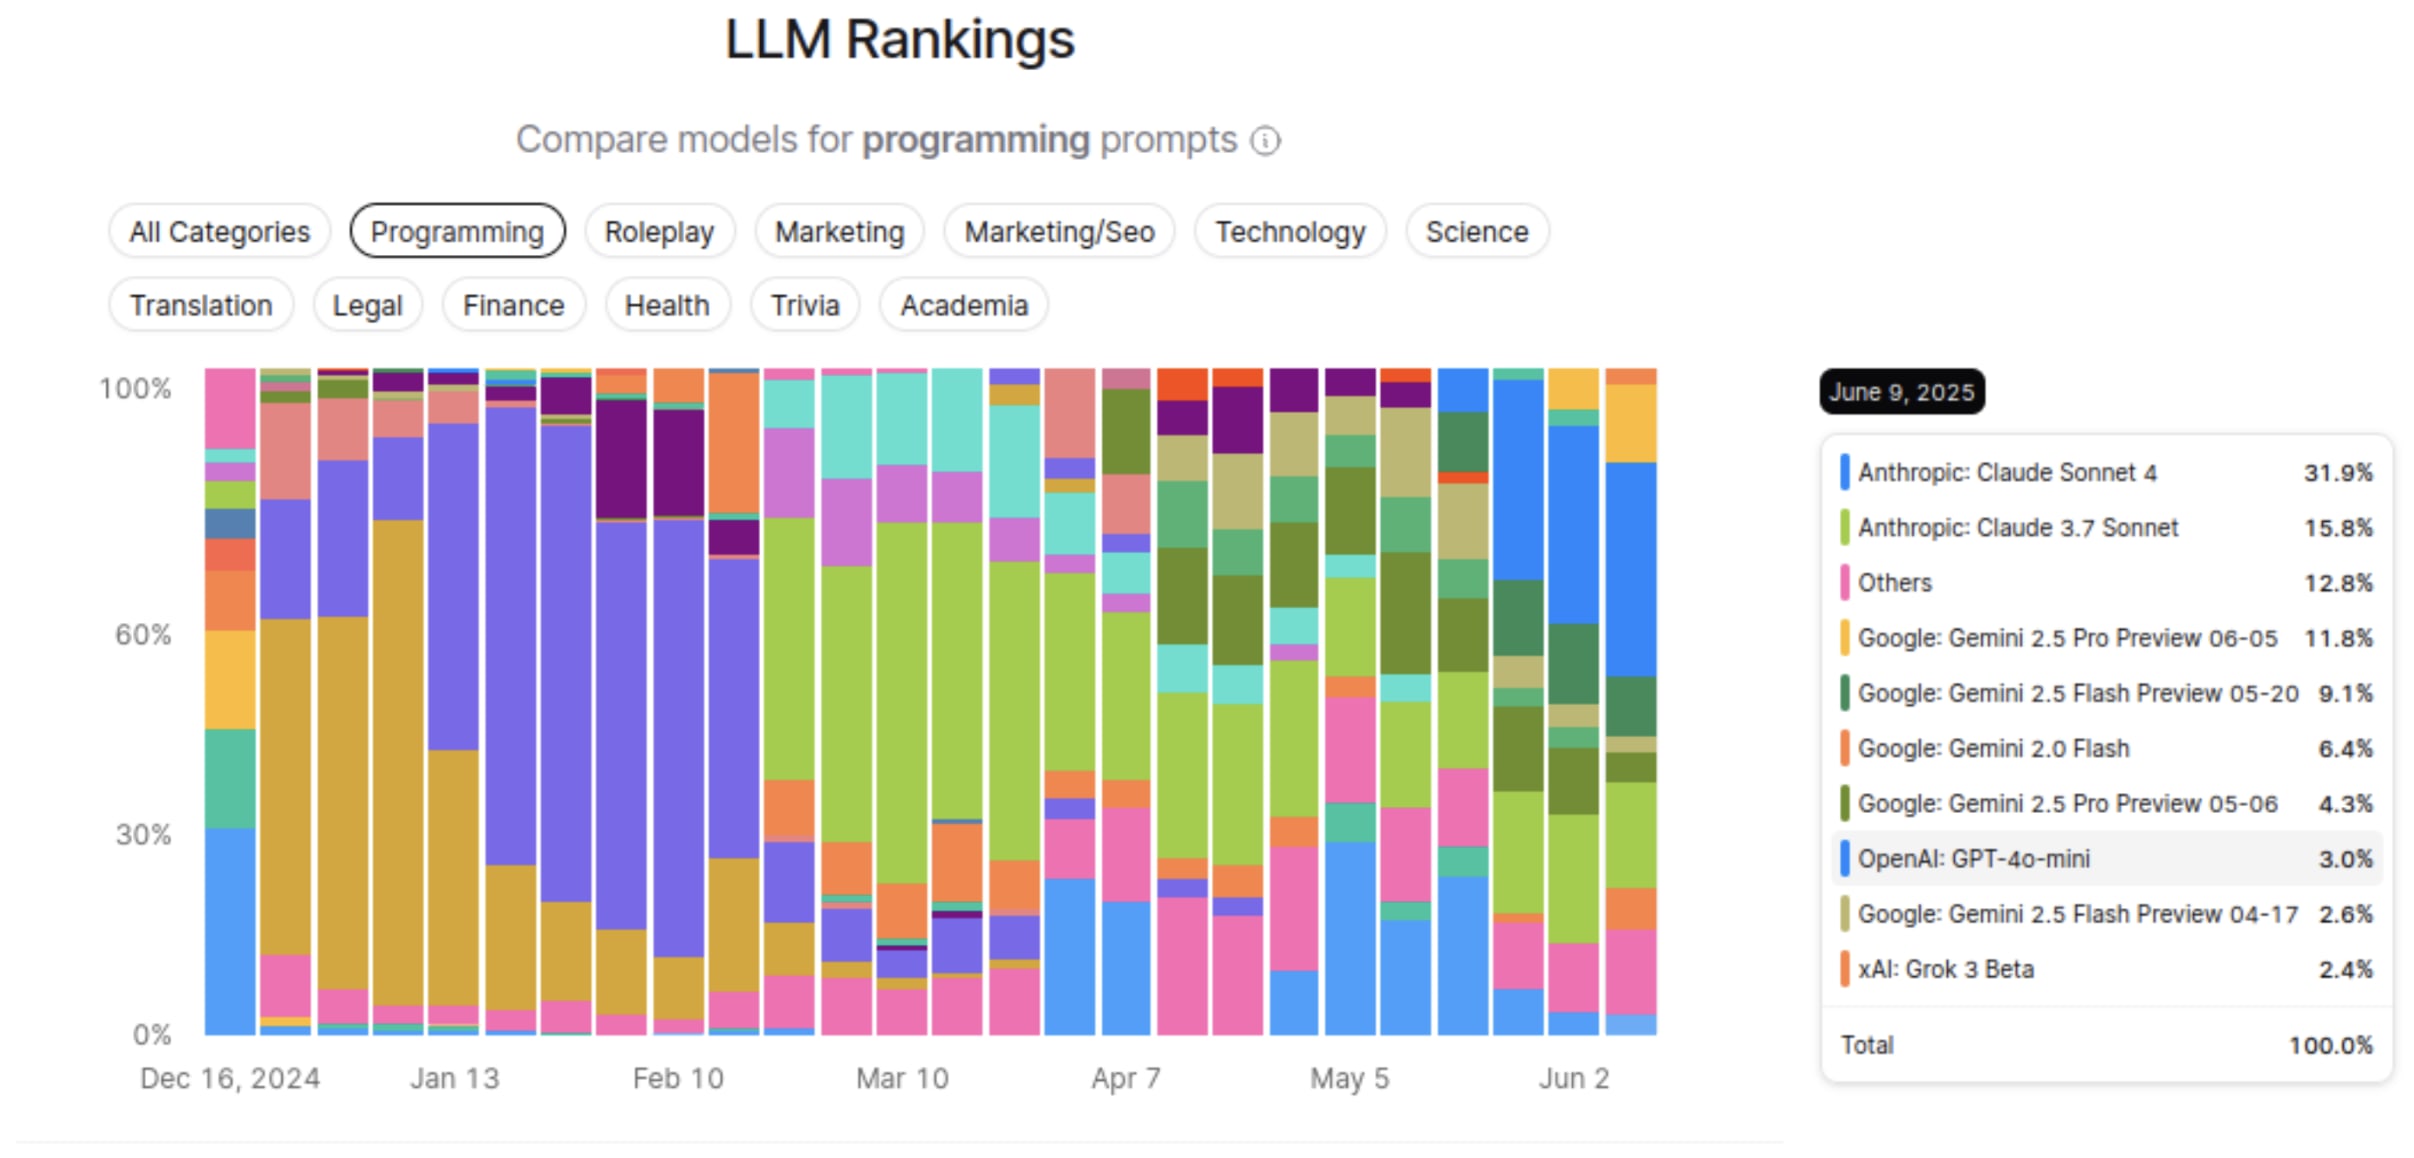
AIアプリケーションの開発では、複数のAPIキーを管理したり、サービスごとに異なる使い方を学んだり、さまざまな認証方法に対応したりする必要がよくあります。1つのAPIキーだけで、最先端のLLMを数十種類も利用できたらどうでしょうか。それを実現するのがOpenRouterです。この記事では、Pythonで利用する最もシンプルな方法をご紹介します。今後の記事では、OpenRouterとLangChainを連携させる方法や、OpenRouterをLangChainのTool Callingで使う方法も解説します。この記事のソースコードはこちらから入手できます。
OpenRouterとは?
OpenRouterは、商用モデルとオープンソースモデルの両方を含む、世界をリードする言語モデルへの統合ゲートウェイです。OpenAI、Anthropic、Google、Meta、Mistralなど、さまざまなプロバイダーのモデルに、標準化された単一のAPIからアクセスできます。
プロバイダーごとにアカウントを作成し、複数のSDKを使い分ける代わりに、OpenRouterなら1行のコードであらゆるプロバイダーの大規模言語モデルにアクセスできます。複数のLLMを使うアプリを開発している場合にも、ユースケースに最適なモデルを探すためにさまざまなモデルを試している場合にも、開発ワークフローを大幅にシンプルにできます。
OpenRouterを使う理由
すでにご紹介したように、GPT-4、Claude、Gemini、Llamaなど数十種類のモデルに単一のAPIからアクセスできます。さらに、次の機能も利用できます。
最適なモデルへのルーティング:プロンプトに応じて異なるモデルに振り分けるための複数の方法があります。たとえば、「model」に「openrouter/auto」を指定すると、AutoRouterがプロンプトに最適なモデルを選択します。
信頼性と冗長性:OpenRouterはフェイルオーバー機能を備えており、あるプロバイダーが停止した場合に、アプリケーションを別のプロバイダーに切り替えられます。
OpenAI互換API:OpenAIのSDKをすでにお使いの場合、コードをほとんど変更せずにOpenRouterへ切り替えられます。
最小限のOpenRouter実装
PythonでOpenRouterを使う最もシンプルな方法です。openrouter_simple.pyのコードは、すぐに使い始められる最小限の例です。スクリプト全体を以下に示します。
このスクリプトには、OpenRouterを使い始めるために必要なものがすべて含まれています。次の4つの段階に分けて見ていきましょう。
1. 環境のセットアップ
まず、.envファイルからAPIキーを読み込み、認証情報を安全に保管します。
OpenRouterのAPIキーを記載した.envファイルを作成してください。
openrouter.aiで登録すると、APIキーを取得できます。
2. OpenAIクライアントの設定
ポイントとなるのは、次の数行です。
標準のOpenAIクライアントを使いながら、接続先をOpenRouterのAPIエンドポイントに変更している点に注目してください。OpenRouterはOpenAIのAPI形式に完全に対応しているため、この方法が使えます。
リクエスト元を識別するため、OpenRouterではHTTP-Refererヘッダーが必要です。本番環境では、アプリケーションのURLを設定してください。
3. モデルの選択とリクエスト
リクエストを送信する際に、使用するモデルを指定します。
モデル識別子はprovider/model-nameの形式です。例をいくつか紹介します。
openai/gpt-4o-2024-11-20 - 知識のカットオフ日が指定されたOpenAIのGPT-4o(Omni)
anthropic/claude-sonnet-4 - AnthropicのClaude 4 Sonnet
google/gemini-2.5-pro-preview - GoogleのGemini Pro 2.5(プレビュー版)
meta-llama/llama-4-maverick - MetaのLlama 4 17B Instruct
OpenRouterを使うと、通常は利用できないモデルにアクセスできることもあります。たとえば以前は、GPT-4 32Kなどのプレミアムモデルをいち早く利用できました。利用可能なモデルの一覧はopenrouter.ai/modelsで確認できます。
4. レスポンスの処理
最後に、レスポンスを取り出して表示します。
レスポンスの構造はOpenAI APIと同じ形式なので、既存のコードに簡単に組み込めます。
OpenRouterの機能とオプション
上記の基本例ですぐに使い始められますが、OpenRouterにはさらに多くの機能があります。
モデルルーティングの制御
OpenRouterでは、リクエストの振り分け先となる基盤プロバイダーを詳細に制御できます。OpenRouterのJSON形式を使って指定できます(extra_bodyを参照)。
この例では、対象モデルについてfp8量子化に対応するプロバイダーのみを指定しています。
レスポンスのストリーミング
OpenRouterはレスポンスのストリーミングに対応しており、チャットアプリケーションで役立ちます。
ビジョン言語モデル
OpenRouterは、画像を処理できるマルチモーダルモデルに対応しています。
料金とコスト管理
OpenRouterはクレジット制で、モデルによって1回のリクエストで消費するクレジット数が異なります。テスト用の無料クレジットが用意されていますが、本番環境で利用するにはクレジットの追加購入が必要です。
OpenRouterのダッシュボードで利用状況を確認し、APIキーごとにクレジット上限を設定して支出を管理できます。
クイックスタート
この記事のコードを使用する手順は次のとおりです。
必要なパッケージをインストールして、Python環境をセットアップします。
APIキーを記載した.envファイルを作成します。
サンプルスクリプトを実行します。
まとめ
OpenRouterは、言語モデルの統合マーケットプレイスとして、AIエコシステムにおけるニーズに応えます。今回ご紹介した実装の魅力は、そのシンプルさにあります。わずか数行のコードで、アプリケーションの構造を変えることなく、主要モデル数十種類を切り替えて利用できます。
AIアプリケーションを開発する方にとって、次のことが可能になります。
特定のプロバイダーに固定されることなく、さまざまなモデルをテストする
タスクごとに最適なモデルを利用する
信頼性を高めるフォールバックを実装する
ユースケースごとに最もコスト効率の高いモデルを選び、コストを最適化する
付属のopenrouter_simple.pyスクリプトを基盤として、複数のAPIを管理する煩雑さを避けながら、最新の言語モデルを最大限に活用する堅牢なアプリケーションを構築できます。
SnykでAIの実装を安全に
OpenRouterなどのAIツールを使ってアプリケーションを開発する際、セキュリティは重要な課題となります。Snykは、新たに広がるAIエコシステムに特化したソリューションを提供しています。
SnykのAI Security Platformは、AIを活用した開発ならではのセキュリティ課題に対応するソリューションです。AIが可能にするスピーディな開発を維持しながら、安全なAIアプリケーションの構築を支援します。
AI Security Platformは、AIを活用したイノベーションを加速し、ビジネスリスクを軽減するとともに、エージェント型AIと生成AIを保護できるよう組織を支援します。AIが生成したコードのほぼ半分にセキュリティ上の脆弱性が含まれるという調査結果もあり、これは特に重要です。
Snyk AI Security Platformを利用すれば、AI活用が進む環境でも開発スピードとセキュリティを両立できます。手作業を減らしながら、セキュリティポリシーとガバナンスの効率を向上させます。業界をリードする脆弱性データベースの知見を取り入れ、DeepCode AIを活用したSnykの包括的なテストエンジンを基盤としています。
オープンソース向けSnyk Secure Developer Program
OpenRouterなどのAIテクノロジーを活用するオープンソースプロジェクトに取り組んでいる方には、Snyk's Secure Developer Programが役立つリソースを提供します。2025年2月に開始されたこのプログラムは、オープンソースエコシステムのセキュリティ強化を目的としています。Snyk Secure Developer Programは、オープンソースコミュニティにこれまでにない支援を提供し、コードの脆弱性を迅速に発見して修正できる、エンタープライズレベルのセキュリティプログラム構築を後押しします。
参加要件を満たすオープンソースプロジェクトには、次の支援を提供します。
エンタープライズレベルのセキュリティツール:Snykのプレミアムセキュリティプラットフォームを無料で利用
専門家によるサポート:Snykのデベロッパーリレーションズチームによる実践的な支援
コミュニティリソース:SnykのDiscordコミュニティとPartner Connectを利用
APIアクセス:セキュリティチェックを自動化するための連携機能
Snykは、参加要件を満たすオープンソースプロジェクトに、これらの主要な開発者向けセキュリティツールを完全無料で提供します。参加するには、プロジェクトが企業の支援を受けておらず、GitHubで1万以上のスターを獲得している必要があります。
OpenRouterの柔軟性とSnykのセキュリティツールを組み合わせることで、高機能で安全なAIアプリケーションを構築できます。AI開発が加速し、新たなセキュリティ課題が生まれる今、このアプローチは特に有効です。
詳細については、提供内容をご確認のうえ、Secure Developer Programにお申し込みください。
オープンソースセキュリティを実現するSnykのライブデモを予約
セキュリティの専門家に相談して、Snykでオープンソースを安全に活用する方法をご覧ください