How to handle Node.js file uploads with Fastify
Amarachi Aso
December 8, 2022
0 mins readFile uploading is a commonly needed functionality in web applications. Because of this, many web frameworks provide ways to allow server-side applications to accept files and work with them. This is the same with Fastify, which is a Node.js web framework that is often regarded as a successor to Express. It's fast and highly focused on providing the best developer experience with a powerful plugin architecture and the least overhead possible.
In this tutorial, you'll use the Fastify framework in a Node.js application to set up file uploading. You'll learn how file uploads work on a typical server and how to handle file uploads on a Fastify server application.
File uploading basics
If you want to upload files to an application server, a client computer needs to make a POST request to the server. In the request body, it would send data that is typically submitted through HTML forms. HTML forms provide three methods of encoding data:
application/x-www-form-urlencoded(default) is the default content-type or encoding for HTML forms. However, when files are submitted using this form, it must be encoded using themultipart/form-datamethod.multipart/form-datais used to represent the multiple parts or fields present in an HTML form, with the parts sent as name/value pairs in the body of the request. The name and value pair correspond to the name and value of the input fields respectively.text/plainis used to send data in plain unformatted text, and cannot be used to send files.
When files are sent to an application server, the purpose is usually for the server to process the files, save them, or do both. Server applications can process and save uploaded files in a number of ways including:
Saving them on the file system of your own server. This can be in a dedicated directory on the same server your application is running on or in a different server dedicated to storing files.
Storing them in a database.
Uploading the files to cloud storage like Amazon S3 or Cloudinary.
This tutorial focuses on using the first method to handle file uploads.
Implementing file uploading with Fastify
Before you begin this tutorial, you'll need the following:
Node.js installed
A code editor of your choice, like Visual Studio Code (VS Code)
Postman, and you can either sign in and use the web app, or have it installed on your computer.
In the following sections, you'll create a Fastify project, set up a file upload plugin, create an /upload route that can handle multiple file uploads, and write a test case for the route.
Create a project and set up Fastify
To begin, you need to create a project and set up Fastify. Navigate to the directory where you wish to create this project and create a folder called fastify-file-upload. In your terminal, you can run the following command:
Change your directory to this folder:
Then open the folder in your preferred code editor. If you're using VS code, you can use the following command:
Initialize your project and create a package.json file by running the following:
Then, install the dependencies you'll be using in this project:
And create two files: app.js and server.js:
app.js will contain your application code. Inside it, copy and paste the following code:
import Fastify from fastify
This code imports the Fastify framework and creates an instance of an app from it. Next, put the following code into your server.js file:
This code will serve your application when it's run, or it returns an error if a problem occurs while trying to serve it.
In this project, you'll be using ES6 modules syntax, therefore, your JavaScript files need to be loaded as modules. To make sure your JavaScript files are loaded as modules, add the property type to your package.json and set the value to module:
Set up a file upload plugin
Fastify-multipart provides support for multipart content-types in Fastify. Since you've already installed the plugin when you installed your dependencies, it's time to set it up. To do this, you need to import multipart from '@fastify/multipart' and then register it.
Add the lines starting with + to the content of your app.js file:
Here you registered multipart on the Fastify app you created earlier. Now your application instance can parse multipart content-type with ease.
File uploads
There are several ways to access the file(s) from a POST request. For example, if you know a request contains only one file, you can access the file with the following code:
In this code, request is the request parameter from the handler function for your upload route where your handle function looks something like this:
If you're expecting multiple files, the difference will be that you would call the files() method instead of file() like so:
In your app.js file, you need to write code to fully implement multiple file uploading. But first, you need to create a directory where the files uploaded on your application will be stored. Create this directory at the root of your project and name it uploads:
After that, make the following modifications to the app.js file:
In the modified code, you imported functions from the core Node.js modules fs, util, and stream. Then you created an /upload route and its handler function.
Inside the handler function, you used req.files() to access all the files from the request. You looped through the files, and for each of the files, the code await pump(part.file, fs.createWriteStream(`./uploads/${part.filename}`)) uploads, and is saved to the upload directory you created earlier.
Please note that the files you're uploading are not accumulated in memory before they're saved. Instead, the fs.createWriteStream function is used to create a stream on the receiving end, while the file stream coming from part.file is piped to the newly created stream. This ensures that the content of the file is not first buffered in memory, rather, chunks of data are being encoded directly into the file where they're saved as they come through the stream. This is especially helpful when uploading large files. It doesn't block the event loop, and it's also a memory efficient way to handle files on your application.
Now it's time to run your server and send files to it using Postman. In your package.json file, replace the start script with the following:
Then start the server with the following:
Navigate to Postman and make a POST request to http://localhost:8000/upload. Under the body of the request you're about to make, select the form-data option, and upload two files of your choice:
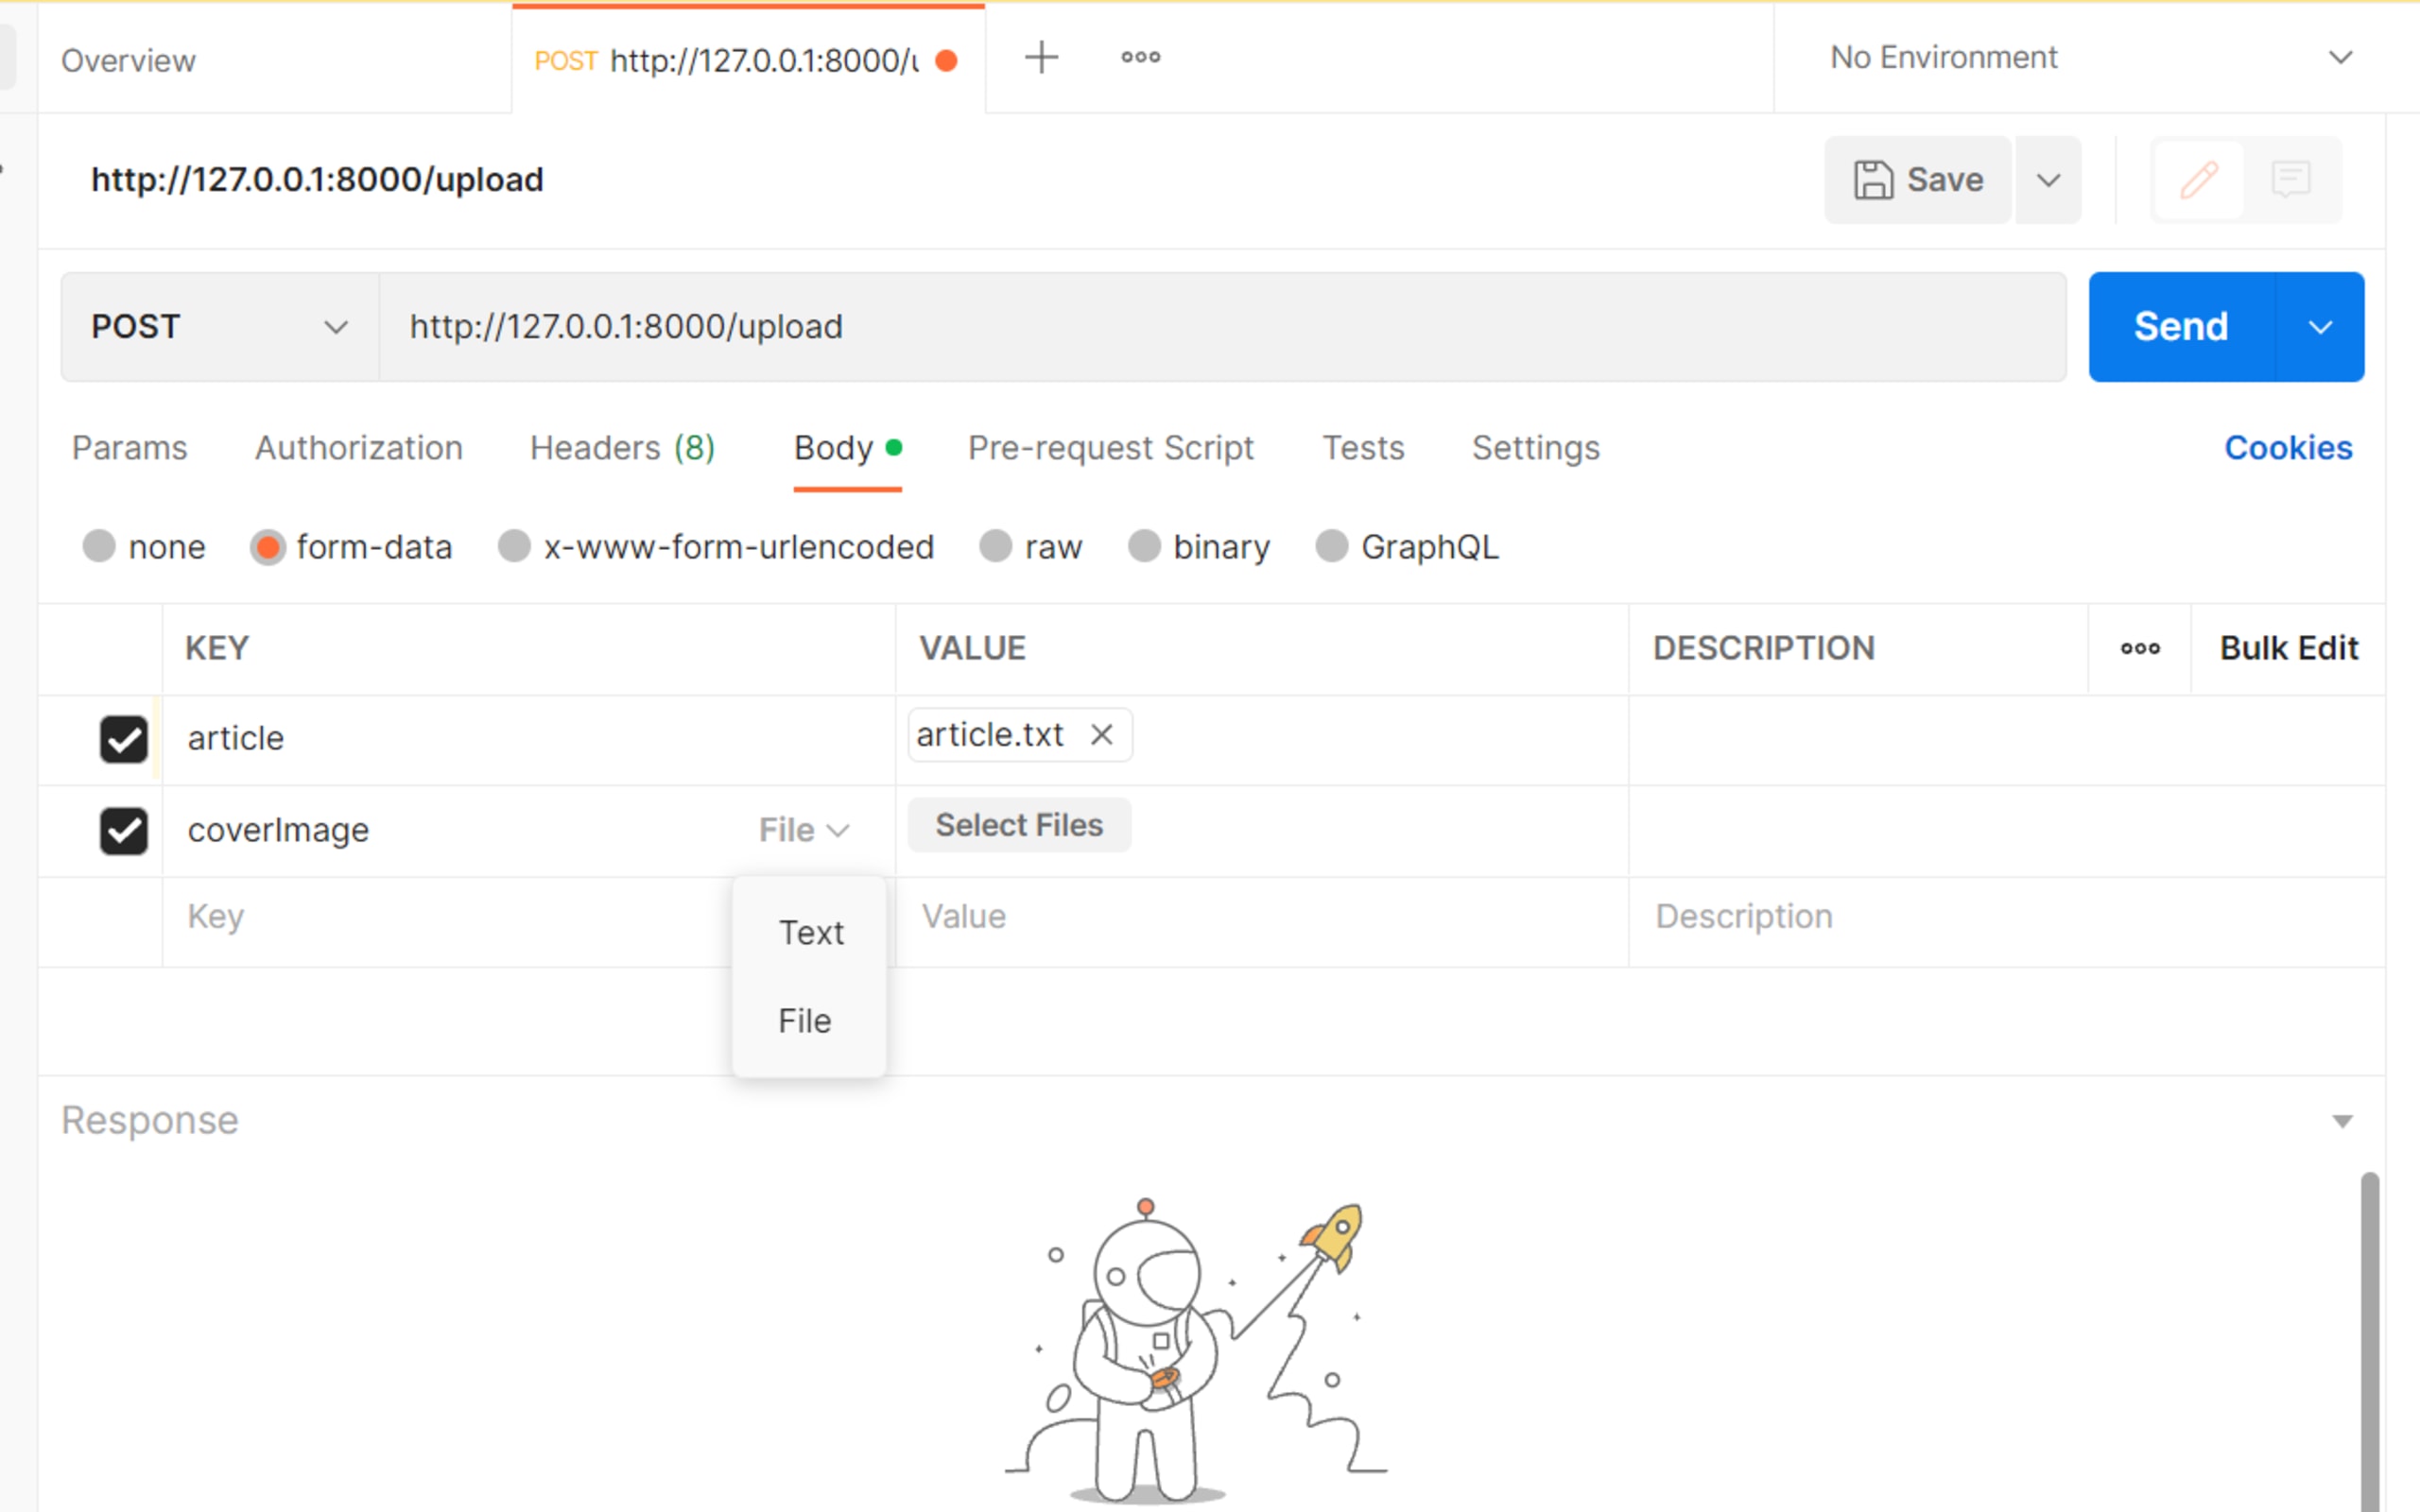
Here, you upload one file named article.txt and another named cover.jpg (their keys will be "article" and "coverImage", respectively). After uploading the files, you should get a status code of 200 and the return object {message : 'files uploaded' }:

You should also see the files added to the "upload" directory you created earlier for uploads.
At this point, you've successfully handled multiple file uploads using the fastify/multipart plugin. Most forms require you to provide not only files, but files and other text fields. In order to handle forms like this, you should modify your existing code to handle both file streams and other fields.
To do so, make the following modifications to your app.js file:
Notice that this time you're using req.parts() to access both file streams and fields, instead of req.files(). And in the body of the loop, you're using an if statement to determine which part is a file, and to handle them differently from fields.
Now, it's time to make another request. Save your file, then stop and restart your server with npm start. Navigate back to Postman, delete the key/value pairs from the previous request, and create new ones. On the first field, provide your full name, and then provide any two files (as you did previously).
Note: You may want to delete the files that were last uploaded to your upload directory if you intend to use the same files now.
Your request should look like this:
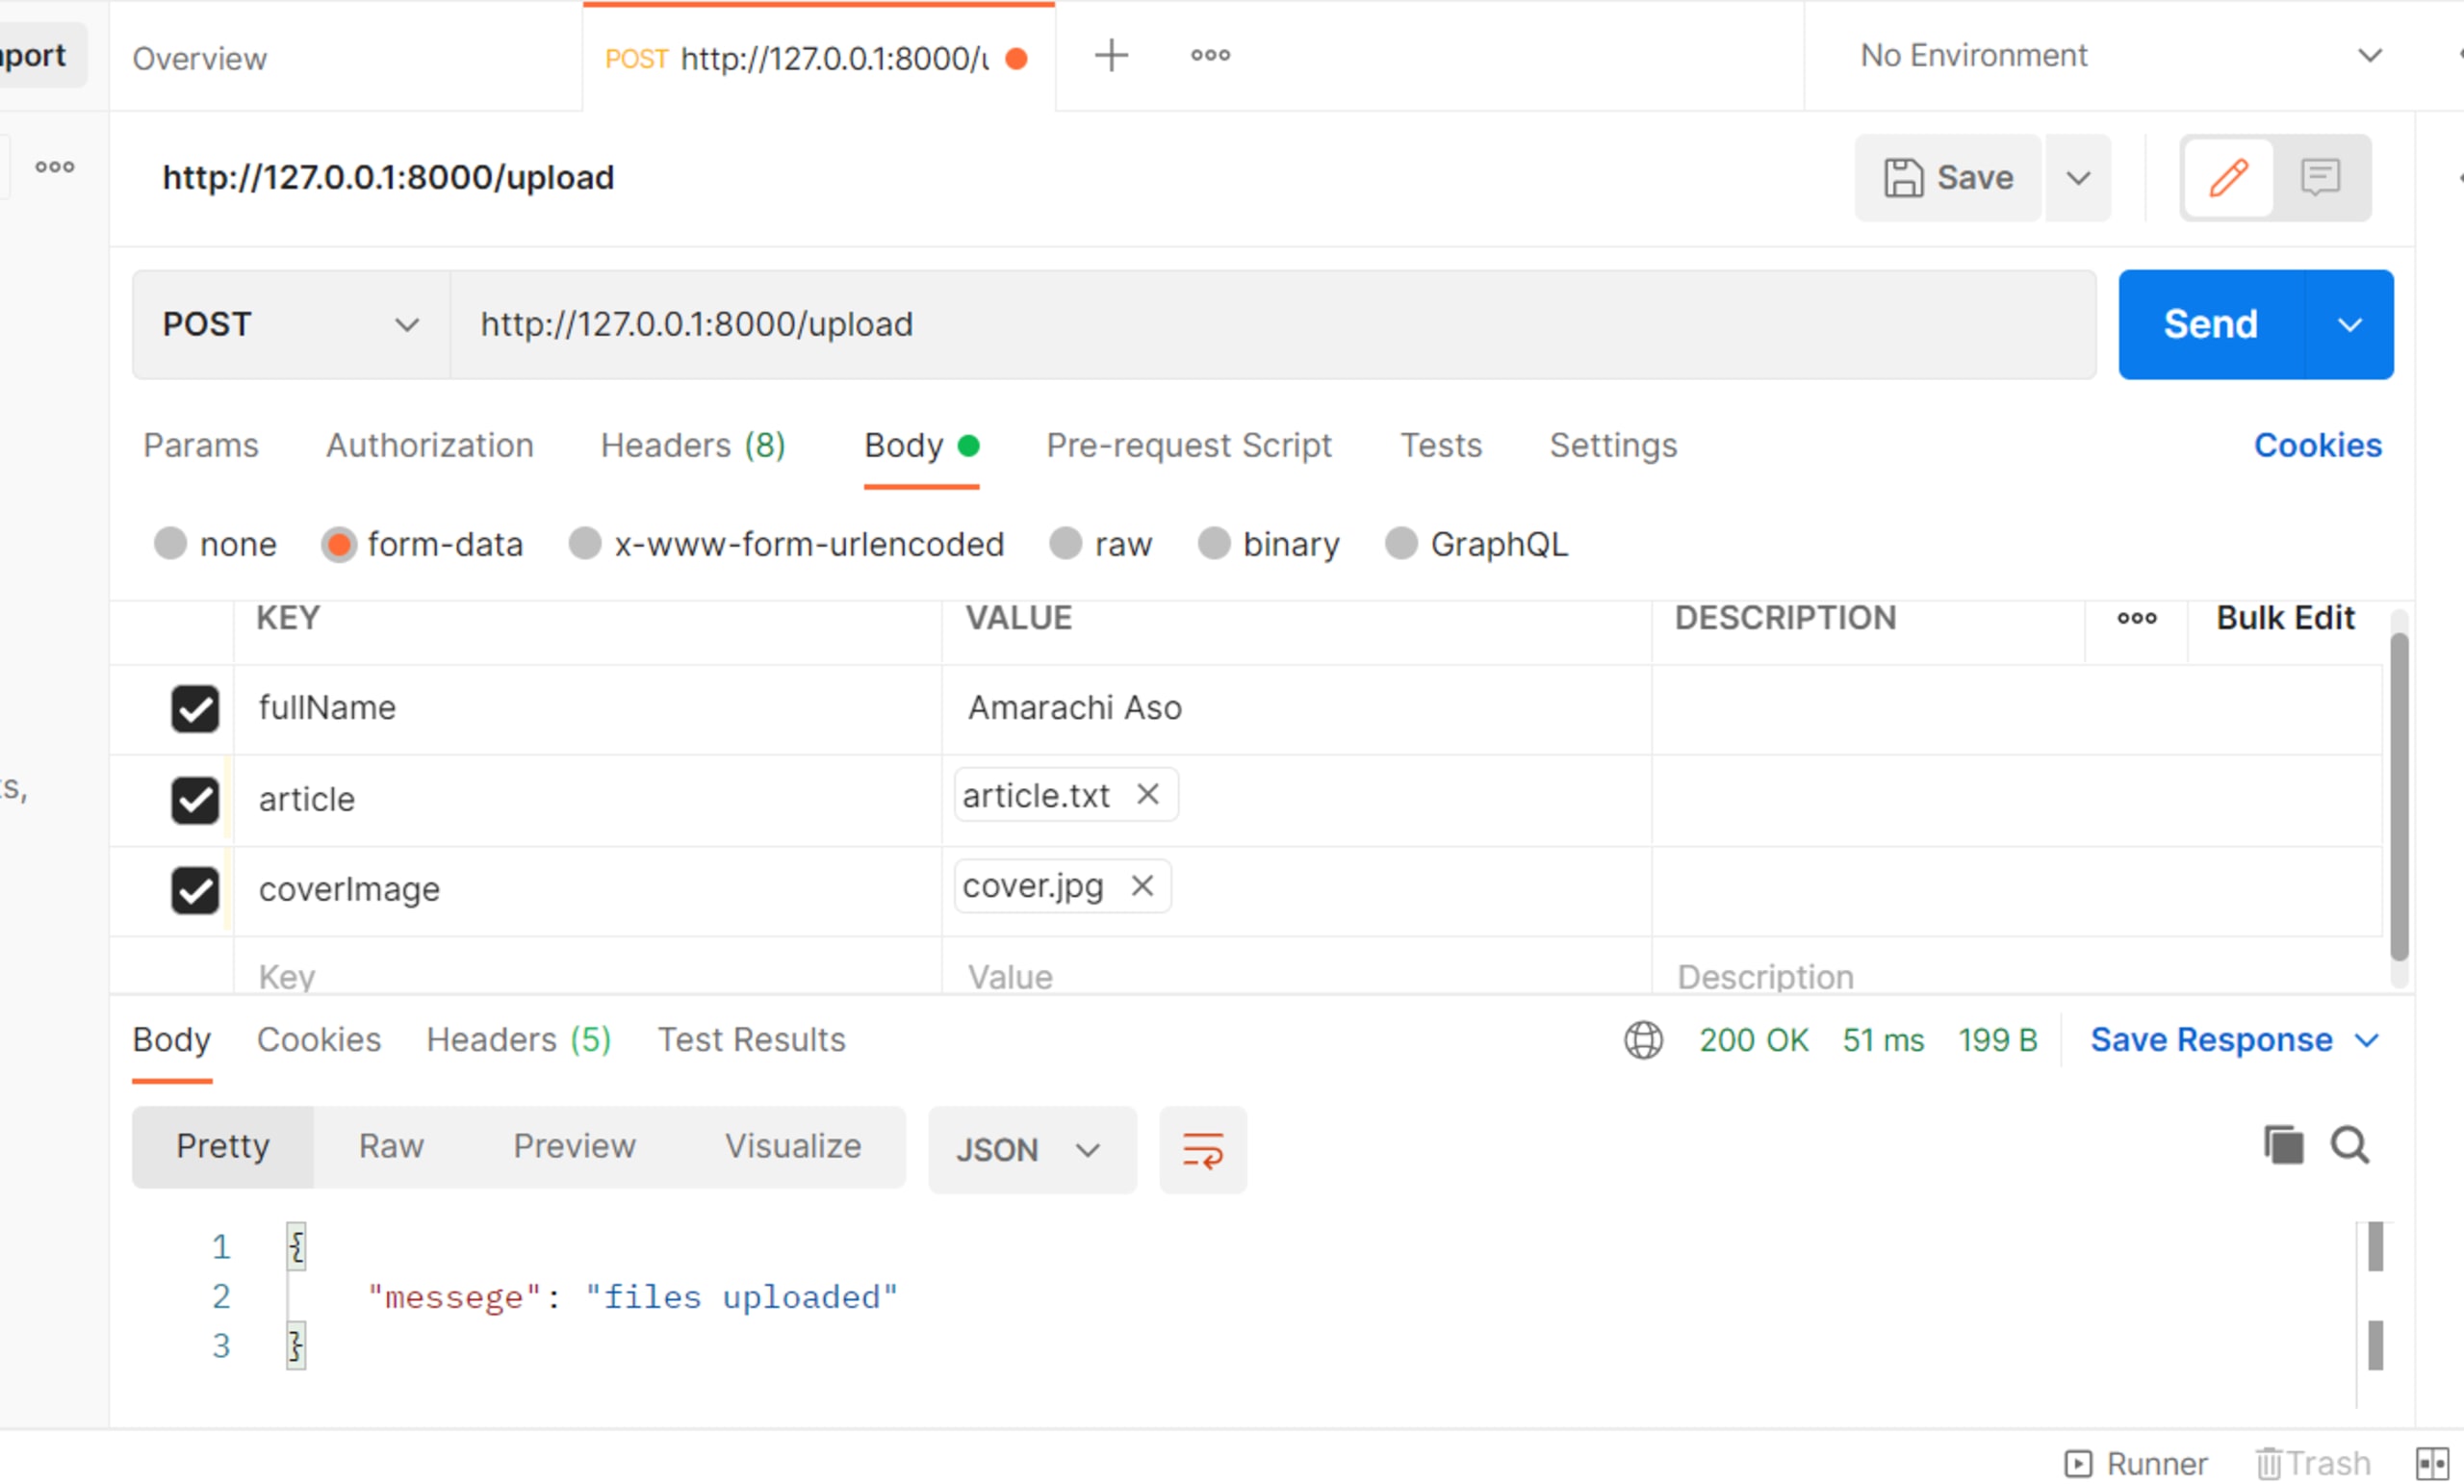
And if it does, your application can now handle multiple file streams and fields.
Write test cases
In order to protect your file upload implementation, you need to write tests for it. But, how can you write test cases for file upload in Fastify? Here, you'll be using the testing framework tap, the package form-auto-content, and Fastify’s .inject method to write your test cases.
Create the file app.test.js at the root of your project. Then copy and paste the following code into it:
Replace the file paths ./sample_files/file.txt and ./sample_files/cover.jpg with file paths to any two files in your filesystem. Or you can make a copy of these files from here.
The Fastify .inject method allows you to inject fake HTTP requests to your application without running your code on an actual server. In the previous code, notice how you used formAutoContent to create a form called myForm and then used this form as the request body for a fake POST request inside your test case. You only have one test case, and it expects that when it submits a form with multiple files in it, the application should return a statusCode of 200.
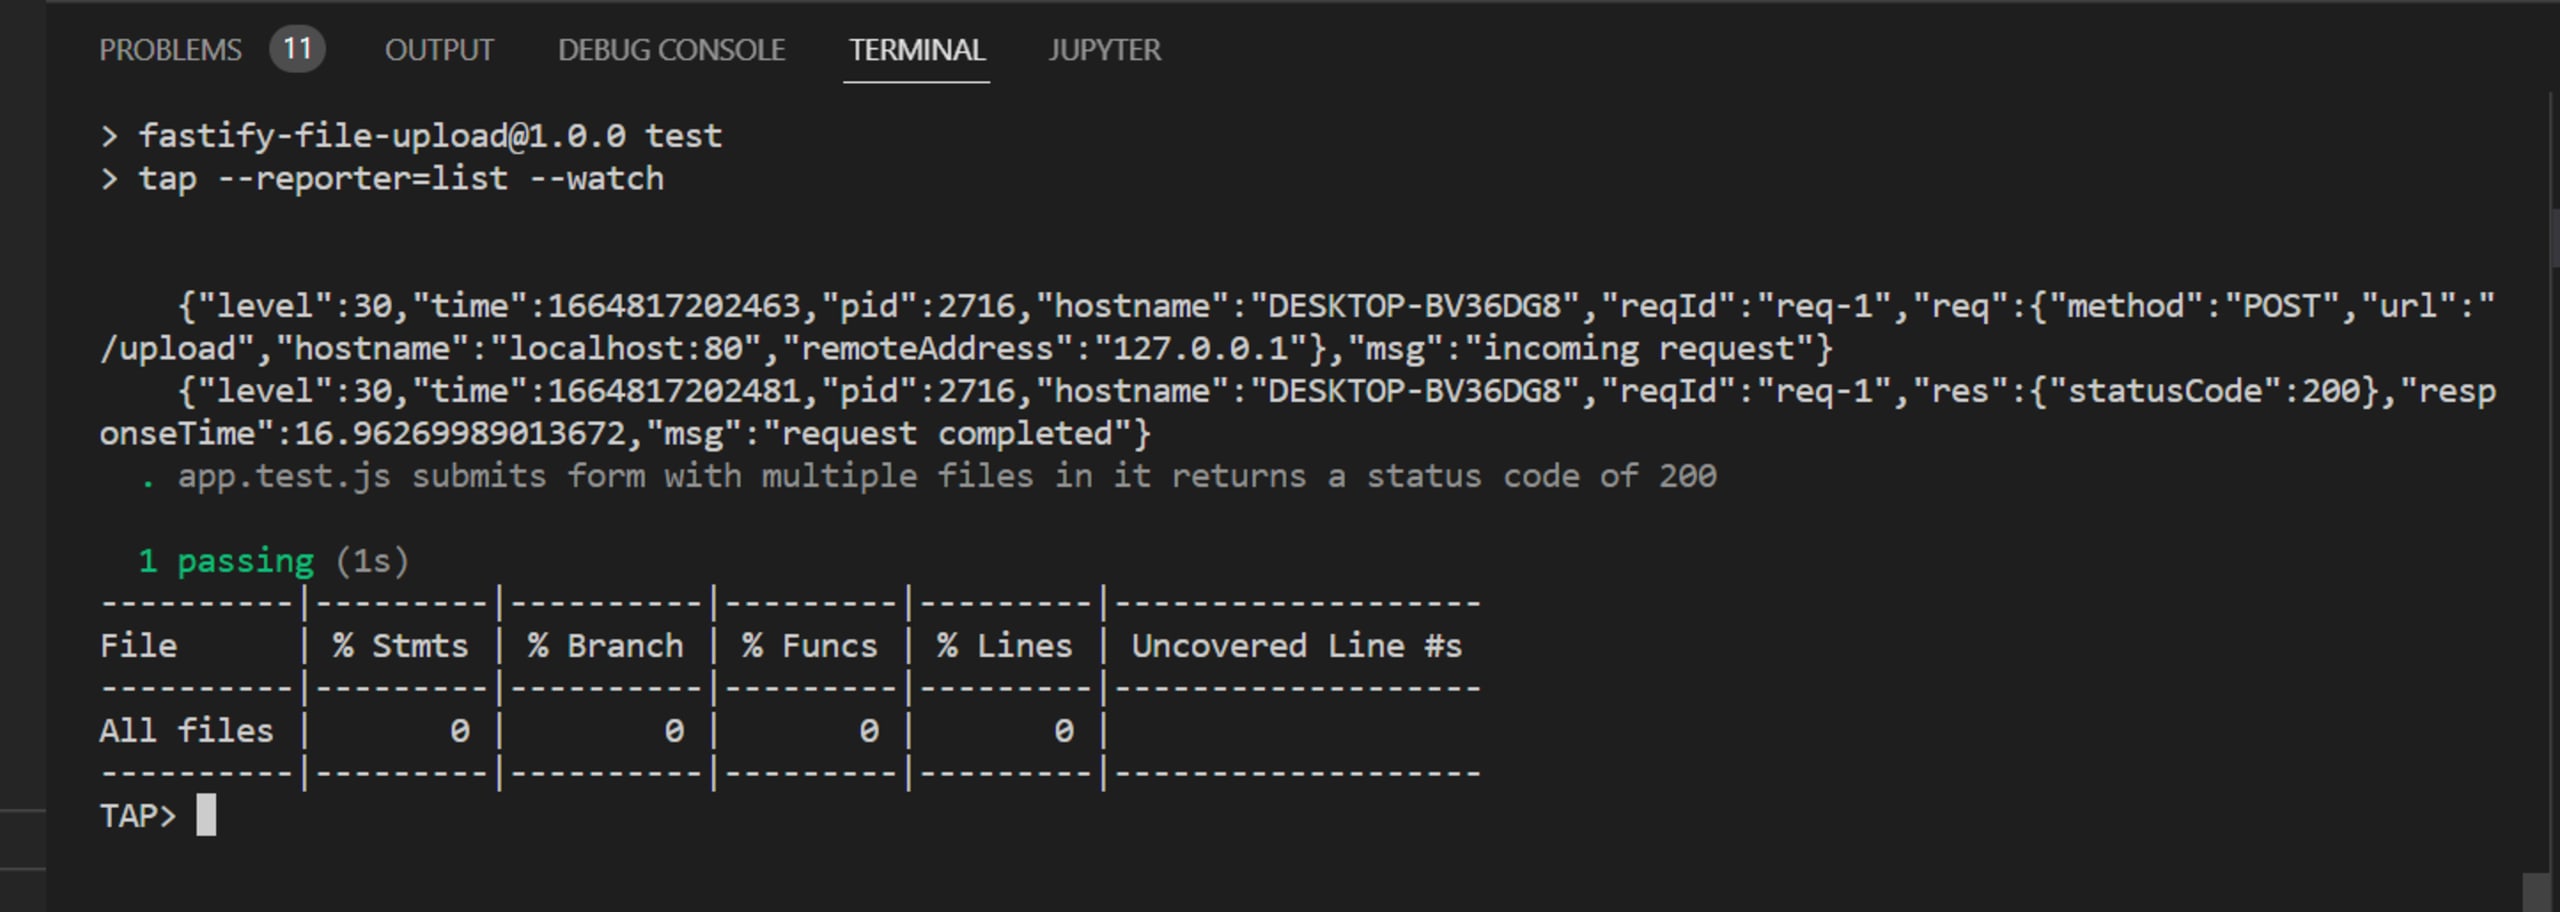
Run this test and confirm that it passes. In your package.json file, replace the test script with this one:
Then run the following:
Your test should pass and the output should look like this:
All the code for this tutorial is available on this GitHub repo.
Conclusion
In this article, you learned about the basics of file uploading and why forms containing files are only encoded using the multipart/form-data content-type. You also learned about the two ways that server applications can process and save files either in a dedicated directory on the same server or uploaded to a cloud storage like Amazon S3. After that, you learned how to handle uploads in Fastify, a fast and low overhead web framework for Node.js
If you're interested in learning more, check out the documentation for the Fastify-multipart plugin and from the Fastify guide on testing.