Securing your Kubernetes application development with Snyk and Tilt

January 11, 2021
0 mins readDeveloping Kubernetes applications can be hard. We’re often dealing with microservice architectures with a lot of moving parts, along with developing the cluster configuration to hook them all together, and workflows for rapid iteration and testing can become convoluted and hard to manage for engineering teams.
This is where tools like Tilt come in.
What is Tilt?
Tilt is an awesome tool for developers working with Kubernetes applications, providing a highly configurable local deployment workflow which updates in real-time as you work. As opposed to managing a centralized set of environments in which all of your developers are working, Tilt gives each individual developer their own local environment, with super fast deploy times, and allows each developer to customize their workflow.
Tilt is configured using a Starlark based Tilftfile, and provides a GUI and CLI environment which you can customize, along with a full-featured API. This gives you a huge amount of flexibility to define your workflows and what information you want presented to you whilst you develop your application. Tilt also supports custom extensions, giving you even more options for how to set up and run your development environment.
My colleague Shai Mendel contributed an extension to Tilt to allow for running Snyk in your Tiltfile, and I’ve spent some time recently updating the extension and exploring the various ways Snyk can integrate into your Tilt workflows. Let’s take a look at how it works.
Getting started
The first thing we want to do is deploy a Kubernetes cluster locally, along with a registry. Tilt provides a tool to make this super easy. Ctlptl supports a variety of ways to run Kubernetes locally, including miniKube, Kind, and Docker Desktop. I’m using Kind, which you need to install first.
This command will deploy a Kubernetes cluster using Kind, and also deploy a registry into your local Docker, and do all the plumbing needed for Kubernetes to use it. Once the command has completed, we can see in Docker that we have both deployed:
Next, I’m going to clone a sample application to use for testing with. I’m using the Node.js example which Tilt provides. This application comes with a number of sample Tiltfiles showing best practices when using Tilt, along with a blog post explaining all of them
For the purposes of this post, we’ll use the optimized Dockerfile example. Let’s take a look at the Tiltfile provided:
If we break down what this Tiltfile does, it uses the docker_build function to build the example-node-js-image from the Dockerfile in this folder. It also creates a k8s_yaml resource using the kubernetes.yaml file, and associates a k8s_resource, with a port forward to port 8000. There is also a local_resource defined, which outputs the current time to a file, and creates a dependency between this and the k8s_resource, meaning that it will always get run before the resource is updated, and is used to measure the time to deploy. You can read more about all the functions that the Tiltfile API supports in the documentation.
We also have a Dockerfile, which installs the dependencies our app needs using yarn:
And our application itself is a super simple Node.js application that just presents a web page on port 8000:
Now that we’ve got our cluster deployed, we can go ahead and start Tilt. From the folder with our Tiltfile in it, we just execute:
With Tilt running in the terminal, we can press the spacebar to open the Tilt UI in our browser.
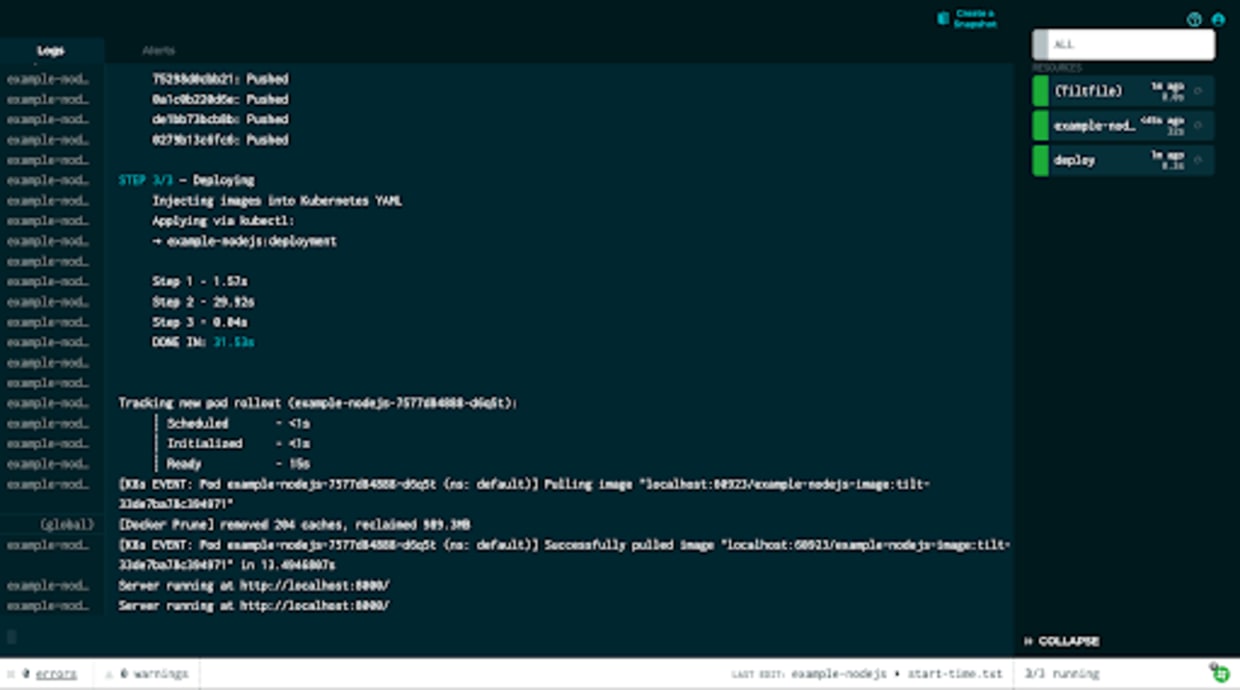
Tilt will execute the Tiltfile, bringing up all the resources which have been defined, so in our case building the image, deploying to Kubernetes, and creating a port forward to access the application.
Using kubectl we can see the pod running the application is running:
If we now navigate to http://localhost:8000, we can see the application itself:

Once Tilt is running, any changes that we make to the directories and files which are being watched will trigger a re-execution of the Tiltfile, and automatically build and re-deploy the application.
Now, let’s see how we can integrate Snyk into this workflow. If you don’t already, you’ll need to have the Snyk CLI installed, and sign up for a free Snyk account.
The first thing we need to do is load the Snyk extension, which we do in the Tiltfile:
As you do this, you’ll see Tilt automatically execute the Tiltfile again. In our application folder, we’ll see a tilt_modulesdirectory has appeared which contains the Snyk extension. Extensions are just Tiltfiles themselves, which get loaded into the main Tiltfile.
Now that the Snyk extension is loaded, we can use it to add Snyk into our Tilt workflow. The extension supports all three of the modes available from the Snyk CLI, so we can scan containers, package dependencies, and infrastructure as code files, in this case, Kubernetes YAML. It’s also designed to be as flexible as possible, so you can construct various different workflows within Tilt.
Firstly, let’s look at scanning our Kubernetes YAML. In the Tiltfile, we call the Snyk extension and configure it to scan the kubernetes.yaml file:
The extension supports a variety of different arguments, you can see the full documentation in the README. Here we are targeting kubernetes.yaml, specifying we want an IaC scan, giving this resource a name, defining the mode as info, and setting trigger to manual. The mode flag can be either info or gate, and in info mode will always exit with a zero return code even if vulnerabilities are found, which means it won’t count as a failure in the Tilt UI. If we set trigger to auto, then this scan will run every time Tilt detects any changes to the kubernetes.yaml, whilst in manual mode we will need to trigger it from the Tilt UI.
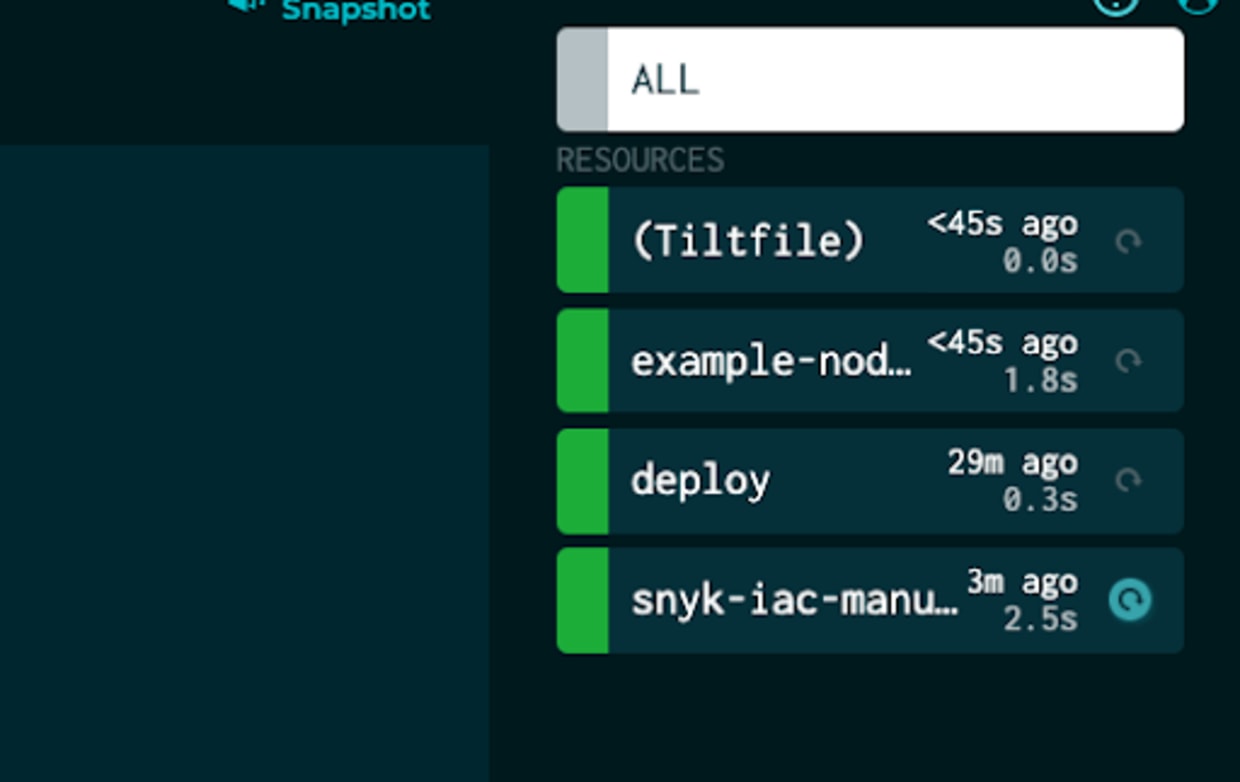
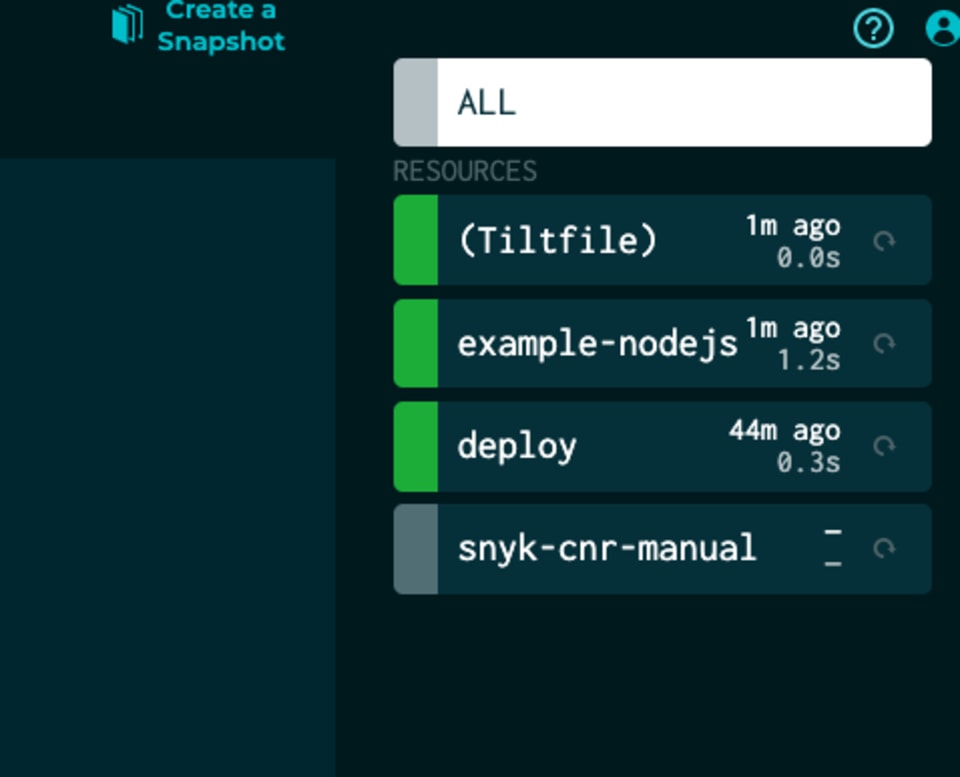
Once we save the Tiltfile, in the Tilt UI we can see we have a new link in the sidebar titled snyk-iac-manual.
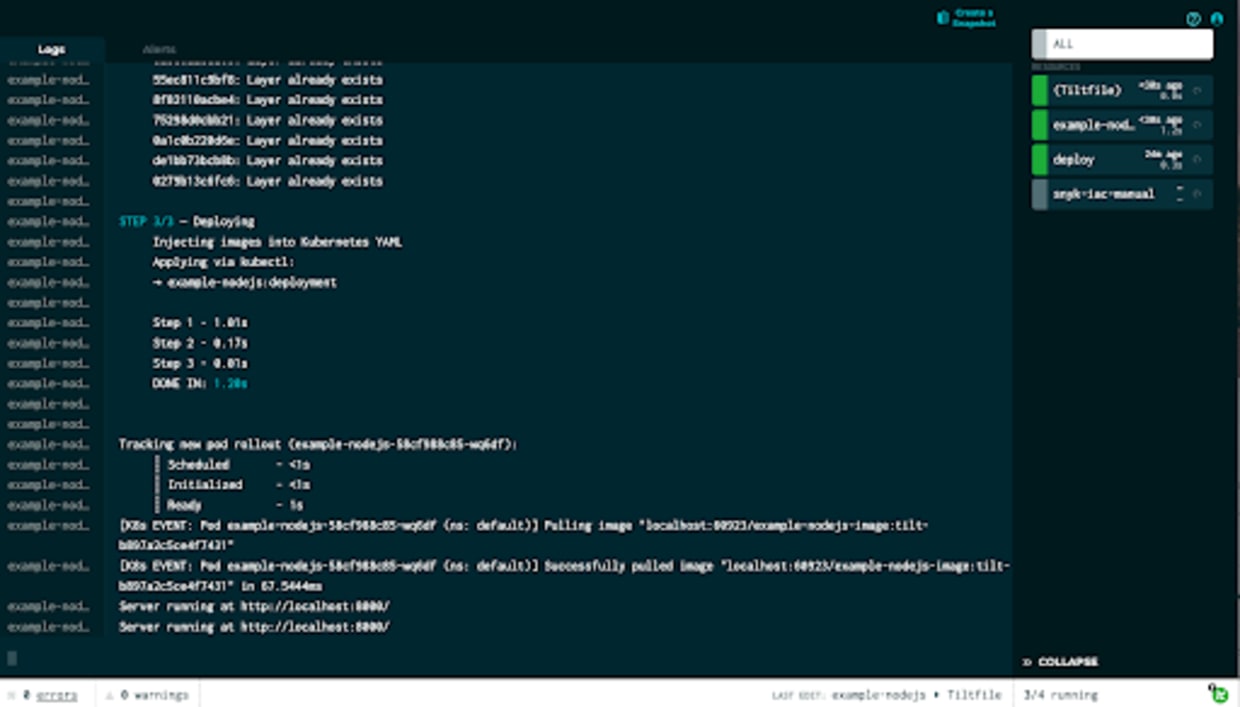
This entry has a refresh button, indicating that we can run it manually, so let’s go ahead and run it.
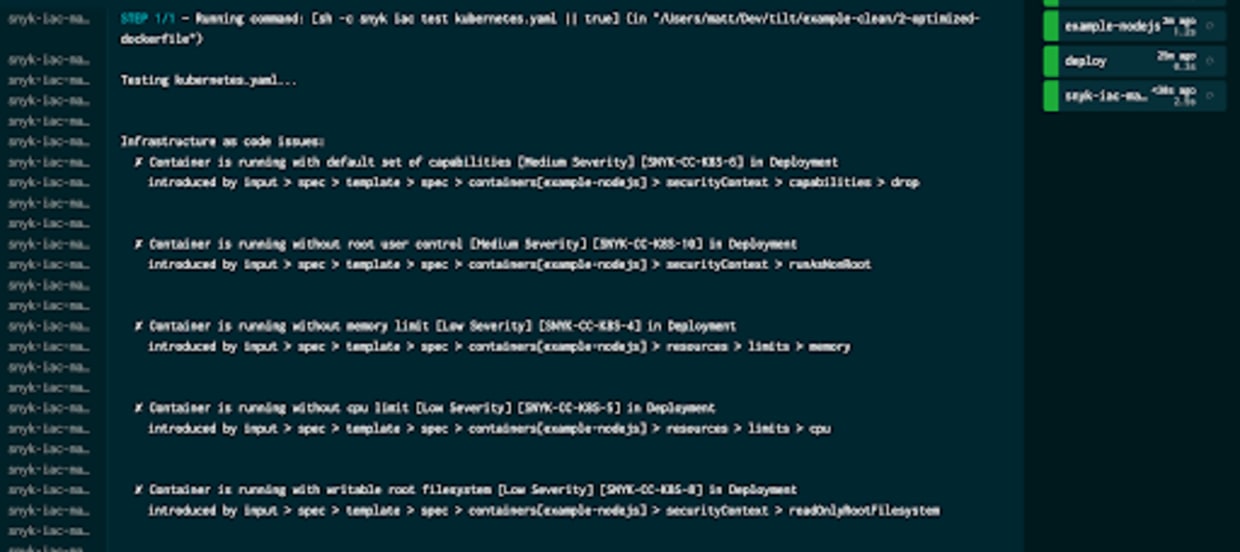
When we run this, we can see the Snyk CLI being called on kubernetes.yaml, and the results of the scan in the UI. Although we’ve identified several potential security issues in that file, the test is still showing as having completed successfully, and we set our mode to informational. Let’s take a look at what happens if we set it to gate. In the Tiltfile, change the configuration for this check:
The first thing we see in the UI once the Tiltfile is re-executed is that the refresh button on our manual check is highlighted, meaning that it is out of sync with the rest of our stages and needs refreshing.
If we go ahead and re-run the updated configuration:
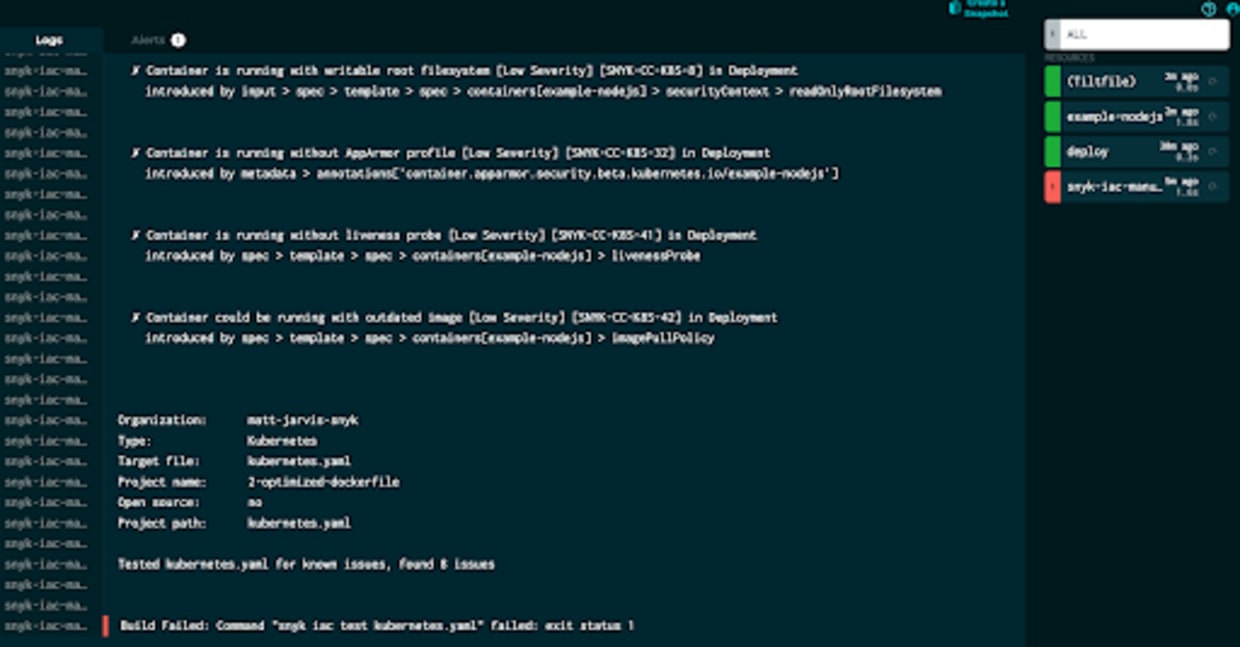
Since we now set the resource to gate, we can see that Tilt detects this as a build failure.
Now, let’s look at the options we have for integrating container scanning into our Tilt workflow. One important thing to note about Tilt is that it uses immutable tags, so for every build created they are tagged with a unique tag, which is also pushed through to Kubernetes. This is to speed up the deployment process, and you can read more about the details here.
By default using the docker_build function, you’ll see lots of these immutable tags when you look at the images in Docker:
This also gives us a challenge when we want to scan them, since currently there isn’t a built-in primitive to give you access to these tags at other places in the Tiltfile, and we need to know the image tag to be able to scan it using Snyk.
However, we do have a couple of different options in which we can work with this. Tilt provides a function for defining your own build steps, and we can use this to develop our workflow.
Let’s look firstly at setting up a manual scan step. Here, what we are going to do is make our image tag mutable, so we will fix the tag and just have all our builds have the same tag. Tilt will then re-tag the build with an immutable tag before deployment.
In our Tiltfile, let’s remove the docker_build function and replace it with a custom_build:
So here we are going to call Docker, just as the docker_build function is going to, but we add the special environment variable$EXPECTED_REF, and we’ve also specific tag=’dev’, which Tilt will use to populate that variable. Once we save the Tiltfile, we can see that Tilt has built an image using a mutable tag, and then re-tagged it afterward:
Here we’ve set our target to the known tag, specified container mode, named the scan, set more to informational, and since we have the Dockerfile in our directory we can also add that into the extra_opts arg for base image suggestions.
Now, in our sidebar, we have our manual container scan, which we can go ahead and run.

So, now we have manually triggered container scanning, but what if we want to do this automatically on every Tilt build? This is a slightly more challenging scenario since Tilt doesn’t have very mature handling for pre or post-build dependencies. We could just call Snyk directly from inside the custom_build function, but the design goal for the extension is to provide a flexible way for users to integrate Snyk scans into their workflows.
Firstly, let’s modify our custom_build function. We’ll drop the tag=’dev’ argument, which will mean that $EXPECTED_REF is set to the auto-generated Tilt immutable tag. Then on every build, we’ll take that tag and write it out to a file on our filesystem. We’re using printf here to avoid any newlines getting on the end of the tag when we write it into the file.
We’ll also add a function to get the tag out of the file. The read_file function returns a blob, so we need to cast that to a string, and also strip out any newlines:
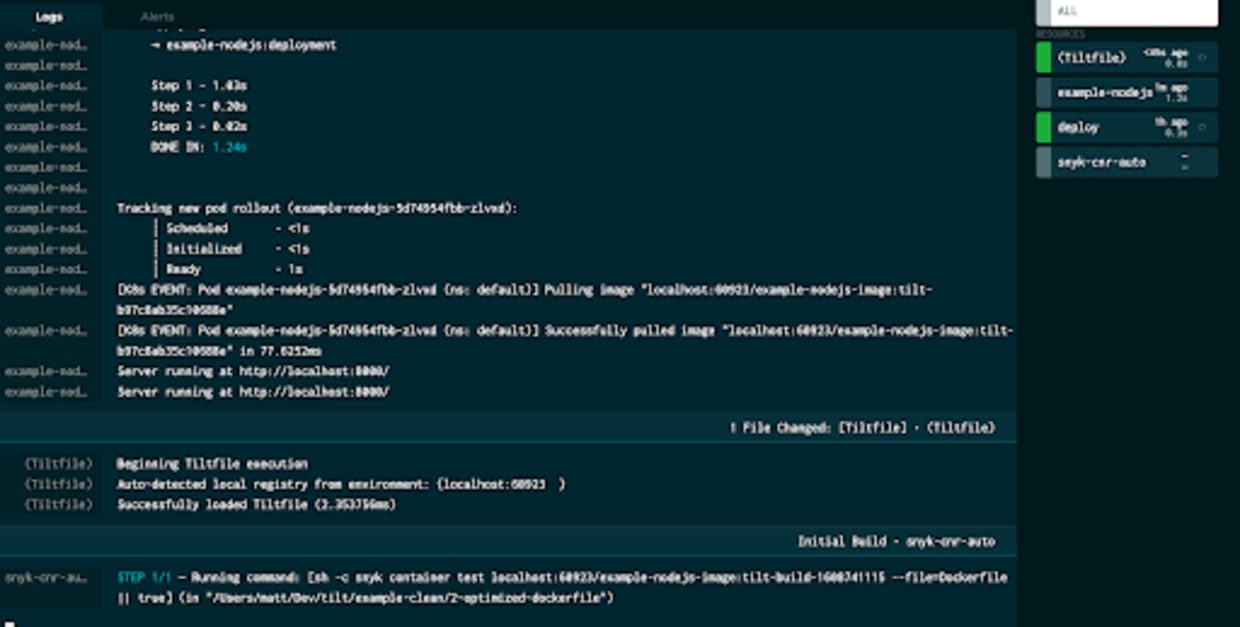
Then we’re going to call the Snyk extension, setting the target to the output of our get_tag function, setting trigger to auto, and creating a dependency on the file in the filesystem, so every time it changes, our extension will run.
Once we save the Tiltfile again, we can see that each time our build runs, we also automatically
trigger the Snyk scan.
Finally, let’s look at scanning the source code dependencies of our application. Since this is a Node.js application using yarn as a package manager, we have a yarn.lock file in the folder which shows the versions of the modules we are using.
We can scan that automatically with Snyk to check for vulnerabilities:
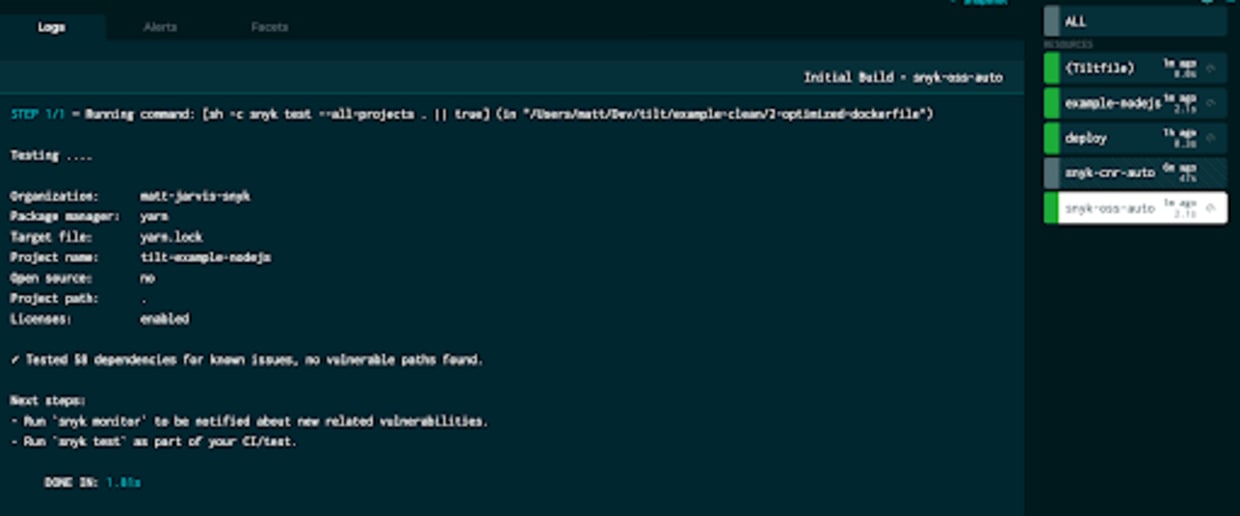
In this case, the application is very simple and none of its dependencies actually have any vulnerabilities, so we're all good!
Tilt really is a fantastic tool which can really speed up the local development of microservice-based applications for Kubernetes and has a huge amount of configuration possibilities to give you the exact workflow that works for you.
In this post, we’ve seen the various different ways in which you can integrate Snyk scanning into your Tilt workflows using the Snyk extension for Tilt, ensuring your cloud native applications and configuration are secure! Sign up for a free Snyk account and try it out.
Get started in capture the flag
Learn how to solve capture the flag challenges by watching our virtual 101 workshop on demand.