Preventing SQL injection attacks in Node.js
Lucien Chemaly

February 20, 2024
0 mins readAs reliance on software systems continues to grow, so does the emergence of numerous security threats. One notable threat for developers, especially those working with Node.js, is SQL injection.
SQL injection is a malicious attack where nefarious SQL code is injected into a system, exposing sensitive information, corrupting or deleting data, and sometimes, granting unauthorized access to attackers. Addressing this threat is difficult, and it emphasizes the need to ensure the security of your Node.js applications.
In this article, you'll learn more about why SQL injection attacks pose a significant threat and how to shield your Node.js applications against them.
Understanding SQL injection in Node.js applications
SQL injection attacks primarily occur when a Node.js application mishandles user input. When user input is used within a SQL query without proper validation, sanitization, or query construction, it creates a loophole for attackers to manipulate the query, leading to unauthorized access or data leakage. If you want to explore all the past and recent vulnerabilities for Node.js, the Snyk Vulnerability Database has a list available.
Express Node.js app with SQL injection vulnerability
To better understand how SQL injection works, let's quickly create a vulnerable app using Node.js, Express, and a PostgreSQL database. The application takes user input from a form, constructs a SQL query, and executes it against the database to fetch some data.
Start by downloading and installing Node.js on your machine. Node.js is the runtime environment that executes your JavaScript code server-side.
Then, create a new directory for your project (ie vulnerable-app) and navigate to this directory in your terminal using the command cd vulnerable-app.
Within your project directory, run the command npm init -y. This command creates a package.json file with default values, which serves as the manifest file for your Node.js project.
Install Express and the pg library by running npm install express pg. Express is a lightweight web application framework, and pg is a Node.js client for PostgreSQL.
Next, download and install PostgreSQL. Once it's installed, create a new database named vulnerable_db. Inside this database, create a table named users with a column named name. The SQL command for this is as follows:
For more detailed information on how to install and run PostgreSQL, check out this W3Schools documentation.
Create a file named app.js and add the following code:
This code initializes an Express server and sets up connections to a PostgreSQL database using the pg library. It configures the server to handle URL-encoded and JSON input.
Two routes are defined: a POST /search route and a POST /create route. The /search route takes user input from the request body, constructs a SQL query, and executes it on the database, responding with the result. However, it suffers from a SQL injection vulnerability due to the concatenation of user input into the query. The /create route extracts a name value from the request body, checks its presence, and then constructs a safe parameterized SQL query to insert a new user record into the database, responding with the created record. Finally, the server starts listening on port 3000, indicating readiness through a console message.
Please note: Make sure you replace your-username, your-password, your-database, your-host, and your-port with the configuration that you have set for PostgreSQL.
Because there is no input validation and sanitization, the code is vulnerable to SQL injection. An attacker can input a value like ' OR '1'='1'; -- into the form. This input terminates the original query and modifies it to SELECT * FROM users WHERE name = '' OR '1'='1'; --';, which returns all the records from the users table since '1'='1' is always true. This is a classic example of SQL injection through string concatenation.
Now that everything is set up, it's time to get your server up and running. Run the command node app.js in the terminal. This starts your server, and you should see the output message Server is running on port 3000, indicating that your server is running successfully:

To test the application, you need to create a few users from your terminal or shell:
Next, if you want to search for a specific user for purposes like user verification, data updating, or audit and monitoring, you need to issue a search request for the user data. Execute the following command to proceed:
Your output should look like this:
Now, add some SQL injection to get all users with the following command:
Your output should look like this:
In this command, the JSON data is encapsulated by outer double quotes (" ") to form a complete JSON string, while the inner quotes within the JSON data are escaped using a backslash (\) to ensure they are properly included as part of the JSON string. The userInput value is set to ' OR '1'='1'; -- , which, as previously explained, manipulates the SQL query to return all user records by altering the query condition to always evaluate to true.
How to prevent SQL injection vulnerabilities in Node.js
Now that you know how easy it is for SQL injection attacks to occur, it's time to learn about a few different ways you can protect your app from SQL injection, making sure it's strong and safe for your users.
Use query placeholders
Avoiding the construction of SQL queries through string concatenation is crucial for preventing SQL injection. Attackers can manipulate queries by injecting malicious SQL code through input fields. Instead, use query placeholders to ensure user input is treated as data and not executable code:
Use prepared statements
One of the most effective ways to prevent SQL injection attacks is by using prepared statements. Prepared statements ensure that the user input is always treated as data rather than executable code.
Here's how you can modify your /search route to use prepared statements with the pg library:
In this code, the prepared statement is defined as an object with a text property for the SQL query and a values property for the user input. This separation allows you to specify the SQL query template once and provide different values for the placeholder whenever you execute the prepared statement, making it a safer and more efficient way to handle user input in SQL queries.
Validate and sanitize user input
Verifying user input is critical to guaranteeing that it aligns with specific requirements, such as correct format, length, or value range. Utilizing validation libraries like joi or express-validator can simplify this process. These libraries provide predefined validation rules and functions, making it easier to enforce input requirements and automate the validation process.
Additionally, sanitizing input to remove or escape potentially harmful characters is crucial for maintaining a secure and robust application environment. Input sanitization is the process of cleaning user input to ensure it does not cause harm or unexpected behavior when it's processed by the application.
Here's how you can implement validation and sanitation using the express-validator library:
Use the latest versions of ORM and SQL libraries
Always ensure that you're using the latest versions of ORM and SQL libraries. The maintainers of these libraries frequently release updates and patches to fix known security vulnerabilities:
Regularly review code and implement security audits
Engage in regular code reviews and security audits to catch vulnerabilities early. Utilize tools like npm audit or snyk to automate the process of identifying known vulnerabilities in your dependencies.
Use Snyk IDE extension for Visual Studio Code to detect vulnerabilities
Snyk is a security tool designed with developers in mind that aids in the identification and rectification of vulnerabilities within code and open-source dependencies. It seamlessly integrates into the development workflow, providing continuous monitoring and scanning for security flaws, including those associated with SQL injection.
Snyk not only identifies vulnerabilities but also provides automated fix pull requests, facilitating easy remediation and prevention of potential security issues. It's capable of integrating with various development platforms like GitHub, GitLab, and Bitbucket, and it offers a dedicated extension for Visual Studio Code, providing real-time feedback during the coding process.
Set up a Snyk xxtension
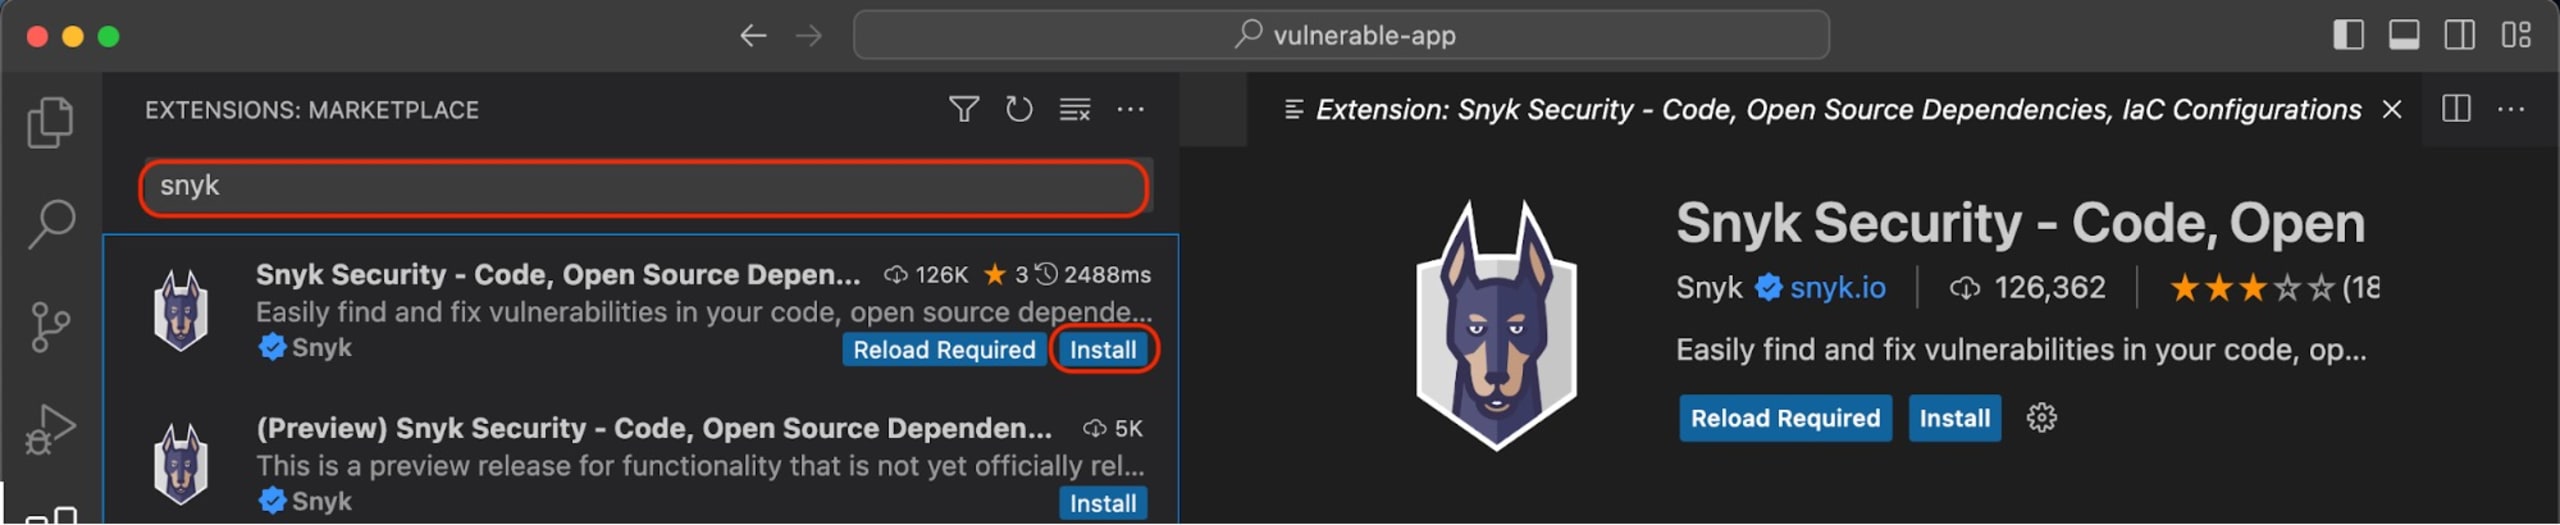
Setting up a Snyk extension is easy. Start by downloading and installing Visual Studio Code if you don't already have it. Once installed, launch Visual Studio Code and access the Extensions view by pressing Ctrl + Shift + X for Windows or Command + Shift + X for macOS.
In the Extensions view, type "Snyk" in the search bar and hit the Install button for the Snyk extension:
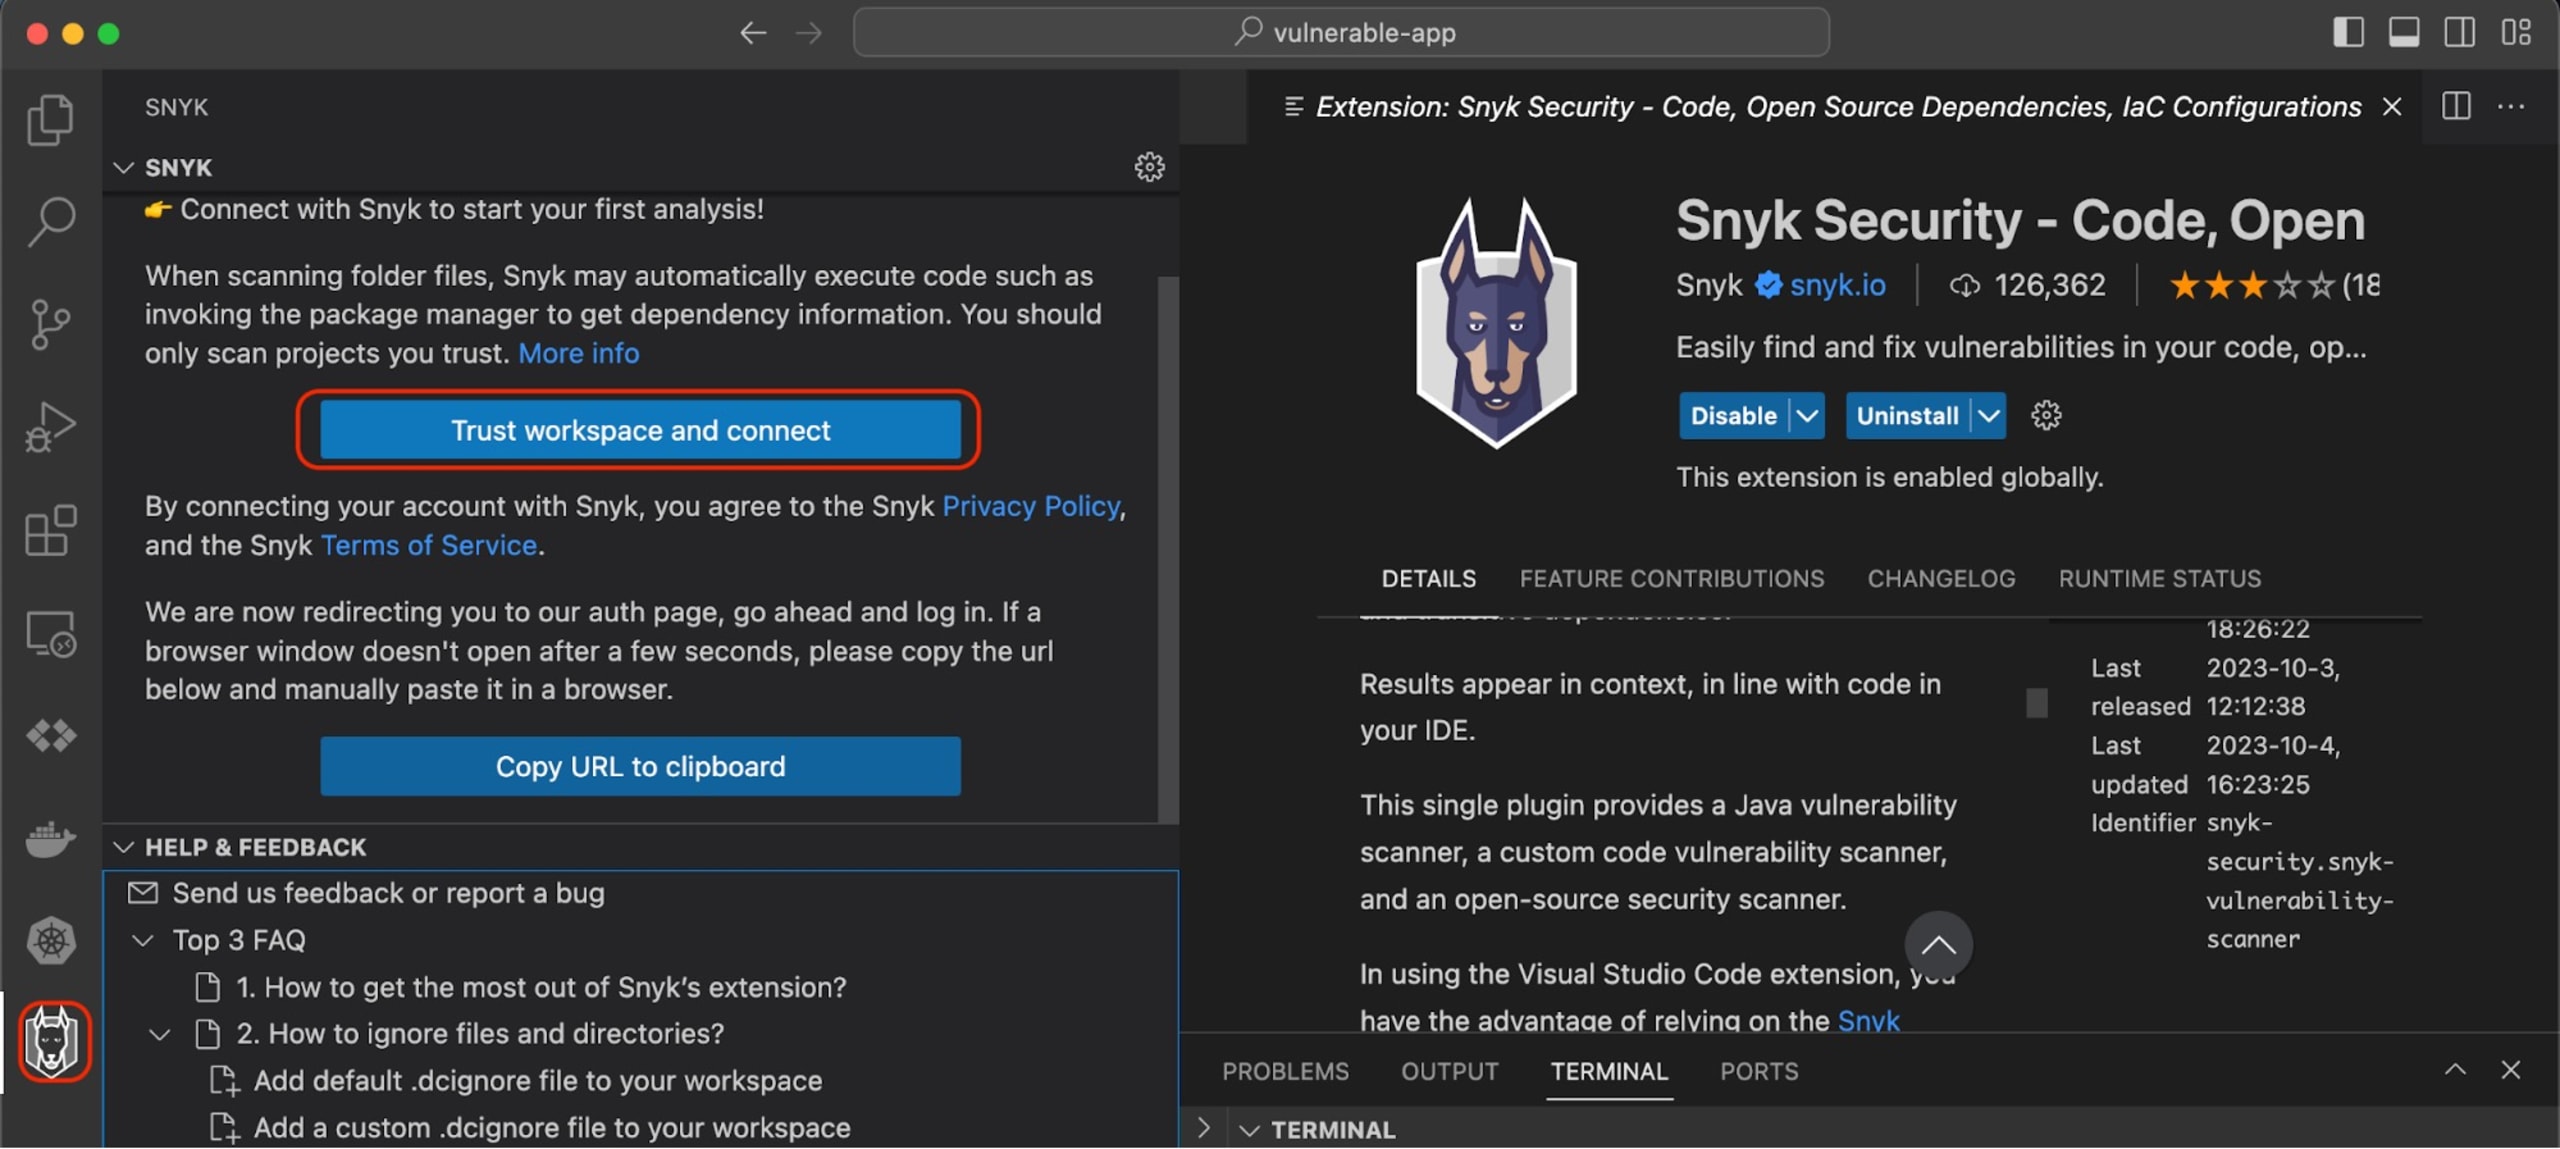
After you install it, you should see the Snyk extension on the left navigation bar of your Visual Studio Code. Click on it, and then click on Trust workspace and connect, where you need to sign into your Snyk account to utilize the extension. If you don't have a Snyk account, you can create one for free:
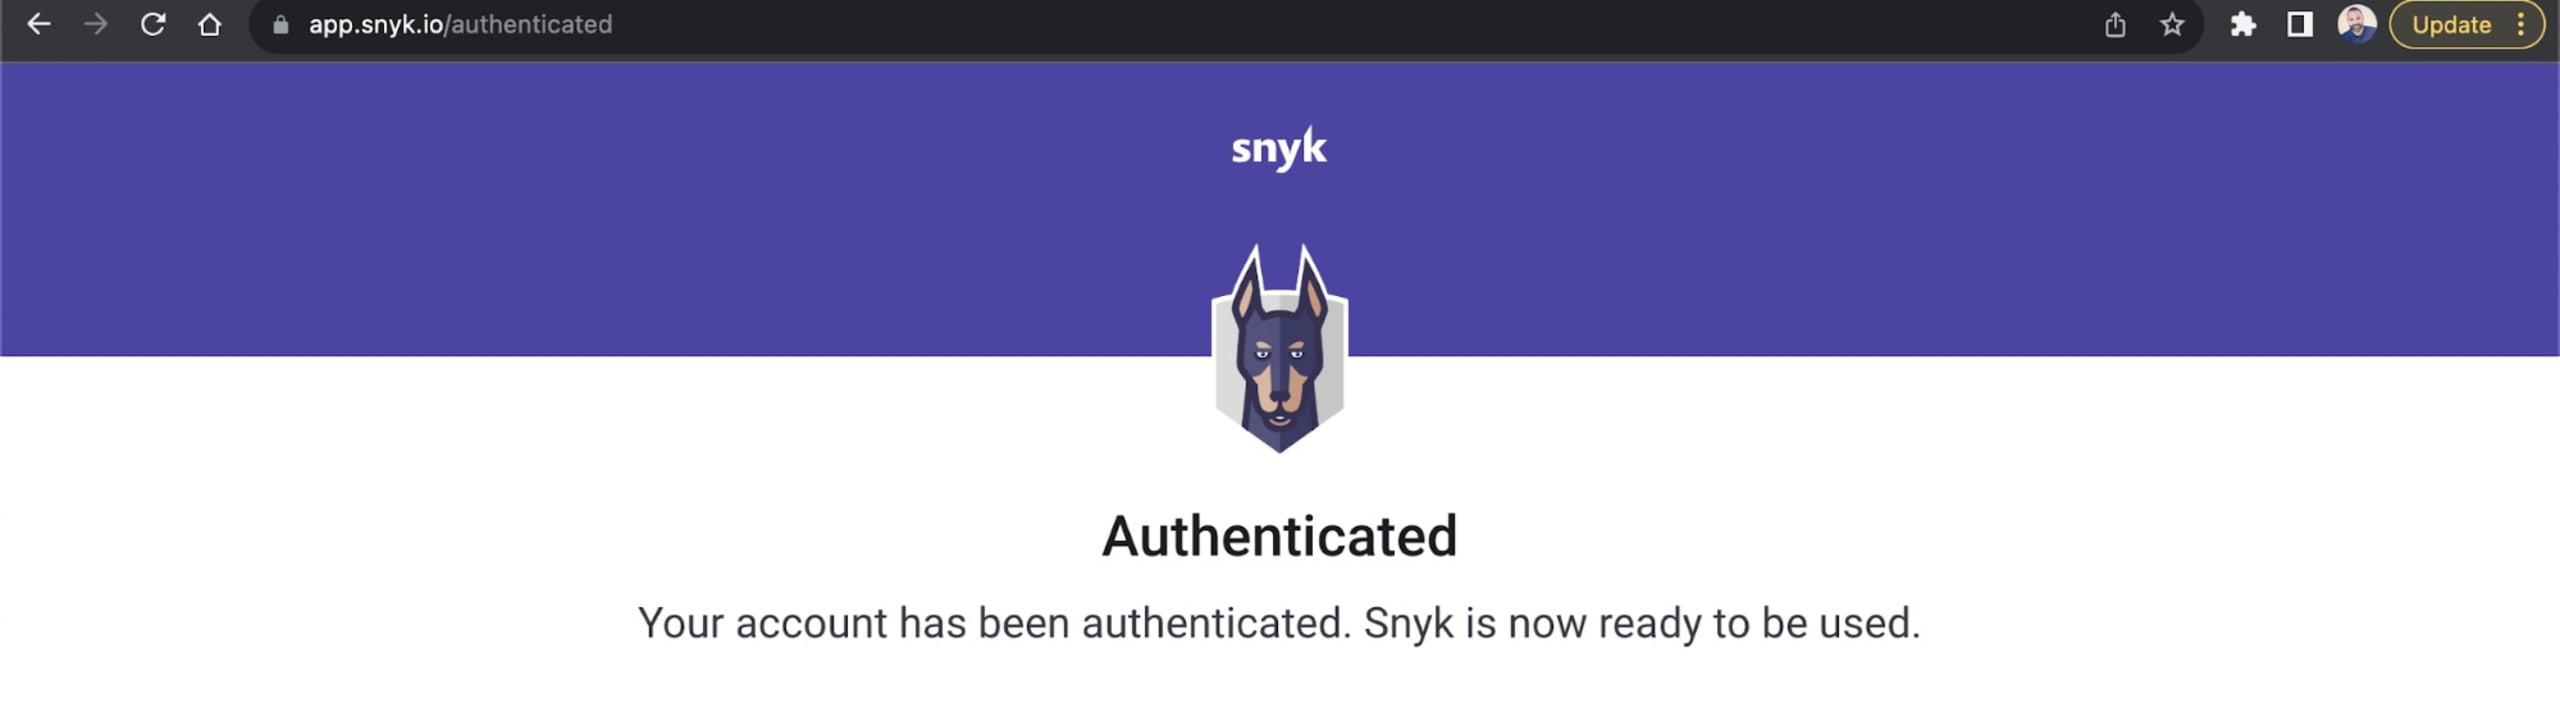
Next, you should be asked to sign in and authenticate. Once done, you should get an Authenticated message:
With the Snyk extension installed and configured, it automatically scans your project for known vulnerabilities, including potential SQL injection risks.
Go to your account on the Snyk platform and follow the instructions to enable the Snyk Code. Enabling the Snyk Code is important to let Snyk detect any code vulnerabilities, such as SQL injections.
If the Snyk Code option is not enabled on your Snyk account, the Snyk extension on Visual Studio Code won't detect SQL injections related to bad practices used in the code. It will only detect vulnerabilities related to outdated libraries and so forth.
Snyk doesn't just stop at identifying the vulnerabilities — it also provides suggestions and references on how to fix them. This feature can be a lifesaver, especially when working with large codebases or tight deadlines.
All the code for this tutorial is available in the following GitHub repository.
Conclusion
In this article, you learned all about how SQL injections manifest in Node.js applications and discovered multiple strategies to help prevent them. From updating your ORM and SQL libraries, sanitizing user inputs, and using query placeholders to leveraging the Snyk IDE extension for Visual Studio Code, you have a whole host of measures to secure your Node.js applications against SQL injection attacks.
The Snyk extension not only aids in identifying SQL injection vulnerabilities but also educates on how to resolve them, acting as a virtual security mentor. By integrating Snyk into your development workflow, you're not just reacting to security threats but proactively preventing them, ensuring that your applications remain robust and secure before they hit production.
As you continue your journey in Node.js development, remember that security is not a one-time task but an ongoing process. Stay updated with the latest security best practices, keep learning, and keep your applications secure. Your users will thank you, and you'll enjoy peace of mind knowing that your data, and that of your users, remains safe and sound.
Get started in capture the flag
Learn how to solve capture the flag challenges by watching our virtual 101 workshop on demand.