Build and deploy a Node.js security scanning API to Platformatic Cloud
Matteo Collina
January 5, 2024
0 mins readIn this guide, we'll dive into the powerful combination of Platformatic and Fastify, unlocking rapid backend development with an emphasis on robustness and security.
Whether you're a seasoned Node.js developer or just starting out, this article is a helpful start to enhancing your familiarity with Node.js PaaS environments such as Platformatic. We'll explore how to seamlessly integrate Snyk into your workflow, ensuring your code is free from vulnerabilities and secret leaks, and how to use the Snyk API to build security applications.
What is Platformatic?
Platformatic is a cloud hosting platform designed to streamline the process of building and managing APIs and backends in Node.js. With Platformatic, developers can easily create scalable and efficient APIs, leveraging a range of tools and features that simplify tasks such as routing, database interactions, and authentication. Its integration with Fastify further enhances performance and developer experience.
What is Fastify?
Fastify is a modern, open source web framework for Node.js, known for its high performance and low overhead. If you’re coming with an Express background, you’d appreciate the developer experience built into Fastify and how lightweight yet powerful it is. With an emphasis on speed and efficiency, Fastify provides a simple and intuitive API, easy request and response handling, and built-in support for schema-based validation and serialization.
By offering a comprehensive suite of tools in a cohesive package, Platformatic empowers Node.js developers to focus more on building their application's core functionality and less on the intricacies of backend infrastructure.
Scaffolding a Node.js application with Platformatic service
First, create a new directory to host our Node.js application:
Then we run the following npm command to install and Platformatic project generator:
This command will ask you to confirm downloading the latest version of the platformatic npm package:
Next up, we answer the prompts as follows in order to scaffold a new Node.js API service:
This concludes a Platformatic service project inside the platformatic-service directory that uses plain JavaScript and has GitHub Actions integration along with Platformatic connected PR reviews that provide an immutable snapshot of the service in each PR.
The directory and file structure should then look something like this:
Start the Node.js Platformatic service
The generated Platformatic service is now ready to be served. Let’s start the app, but first we need to change directory:
And then:
The generated Node.js application is now ready and serving HTTP requests in port 3042. The application serves the following introductory guide in its default GET / endpoint:
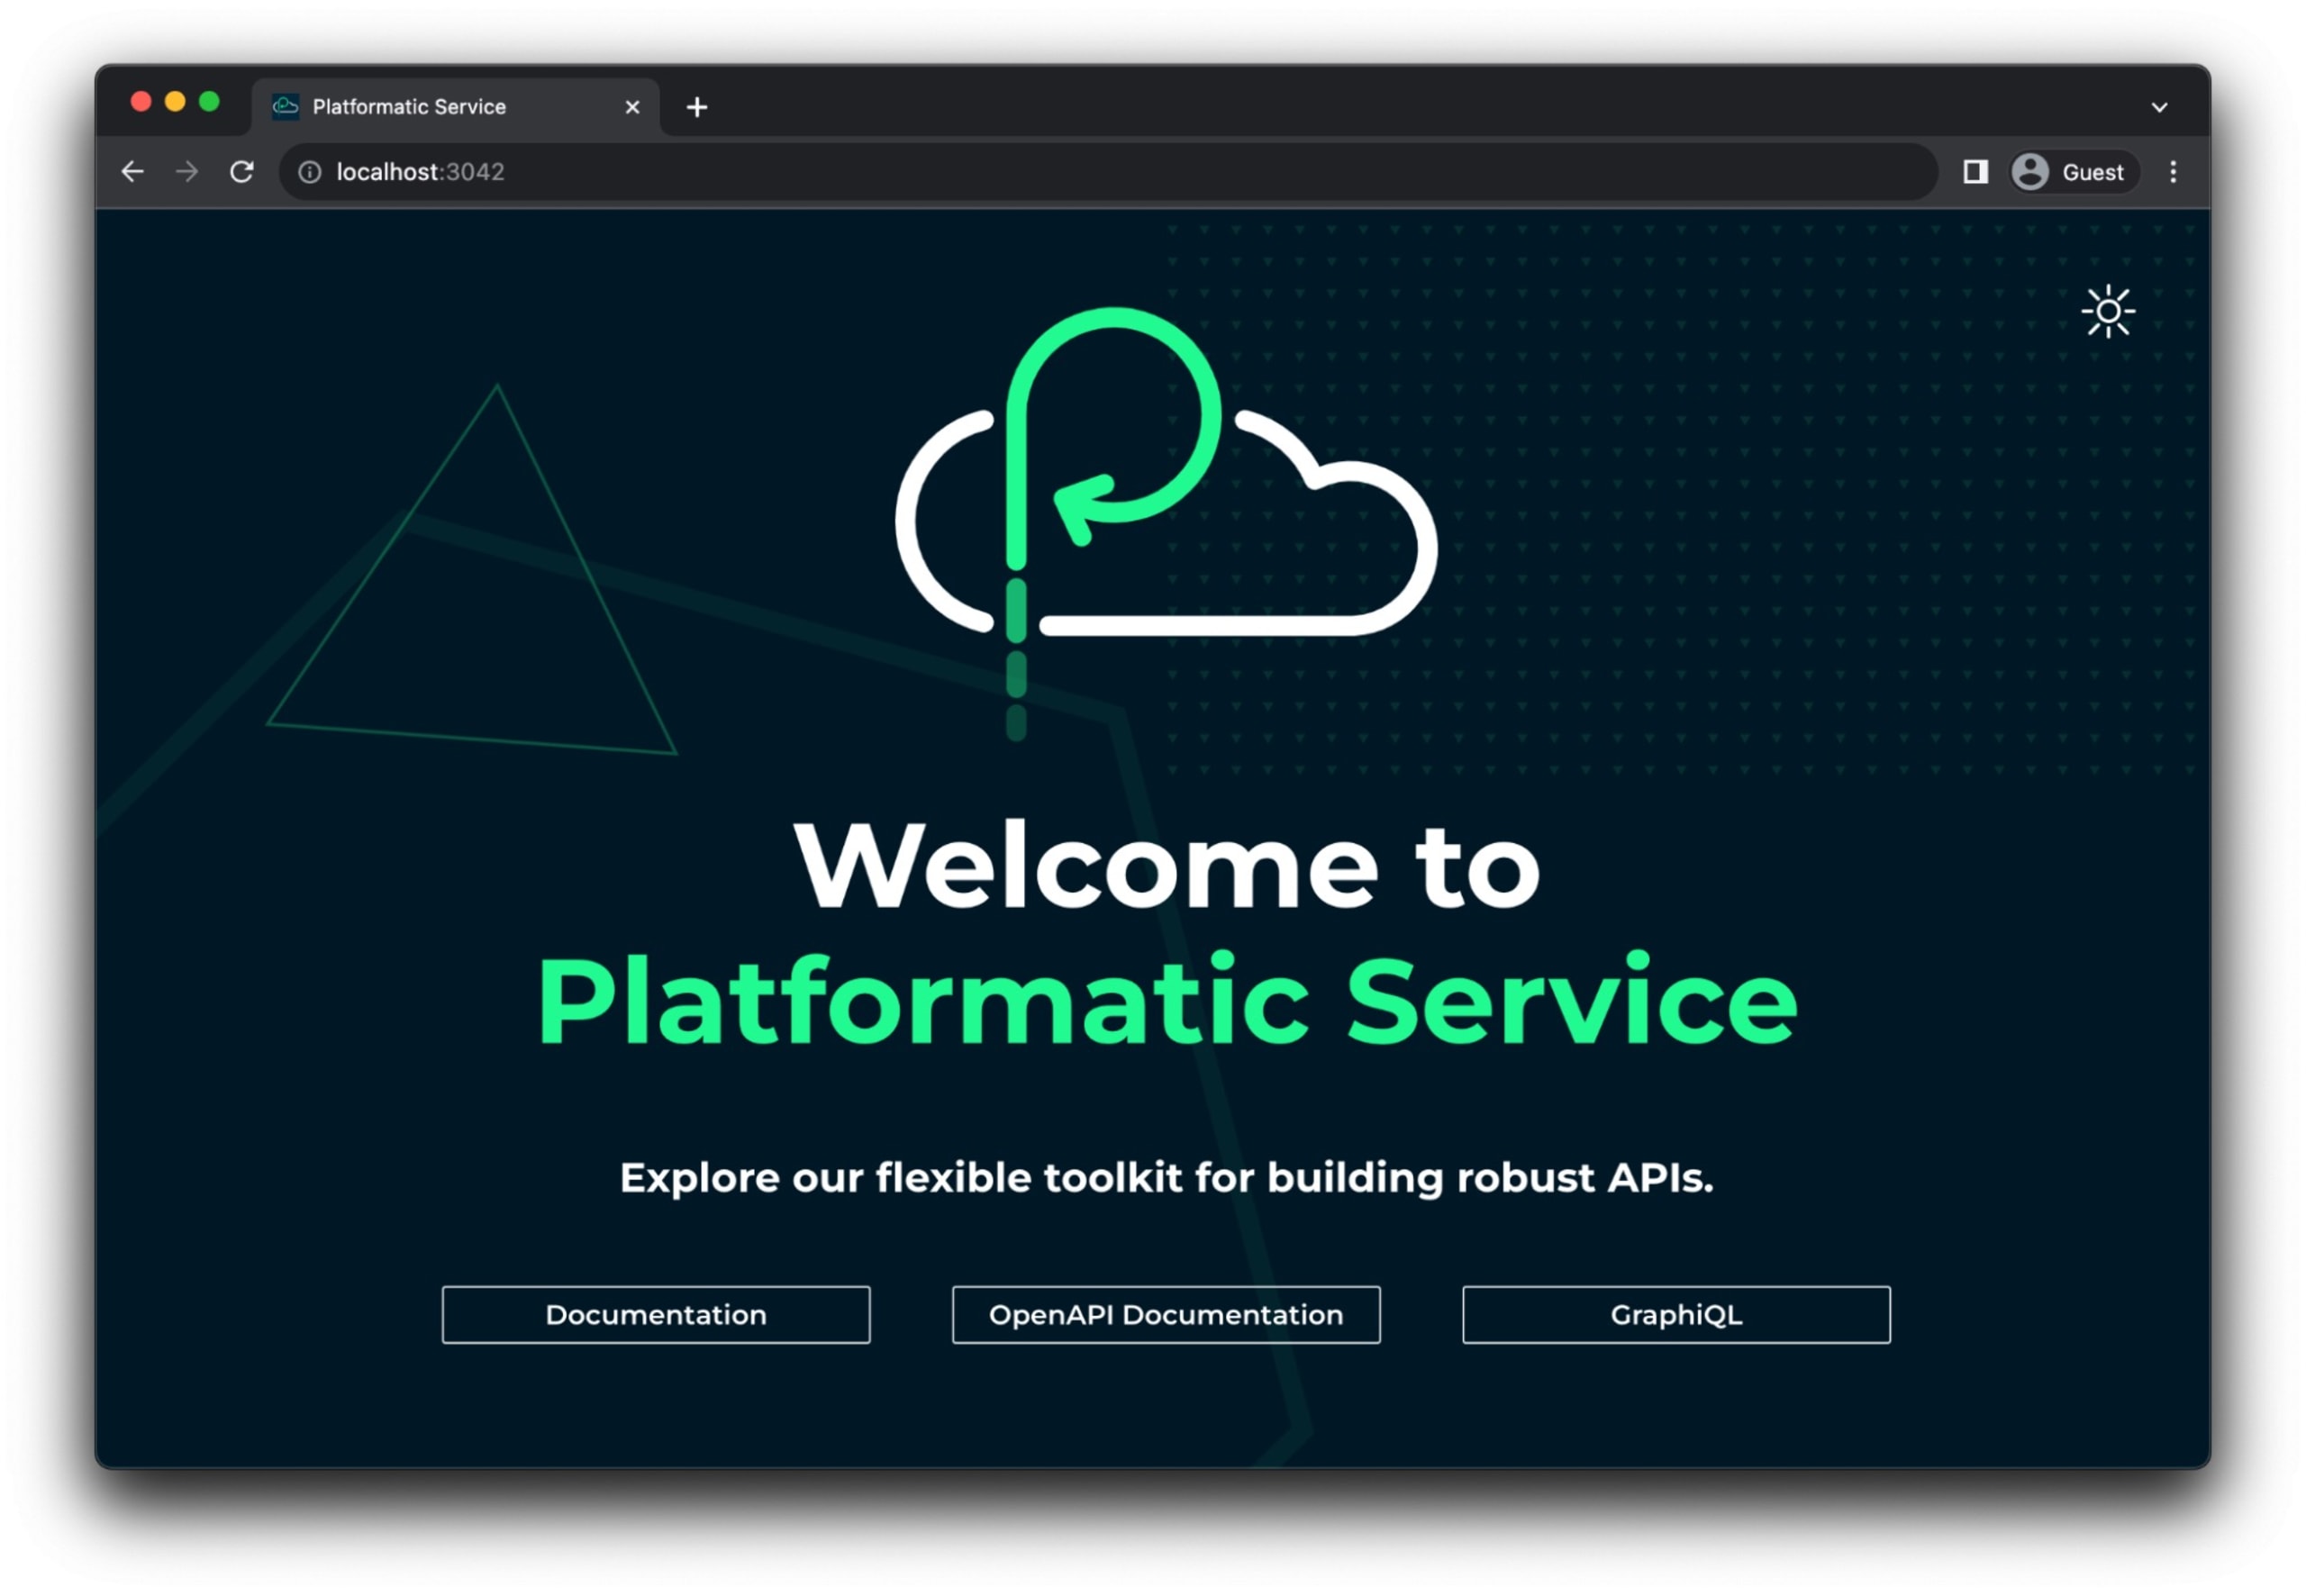
Important to note that this index page is served by the Platformatic CLI specifically and is intended for local development purposes. It isn’t part of a client-side browser code that gets deployed with the Node.js application service.
Exploring the Platformatic service
To further understand how this Node.js application works, we need to drill down into the Platformatic configuration and directory structure.
The platformatic.service.json defines the overall configuration for the deployed Platformatic service, such as the port to listen for HTTP requests and any plugins or routes (also defined as a plugin) that should be loaded. Here is the service configuration file that was generated:
Per the above configuration, the plugins include a ./routes entry which defines the directory from which to load API routes.
The HTTP routes are available in the routes/root.js file, and the out-of-the-box example provides the following GET endpoint at the path param /example:
Let’s confirm this works by issuing the following HTTP request to GET /example:
Add a new route to test npm packages for security vulnerabilities
Now, let’s add a new capability to our Node.js API that would allow it to receive user input for package names and their version and test them for known security vulnerabilities.
Here is the breakdown of the tasks we’ll need to complete in this section of our tutorial:
Install and setup the Snyk CLI
Retrieve the Snyk API token
Make HTTP requests to the Snyk API using the API token
Define a new
POST /test/vulnerabilitiesAPI endpoint in the Node.js Platformatic service
Install and setup the Snyk CLI to retrieve an API token
Getting started with the Snyk CLI is as easy as an npm package install:
Installing the Snyk dependency in the global npm package scope is helpful because we can use it to test various code and security aspects of JavaScript projects that we are working on. In fact, Snyk can also test Python, Java, Ruby, PHP, and other languages' code and dependencies!
Next up, we need to create a free Snyk user so we can query the API for package vulnerabilities. So run:
Follow the CLI instructions, and once completed, you can extract your API token using the the snyk config command, which returns an API configuration key:
Save the API token somewhere handy, we’re going to use it soon (but be careful not to let it accidentally leak into the public Internet).
You’re now ready to test your code and dependencies for security vulnerabilities. Why not take this opportunity to test our Node.js Platformatic Service application?
Kudos to the Platformatic team for shipping project tooling with 0 vulnerabilities!
For more information on using the Snyk CLI, follow the Snyk User Docs and our handy Snyk CLI Cheat Sheet.
Define POST /test/vulnerabilities Node.js API endpoint
Open the routes/root.js file and add a new Fastify API route declaration right after the existing fastify.get() code:
This code sets up an API endpoint to check for vulnerabilities in npm packages using the Snyk v1 API endpoint. Let’s break it down piece by piece:
First, Fastify route creation:
This line creates a new POST endpoint at /test/vulnerabilities. Fastify, a fast and low-overhead web framework for Node.js, is used here. The async keyword indicates that this function can perform asynchronous operations.
Next, we extract Query Parameters from the HTTP request:
These parameters specify the npm package and the version that the user wants to check for vulnerabilities.
The Snyk API integration starts in the next part:
The Snyk API endpoint URL is constructed using the package name and explicit version number (not a tag, so “latest” isn’t supported). Then, we perform an asynchronous fetch call to the Snyk API, passing the authorization token in the request headers. This is the API token you retrieved with the snyk config command.
Finally, the endpoint responds with the vulnerabilities found in the specified npm package. It uses optional chaining (?.) to handle cases where issues might not be present in the response.
Lastly, you could improve the Fastify route definition for the POST /test/vulnerabilities endpoint by defining a request and response schema. This helps to add input validation as well as automatically get picked up for the OpenAPI API route documentation. I recommend following the Platformatic movie app tutorial and Simon Plenderleith blog post about building REST APIs with Platformatic DB.
Be careful not to leak sensitive information like API keys!
Did you notice how we just hard-coded the API token in the code? A big no-no!
I didn’t miss it, though, because I have the Snyk extension installed in my VS Code IDE, which automatically includes secrets detection and flags off any insecure code issues in my own code that might introduce a security vulnerability:
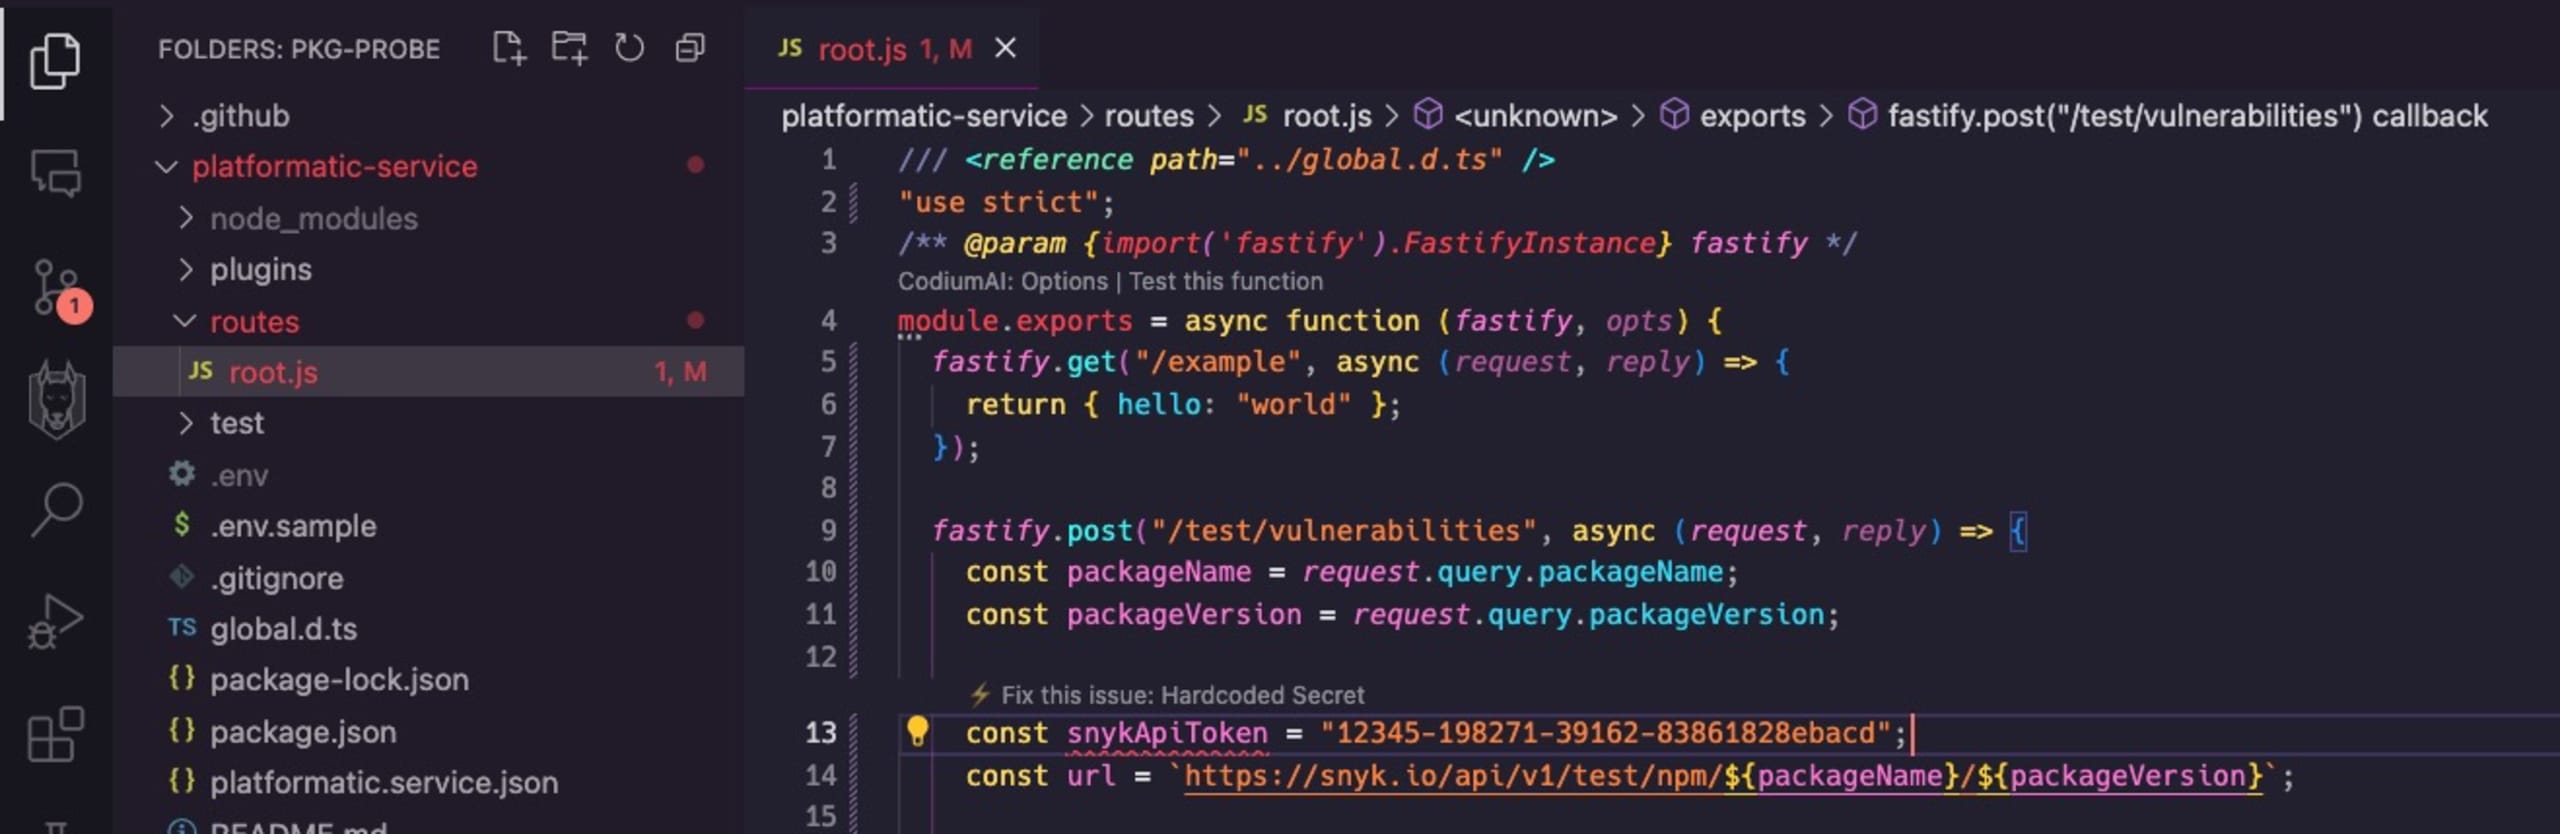
Get the Snyk extension installed straight from the VS Code IDE or find the Snyk extensions on the VS Code Marketplace for more information.
So, let’s fix that credential leak thanks to the secret detection alert. First off, define a new environment variable in the .env and replace the “1234” with your own Snyk API token:
Next, we can add it to the platformatic.service.json config file, by updating the existing ./routes string key in the array to an object that receives an options key:
Note that if you use npm run start to run the Node.js Platformatic Service then you don’t need to re-run this command because it supports auto-reload and will refresh the server code every time you save routes or plugin files.
Test an npm package for security vulnerabilities using our new Node.js API service
Now that we have both Snyk and the Node.js Platformatic API Service wired up, let’s confirm it all works together.
Let’s test if the latest version of the vm2 npm package that some developers might be using as a security sandbox to run untrusted code is safe to use.
The following HTTP request specifies the package name, the latest version number on the npmjs registry and passes the output to jq tool to show a prettied output of the JSON response:
Hey, it works! Congratulations on building your first security tool with Snyk and Platformatic!
Let’s continue to build a frontend for this web application and then deploy the Node.js API on Platformatic Cloud.
A Vue frontend application to scan for security vulnerabilities
In this part, we’ll review the building blocks for the frontend web application that communicates with the Node.js backend API we built with Platformatic service.

The frontend web application is comprised of the following:
A Vue.js 3 + Vite client-side frontend
Tailwind CSS
The frontend part is a simple form with input text elements for the package name and the package version that are sent to the Node.js Platformatic API.
Following is a simplistic Vue.js form that communicates with the locally running Node.js service on localhost:3042:
You can refer to the full code for the frontend web application in this GitHub repository: https://github.com/lirantal/pkg-probe.
Deploy the Node.js backend API to Platformatic Cloud
The Platformatic Cloud is a specialized PaaS (Platform as a Service), ideal for hosting Node.js applications. Beyond the great tooling from Platformatic, we can now use their cloud environment to host our security scanning web application to be accessible on the Internet.
Begin by signing in on the landing page using the Connect with GitHub button, authorize the GitHub app integration, confirm the terms of service and privacy policy, and you’re ready to click Create an app in the dashboard:

This default workflow creates a new sample Platformatic application for you. However, we already have one running so you need to click the Do it manually link at the bottom of the instructions screen here.
Next, continue to name the application and workspace. Keep Dynamic Workspace toggled off, as we don’t need automated PR reviews to deploy the Node.js application from the CLI at this point.
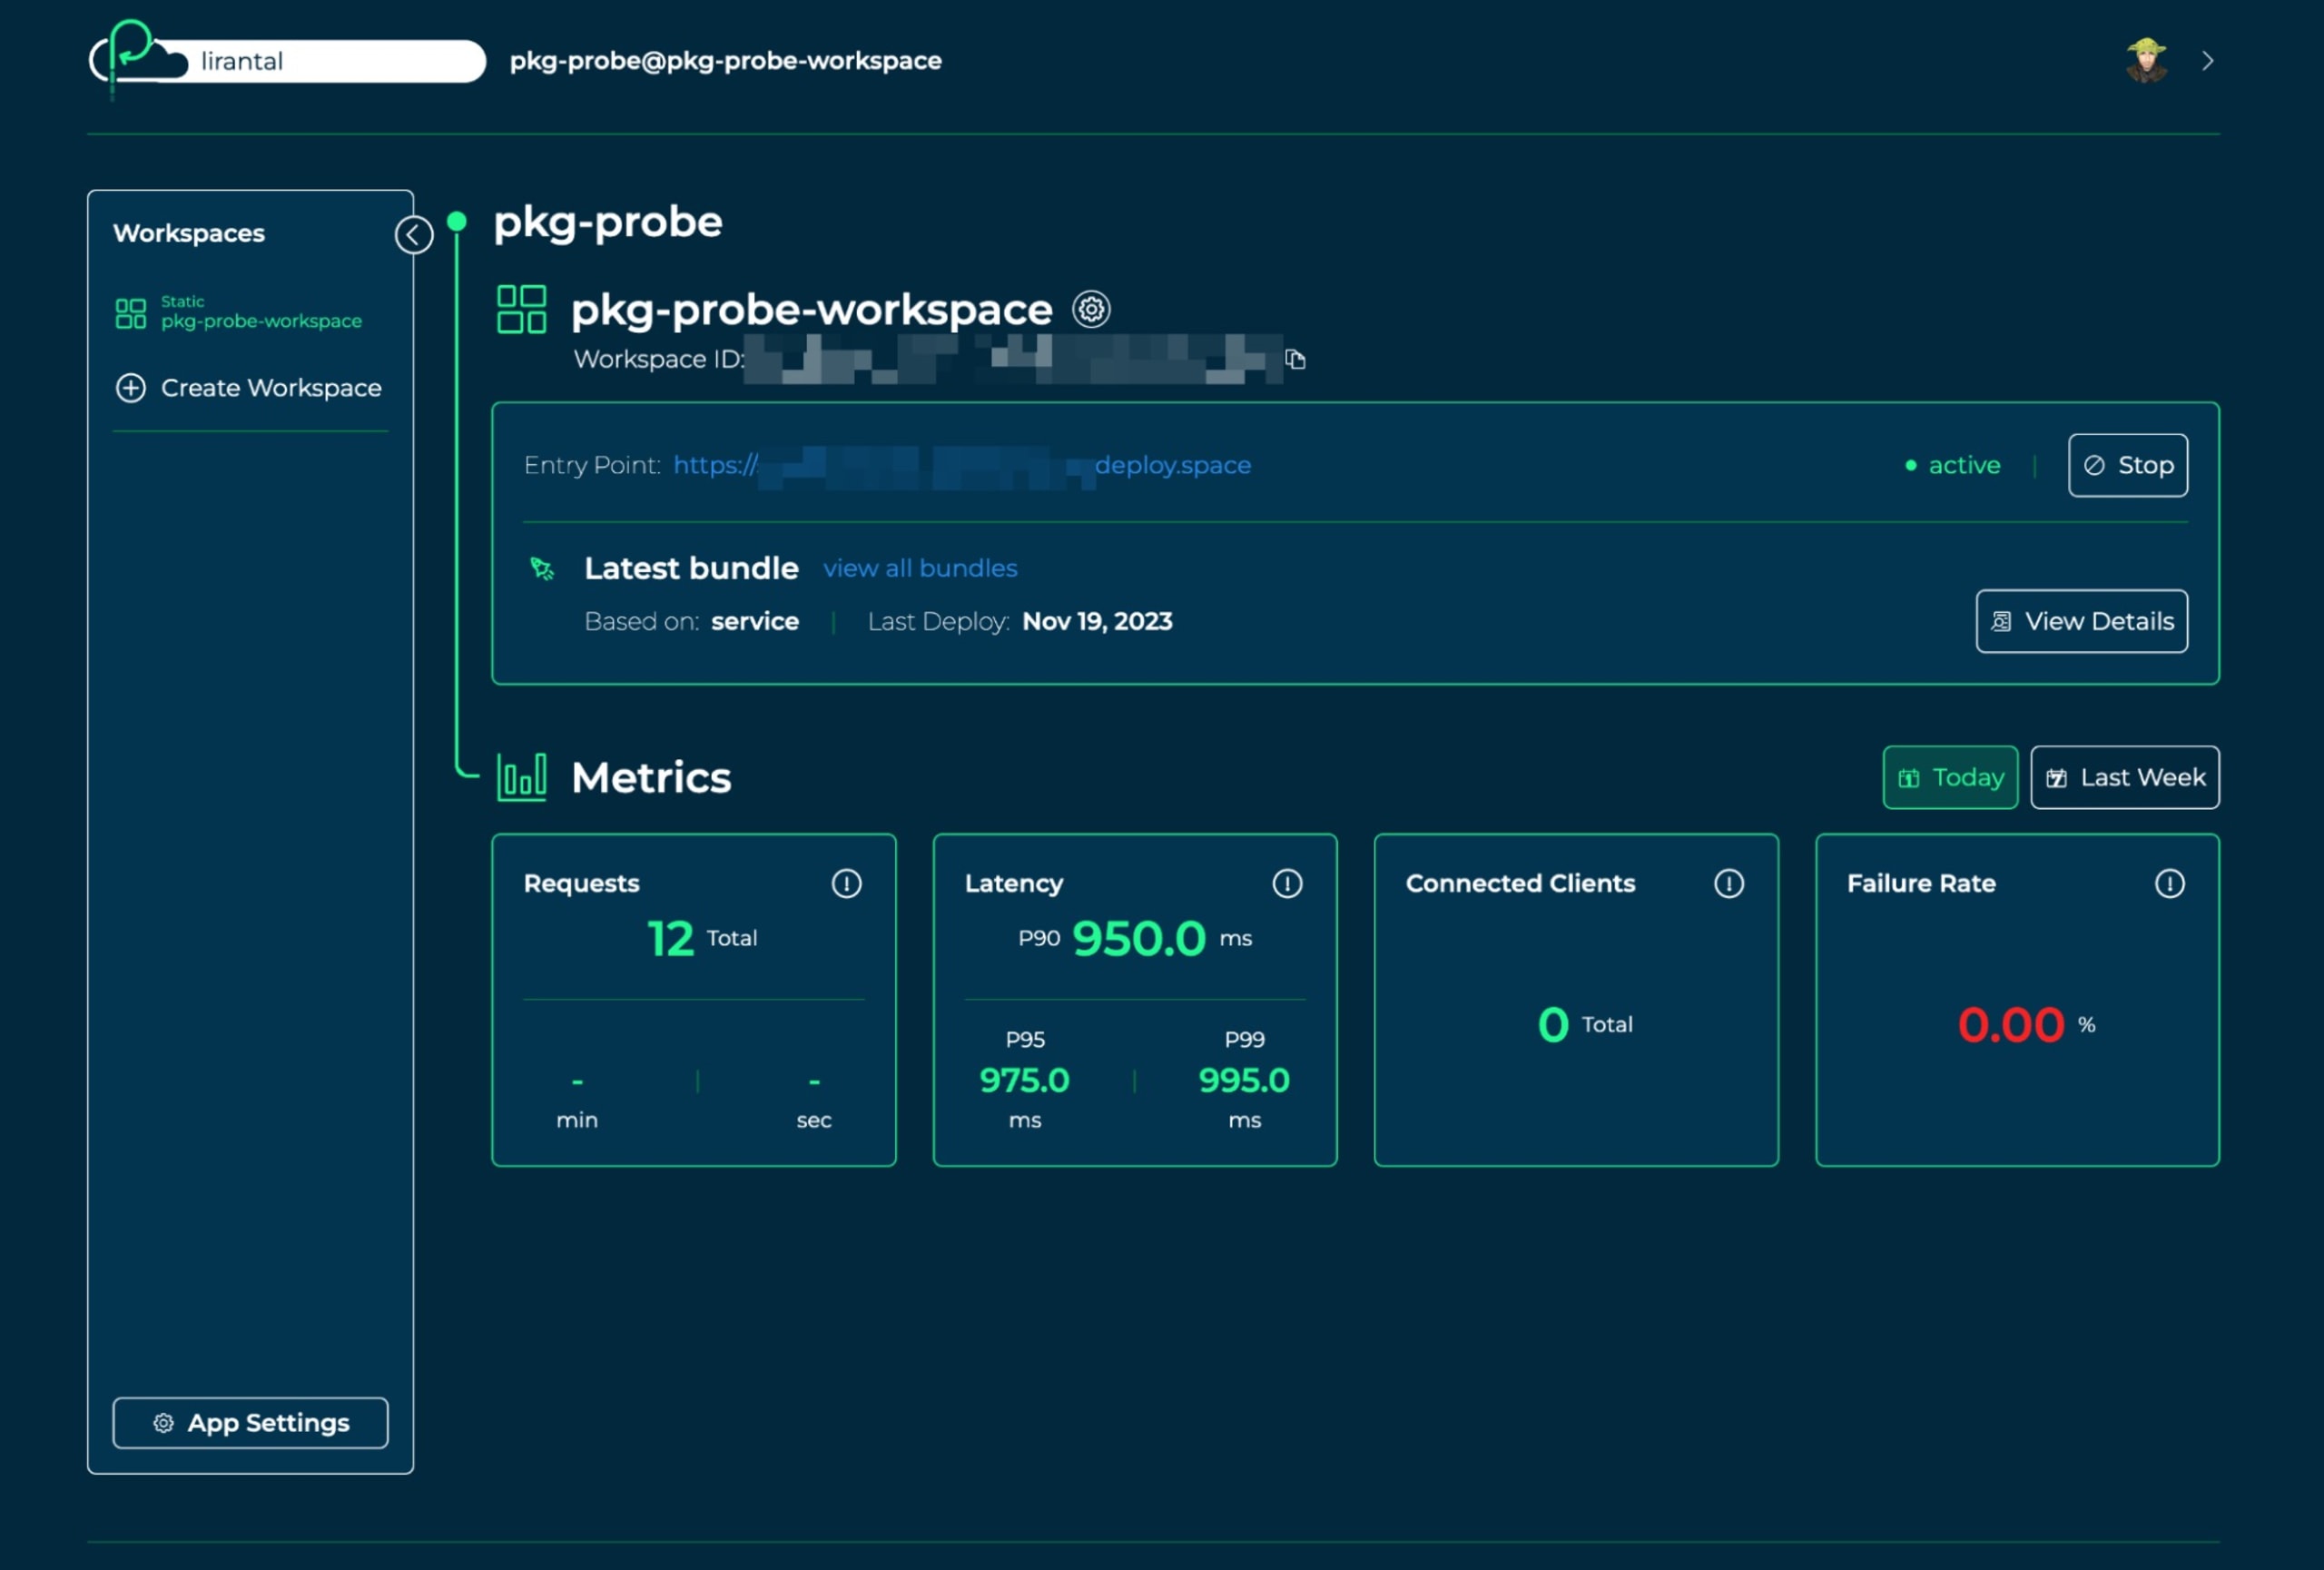
You’ll end up with a Platformatic summary screen as follows:
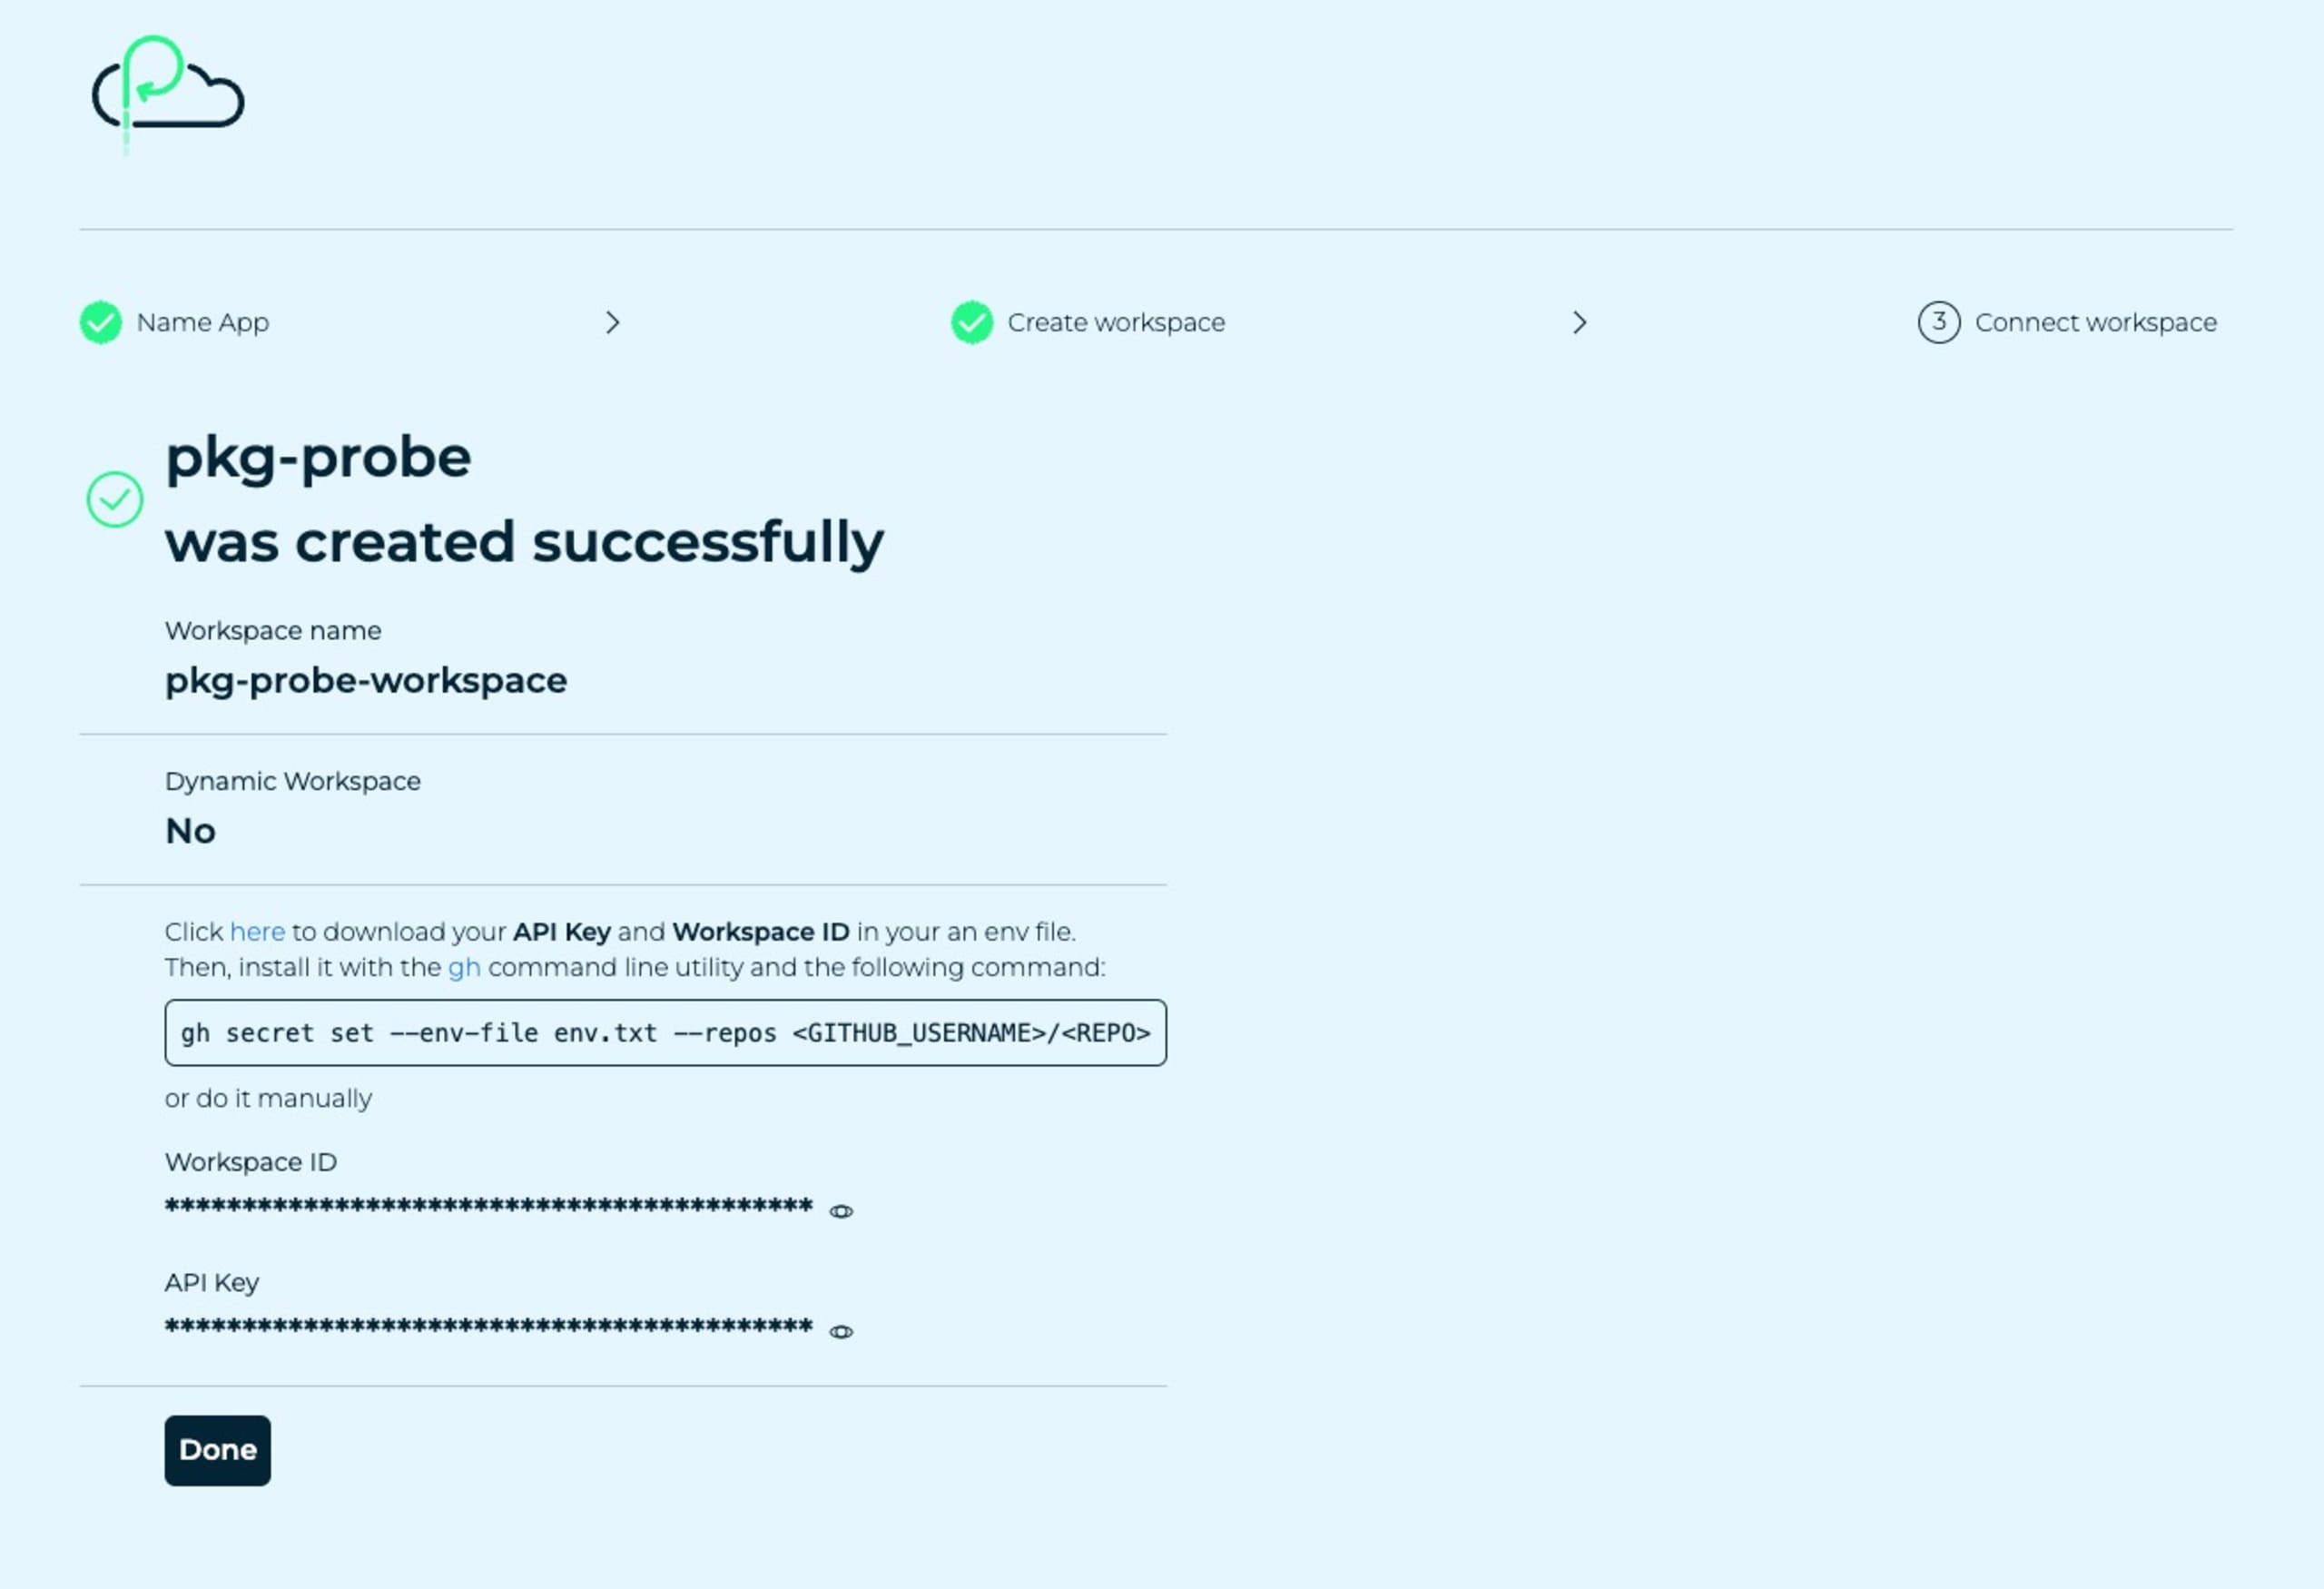
Now that we have the Workspace ID and API key we can make use of them to deploy our Node.js backend application to the Platformatic Cloud hosting environment.
With the Workspace ID and API key ready, change the directory to the platformatic-service directory of our projects to run an npm lifecycle command in the Node.js API source code. Run the following npm run deploy command and provide it the Platformatic Cloud workspace details as follows:
When the command completes it will also specify the URL in which the Node.js API has been deployed and available at, such as: https://something-something-funny.deploy.space
If we return to the Platformatic Cloud dashboard at https://platformatic.cloud we’ll see our new security scanning application created:
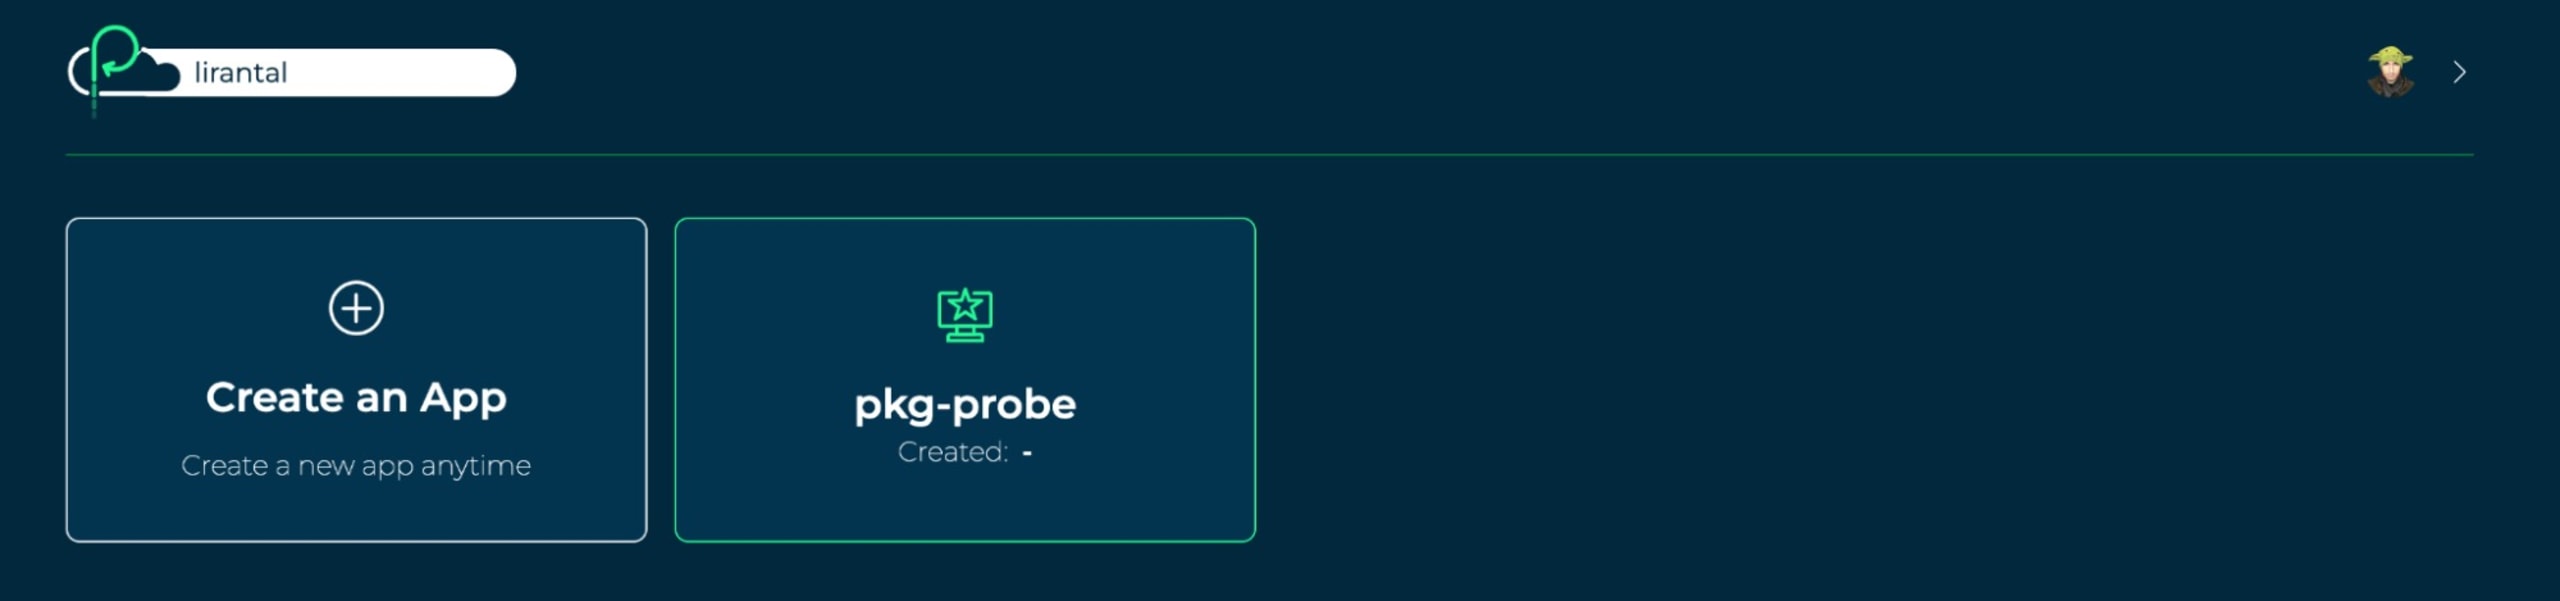
Clicking into our application we can see real-time status such as performance metrics and the public URL address to access our application:
One last configuration item remaining that you’ll need added to the Node.js API powered by Platformatic is enabling CORS.
What is CORS?
Cross-origin resource sharing (CORS) is a security feature implemented in web browsers to manage how resources are shared between different origins, which typically refer to different domains, protocols, or ports. In the context of a backend application, CORS is crucial because it controls whether and how data from a server can be shared with web pages from a different origin. Without CORS, modern web applications that rely on APIs and other cross-origin resources would face severe limitations.
Why is CORS important?
This policy prevents a webpage from making requests to a different domain than the one that served the webpage, thus protecting against certain types of cybersecurity threats like Cross-site scripting (XSS) attacks. However, CORS allows safe and controlled access by specifying which domains can access the resources on your server, enabling the development of rich, interactive web applications that can securely interact with resources from multiple origins.
Let’s add a CORS configuration to the Node.js API. Open the .env file and add the following Platformatic CORS configuration:
As you can see in this example configuration, it is set to Vue.js’s local development server port running on localhost. If you deploy your frontend elsewhere, such as to a Netlify or Vercel cloud hosting environment, you’d need to set it accordingly.
Next, let’s update the server configuration directive in platformatic.service.json to also include the following:
Success
That’s it!
You’ve successfully built a Node.js web application that scans for security vulnerabilities using the Snyk API and deployed it to the Platformatic Cloud hosting environment for public use.
Start securing your JavaScript apps
Find and fix JavaScript vulnerabilities with Snyk for free.
No credit card required.
Or Sign up with Azure AD Docker ID Bitbucket
By using Snyk, you agree to abide by our policies, including our Terms of Service and Privacy Policy.