Best practices for containerizing .net applications
Marcelo Oliveira

August 31, 2022
0 mins readContainerization with Docker has become a major trend in web application development that many .NET developers have adopted. There are many compelling advantages for developers and DevOps engineers to containerize .NET applications, even when working with the older .NET Framework 4.x versions. However, if we don’t know how to use containers properly, we’ll experience little benefit from them.
In this article, we'll cover some best practices for containerizing .NET applications — including those on the 4.x version framework. We’ll also discuss using small images and image scanning to reduce security risks and remove unnecessary components from our containers.
Requirements
Before getting started, you’ll need to:
Download and install Visual Studio 2022.
Have a local Docker client to run containers locally. You can use Docker Desktop, which requires Windows 10 or later. Be sure to choose the Windows installation.
Download and install the Snyk Command Line Interface (CLI).
Sign up for a free Snyk account.
Consider containerizing your .NET Apps (even .NET Framework 4.x)
After .NET Core 1.0, web apps became cross-platform, portable, and open source, enabling developers to port them to Docker and experience the most out of containerization.
But, while newer .NET versions running in Linux garner the most attention, Windows containers support the older Windows-only .NET versions that countless enterprise applications rely on. And not every organization maintaining .NET Framework web apps is ready to port them to newer versions. This is why containerizing our .NET Framework 4.x applications makes sense.
The following steps demonstrate how to create and run a containerized ASP.NET Web Forms application in Visual Studio 2022.
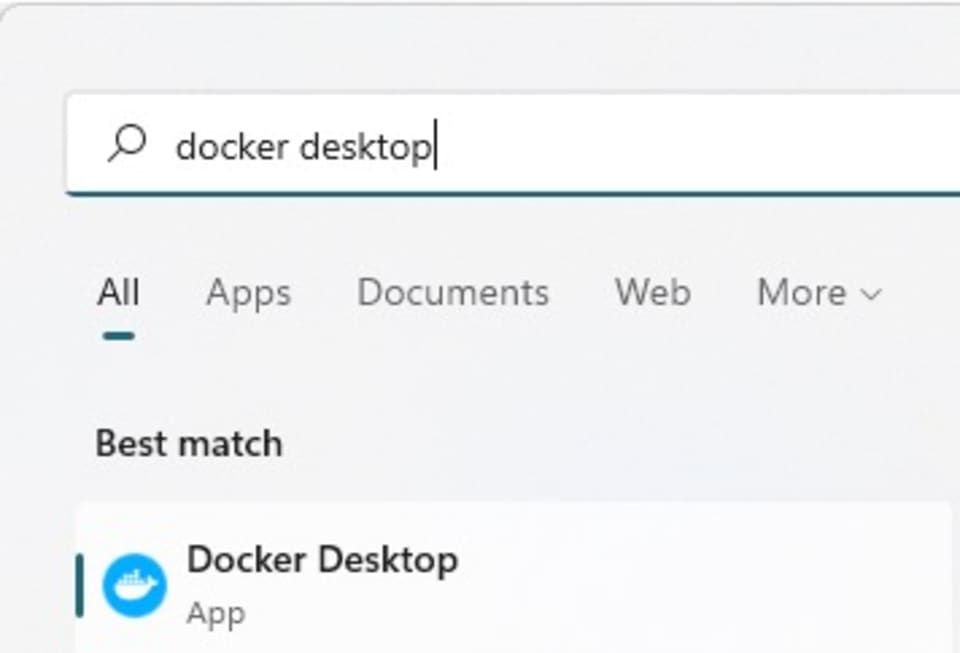
First, run Docker Desktop on your development machine:
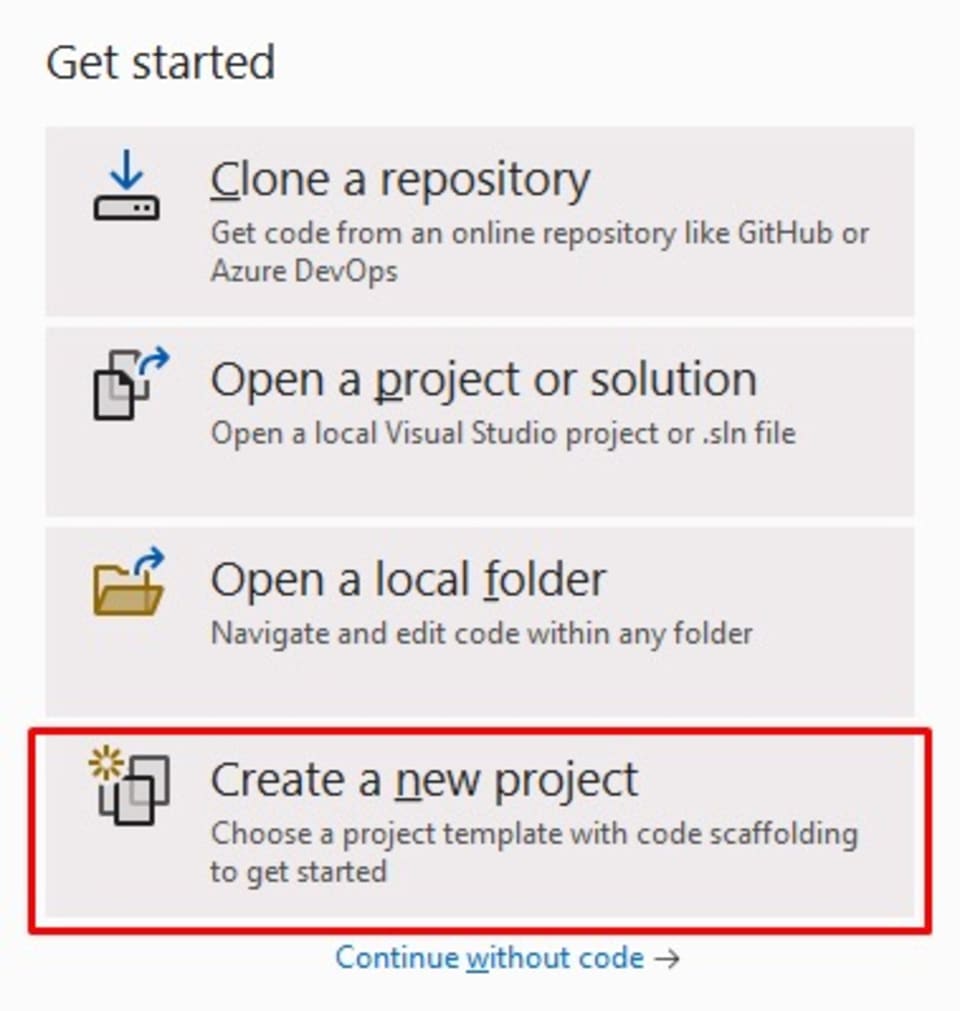
From the Visual Studio Get started window, select Create a new project.
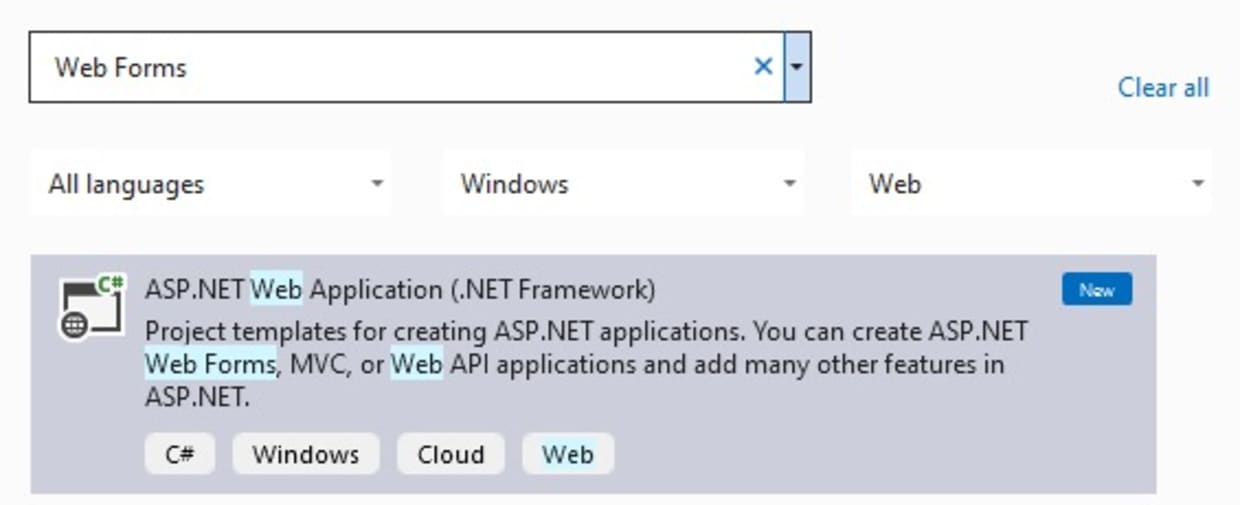
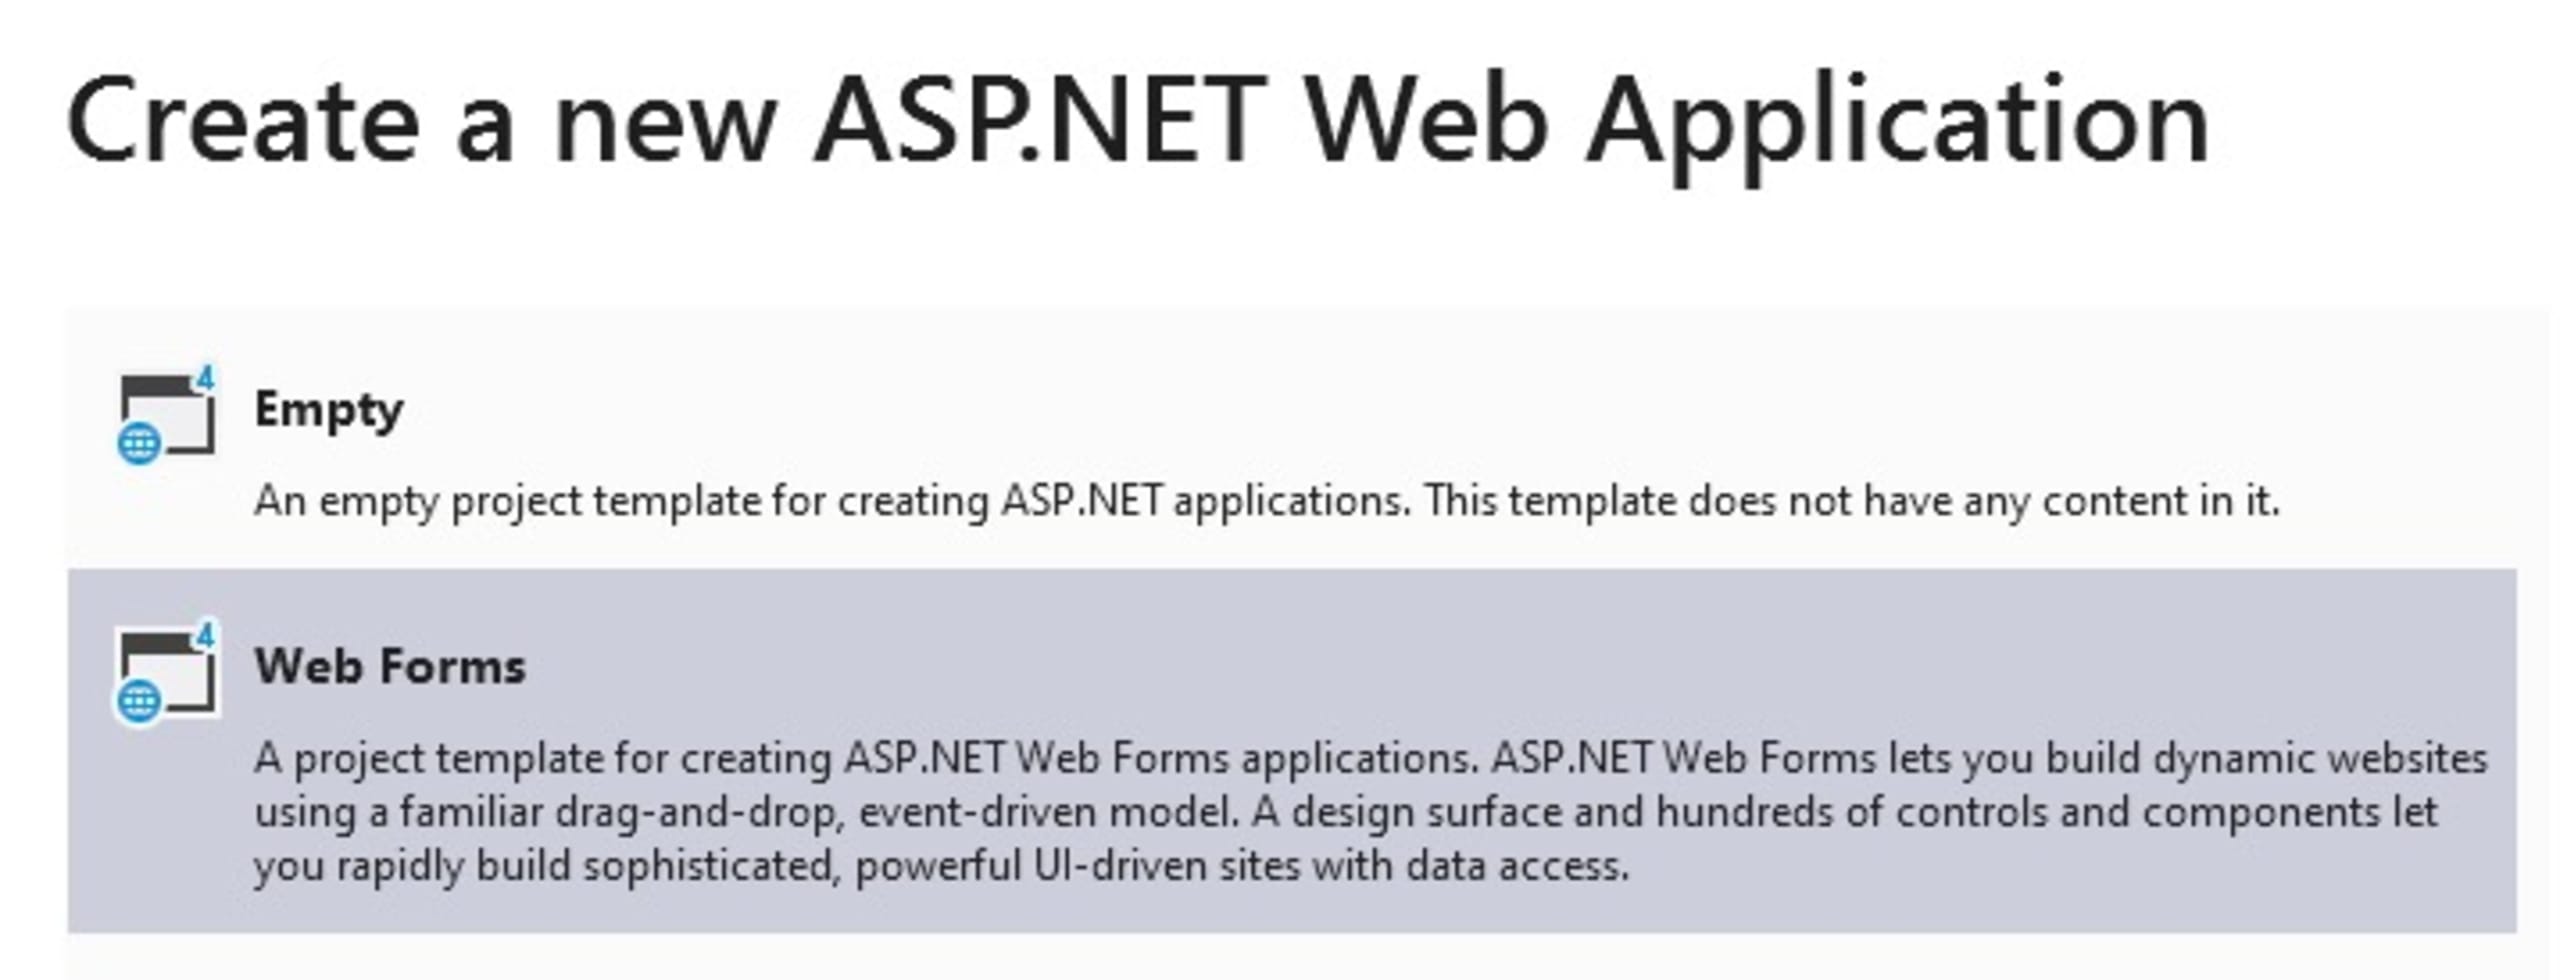
Type “Web Forms” in the Search for templates text box and select the ASP.NET Web Application (.NET Framework).
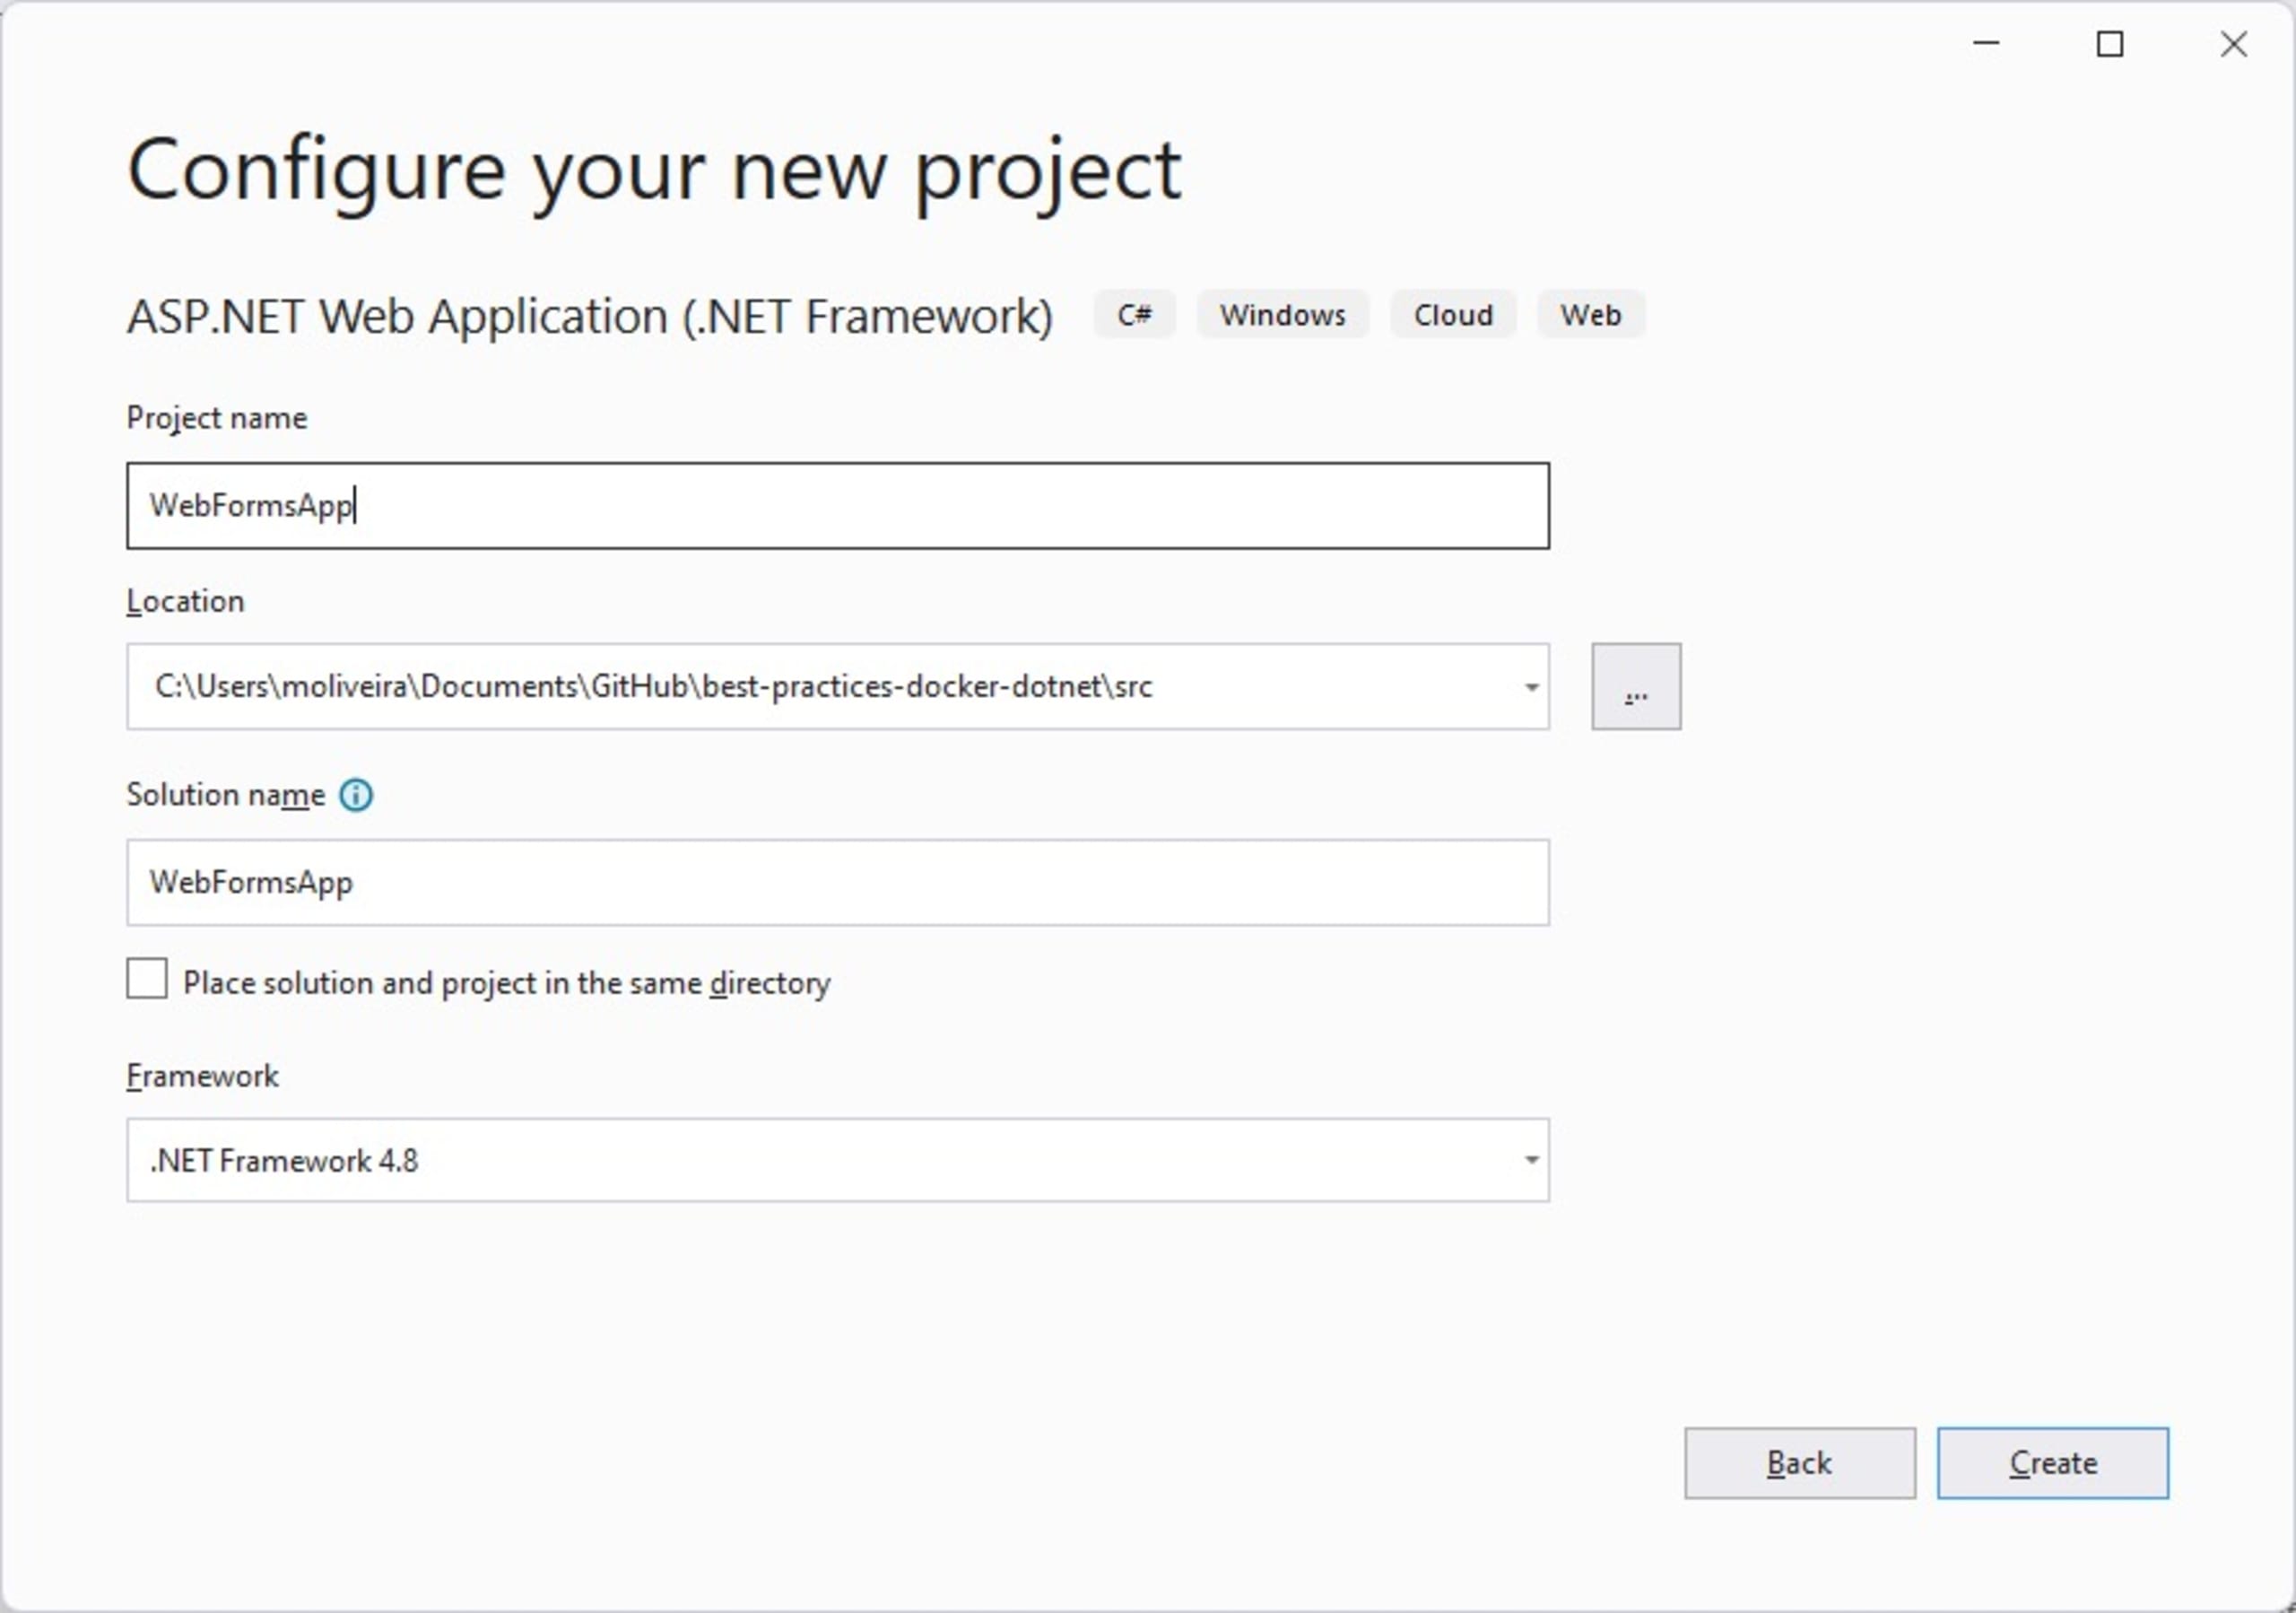
Enter a name for your new application (for example, WebFormsApp), specify the location on the disk, select .NET Framework 4.8, and click Create.
Then, select the Web Forms type.
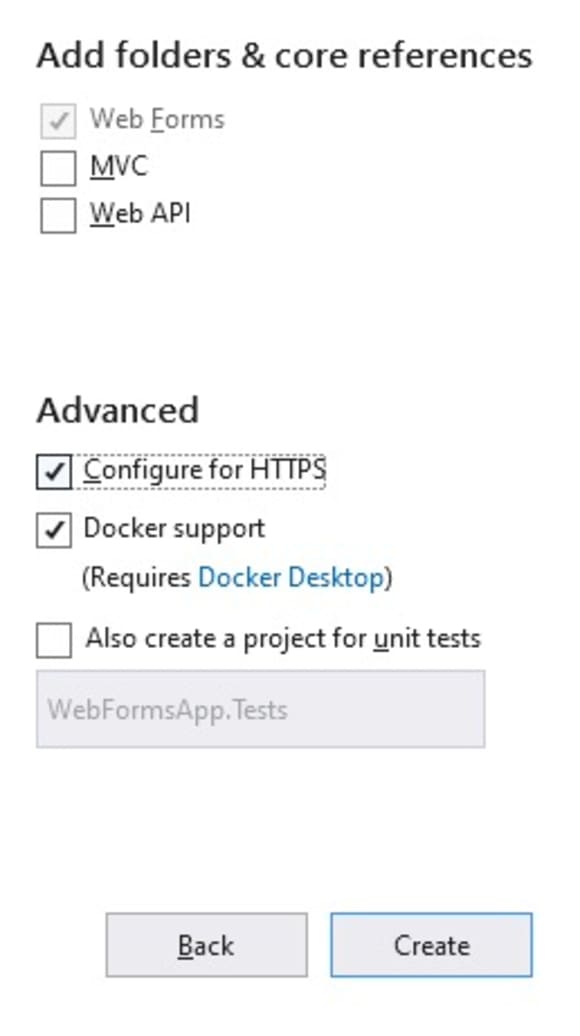
Make sure that the Web Forms and the Docker support options are checked, then click Create.
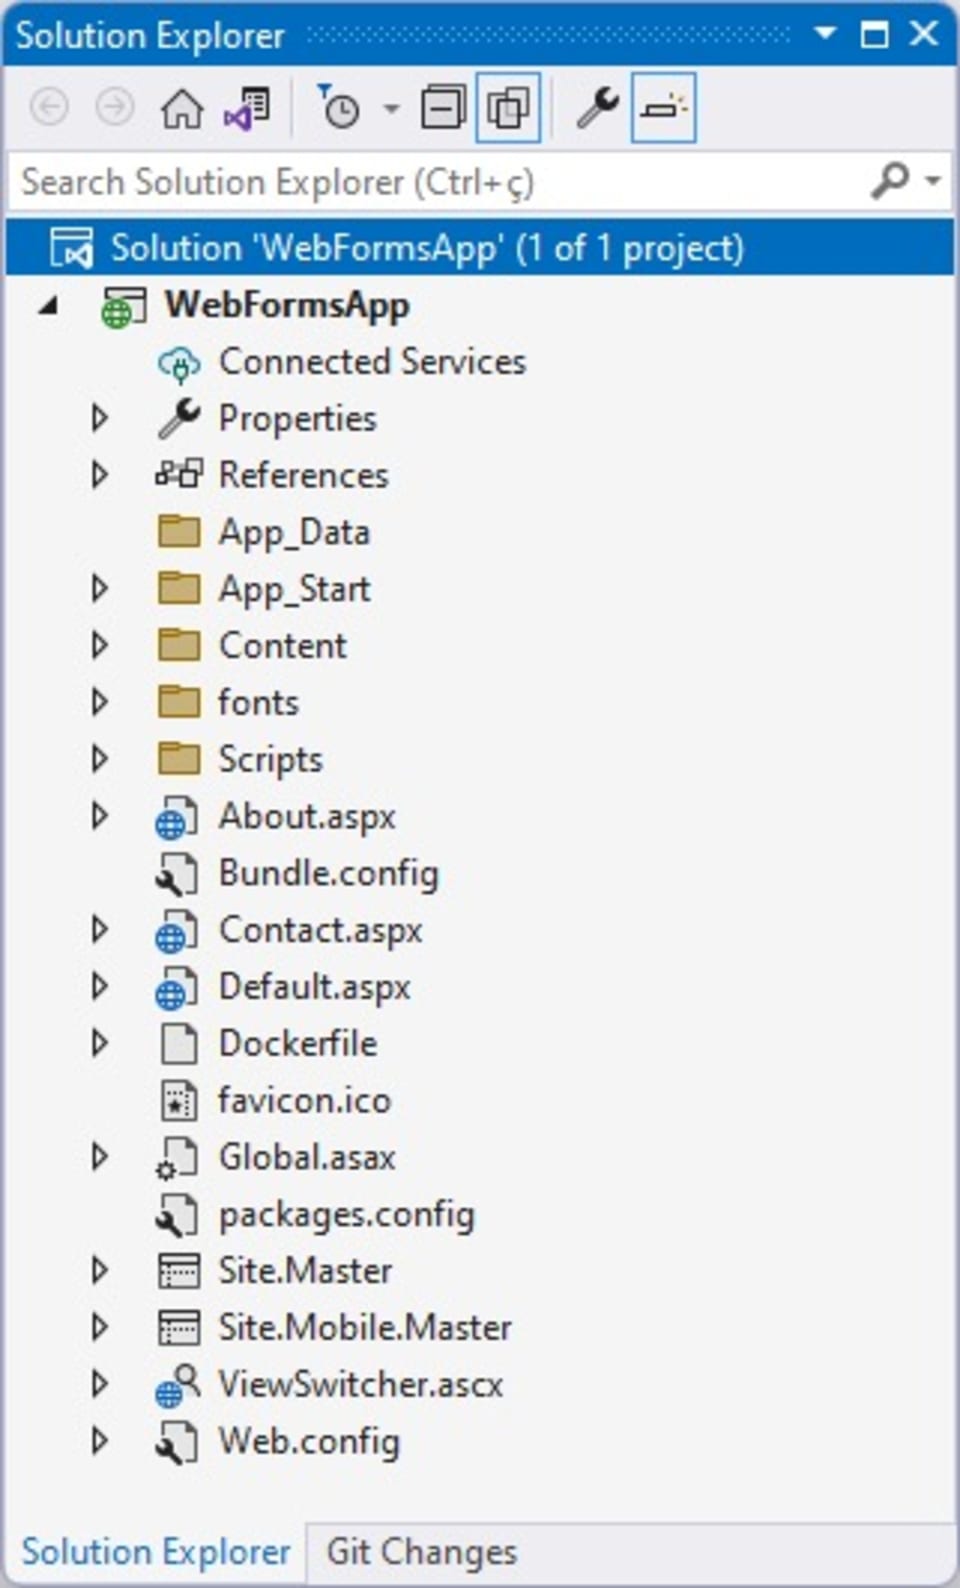
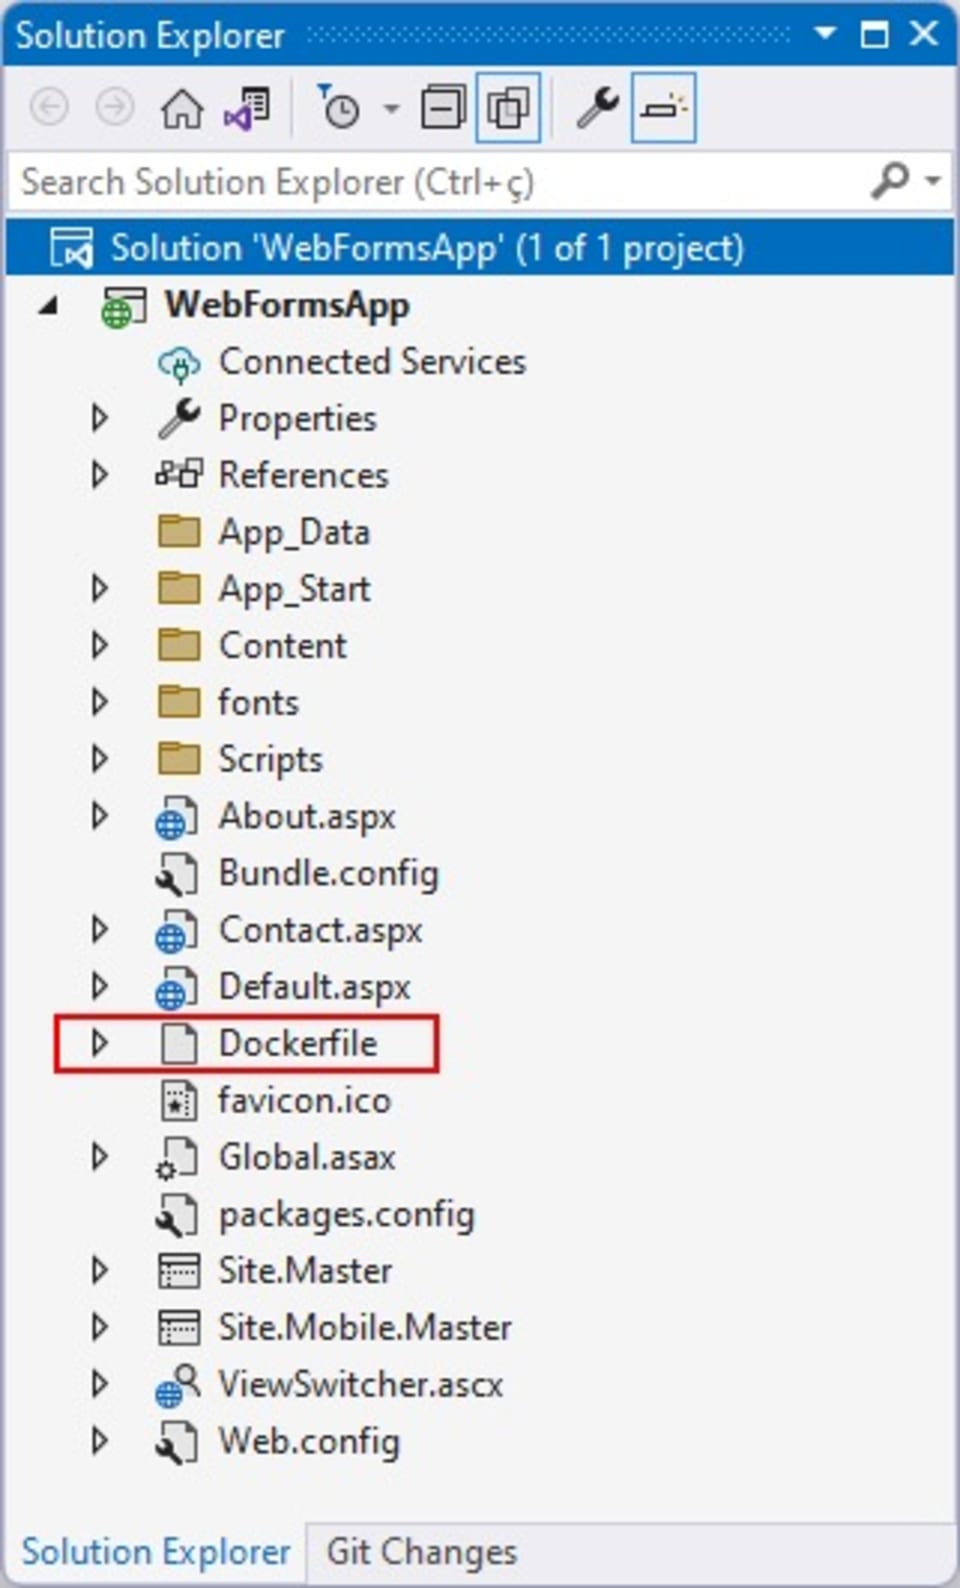
Wait for Visual Studio to create the project. This is the project structure as shown in Visual Studio:
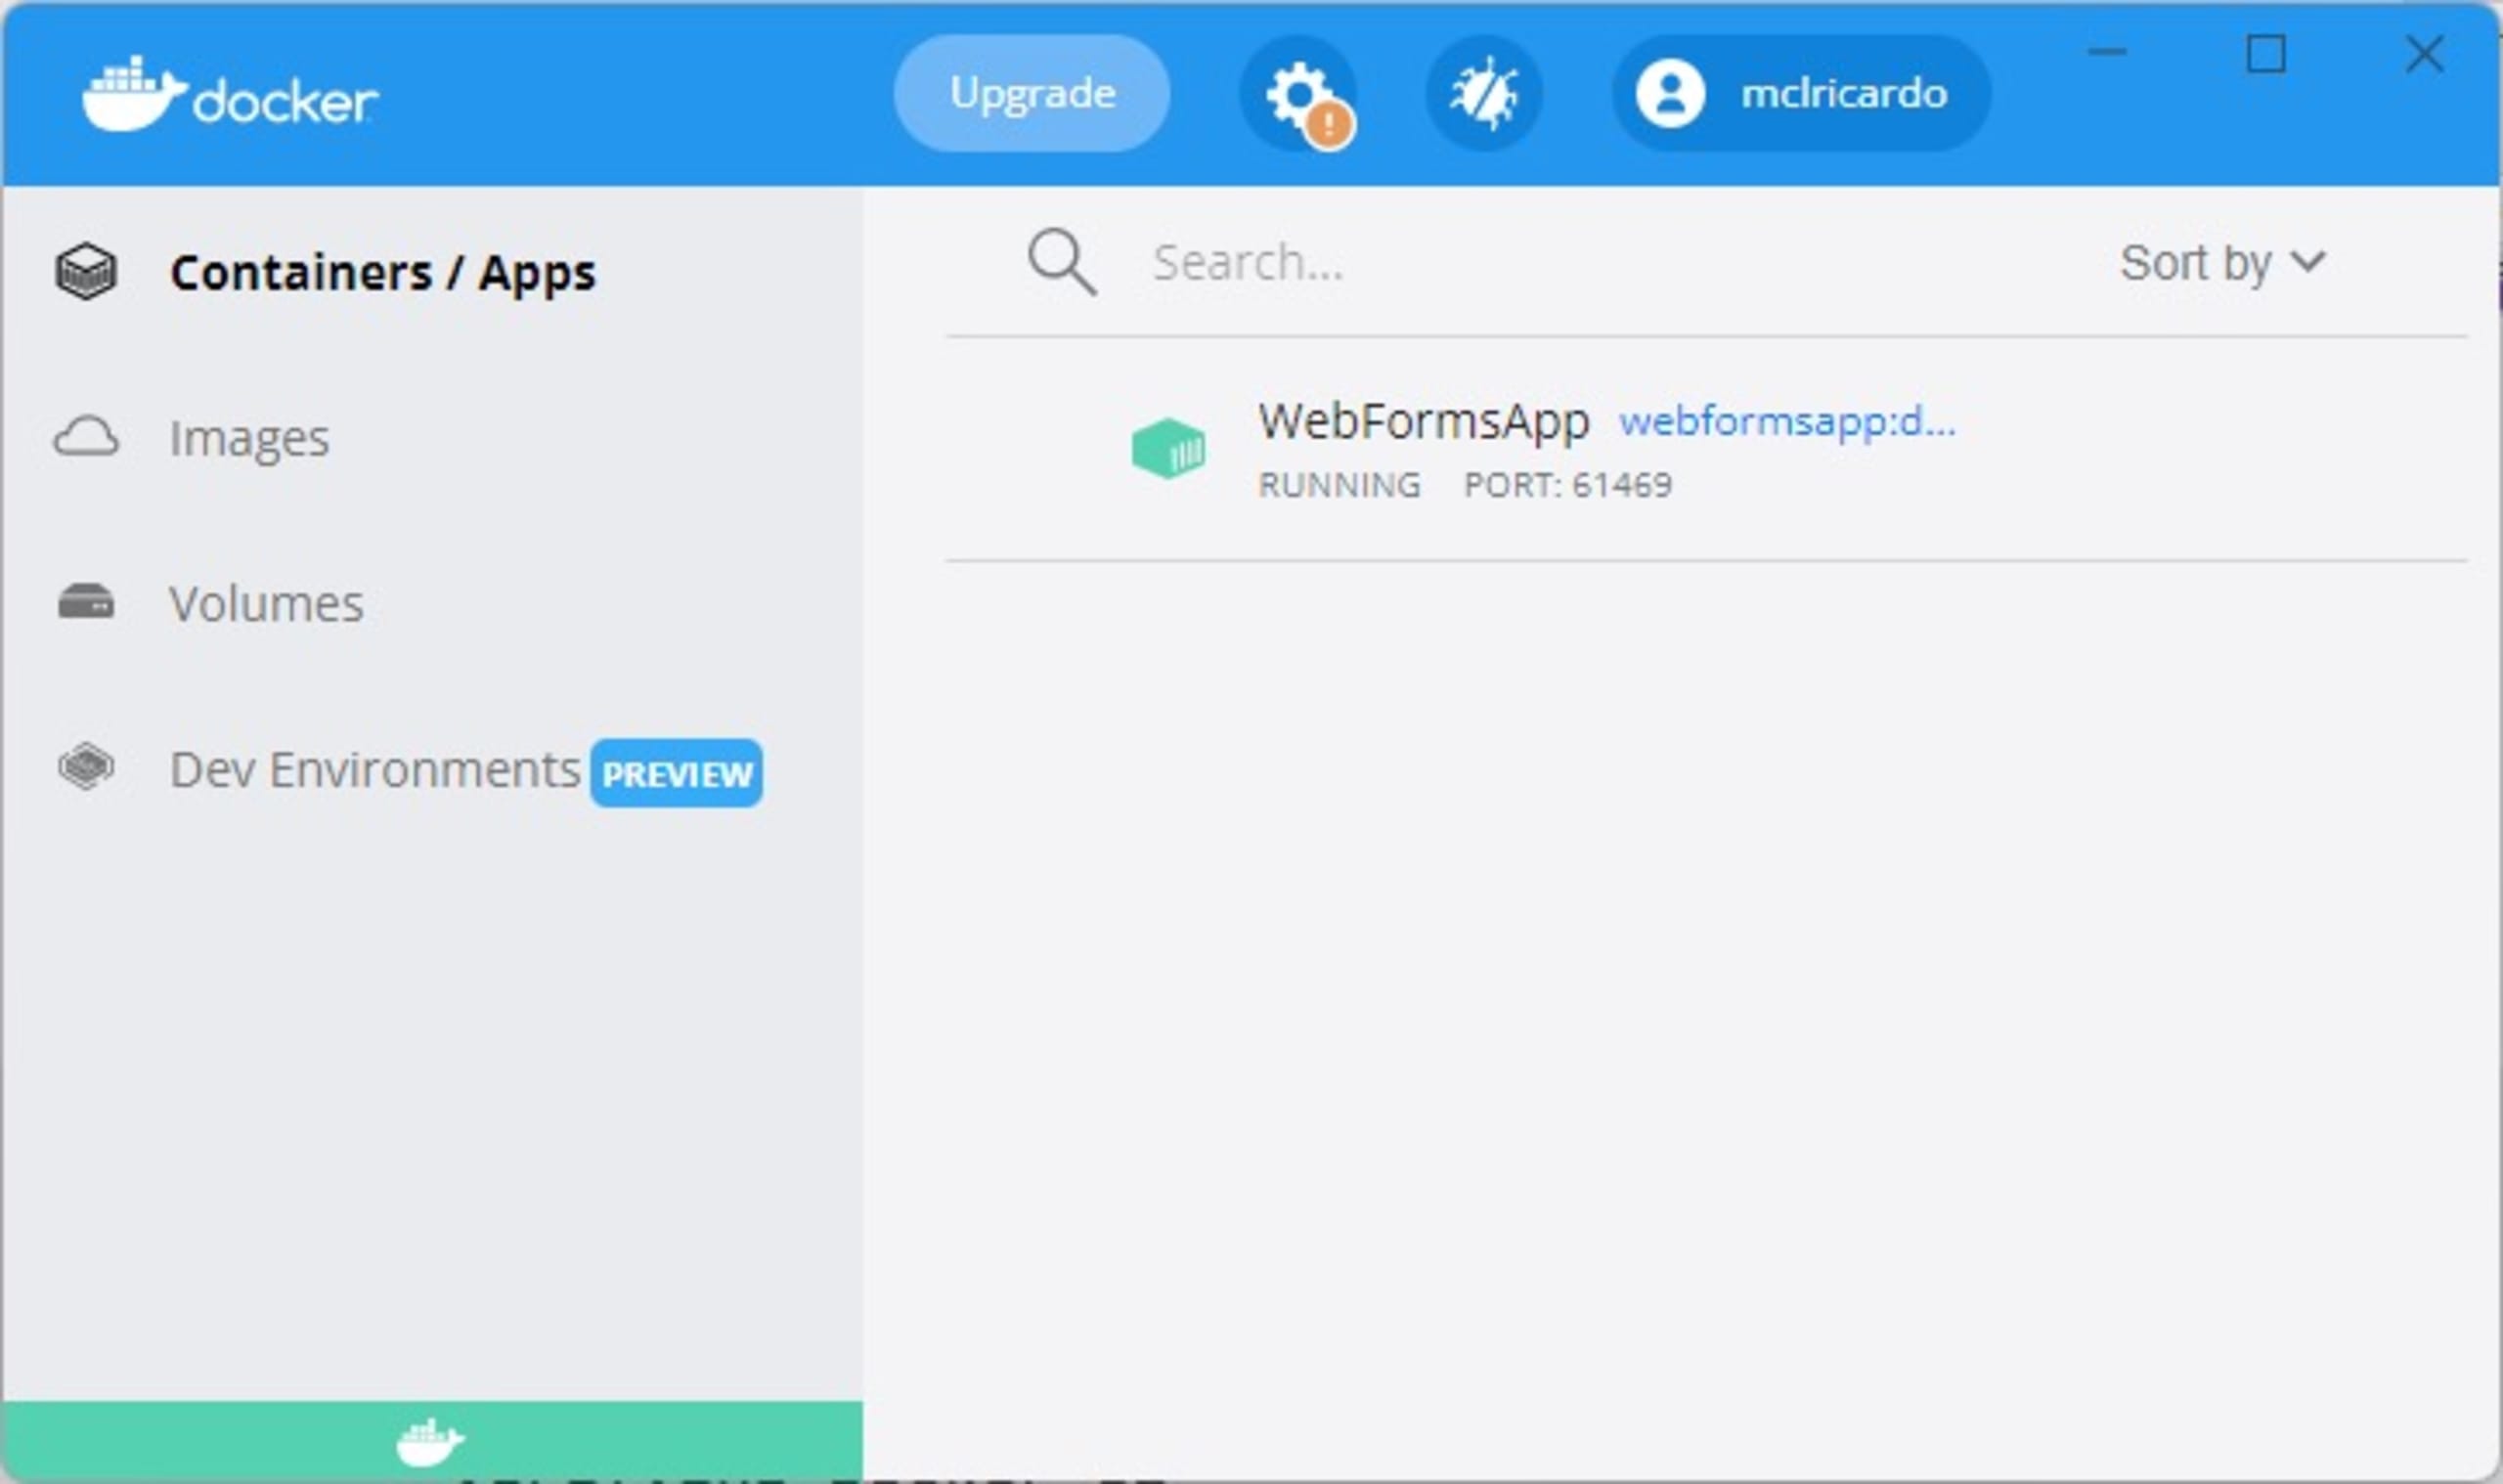
Now, open Docker Desktop. You’ll notice that the WebFormsApp container is running on port 61469:
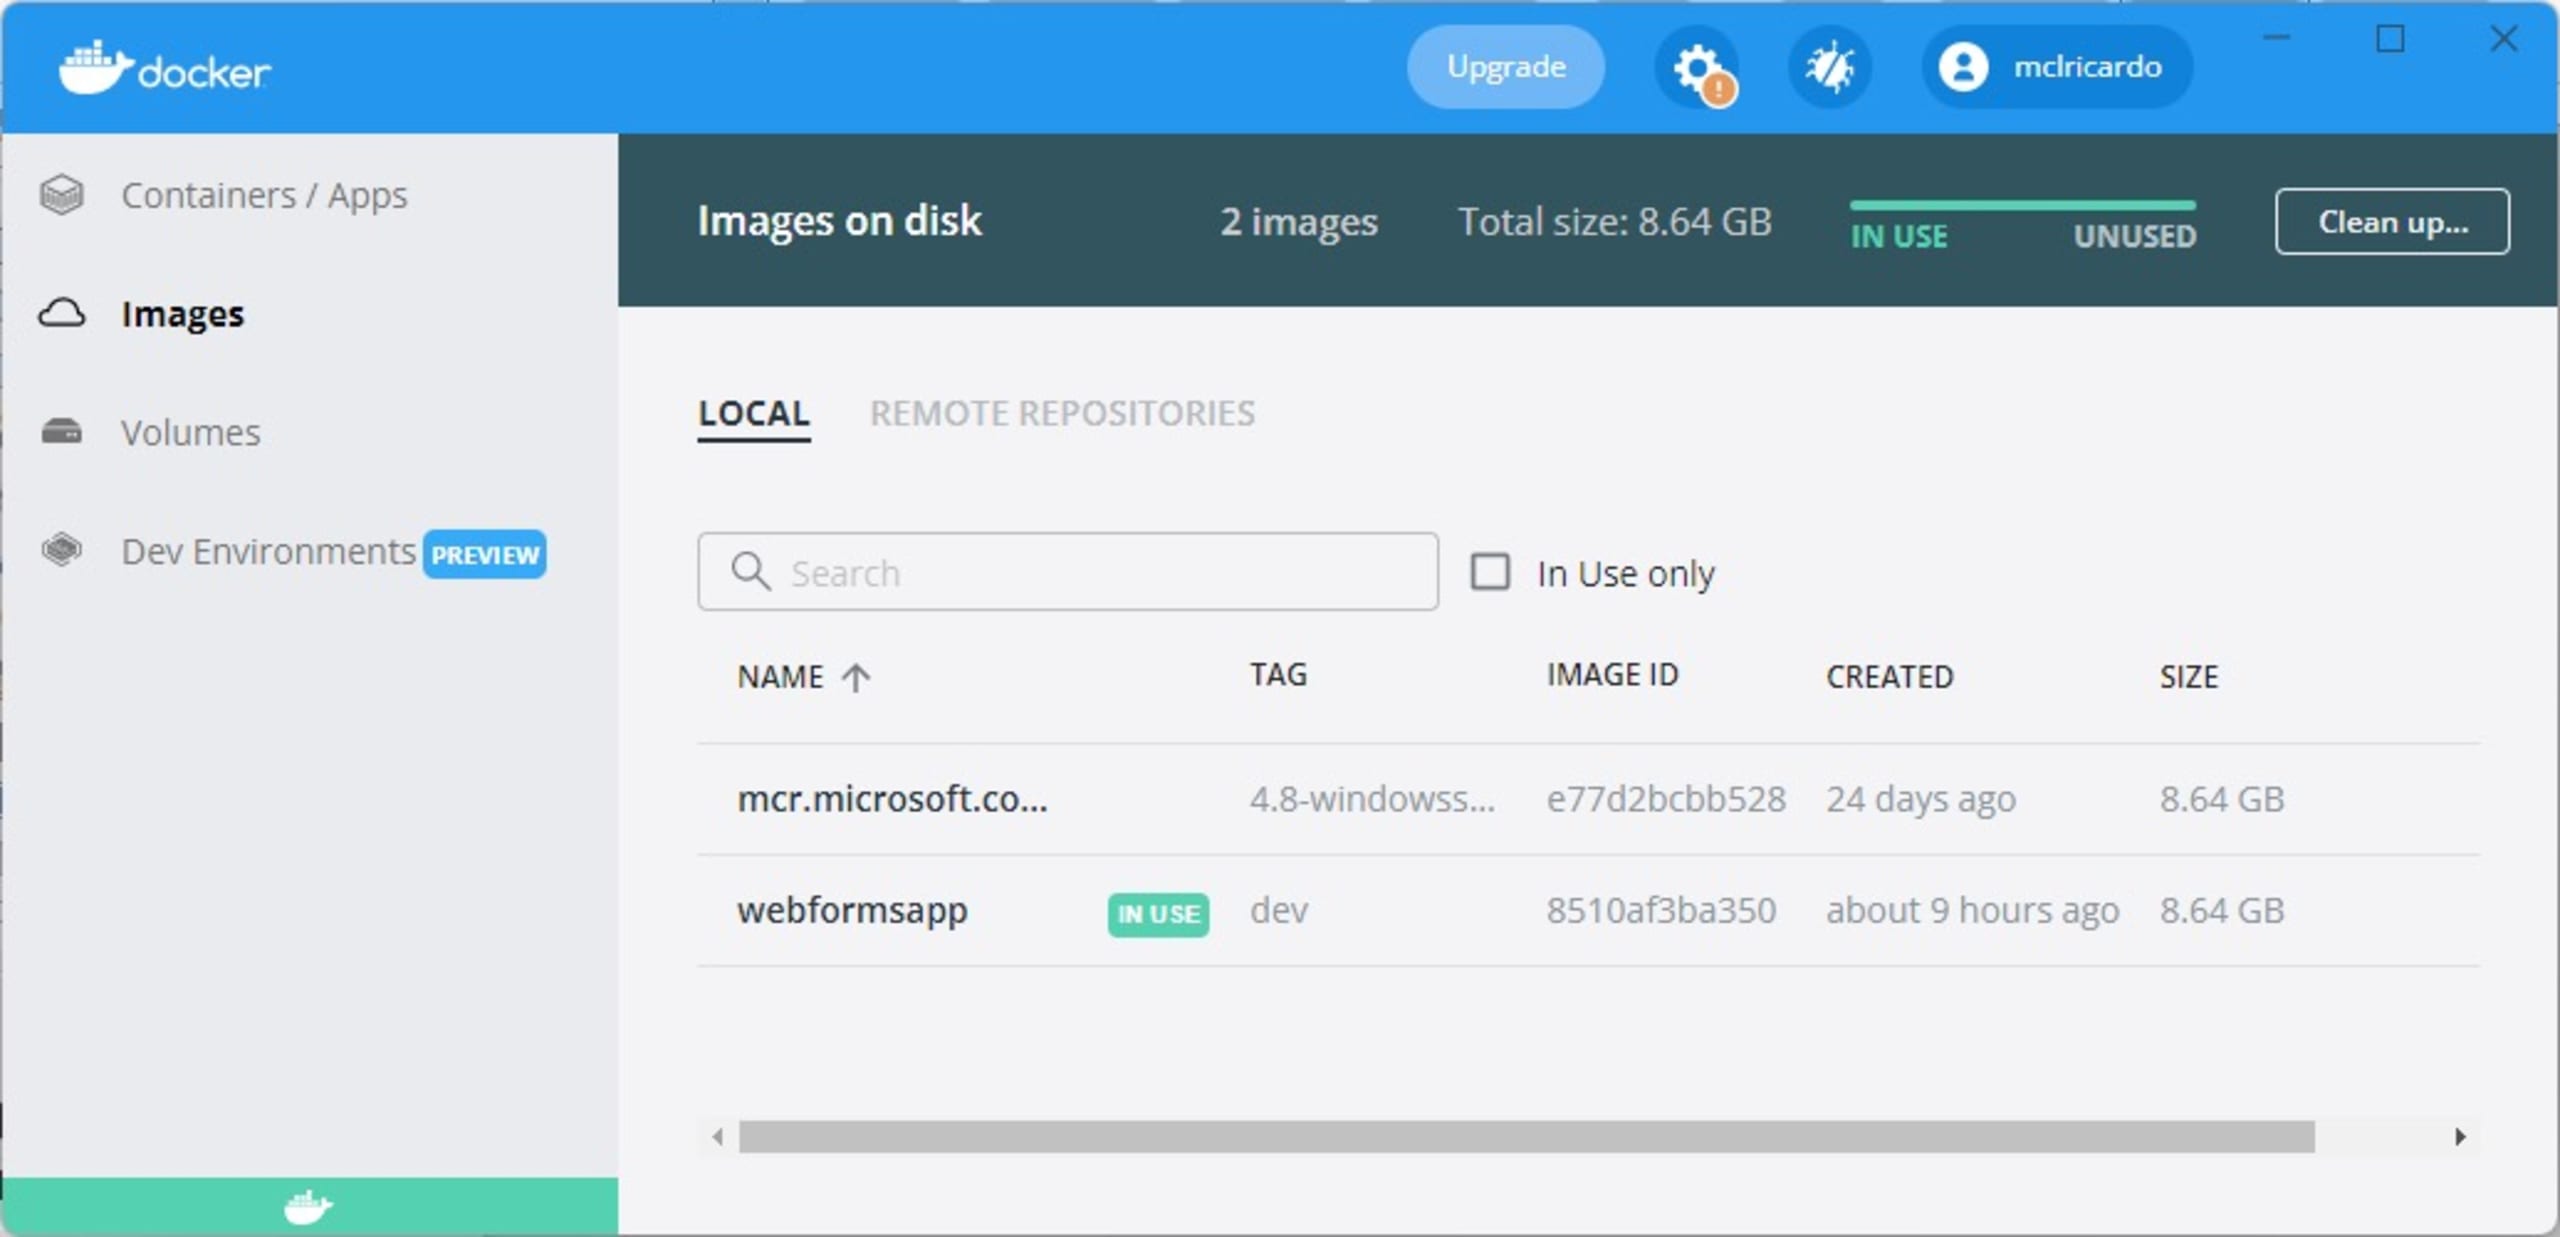
Open the Images tab to see the WebFormsApp image, which the WebFormsApp container runs from.
Finally, press Ctrl+F5 to build your Docker image and run it locally. When the container image is built and running in a Docker container, Visual Studio launches the web app in your default browser.

Now, return to Visual Studio and click the Dockerfile file:
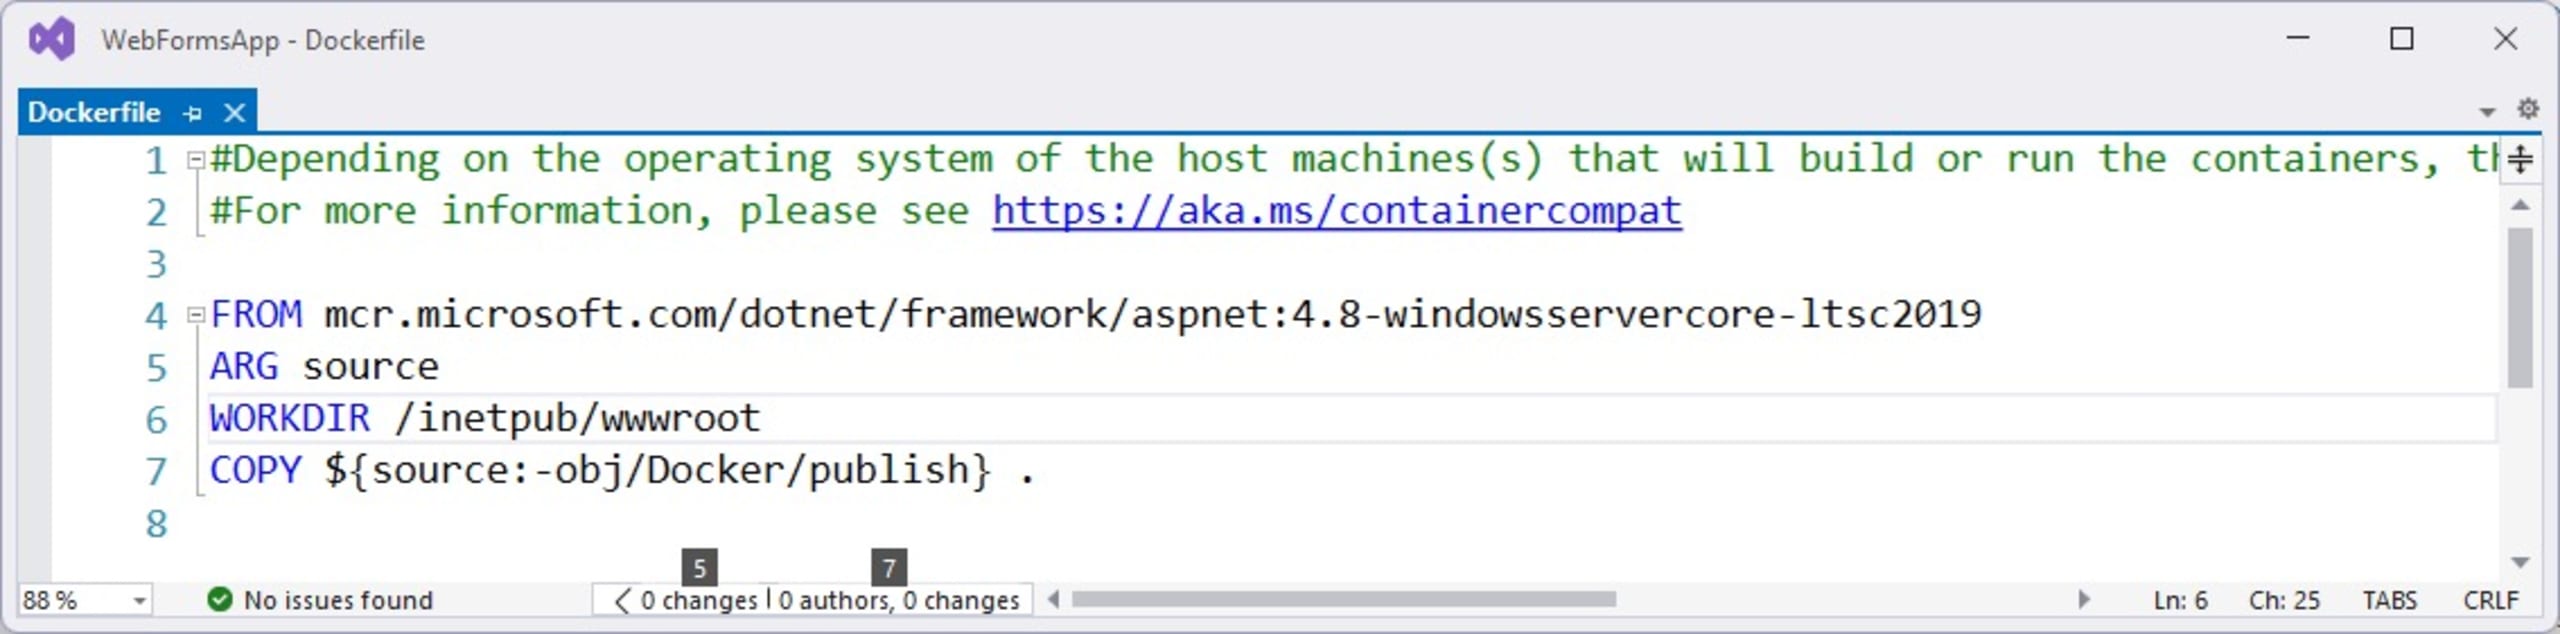
This will open the Dockerfile, which configures your project to run in a container.
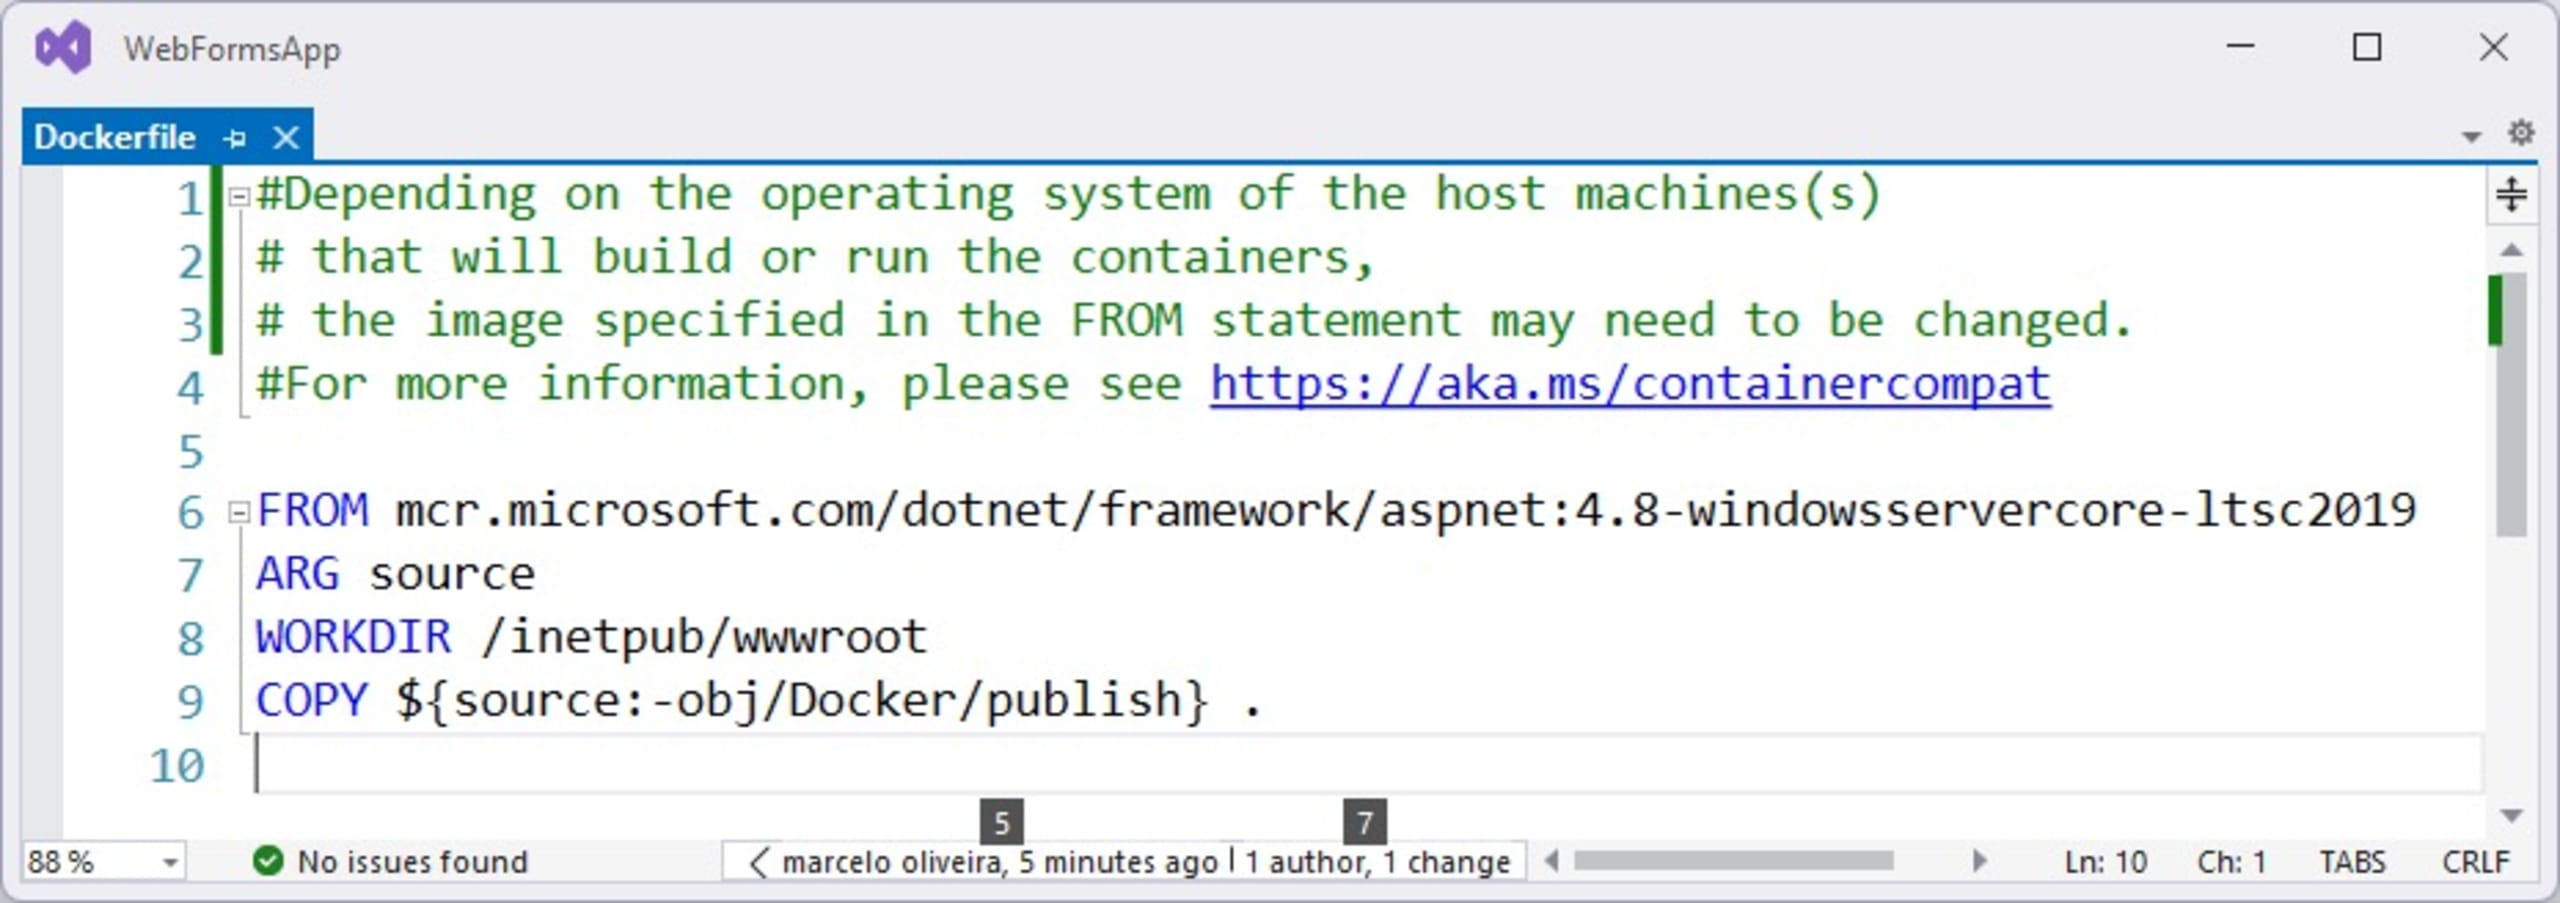
The FROM instruction initializes a new build stage and sets the Base Image for subsequent instructions. In this case, the image is aspnet:4.8-windowsservercore-ltsc2019, which Docker pulls from Microsoft’s image repository.
Of course, it’s more likely that your Web Forms project wasn’t initially created with Docker support. To simulate this particular situation, create a new ASP.NET Web Forms project, but this time without Docker support:
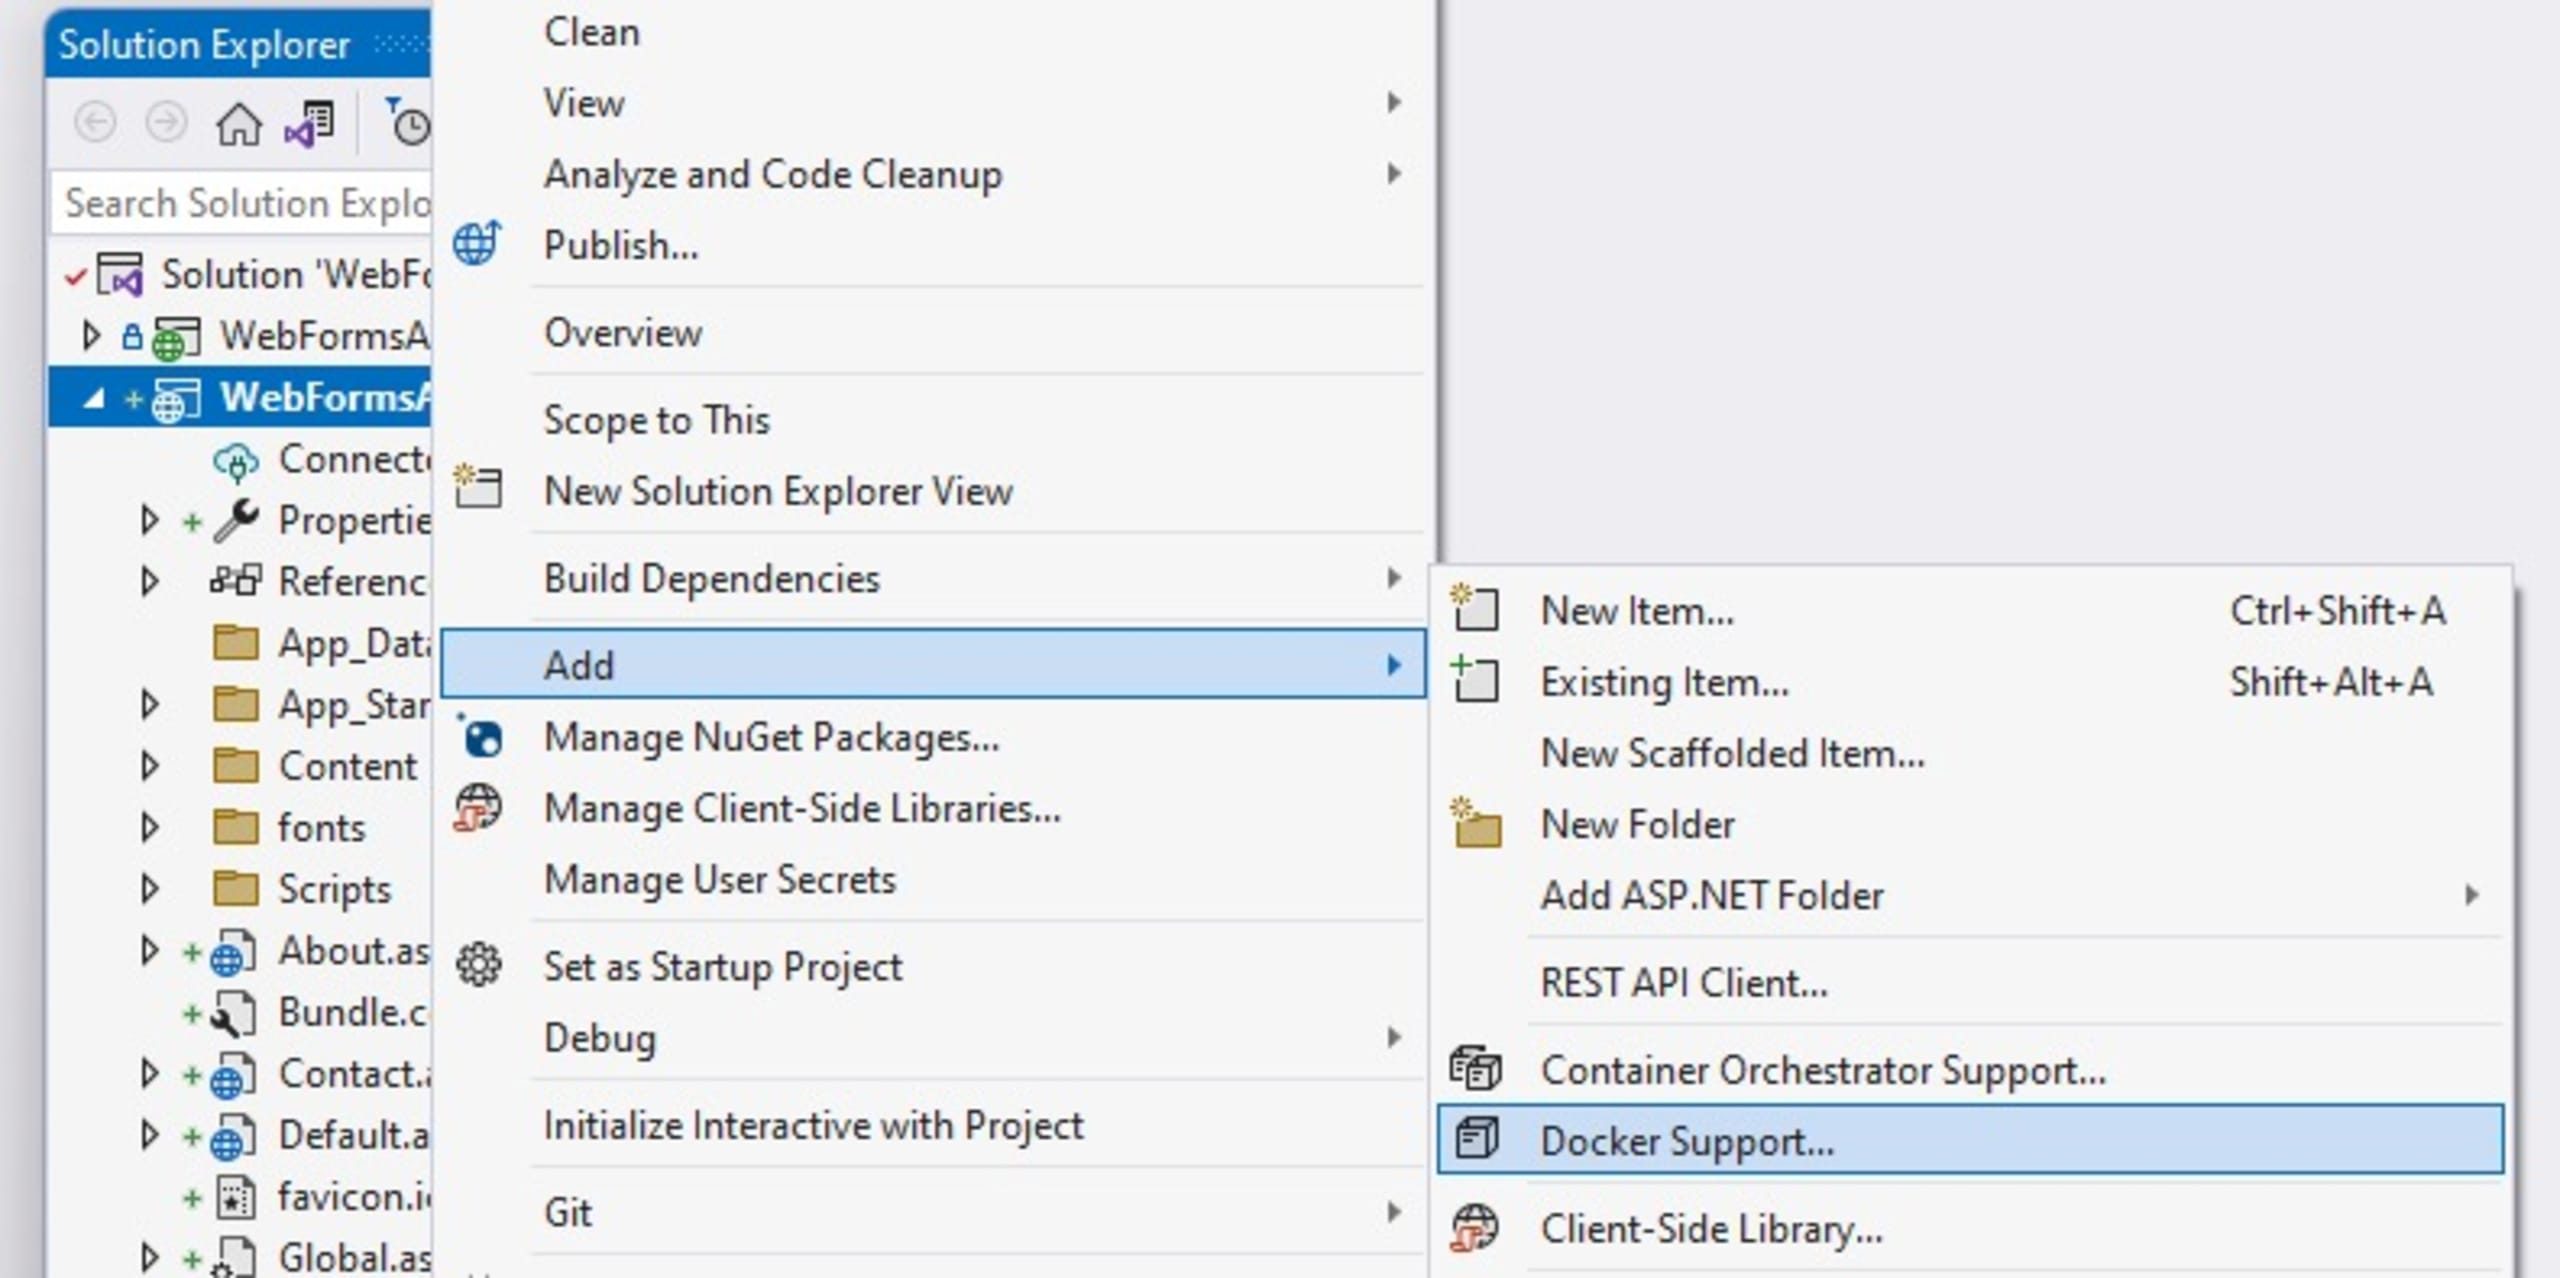
Now, let’s add a Dockerfile to the new project. Right-click on the project name, choose the Add menu, and then the Docker Support submenu:
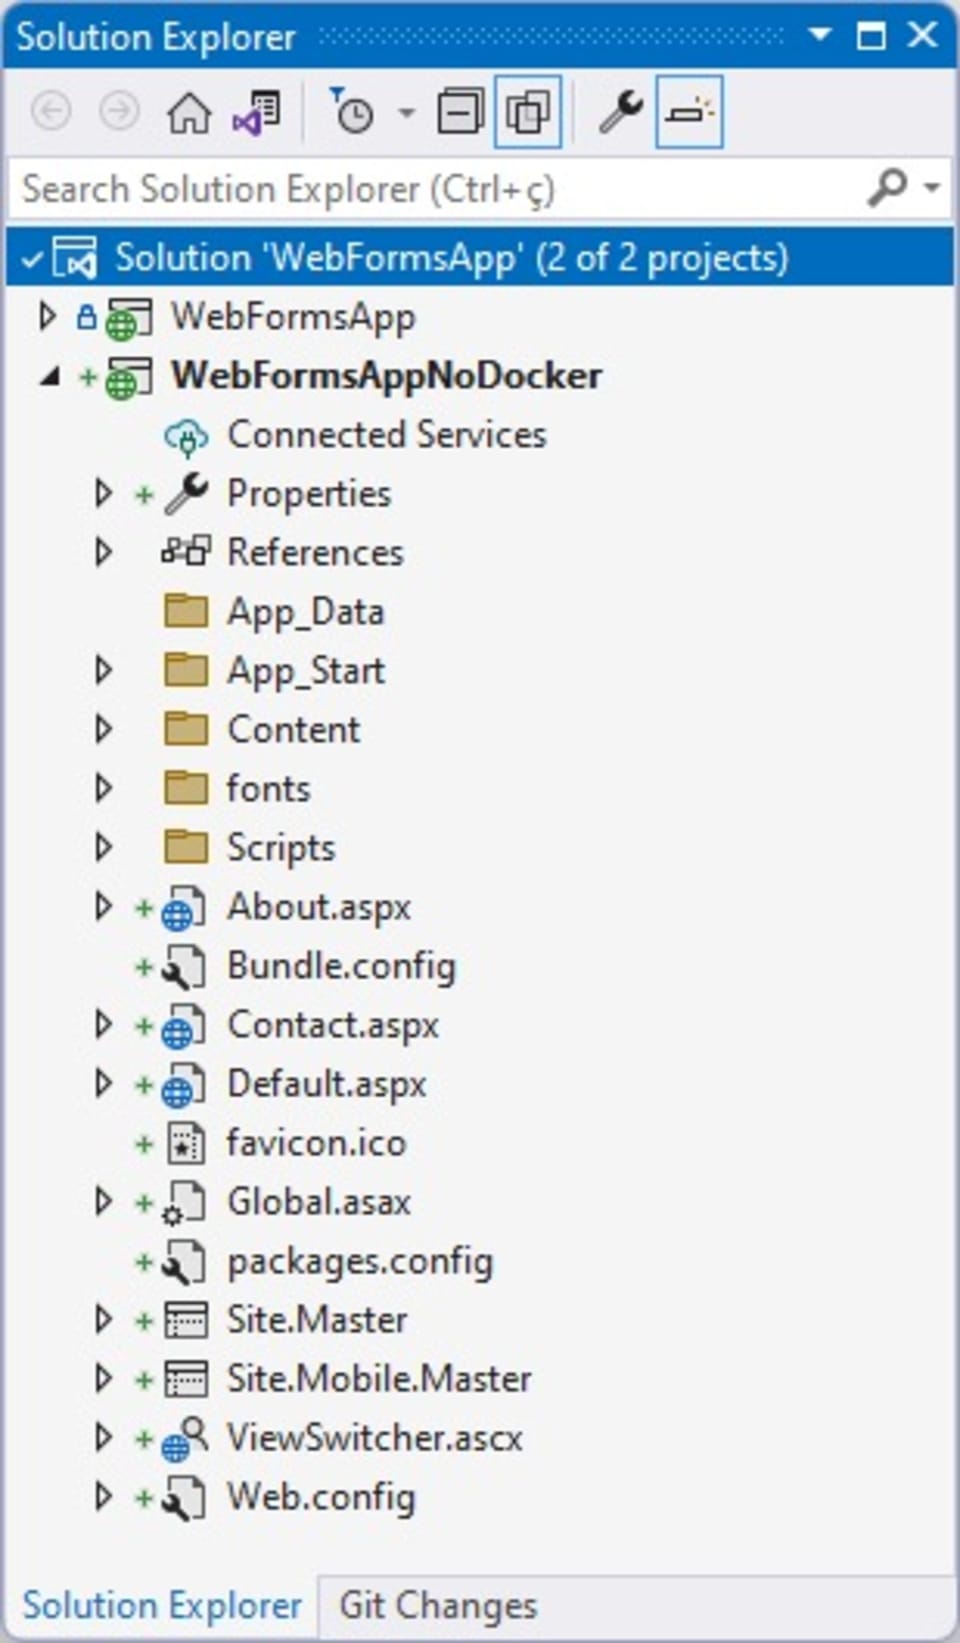
This will make Visual Studio create the Dockerfile project automatically.
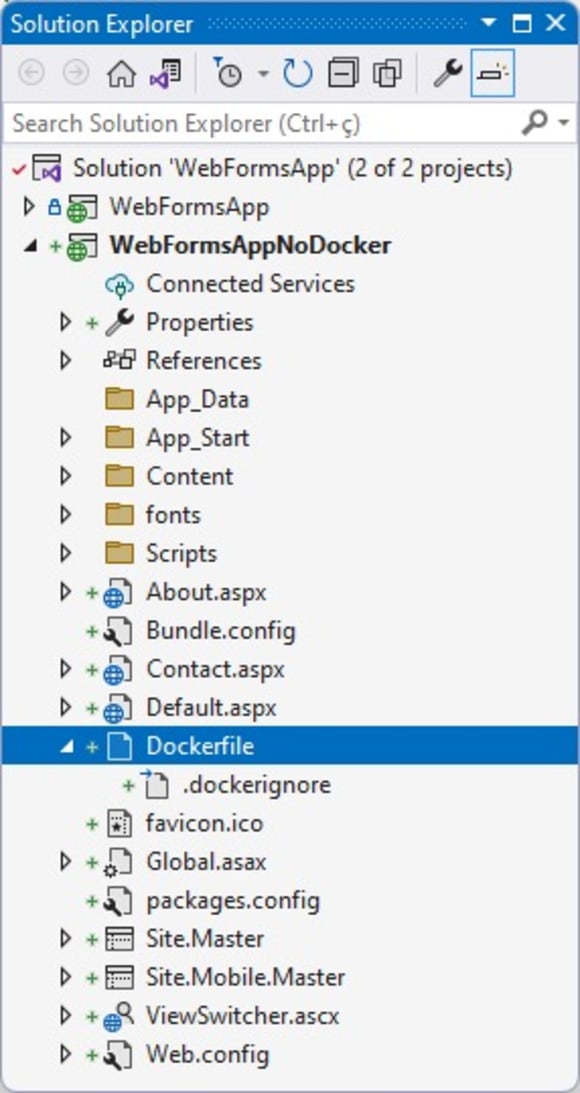
Note that Visual Studio has already selected the image and source code path from which the container will be generated.
From here, your project already has the support and benefits inherent to containerization with Docker — including portability, agility, faster delivery, improved security, and easier management.
Keep container images as small as possible
Both Linux and Windows containers offer slim base images that contain only the apps and services necessary for your application to work. A small image with minimal dependencies minimizes the number of vulnerabilities introduced through the dependencies, reducing the attack surface.
Let’s discuss some base images that .NET developers might consider for small containers. First, if you’re still using ASP.NET Framework 4.x, which is not supported in Linux, your only option is Windows containers. Microsoft’s recommended slim base images are Windows Server Core and Nano Server.
Windows Server Core is a minimal, command-line-driven OS for performing Windows Server roles and running applications that don't require the standard Windows graphical user interface. Nano Server is an operating system optimized for private clouds and data centers. Nano Server has no local logon capability, is smaller, and restarts much faster than Server Core.
For .NET Core and .NET 5+, SDK images should only be used for the build, and runtime images should be used for production deployments as part of a multistage build. Some sufficient slim base images include the Debian bullseye-slim-amd64 and Alpine Linux images.
We can make base images even smaller by using images for the .NET runtime dependencies and building our .NET application in self-contained mode — so we only pull the dependencies our app needs and nothing more.
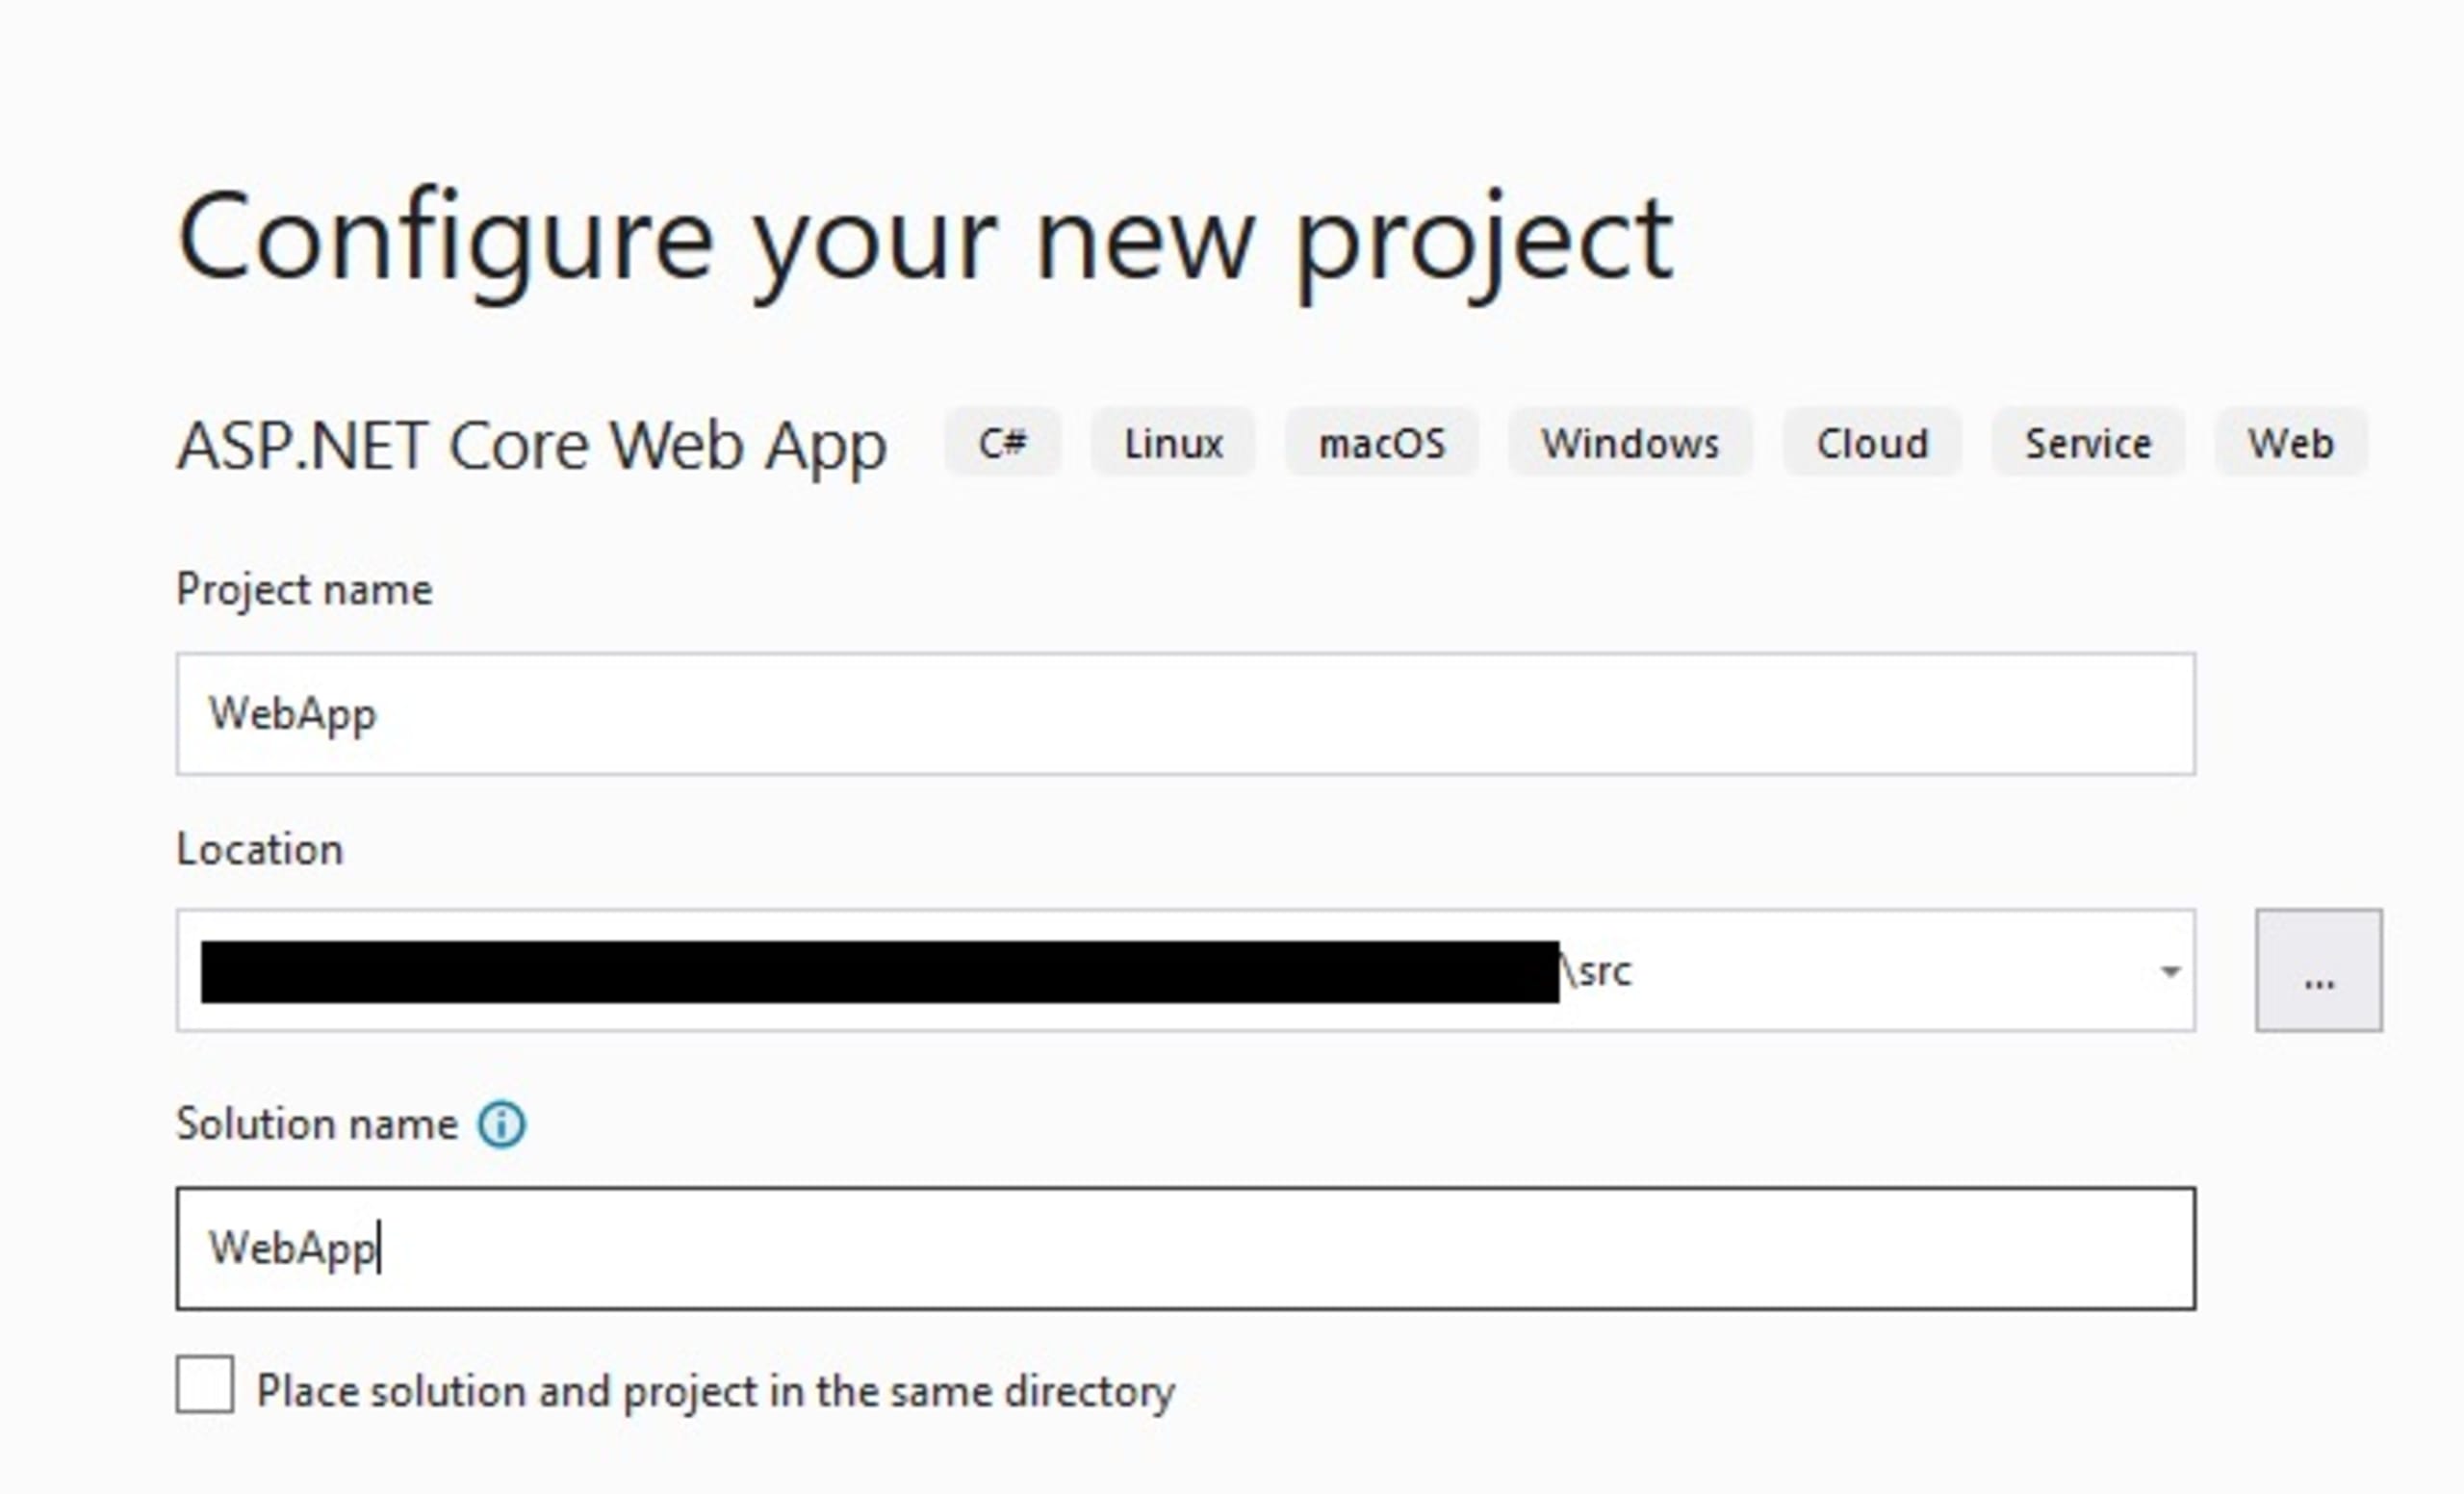
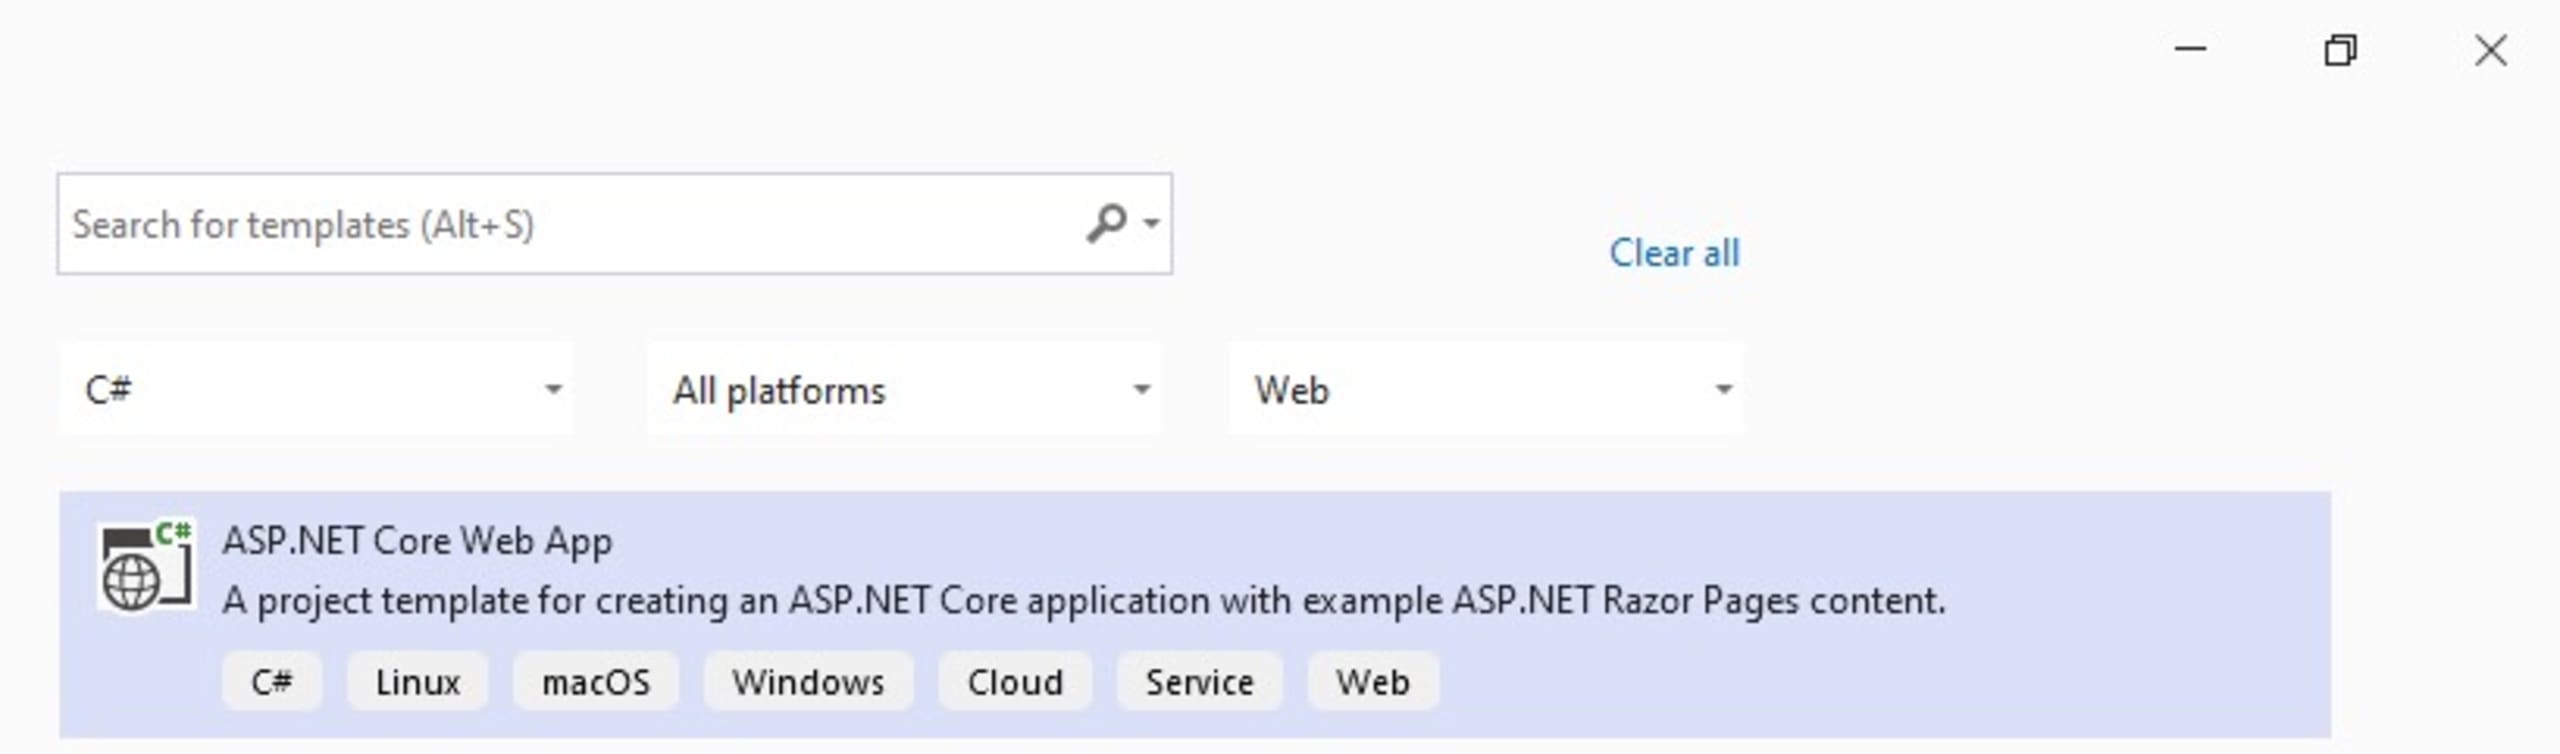
Now, let’s practice building a .NET 6 web application with slim images. Open Visual Studio 2022, click Create New Project, and select the ASP.NET Core Web App type.
Give the project a name, such as WebApp.
Click Next and select these options:
.NET 6.0 Framework
Authentication type: None
Configure for HTTPS: Check
Enable Docker: Check
Docker OS: Linux
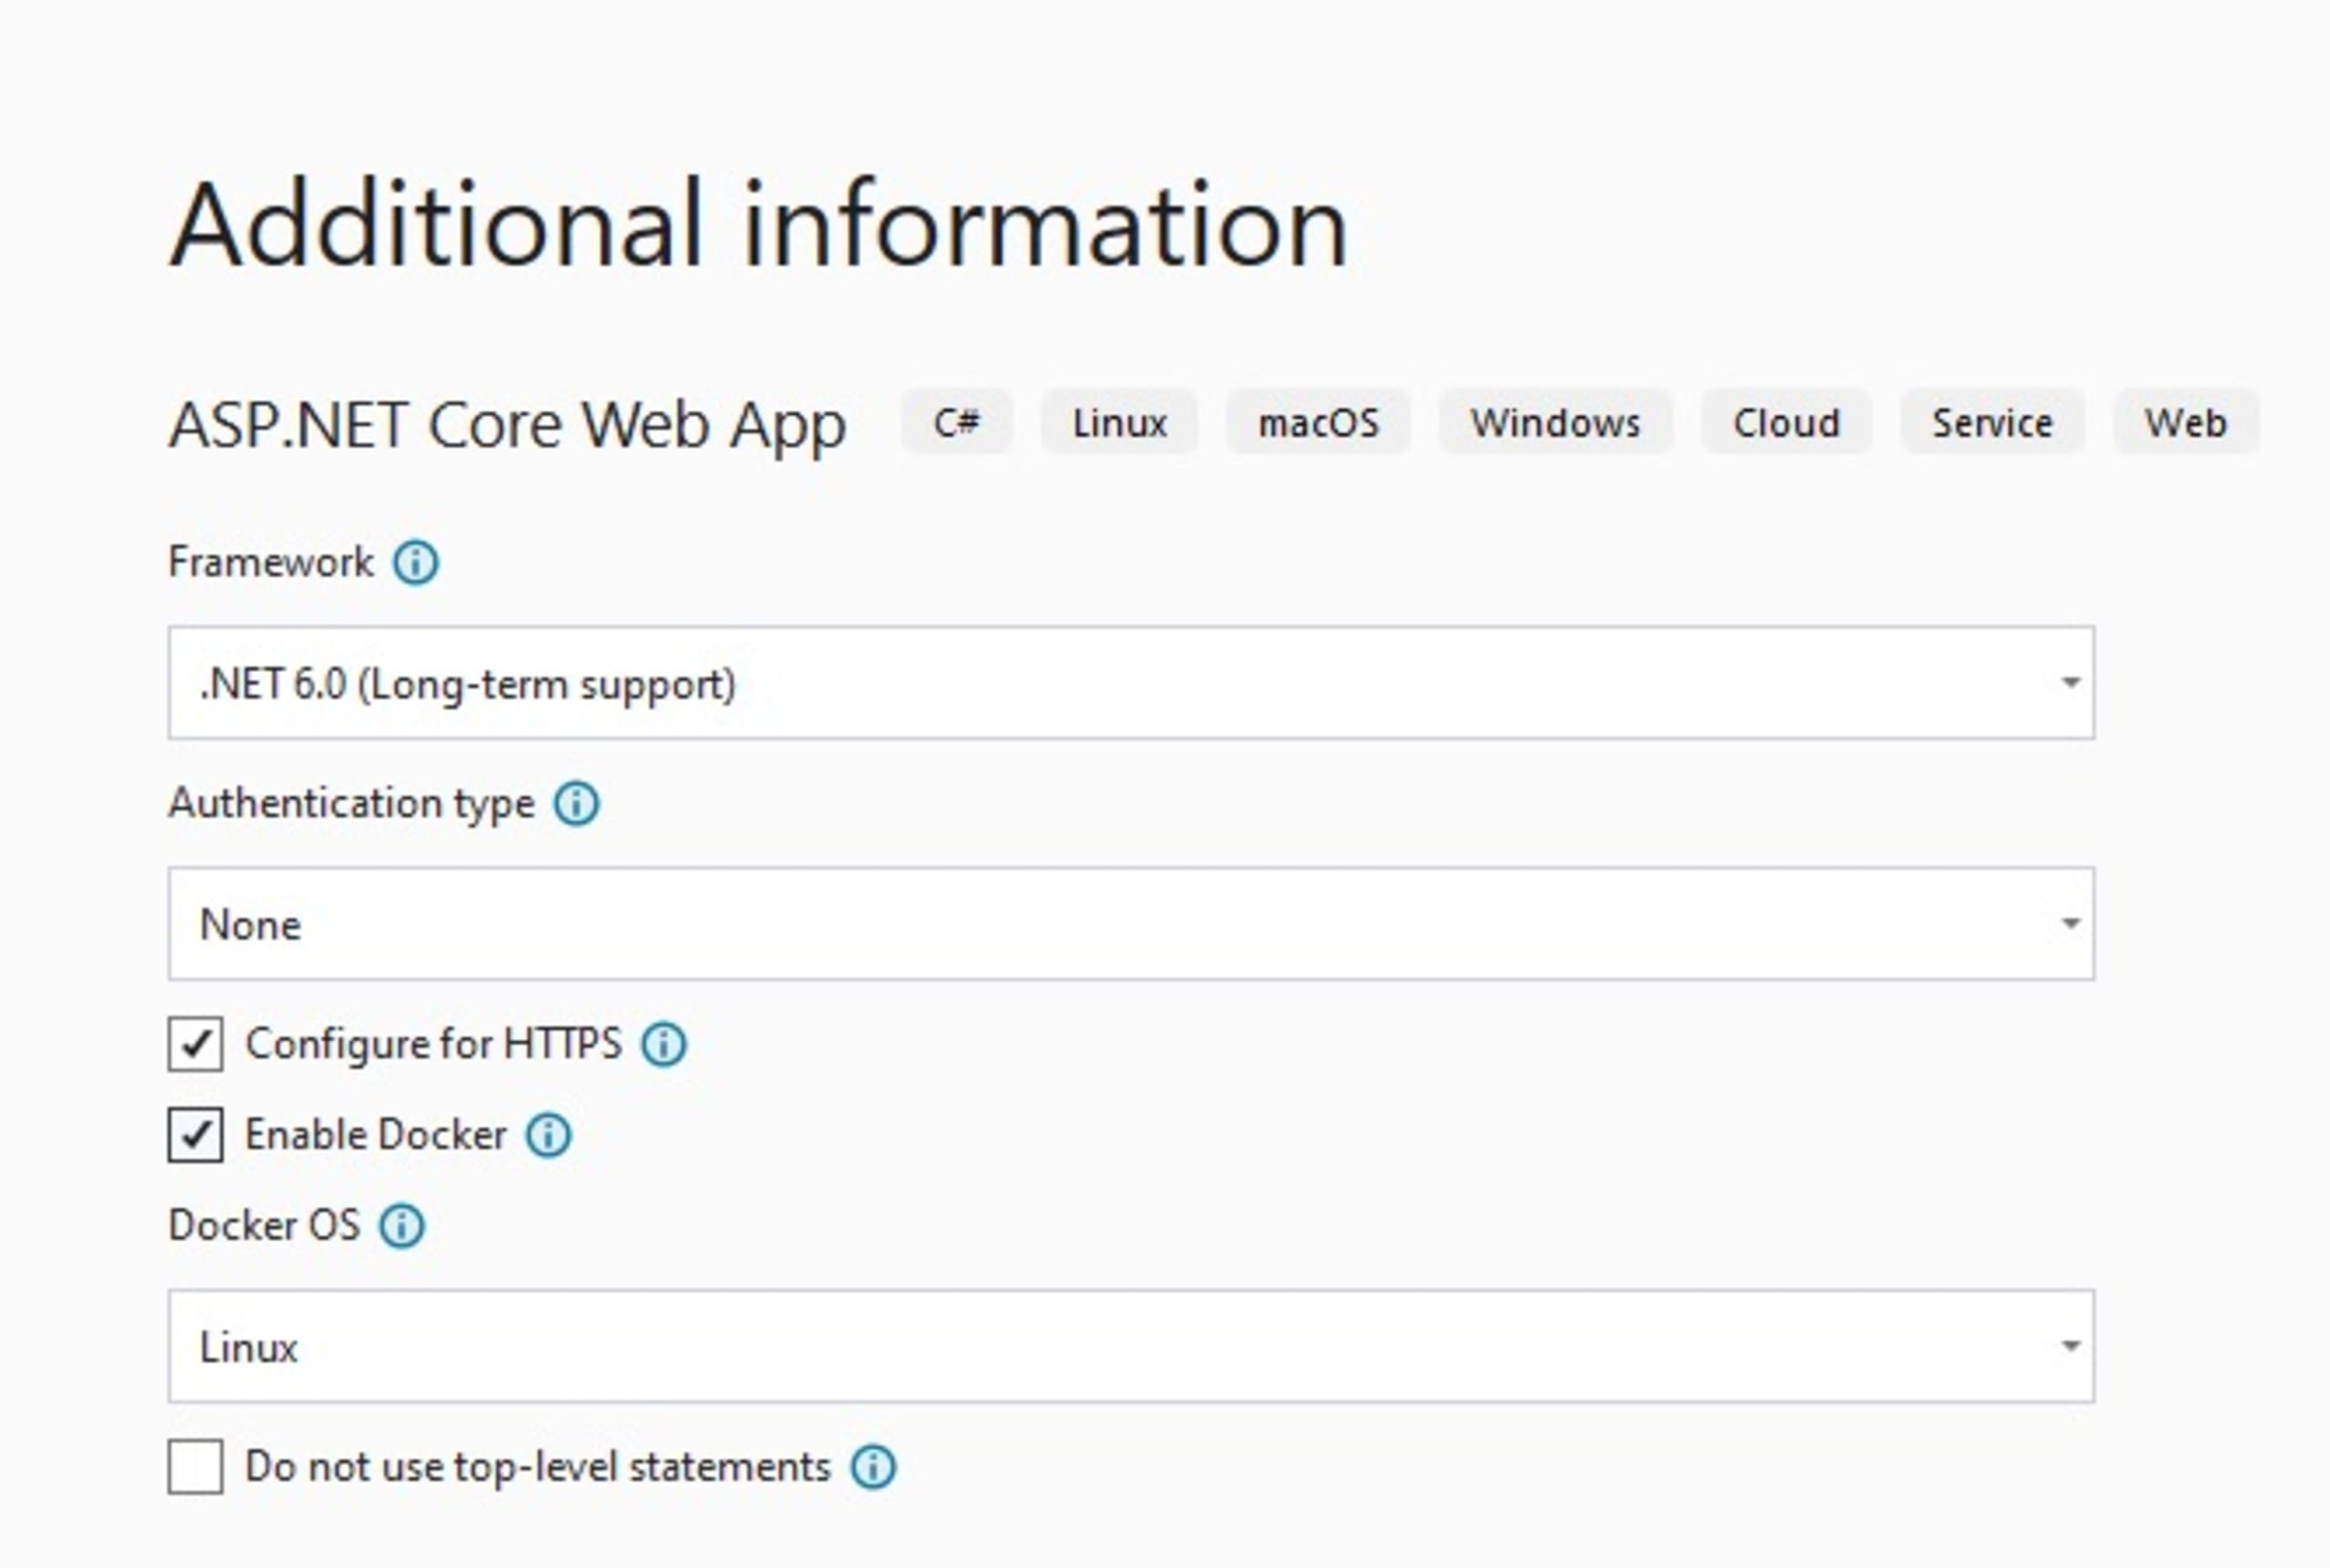
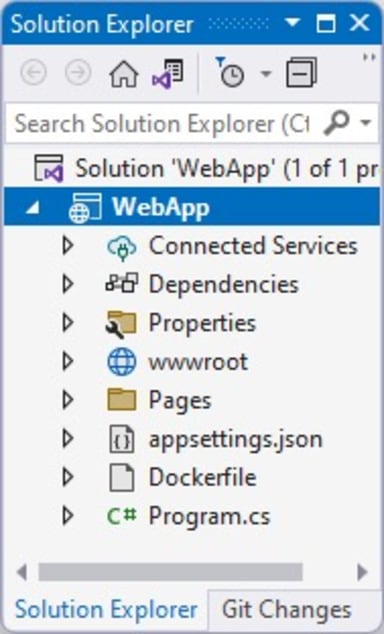
Click the Create button and observe the new project on Visual Studio.
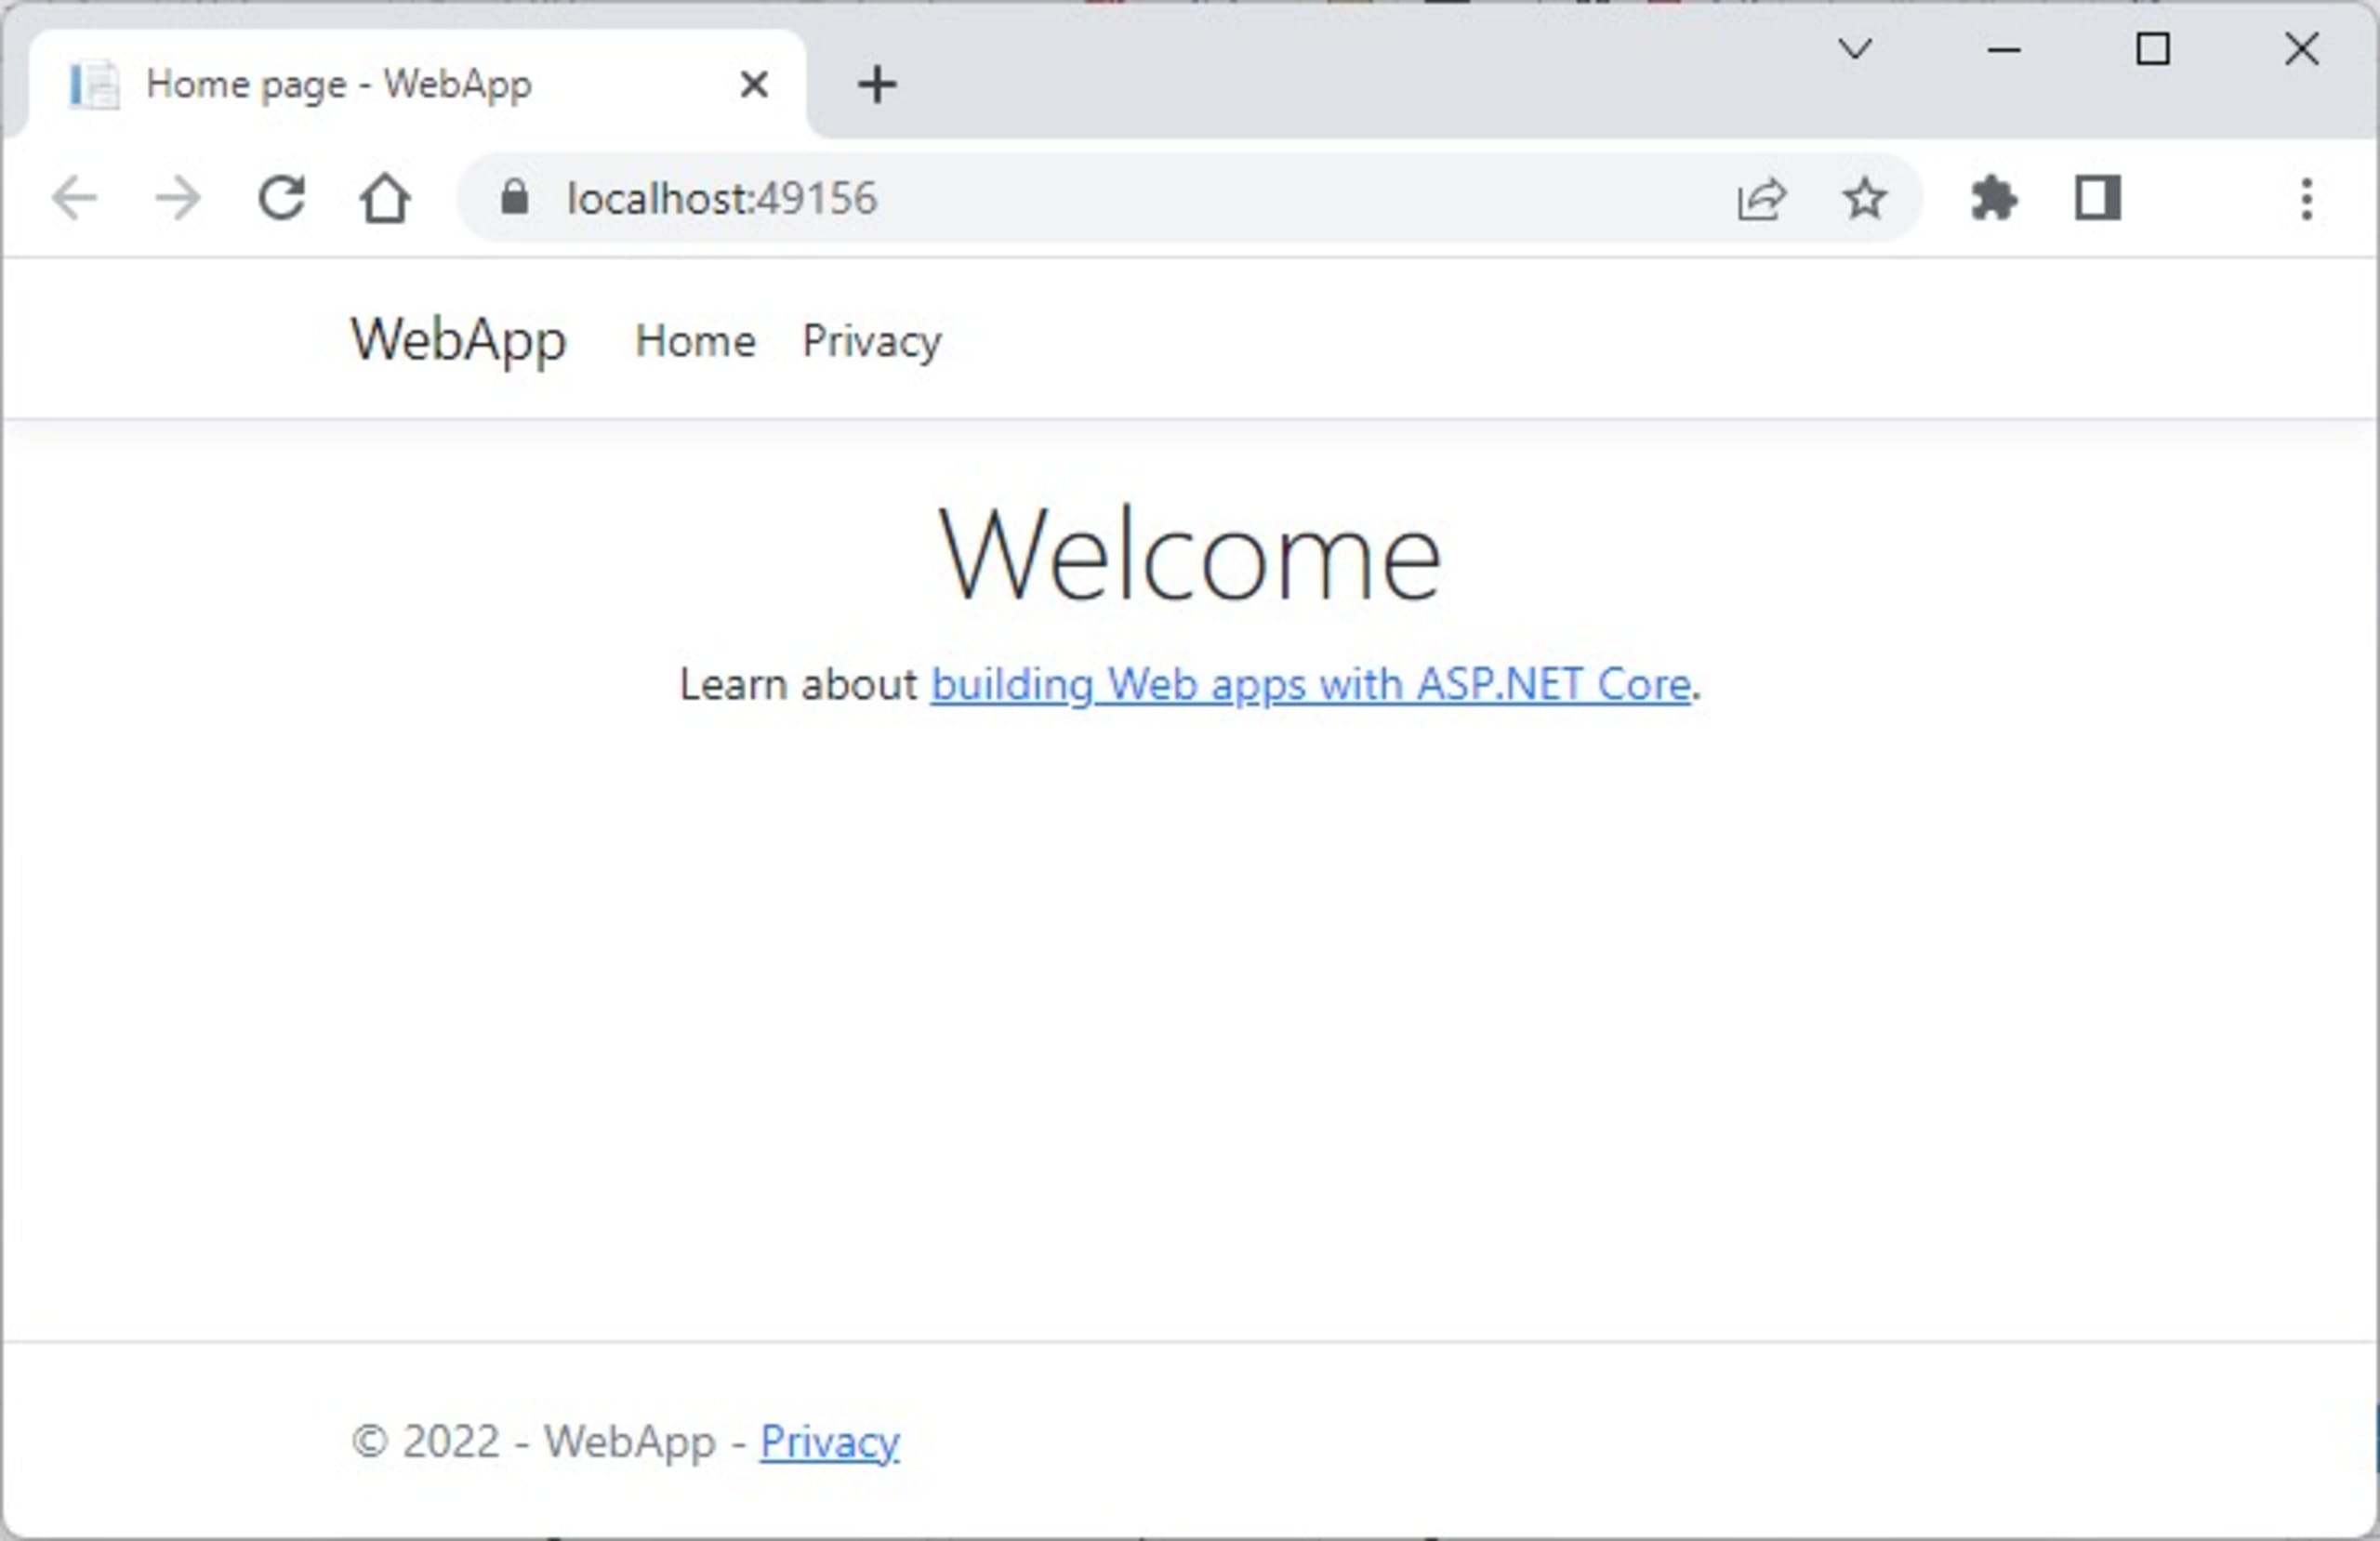
Now press F5 to run the web app hosted on your local Docker container.
Now run the docker images command to get a list of Docker images on your system:
This command will result in something like the following:
Note that the app is running on a Linux container, and the size of the webapp image above is 208 MB.
Next, let’s reduce the size of our web app container image.
Stop the app on Visual Studio, and open the Dockerfile file. You’ll see the following block instructing Docker to pull the dotnet/aspnet:6.0 and dotnet/sdk:6.0 images from the Microsoft Container Registry (mcr), and use them as base images for your app container:
Then press F5 to rerun the application. Once the web app is up and running, execute the docker images command to get a list of Docker images on your system:
Your image list will appear like the following:
Note that the webapp image has been rebuilt, and its size is now 100 MB (108 MB smaller than the original image).
Scan images for vulnerabilities
Frequently updating the codebase is a best practice in itself. The most obvious advantages include having access to new features, bug fixes, a better user interface, and improved performance. But the security updates are equally important.
There may be unpatched vulnerabilities in the base image’s operating system or libraries, and any scripts, code, and apps added to the base image may contain vulnerabilities that we don’t want to accidentally ship to production.
Scanning containers for vulnerabilities is essential to assess potential security risks and take the appropriate action. In this case, let’s pick an old .NET image: mcr.microsoft.com/dotnet/core/aspnet:2.2.
Let’s open the project on Visual Studio and add a Dockerfile to the new project. Right-click on the project name, choose the Add menu, and then click the Docker Support submenu.
Now open the Dockerfile file and replace its contents with the following code:
Next, we’ll see how to apply image scanning to discover how vulnerable our container is. First, run the docker images CLI command to list your current local images:
Then run the snyk auth command to authenticate for the Snyk CLI:
Once the account has been authenticated, we’re ready to use the Snyk CLI. Let’s run the snyk container test <repository>:<tag> command to test the image we’ve built locally, and made available in our local Docker daemon:
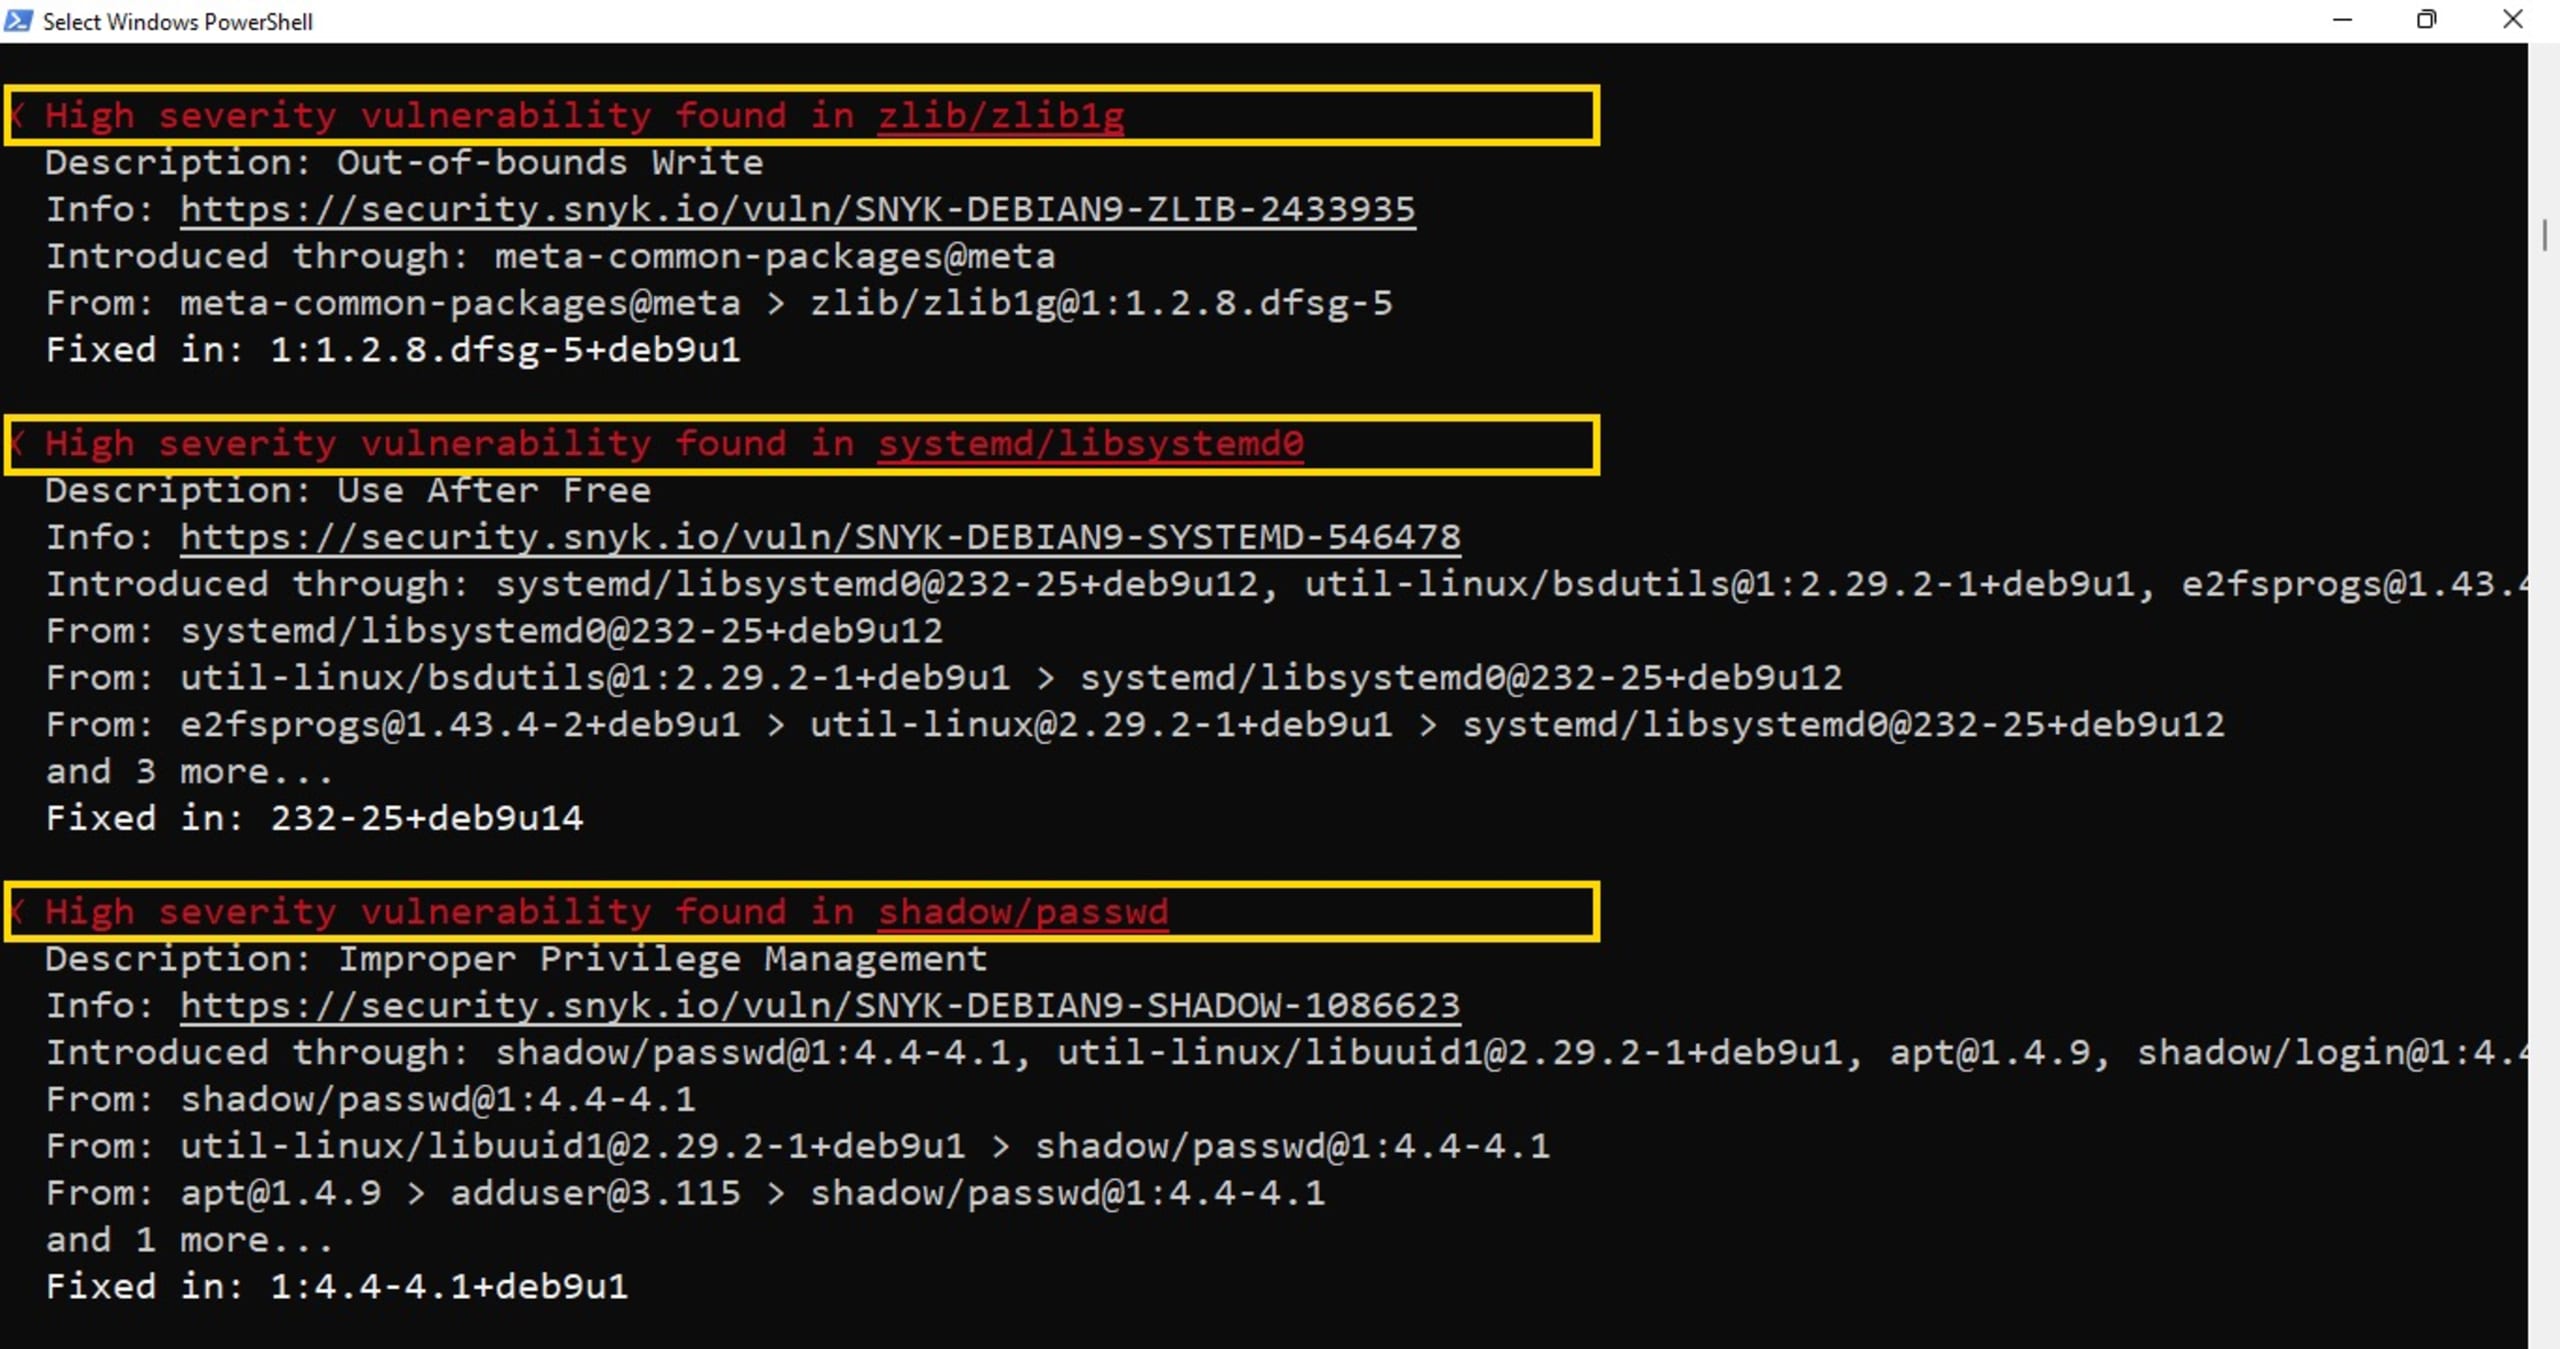
The snyk container test command generates a list of the components installed in the image, sends that list to the Snyk service, and returns a list of the vulnerabilities in our image.
In the end, the image scanning found 193 vulnerabilities:

To monitor the image, run the snyk container monitor <repository>:<tag> command:

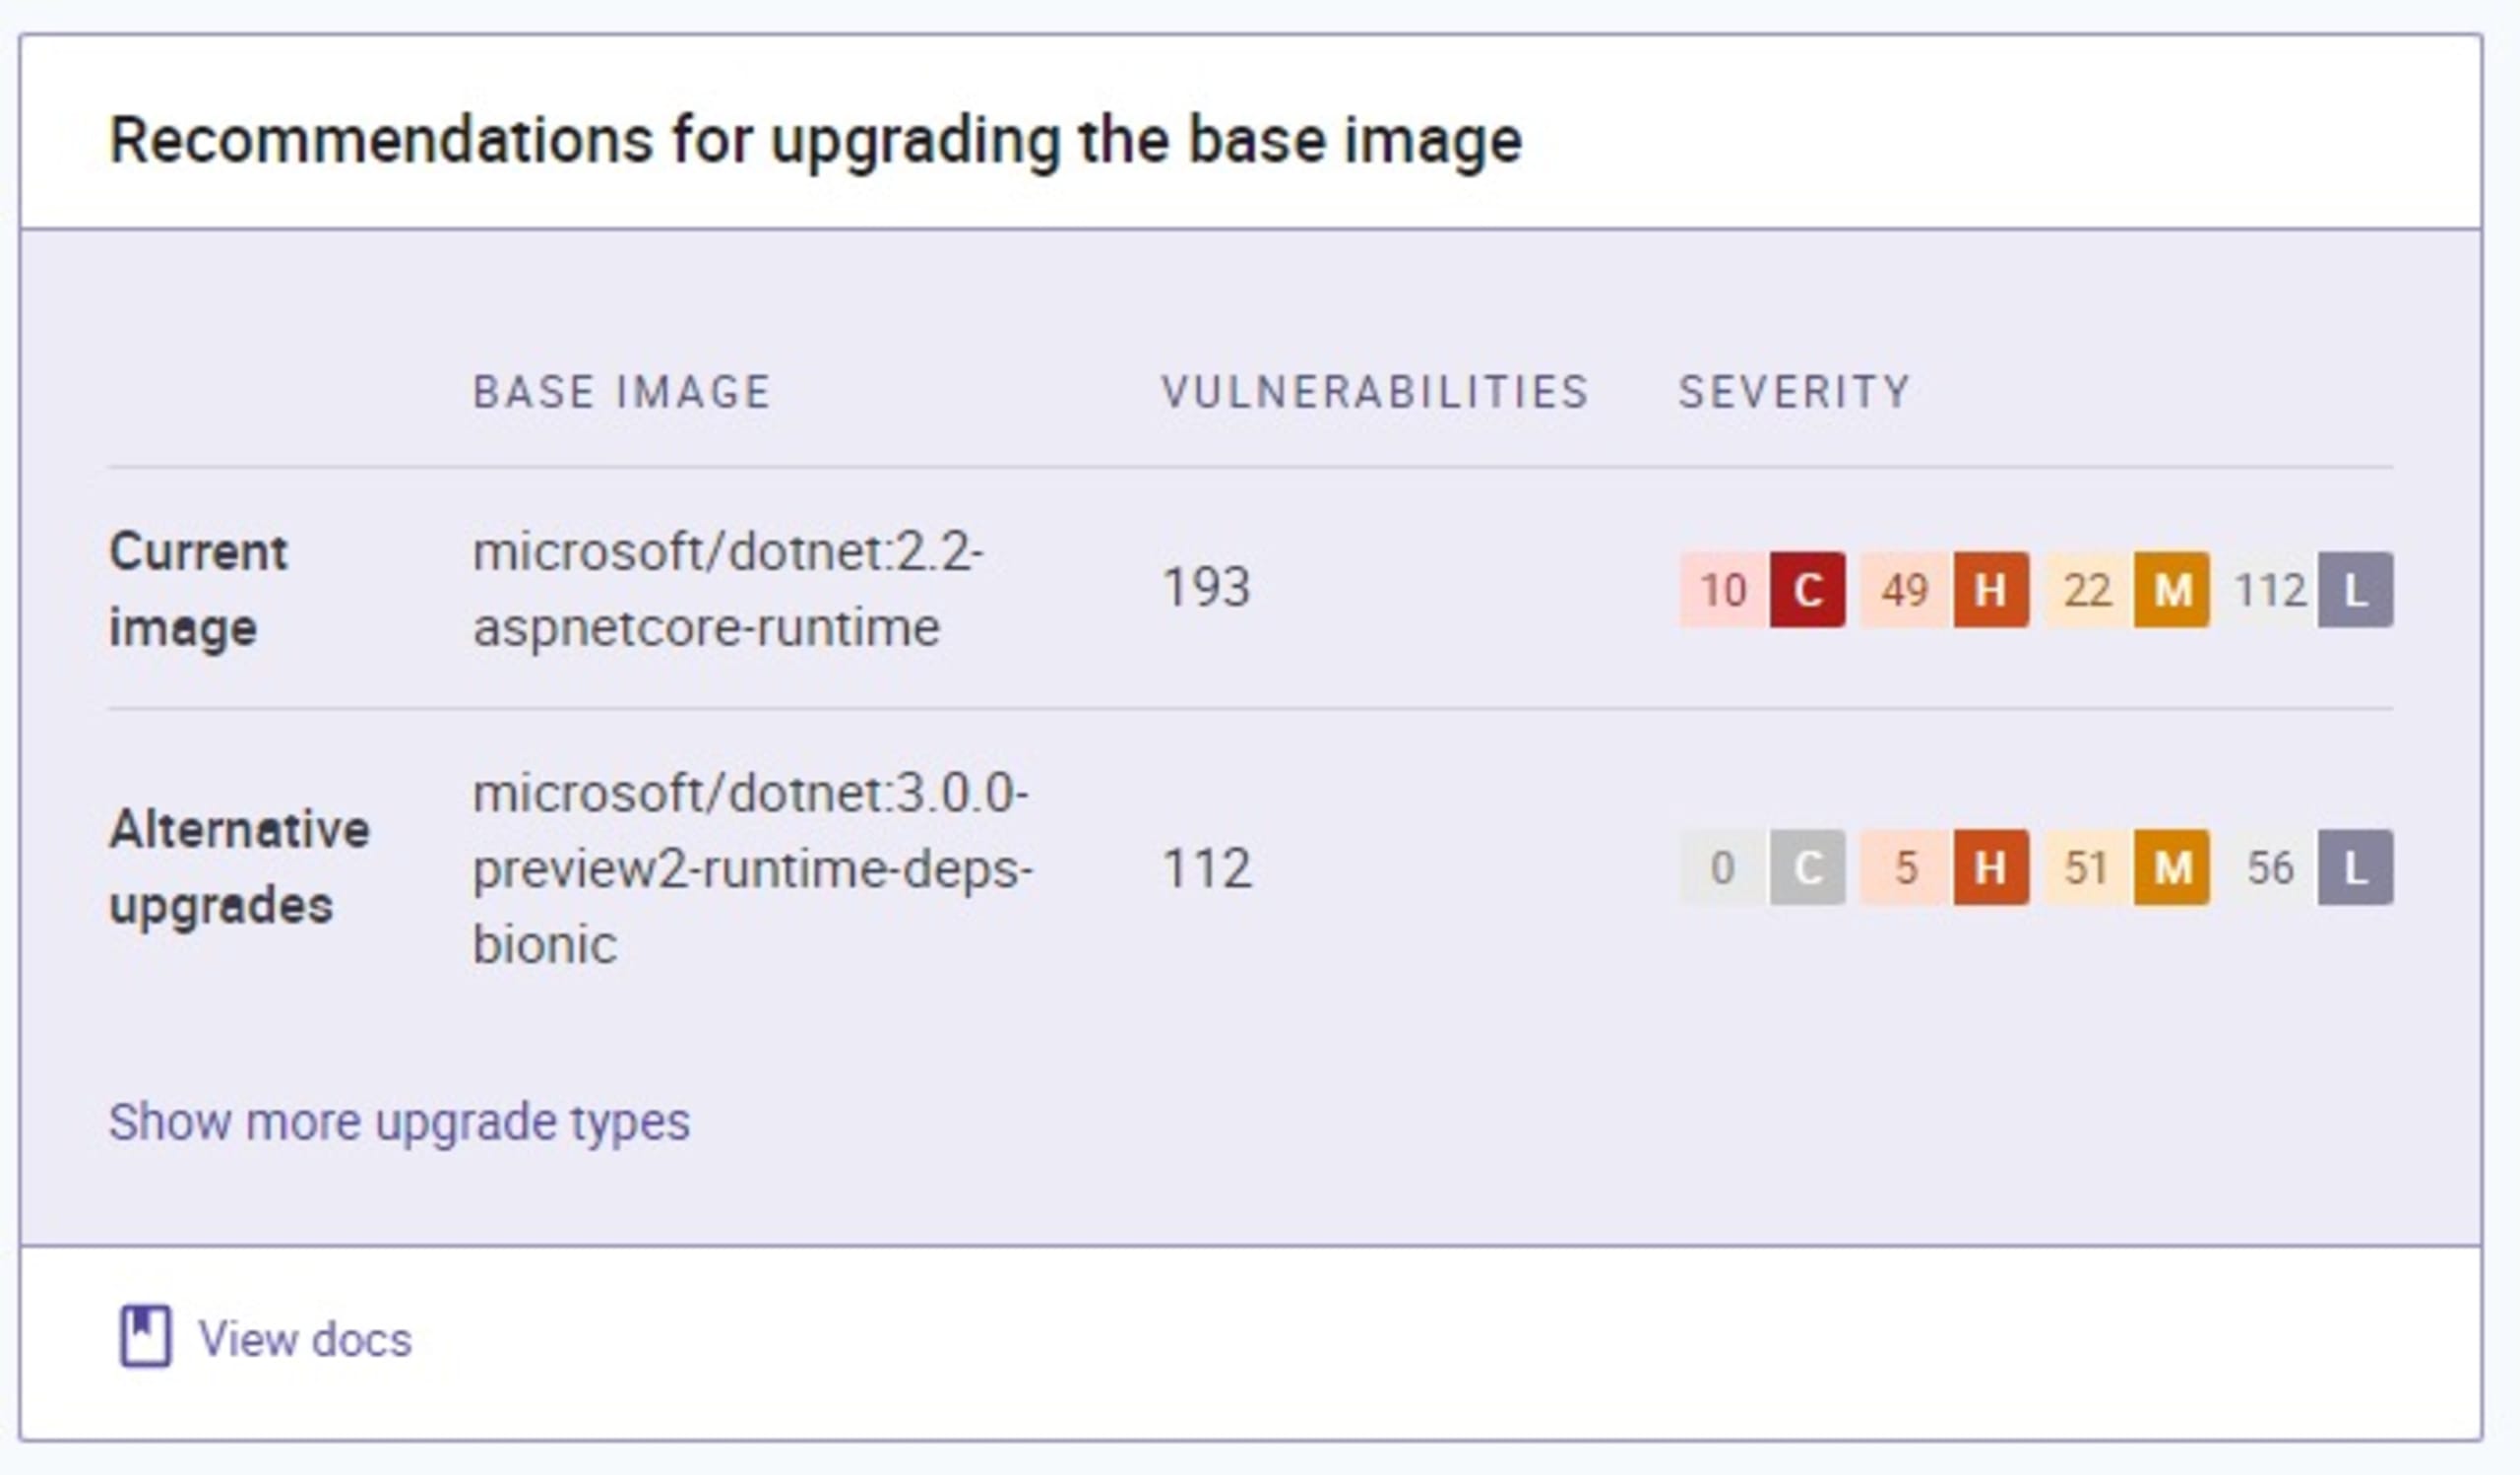
The snyk container monitor command generates a list of the components installed in the image, sends that list to the Snyk service, and returns a link to the Snyk service at http://app.snyk.io/org/{YOUR-ACCOUNT}/, where you can see the results:
Top 3 containerization tips
We’ve seen many compelling advantages for developers and DevOps engineers to containerize .NET applications. However, containers are not a magical solution for all problems. We still need to implement some best practices that help demystify containers and give directions on how to get the most out of them.
Despite the persistent misconception that containers are just for .NET Core apps, we’ve seen how containers can benefit .NET Framework 4.x applications as well.
When it comes to the container image size, the smaller, the better. Fortunately, we’ve learned that some base images are small enough to contain only what our app needs to run, and reduce the attack surface to the container.
Lastly, we’ve seen how to mitigate security risks by scanning container images and keeping them updated. The Snyk container test and Snyk container monitor commands are invaluable tools that help us scan and continuously monitor our .NET containers for vulnerabilities. When used correctly, containerization can provide that extra layer of security and flexibility to our apps, regardless of their age.
Developer-first container security
Snyk finds and automatically fixes vulnerabilities in container images and Kubernetes workloads.