5 Tips for Agentic Coding with Gemini CLI
Artikel von
0 Min. Lesezeit
Who isn’t using AI coding agents today? Developers have an incredible new set of tools to accelerate their workflows. The Gemini CLI is a powerful, open source AI agent that brings the power of Gemini directly to your terminal. However, the true magic of your AI-powered coding skills lies in learning how to control and customize these tools to your exact needs and software engineering workflows.
I’ve been using Gemini CLI quite a lot in recent weeks, and in this article, I want to provide five top tips for you to get the most out of Gemini CLI. Whether you're worried about insecure code or you just want to speed up your daily tasks, I hope these tips will help you become a more efficient and confident developer who uses AI to accelerate your work.
1. Use GEMINI.md
Agentic coding works best when the AI understands your project's unique context. Simply telling the agent to "write a feature" isn't enough; you need to properly provide it with guardrails, coding style, and other project-relevant guidelines that align with your team's conventions.
You’ve probably heard about this before from Cursor’s “cursorrules” and Claude’s “CLAUDE.md”; Gemini CLI is no different. That's where GEMINI.md comes in.
By creating a GEMINI.md file in your project's root directory, you can provide a "system prompt" that gives the Gemini CLI agent all the information it needs. Think of it as a playbook for the AI. You can specify:
Coding conventions: Define your preferred style, such as using camelCase for variables or requiring JSDoc comments.
Tech stack: Tell the agent which frameworks and libraries you're using (e.g., React, Next.js, Express) so it doesn't suggest incompatible code.
Testing guidelines: Instruct the agent to always write unit tests with your preferred testing framework (my favorite is Node.js built-in test runner) or to follow a specific testing pattern.
Project-specific nuances: Include details about your database schema, API endpoints, or any other critical information for your project.
Here is an example of GEMINI.md:
The Gemini CLI automatically reads this file, ensuring that all its suggestions are grounded in your project's reality, not just general knowledge. It's a simple, yet powerful way to ensure consistency and quality across your codebase.
2. Scared the Gemini CLI adds insecure code or vulnerable dependencies? Add Snyk MCP Server
The flip side of using an AI coding agent is the risk of introducing security vulnerabilities.
An agent might suggest an outdated or insecure dependency, or it could write code with a security flaw. This is a classic supply chain security risk, where a trusted tool inadvertently brings in dangerous components.
In a prior article, I’ve shown how Gemini Code Assist may introduce insecure code that attackers can exploit against you. Here’s a real example from a project. Can you find the vulnerability here?

To mitigate this security concern, you should extend the Gemini CLI's capabilities by adding the Snyk MCP server.
Note: If you’re new to the Model Context Protocol (MCP), I suggest reading up on this beginner's guide to visually understanding MCP architecture.
In short, an MCP is an open standard that allows you to give AI agents new "tools" and functionality. By integrating a Snyk MCP server, you're essentially giving your Gemini CLI agent the power to run security scans.
You can achieve a Secure at Inception security posture by configuring the Snyk MCP Server in your .gemini/settings.json file. Here’s a basic configuration:
With this configuration in place, you can prompt the Gemini CLI to scan for vulnerabilities. For example, you can ask it to:
"Check for insecure dependencies in my
package.jsonfile.""Scan the new code I just wrote for any potential security flaws and suggest a fix."
This integration empowers your agent to act as a security copilot, catching vulnerabilities before they reach your codebase and helping you fix them with an automated, AI-driven process.
Helpful resources to follow up on MCPs:
3. Native Google search with Gemini CLI
One of the built-in superpowers of the Gemini CLI is its ability to perform web searches using Google Search. This is critical for agentic workflows because it allows the agent to access information beyond its training data. More so, it is significantly helpful to your development workflow. Instead of switching back and forth between the browser and the terminal, and the IDE, you can just bake this “search the web” workflow into the terminal.
With the Gemini CLI's native Google Search tool, the agent can look up errors, framework documentation, and other information. The agent can then bring all of that context into the task at hand.
You don't need any special configuration for this; it's enabled by default. When you provide a prompt that requires up-to-date or external information, the agent will intelligently use Google Search to find what it needs, ensuring its responses are accurate and relevant.

4. One-off terminal helper with Gemini -p
Sometimes, you don't need a full-blown agentic session to refactor an entire project. You just need a quick assist with a one-off terminal task. The Gemini CLI offers a non-interactive mode for exactly this purpose.
By using the gemini -p <prompt> pattern, you can get a single, focused response without launching a persistent session. This is perfect for simple tasks like:
Asking how to correctly use
git rebasein a complex scenario.Figuring out the correct
curlcommand to test an API endpoint.Quickly generating a regular expression for a specific pattern.
This command provides the best of both worlds: the power of Gemini's reasoning in your terminal, with the speed and convenience of a quick, fire-and-forget command.

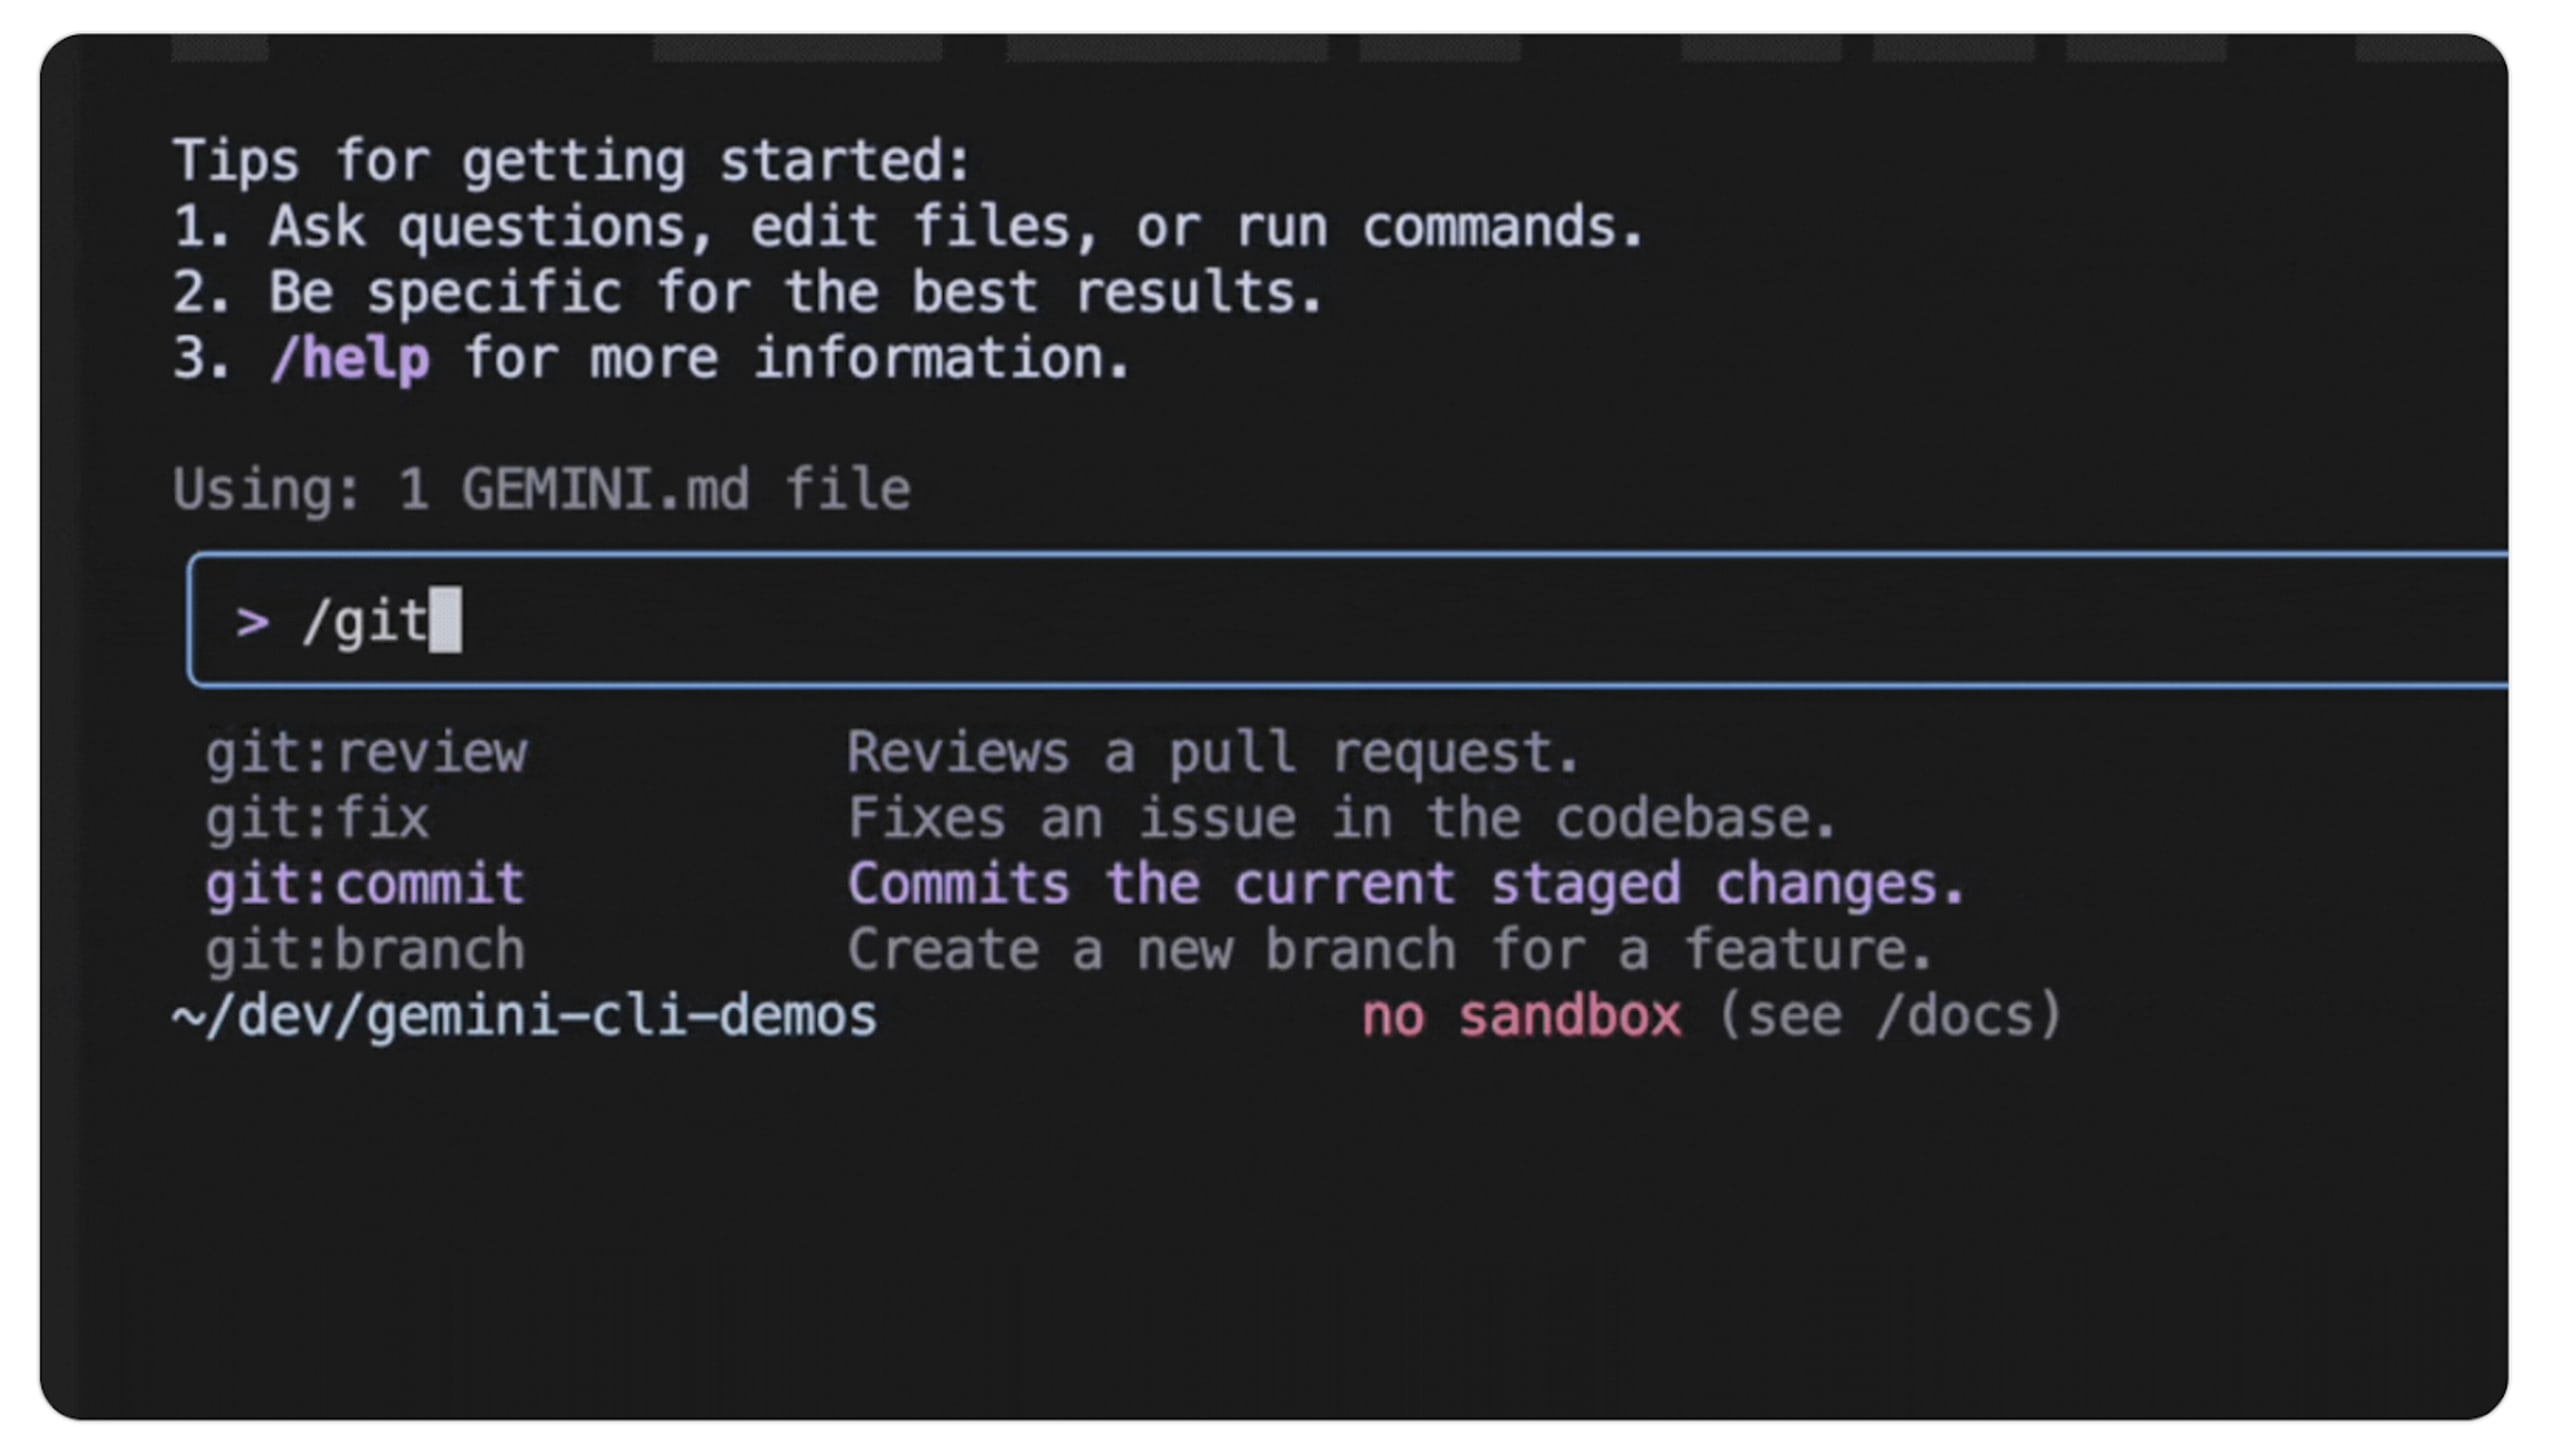
5. Custom commands for Gemini CLI
Are you tired of typing the same complex prompt every time you want the agent to perform a code review? Custom commands solve this problem by letting you create your own slash commands for the Gemini CLI.
Custom commands allow you to replace a manual, multi-line prompt with a single, easy-to-remember command like /code:review. This is a massive time-saver and helps standardize your workflows.
As an example, let's look at how you could set up a custom command for a code review. You'd typically define a new TOML file in your .gemini/commands directory, which would contain a pre-defined prompt and other parameters. You can even pass arguments to these commands, making them incredibly flexible. For instance, /code:review could take a file path as an argument.
Here is an example sourced from Google’s Gemini CLI release notes for code review:
This feature moves you beyond simple prompting and into a new realm of automation, allowing you to build and share powerful, repeatable developer workflows with your team.
AI trust means secure at inception
AI coding agents may 10x your productivity, but if you don’t have AI trust, then you’ll always doubt the code generated by LLMs, and rightfully so.
Snyk fixes that by allowing you to secure at inception any LLM-generated code via different workflows such as the Snyk MCP Server, the Snyk Security IDE extension, the Snyk CLI, and many other integration points for developers.
Snyk goes further and helps you secure MCP servers (yes, MCP servers can be vulnerable).
Jetzt starten mit der Snyk CLI
Einfach installieren, quasi alles Weitere ergibt sich von selbst – vor allem aber die Erkennung und Behebung von Schwachstellen in Ihren lokalen Projekten oder Pipelines.