How to Dockerize a PHP application securely
James Olaogun
August 2, 2023
0 mins readEditor's note: August 10, 2023
This post has been updated to include a more recent version of PHP in the tutorial.
Let’s say you’ve built a PHP application, but you want to separate it from supporting infrastructure in a way that keeps things lightweight, portable, and still quite secure. You’d like other developers to be able to work on it without having to recreate whole environments. In short, what you want to do with your application is containerize it — package it and its dependencies into containers that can be easily shared across environments.
The most popular containerization solution these days is Docker, an open source platform first introduced in 2013. Since then, it’s become a widely adopted technology in software development for isolating applications, creating reusable CI/CD components, and enabling rapid deployment.
This tutorial shows you step by step how to securely containerize — or more specifically, “Dockerize” — a PHP application. You’ll also use Snyk, a developer security platform that provides security tools for modern applications to identify and automate vulnerability fixes.
Prerequisites and recommendations
Before you dive into the following tutorial, take a moment to ensure you have the following tools:
Docker installed on your machine. You’ll use this for running and managing the PHP container.
A free Snyk account. Snyk’s security scanning tools will highlight and fix vulnerabilities in the containers.
NPM or Yarn to install and run the Snyk CLI.
A basic PHP application. This tutorial uses a newly created Laravel project.
Once you’re confident that you can satisfy those requirements, consider the next few tips before moving on to the tutorial. These recommendations should help you seamlessly and securely Dockerize your PHP application.
Base your builds on a specific image version
Always ensure that you’re using a specific version of the Docker image when building your application. For example, rather than pulling PHP-FPM, you can specify the image version and pull PHP:8.0-fpm. Take note that the base image you will use will depend on the version requirements of your application
That way, you can be sure that your application is built on a known, tested, and stable release. Also, you’ll know that the image version can use the same underlying platform and dependencies in different environments, which can improve reproducibility and consistency.
Do not use ADD for remote dependencies
The ADD command can download files from arbitrary URLs, which can introduce security vulnerabilities in your Dockerized application. So, I recommend avoiding the `ADD` command in Dockerfiles to include remote dependencies.
Instead, use the COPY command to copy files from the local file system. The COPY command ensures that only the files necessary for the application are included in the Docker image. Again, this helps reduce the risk of vulnerabilities.
Use a docker-compose YAML file
Docker Compose allows you to manage and orchestrate your Docker containers by defining your Docker application in a YAML file and specifying how your application should be built and run. Some of the benefits of using Docker Compose include:
Separating application components. Docker Compose enables you to separate the components of your application into different containers. This limits the attack surface of each container and reduces the risk of a single point of failure.
Using environment variables. Docker Compose allows you to use environment variables to configure your application, which can help you securely manage sensitive information, such as database passwords.
Managing network connections. Docker Compose allows you to manage the network connections between your containers. This ensures that your containers can only communicate with each other over a secure channel.
If you installed Docker Desktop for Windows, Mac, or Linux, you already have Docker Compose.
Use PHP-FPM, not mod_php
PHP-FPM and mod_php are both solutions for running PHP applications on web servers, but they have some differences in how they work. While mod_php is an Apache module that allows the Apache web server to process PHP files, PHP-FPM is a PHP process manager that works with various web servers, including NGINX and Apache.
PHP-FPM is generally considered a more efficient and scalable way of running PHP applications, especially in high-traffic environments.
Use multi-stage building
Multi-stage building is a technique used in Docker to create smaller and more secure images. Creating multiple stages within a Dockerfile, each with its own set of instructions, means you’re not rebuilding the entire image from scratch each time you make a change. As a result, you’re improving the efficiency and speed of the Docker build process.
Always test the security of your Dockerized application
Frequent security testing is critical for ensuring and improving the safety of your application. Although Docker provides an isolated environment to run the application, that doesn’t guarantee the application is secure. Conduct regular security checks to identify and address potential vulnerabilities before they can be exploited by attackers.
Five steps to Dockerize your PHP application securely
Now let’s get into the practical section! The following tutorial guides you through five steps for Dockerizing a Laravel PHP application securely, using some of the tips we just covered.
1. Set up the Dockerfile using Apache
Create a new Laravel project if you don’t have one already, and change the directory cd to the new Laravel project. For example, in the following command, change {{laravel-application-directory}} to the directory name of your Laravel application.
Create a new file called Dockerfile in the root directory of your Laravel application:
Copy and paste the following code into the newly created Dockerfile:
Even though PHP-FPM is the better method for building a scalable solution, as noted above, this tutorial uses mod_php because the application is small.
Also, notice that the Dockerfile content above uses the multi-stage building. The first stage uses the official Composer image to install the application dependencies and build the autoloader. The second stage uses the official PHP/Apache image to run the application. Note using the COPY command to copy the composer build files from the local file system, not the ADD command.
Create a new file named docker-compose.yml in the root directory of your Laravel application:
Copy and paste the following code into the newly created docker-compose.yml:
In the previous code, the snykdemoapp service is the container for the PHP application. Also, the networks section defines the app-network that Docker Compose will use for communication.
2. Set a MySQL database container to docker-compose.yml
Let’s add a MySQL container to your docker-compose.yml file. This container will host your Laravel application's database.
Create a new service for your MySQL container by adding the following code as a new service to the docker-compose.yml file you created in step one:
In the previous code block:
app_dbis the name of the database service built with MySQL version 5.7 image. You can change the name to whatever you like, but ensure that you change it across other services where it’s linked.{{database_name}}is your preferred database name.{{database_user}}is your preferred database user.{{dbuser_password}}is your preferred password for the database user.
There you are — you’ve successfully added a MySQL container to your Docker setup.
3. Set a PHPMyAdmin container to docker-compose.yml
Now let’s add a PHPMyAdmin container for local/testing purposes alongside your Laravel and MySQL containers. PHPMyAdmin is a free and open source administration tool for MySQL and MariaDB. It provides a web-based interface for you to manage your databases. It’s recommended that you use PHPMyAdmin only in development and not production.
Create a new service for your PHPMyAdmin container by adding the code snippet below as a new service to the docker-compose.yml.
In the previous code block, phpmyadmin is the name of the PHPMyAdmin service built with the phpmyadmin/phpmyadmin image. The environment section sets the PMA_HOST variable to app_db, which is the name of the MySQL service in the same docker-compose.yml file.
And now you have a PHPMyAdmin container set up to work with your Laravel and MySQL containers. Please keep in mind that the PHPMyAdmin image should only be used for development purposes. Using it in production constitutes a security risk to your application.
4. Build and run the Laravel PHP application with Docker
Now that you have the Dockerfile and docker-compose.yml set up, start the Docker service and ensure that it’s running. Then you can build and run the Laravel PHP application with the following commands:
docker-compose build: Build the Docker image.docker-compose up -d: Start the containers.docker ps: Check the status of the container.
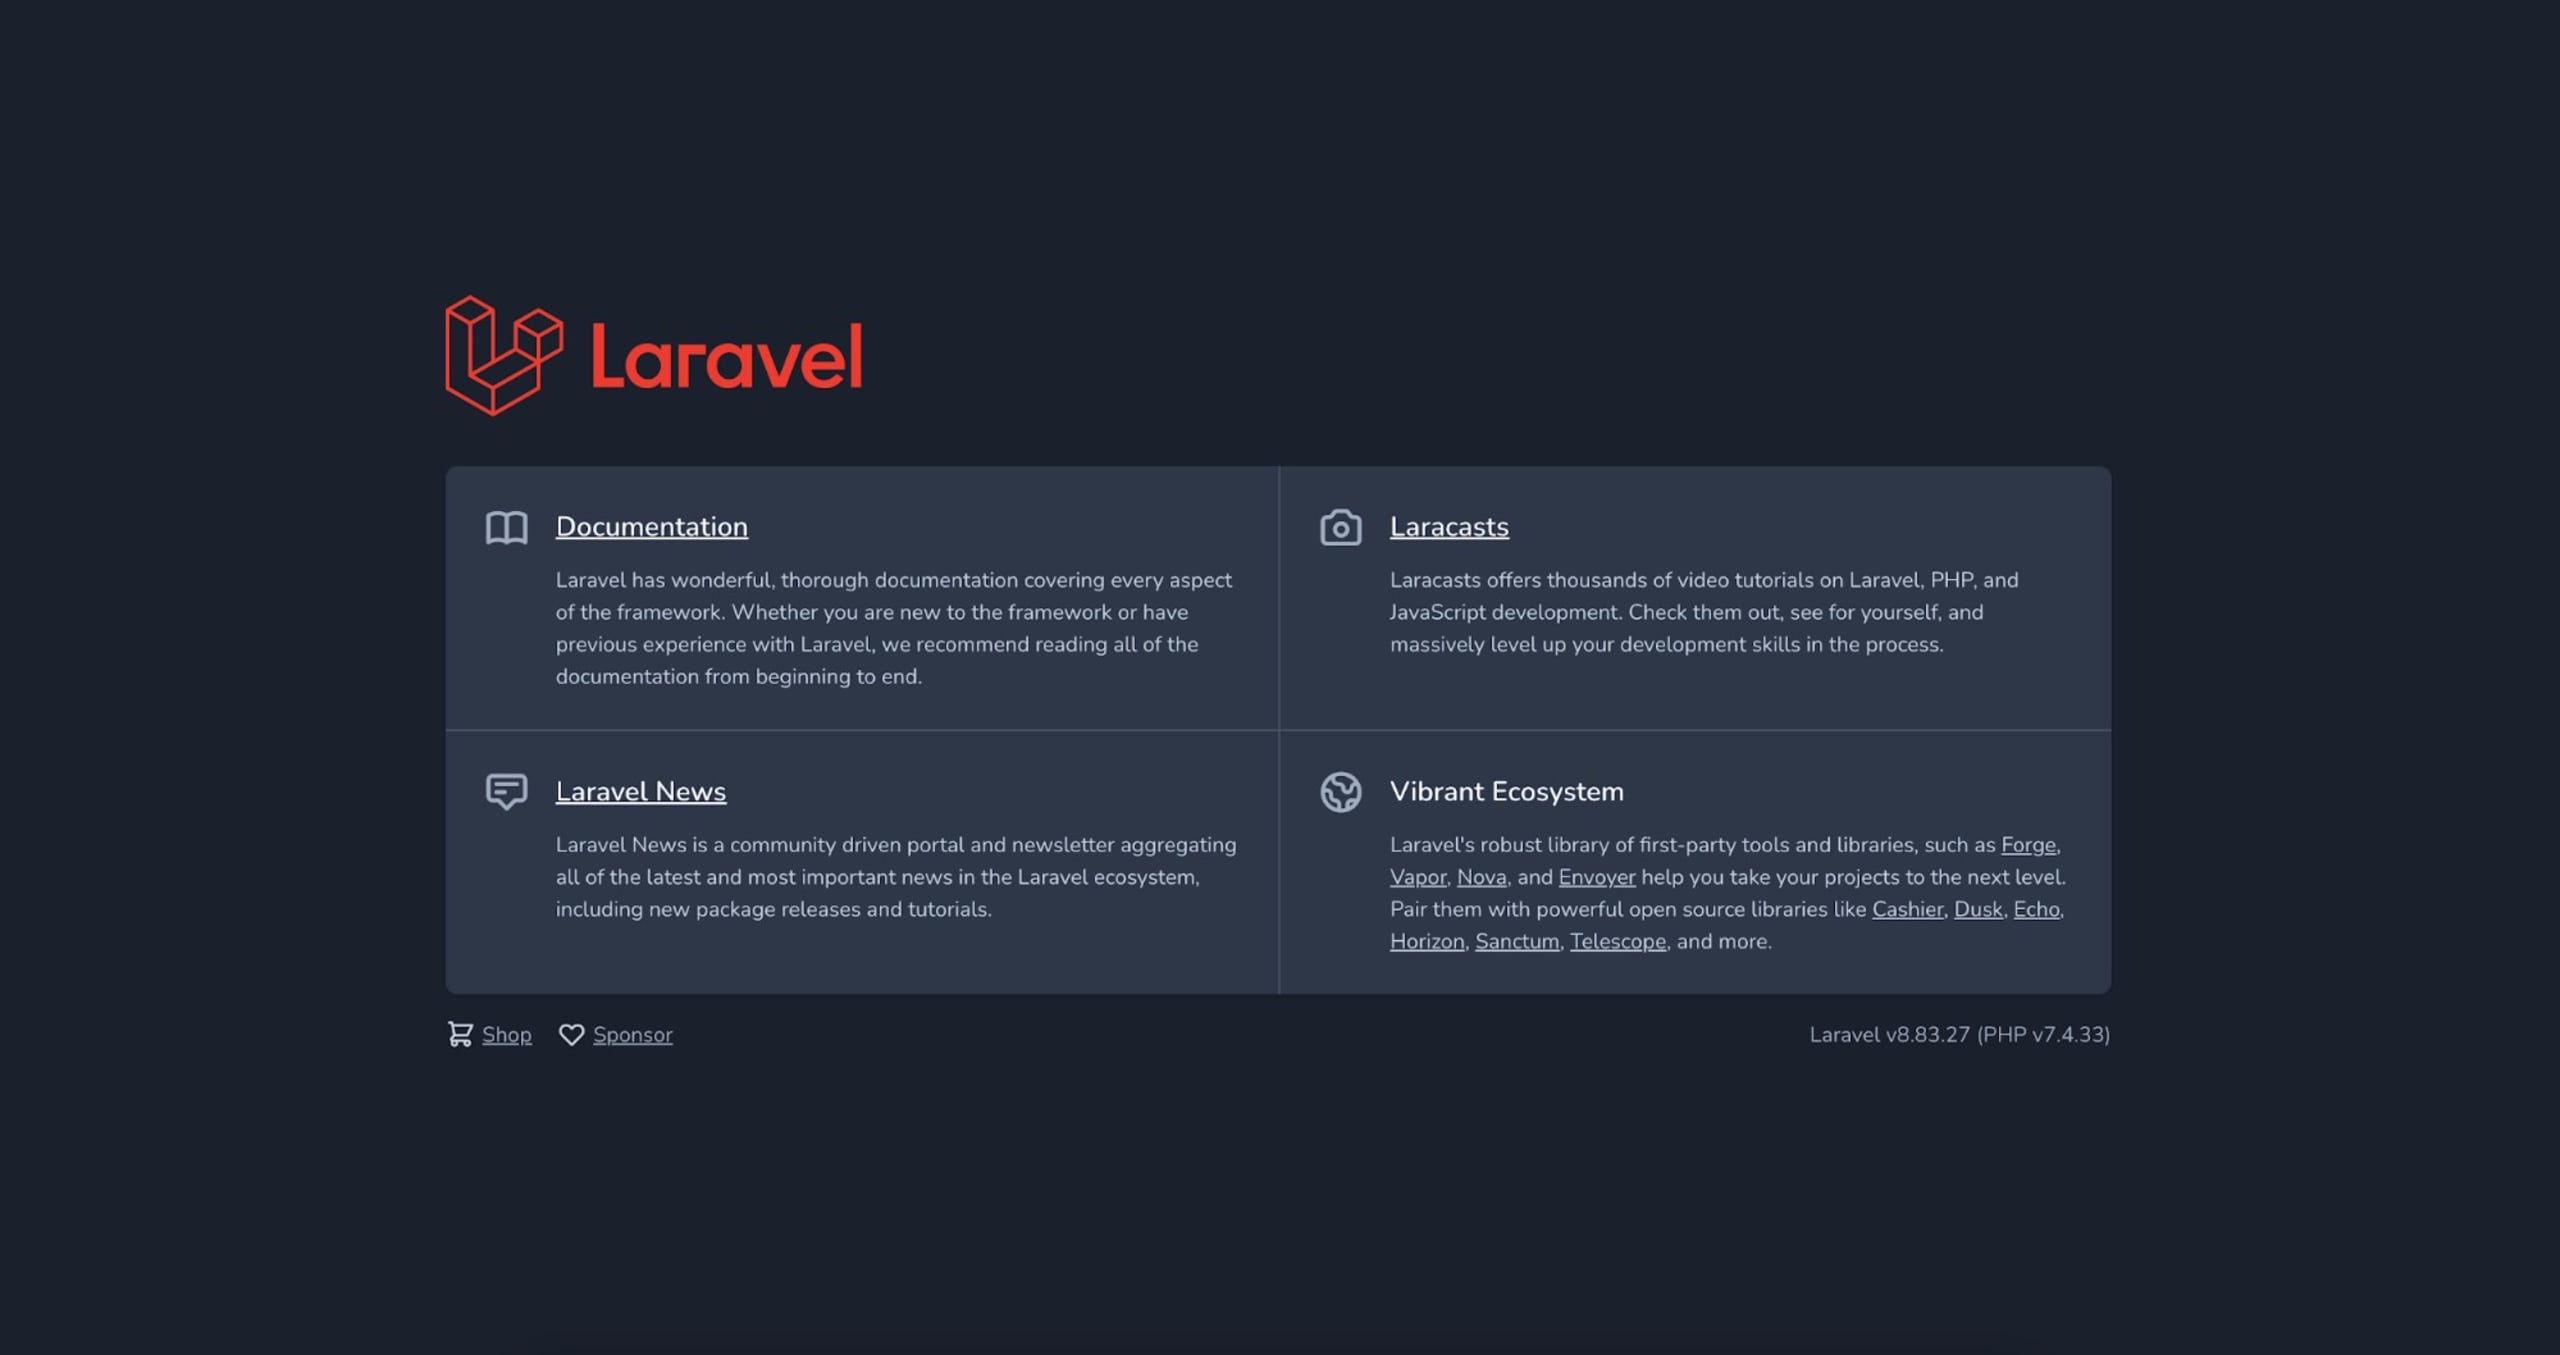
If all the commands above are executed successfully, open your web browser and navigate to http://localhost:8000/ to access the front page of your Laravel application.
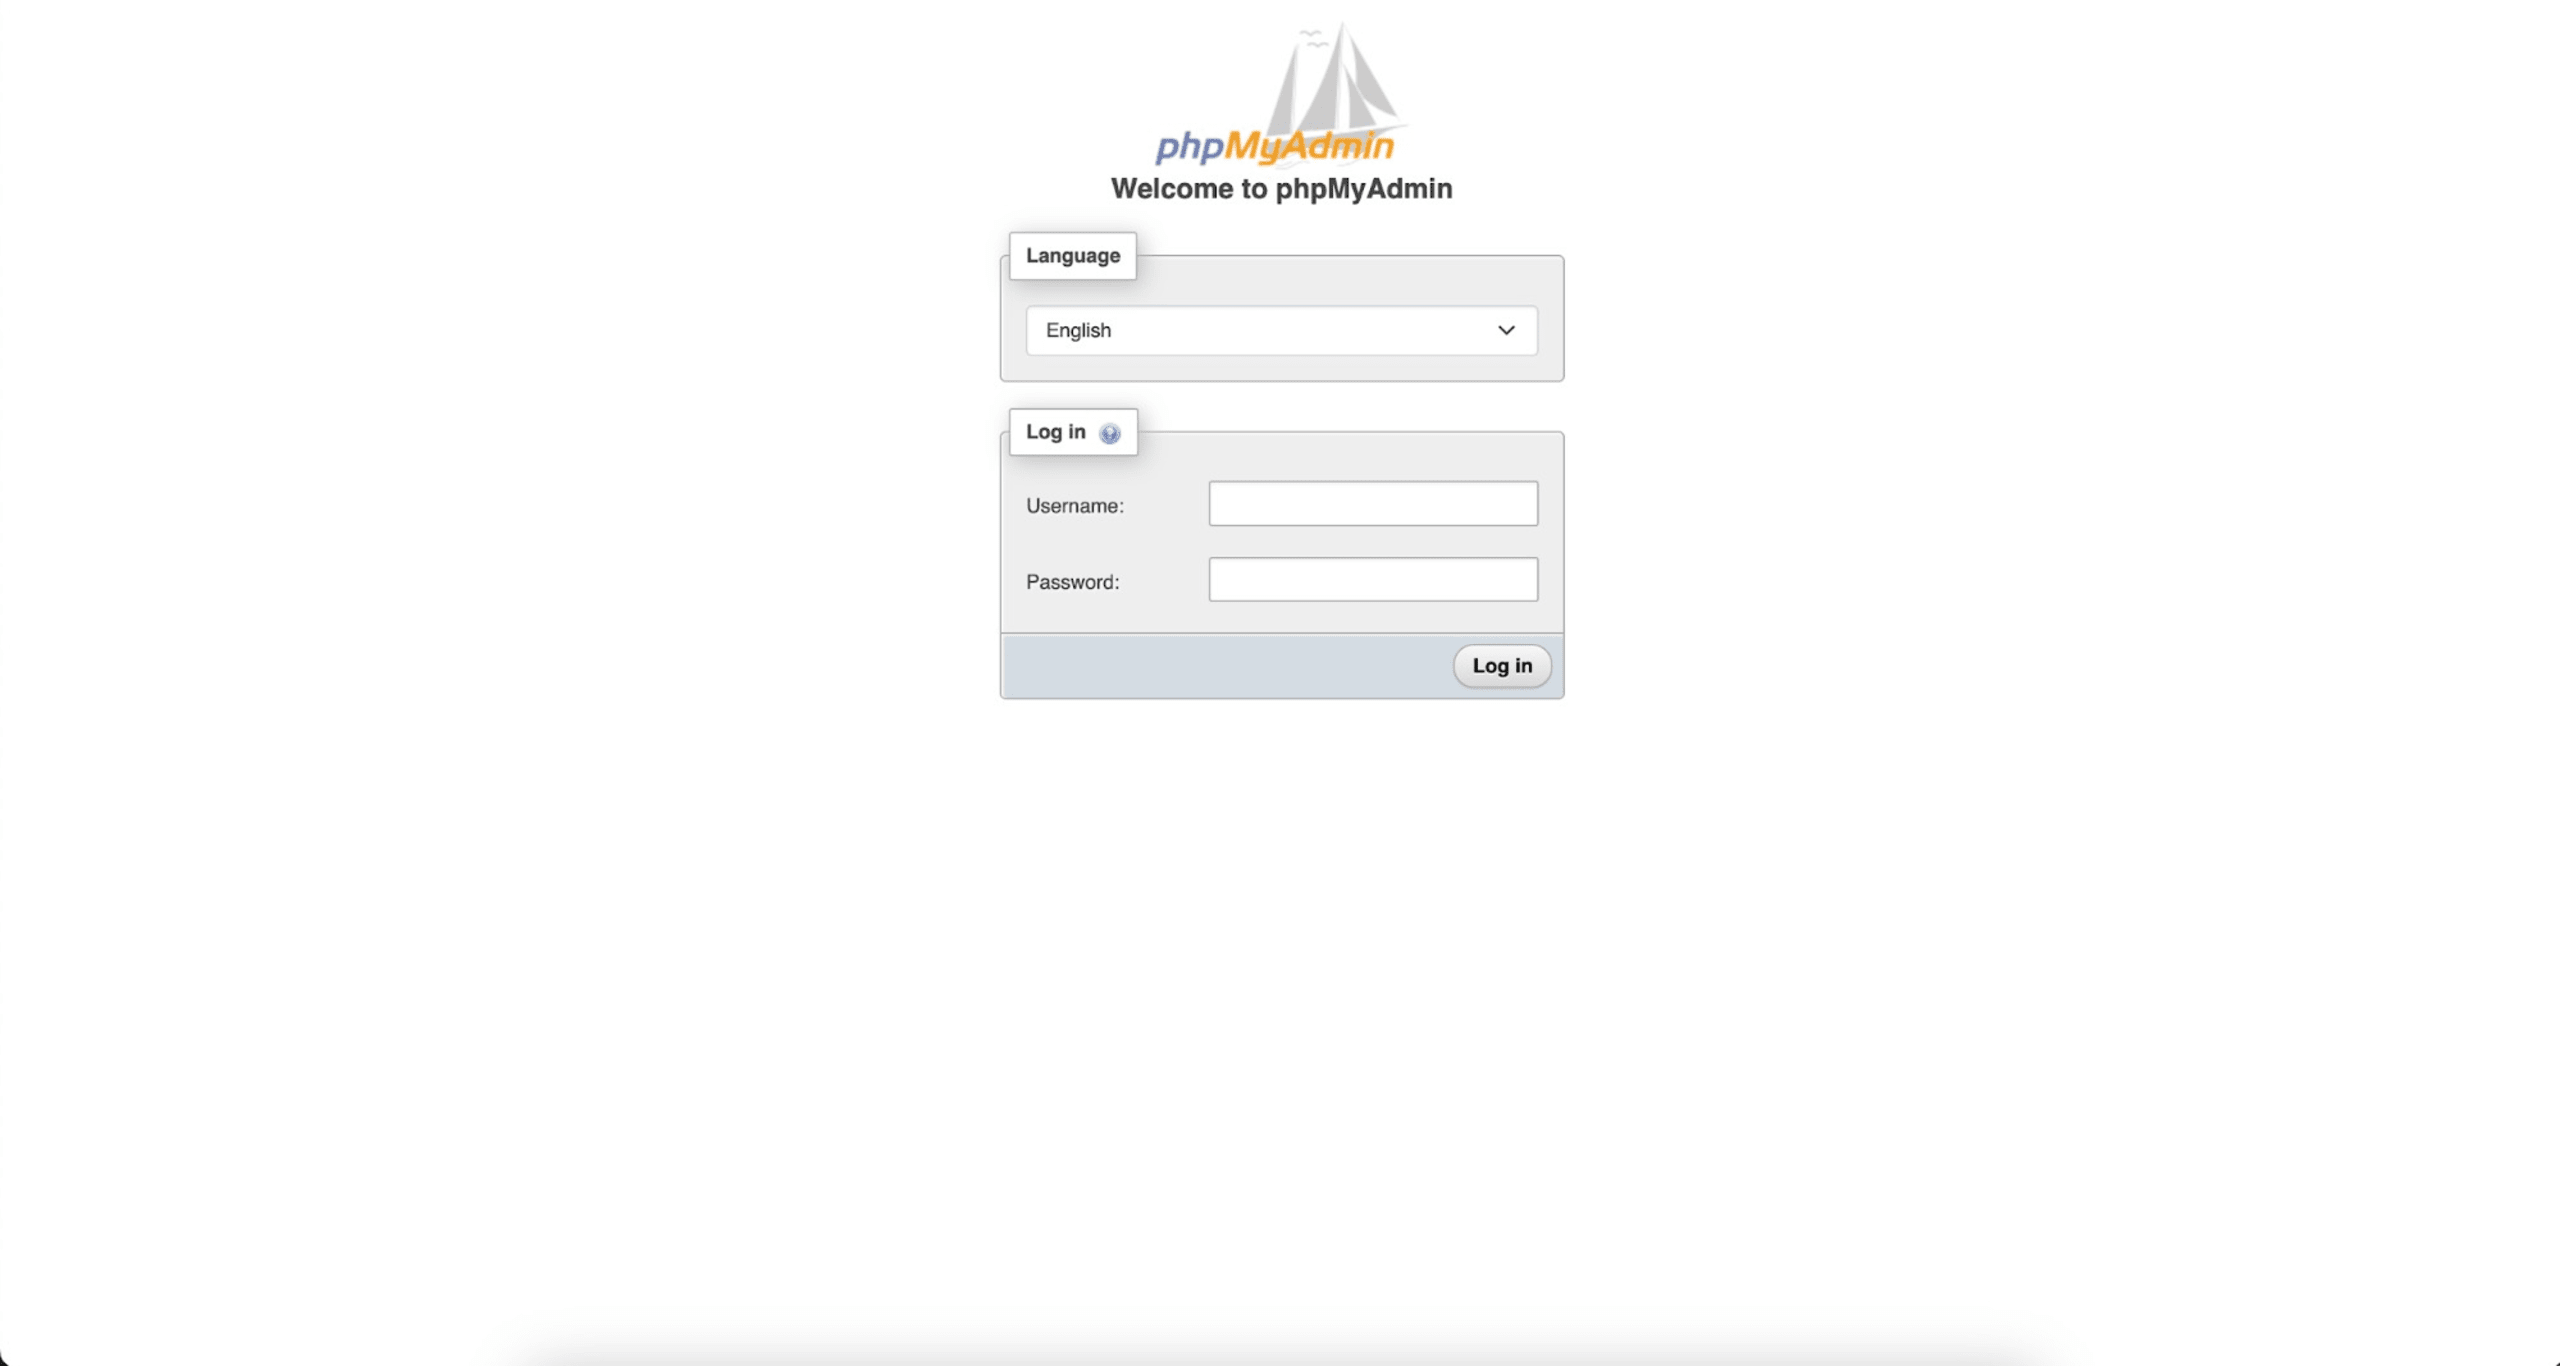
You can also navigate to http://localhost:8080/ to access the PHPAdmin interface. Feel free to use the MYSQL_USER and MYSQL_PASSWORD you set in your docker-compose.yml file to login in.
5. Test and secure your PHP application with Snyk
Once you’ve successfully built your Docker application and can visit both the application and PHPMyAdmin via your browser, the next step is to test the security of the Dockerized application. This tutorial uses Snyk to test and ensure the Dockerized application is fully secured.
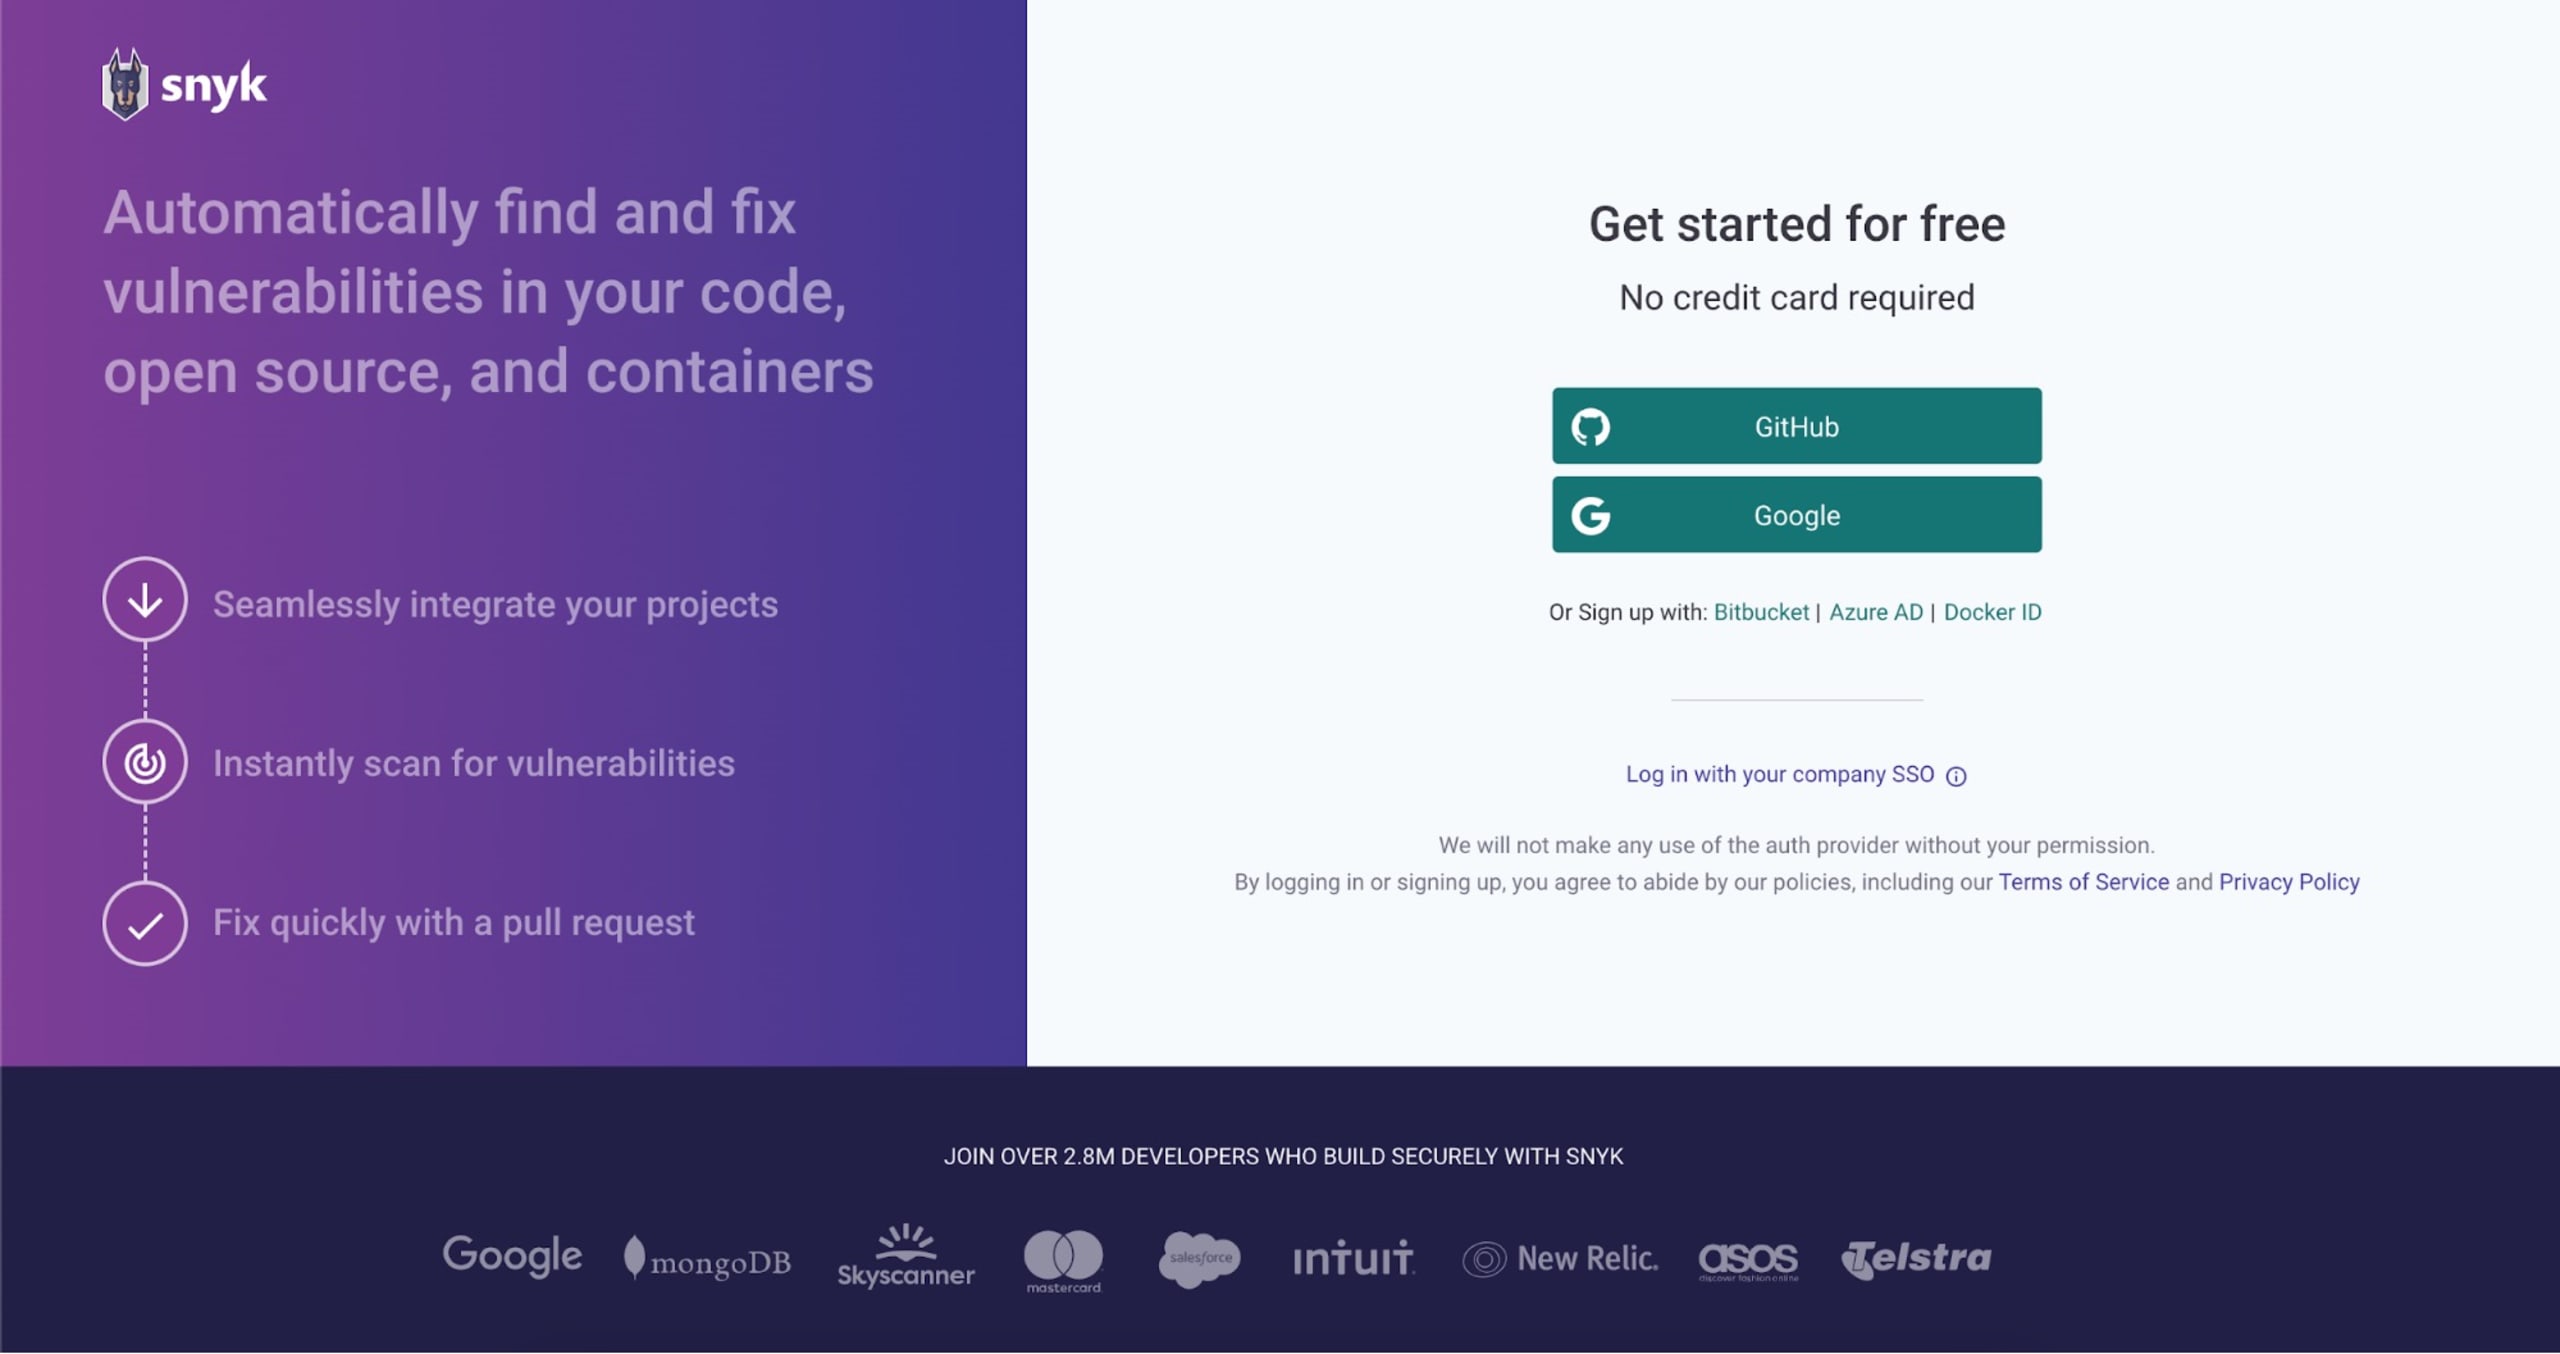
Log in or create a new Snyk account with any of your preferred SSOs listed on the page. Install the Snyk CL and authenticate your laptop, as mentioned in this article’s prerequisites section.
With Snyk successfully set up, use the Snyk CLI to assess the security of your Dockerized application. Run the following command on the root directory of your Laravel application:
In the previous line, {{your-image}} is the image name you want to test. You can use the `docker ps` command to get a list of Docker images in your application.
When you run the previous command against the base PHP 8.2 image named snykdemoapp in this tutorial, you get the following:
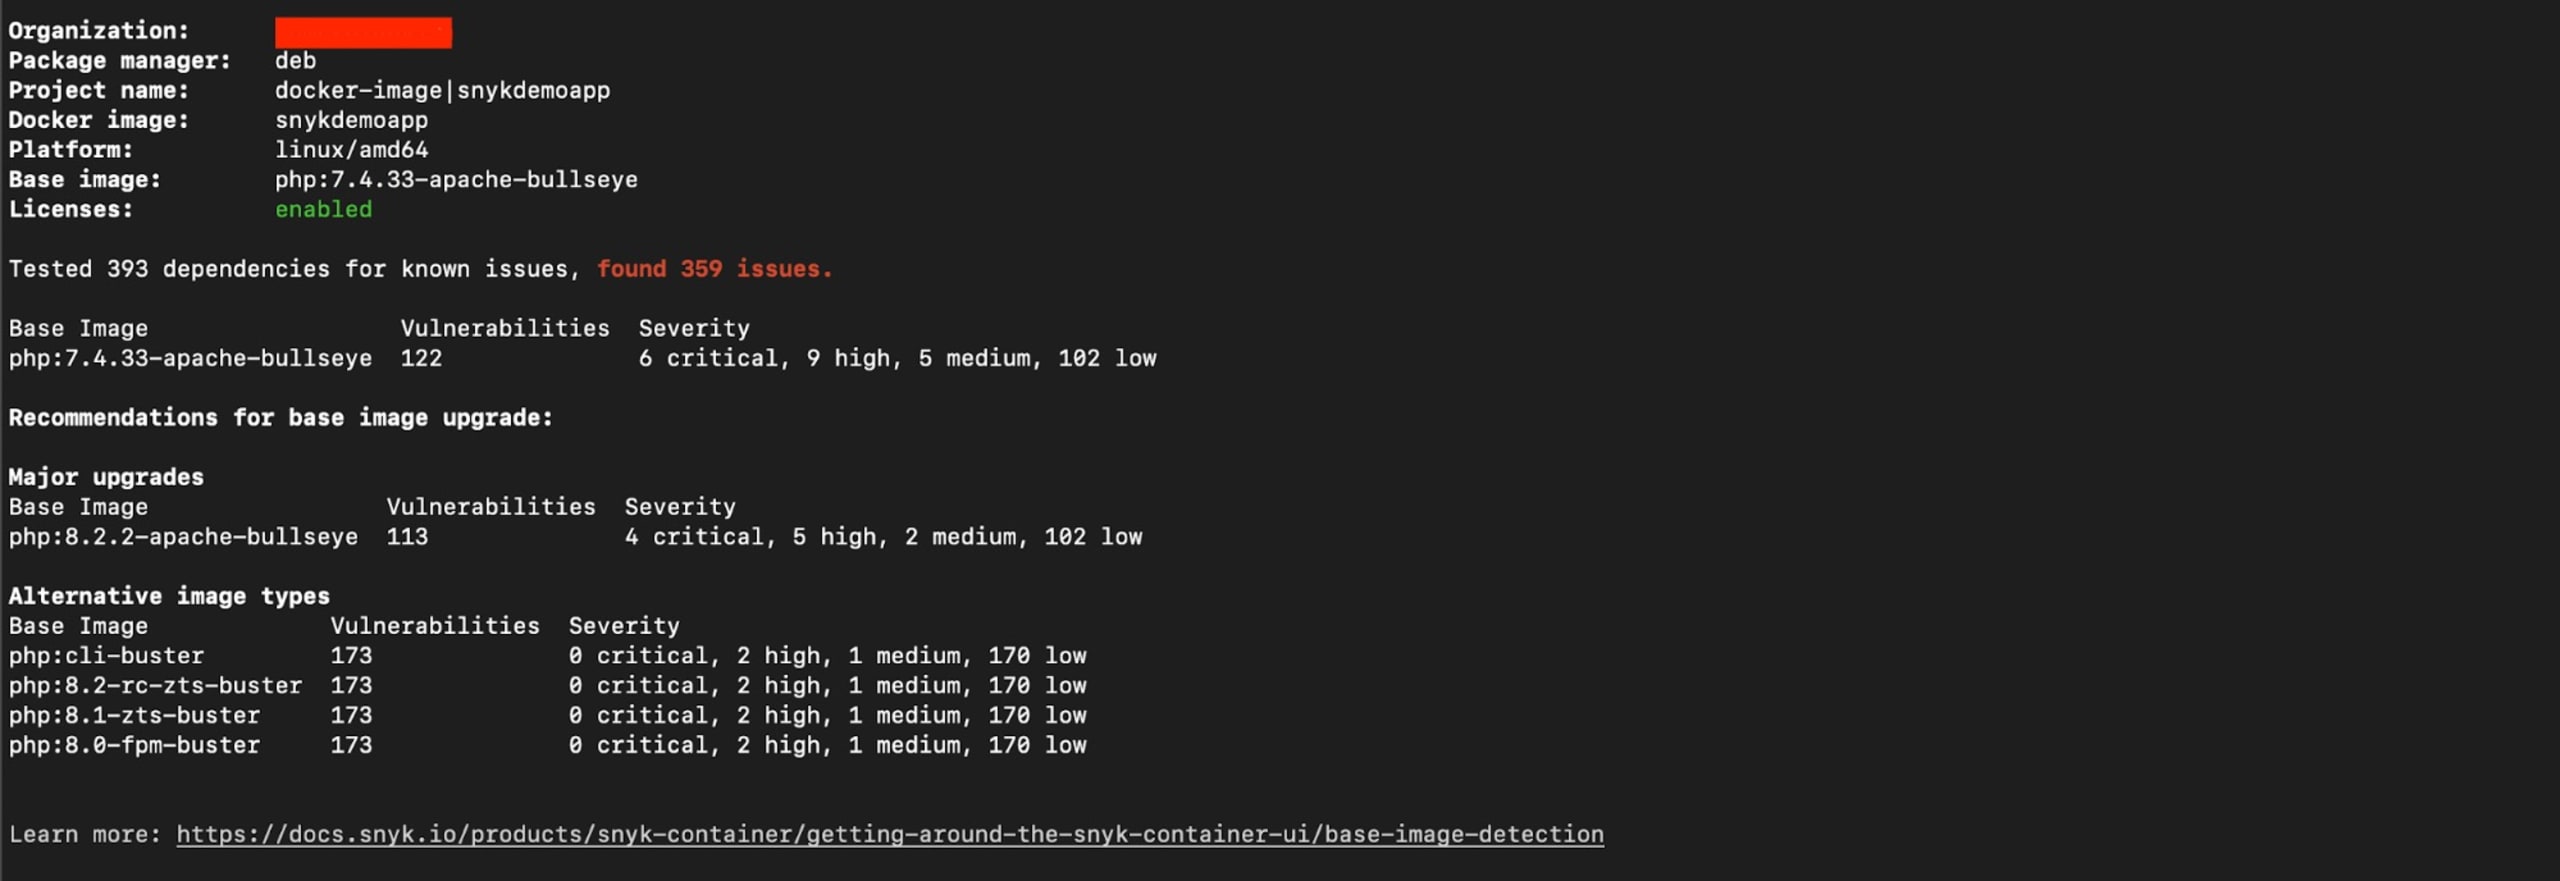
PHP 8.2 is the latest Long Term Support version and even though there are 69 security issues found in this container’s base image, they are all low severity.
If you were to rely on earlier versions of PHP in your production applications, such as PHP 7.4, you would find more significant and urgent security vulnerabilities that need addressing. Snyk becomes even more valuable in this case, as it provides you with alternative image types that include lower vulnerability counts.
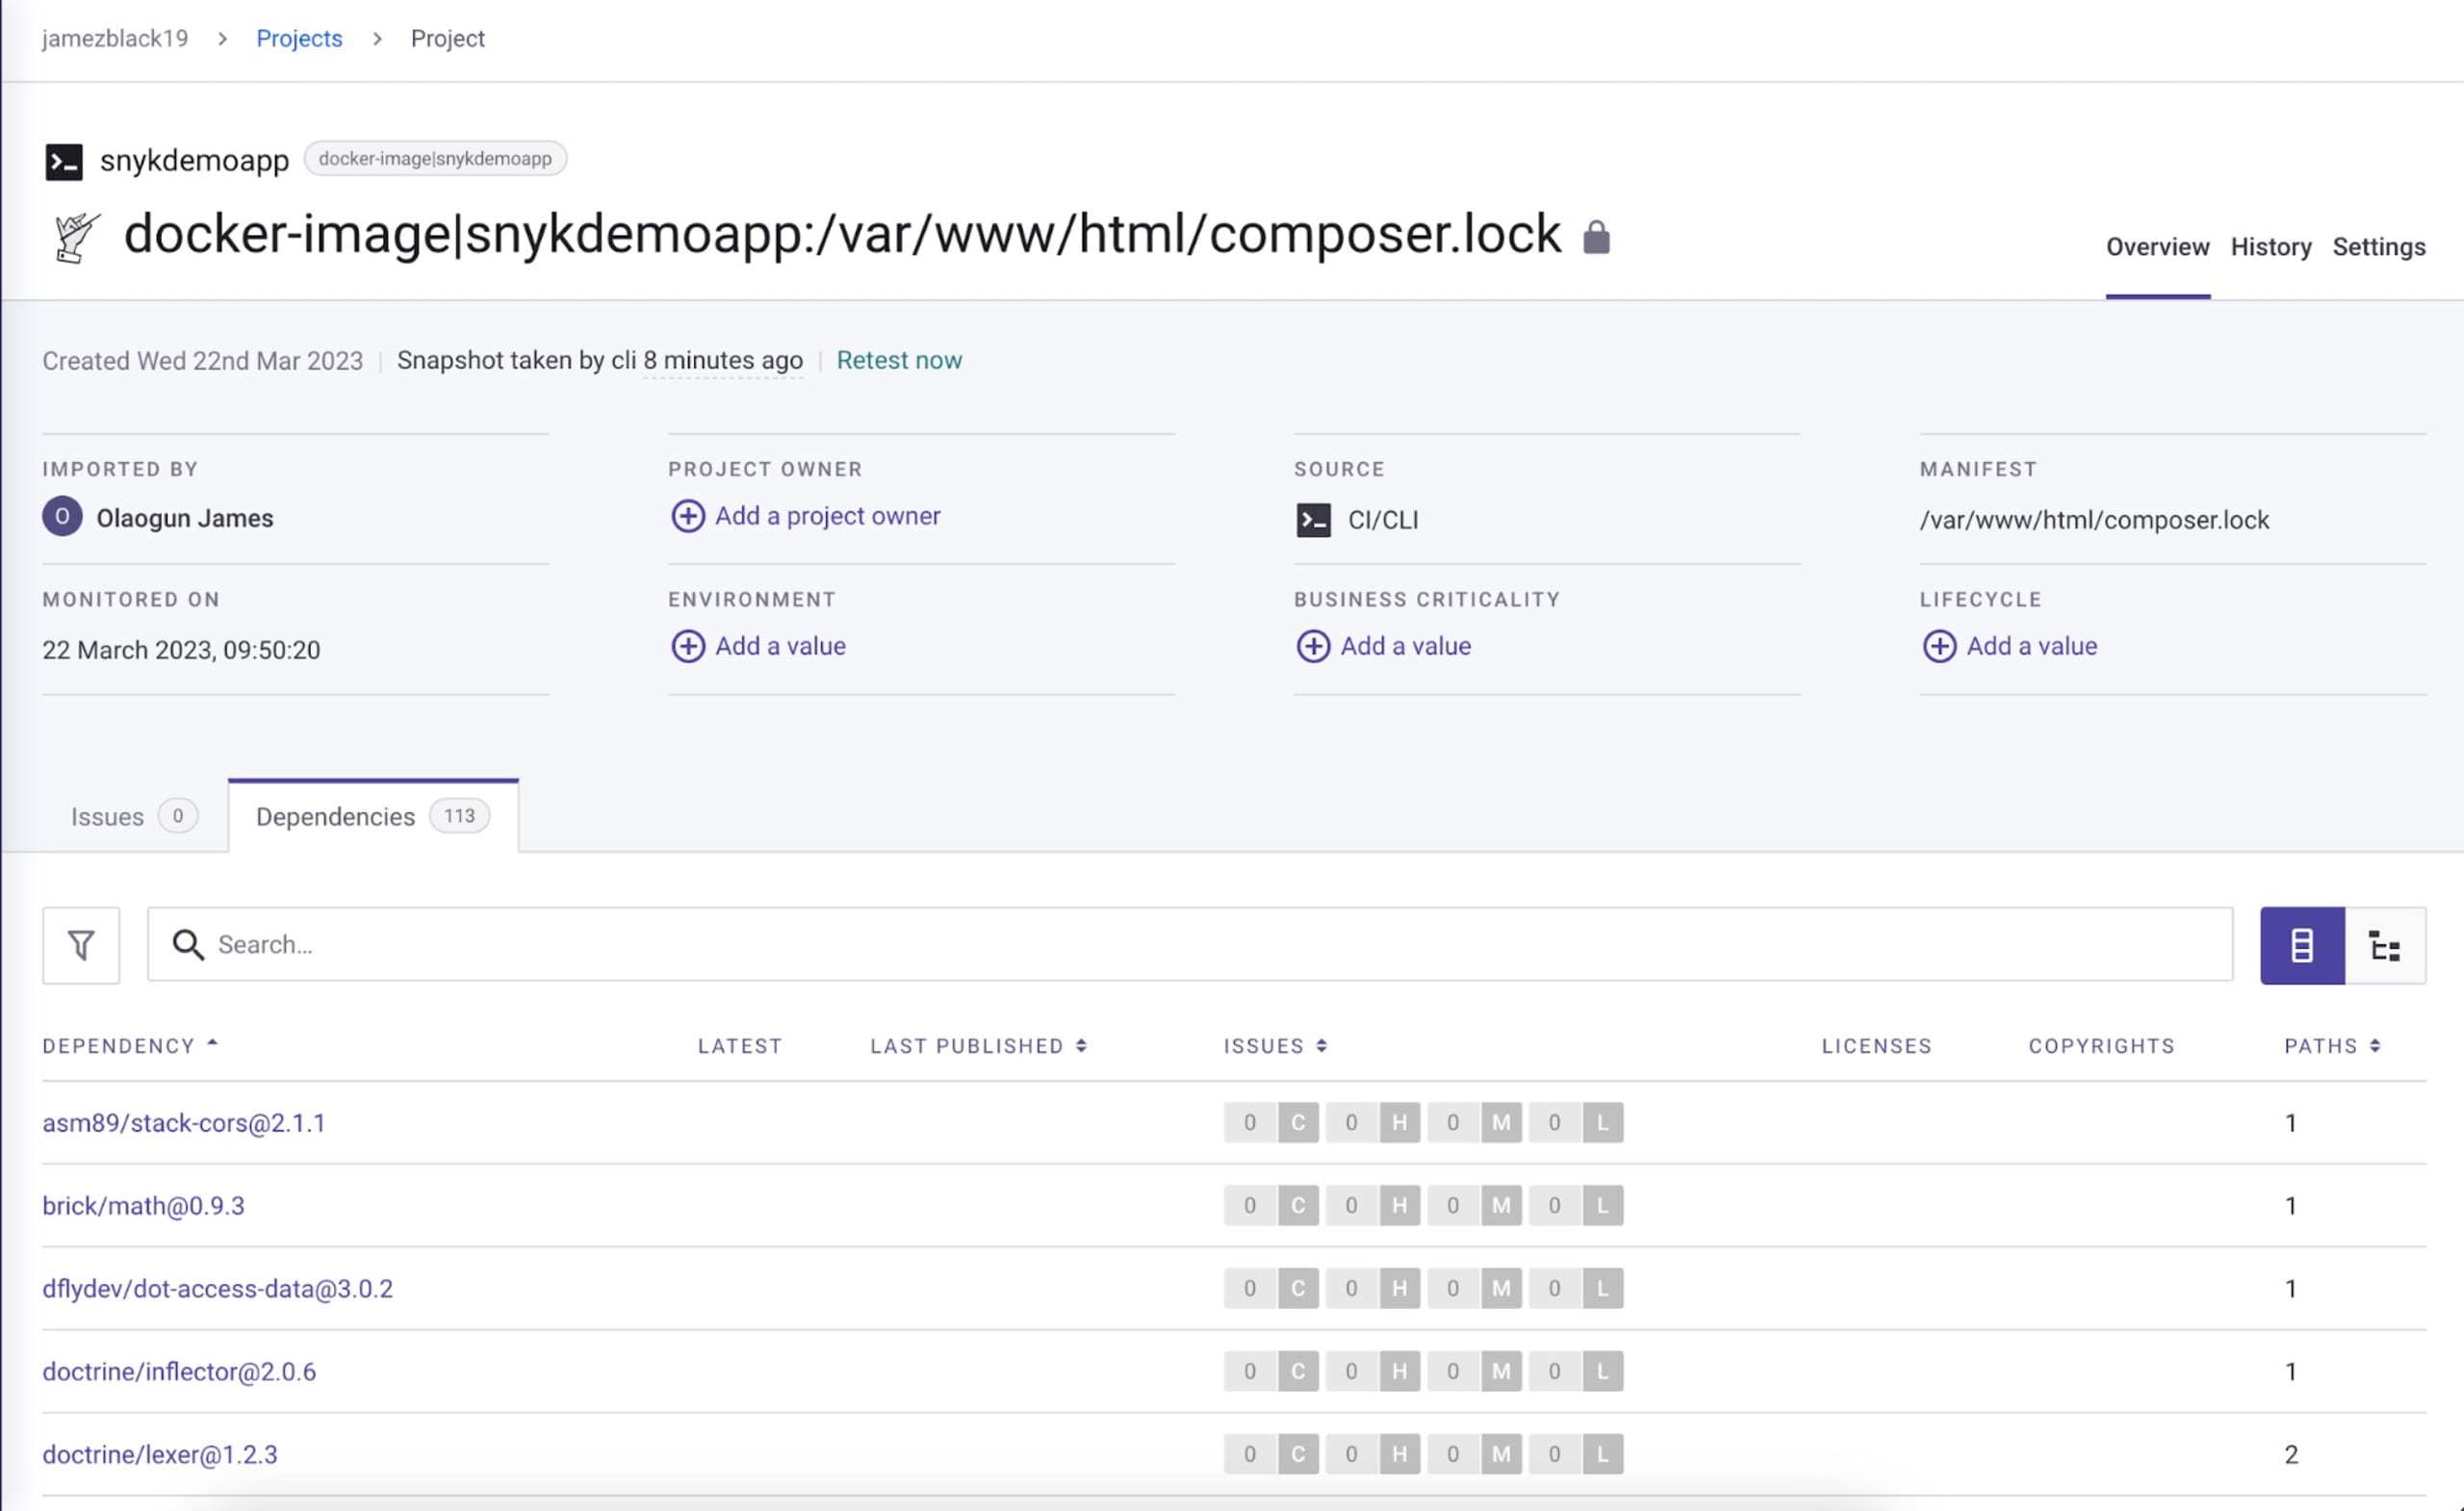
The snyk container test command can only give a one-off result. A better approach is to run the container monitor command to perform a container scan.
The container monitor command sends your container image’s test information to Snyk, enabling Snyk to display the information in your dashboard and notify you of potential future vulnerabilities in your image.
When you run container monitor against the base PHP 7.4 image named snykdemoapp.
How to fix detected vulnerabilities in your PHP application
Now that you’ve tested your PHP container, here are some tips to consider for fixing detected vulnerabilities.
Rebuild the image to get the latest security updates from the upstream Docker base image. This ensures that any security updates are incorporated into your application. After rebuilding, run the security scan again to identify and fix any vulnerabilities that might come with the base image's latest security updates.
Check the vulnerabilities assessment that Snyk provides. This list can provide useful information about potential security issues in the application's dependencies.
Keep in mind that vulnerabilities can come from various sources. This includes the PHP runtime and the tooling and libraries installed in the base image. It’s crucial to regularly update and monitor all components of the application stack to ensure that any security vulnerabilities are promptly identified and addressed.
Conclusion
Following a few best practices can help you develop a more vulnerability-free application. If you went through the step-by-step tutorial, you should be able to develop a Dockerized PHP application securely, using the Snyk security platform to detect and fix vulnerabilities.
You can find all the code used for this tutorial’s Dockerized Laravel application on GitHub.
Developer-first container security
Snyk finds and automatically fixes vulnerabilities in container images and Kubernetes workloads.