Que la fuerza te acompañe en tu video

DeveloperSteve Coochin

4 de mayo de 2022
0 minutos de lecturaLos fondos virtuales se han vuelto habituales para dar rienda suelta a la creatividad en videollamadas, transmisiones en vivo y grabaciones. Es común ver una variedad de escenas virtuales creativas, ya que muchas aplicaciones populares de video también admiten fondos virtuales o superposiciones para personalizar tu transmisión.
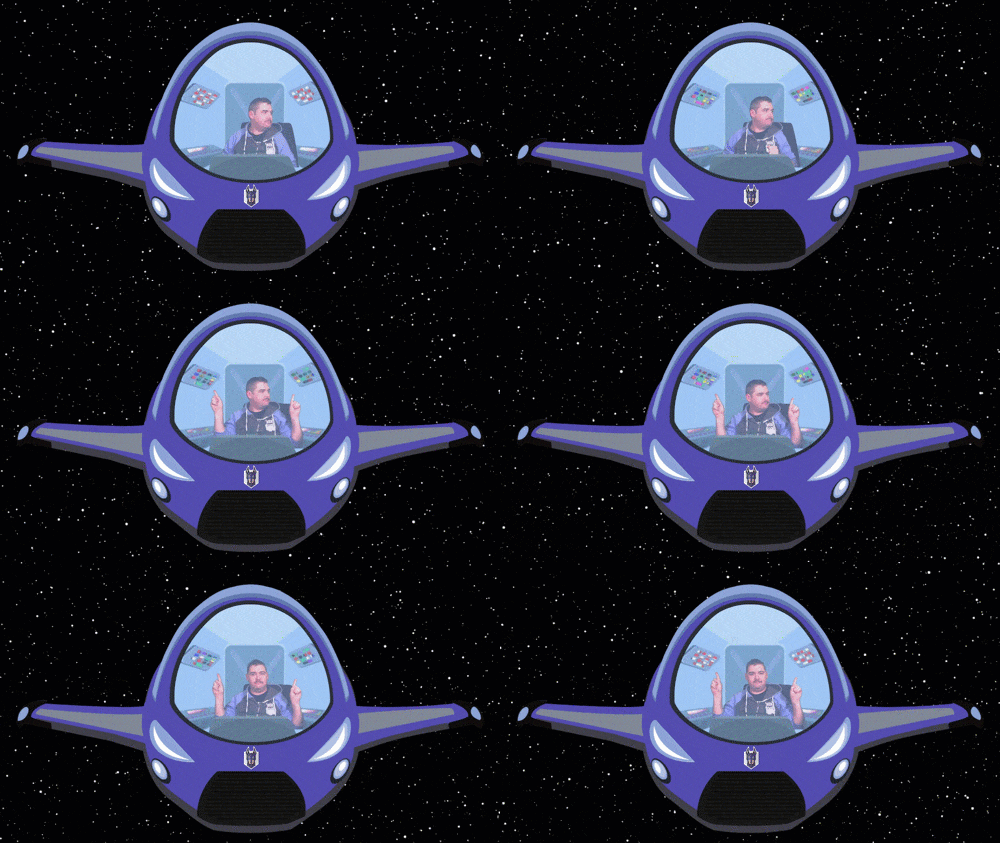
Para celebrar el Día de Star Wars, decidimos lanzar un fondo virtual especial de Snyk y mostrarte cómo crear escenas épicas para tus videos con un proyecto de código abierto.
Preparemos un poco de magia para el video
Lo primero que debes hacer es instalar el proyecto de código abierto OBS. Hay versiones disponibles para Linux, Mac y Windows. Una vez instalado, inicia la aplicación OBS y conecta tu cámara.
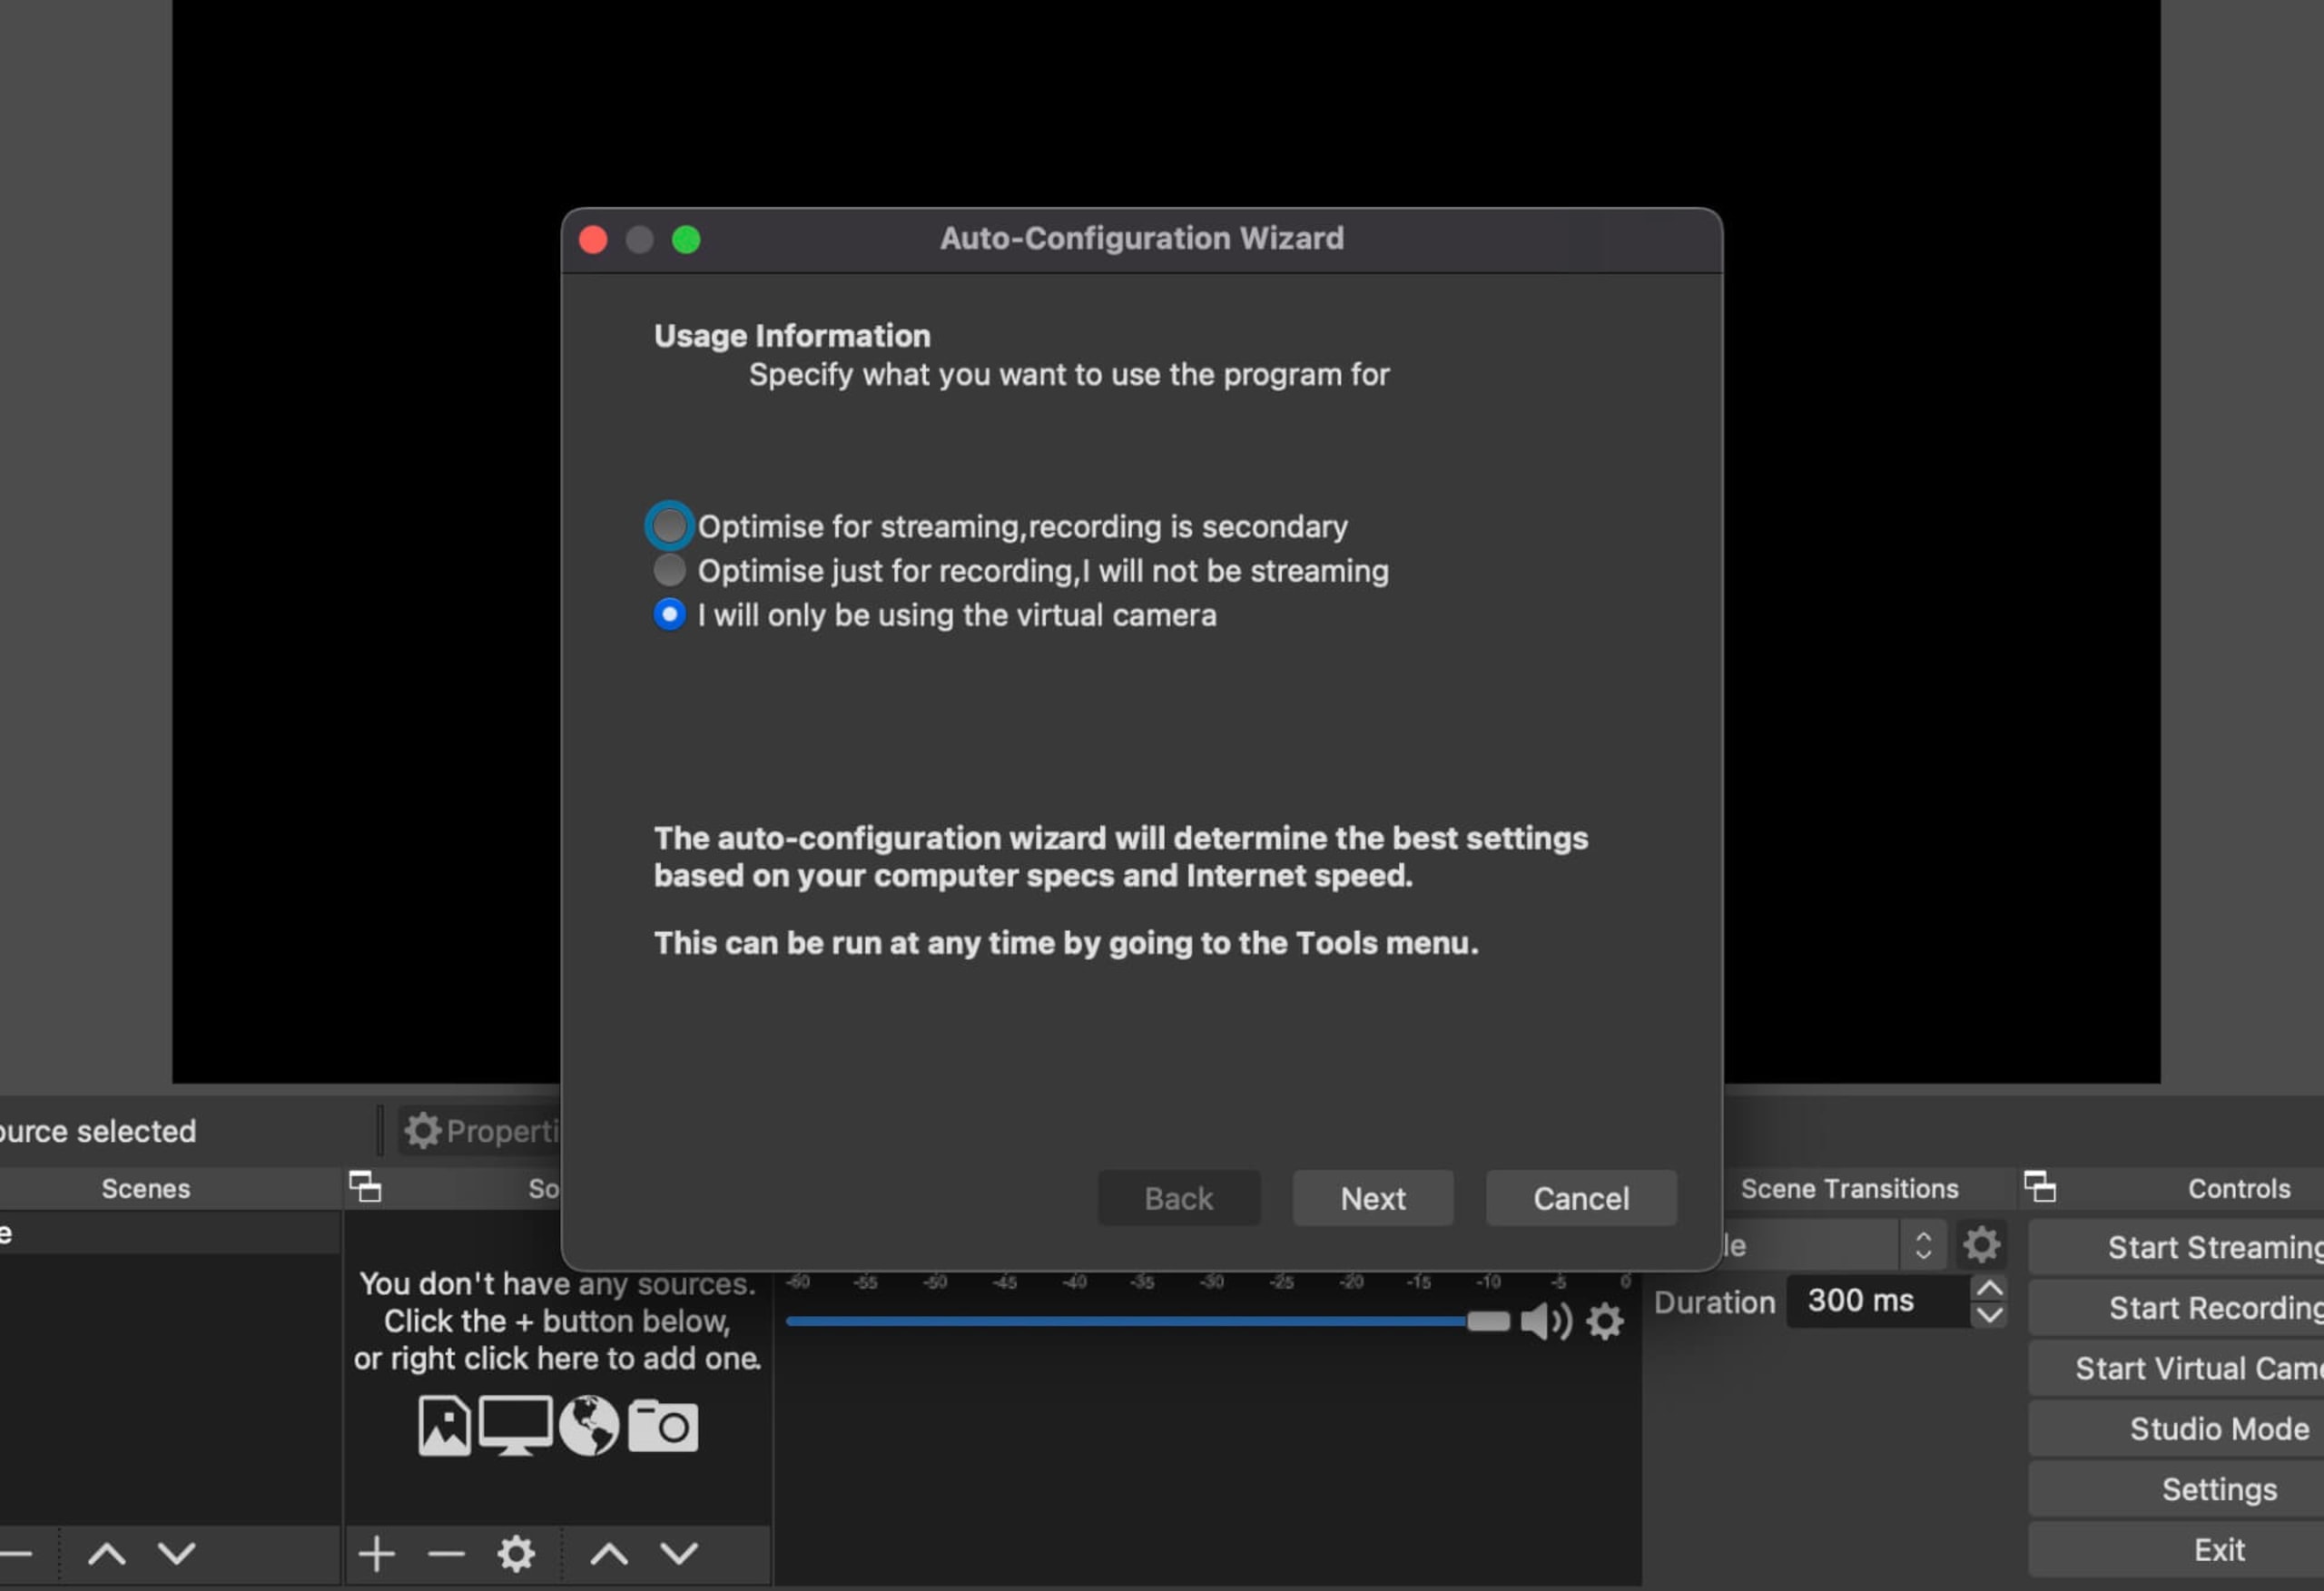
La primera vez que inicies la aplicación, aparecerá un asistente de configuración que te pedirá que selecciones el tipo de actividad para la que probablemente usarás OBS. Puedes cambiar esta configuración más adelante, pero por lo general conviene seleccionar la opción de cámara virtual. Esto te permite usar OBS como fuente de cámara en la mayoría de las aplicaciones de plataformas de video.
La función de cámara virtual de OBS ha evolucionado gracias a que la comunidad de código abierto que impulsa el proyecto la ha ido perfeccionando para que funcione mejor en distintas plataformas. Hace algunos años, se necesitaban soluciones alternativas bastante complejas para hacer funcionar la cámara virtual.
Consejo útil: Es posible que algunas aplicaciones de plataformas de video no permitan usar una cámara virtual. Si está disponible, puedes evitar este problema usando una aplicación web.
Con la aplicación configurada, busquemos los recursos para la escena. Ve al repositorio Git MayTheFourth en snyk-labs y clona o guarda los cuatro archivos necesarios para crear la escena MayTheFourth de Snyk.
Una vez que hayas guardado los recursos de MayTheFourth, podemos configurar la escena en OBS. Esto funciona porque los recursos se guardan como una fuente dentro de una escena de OBS. Verás que ya hay una escena configurada, así que usemos esa.
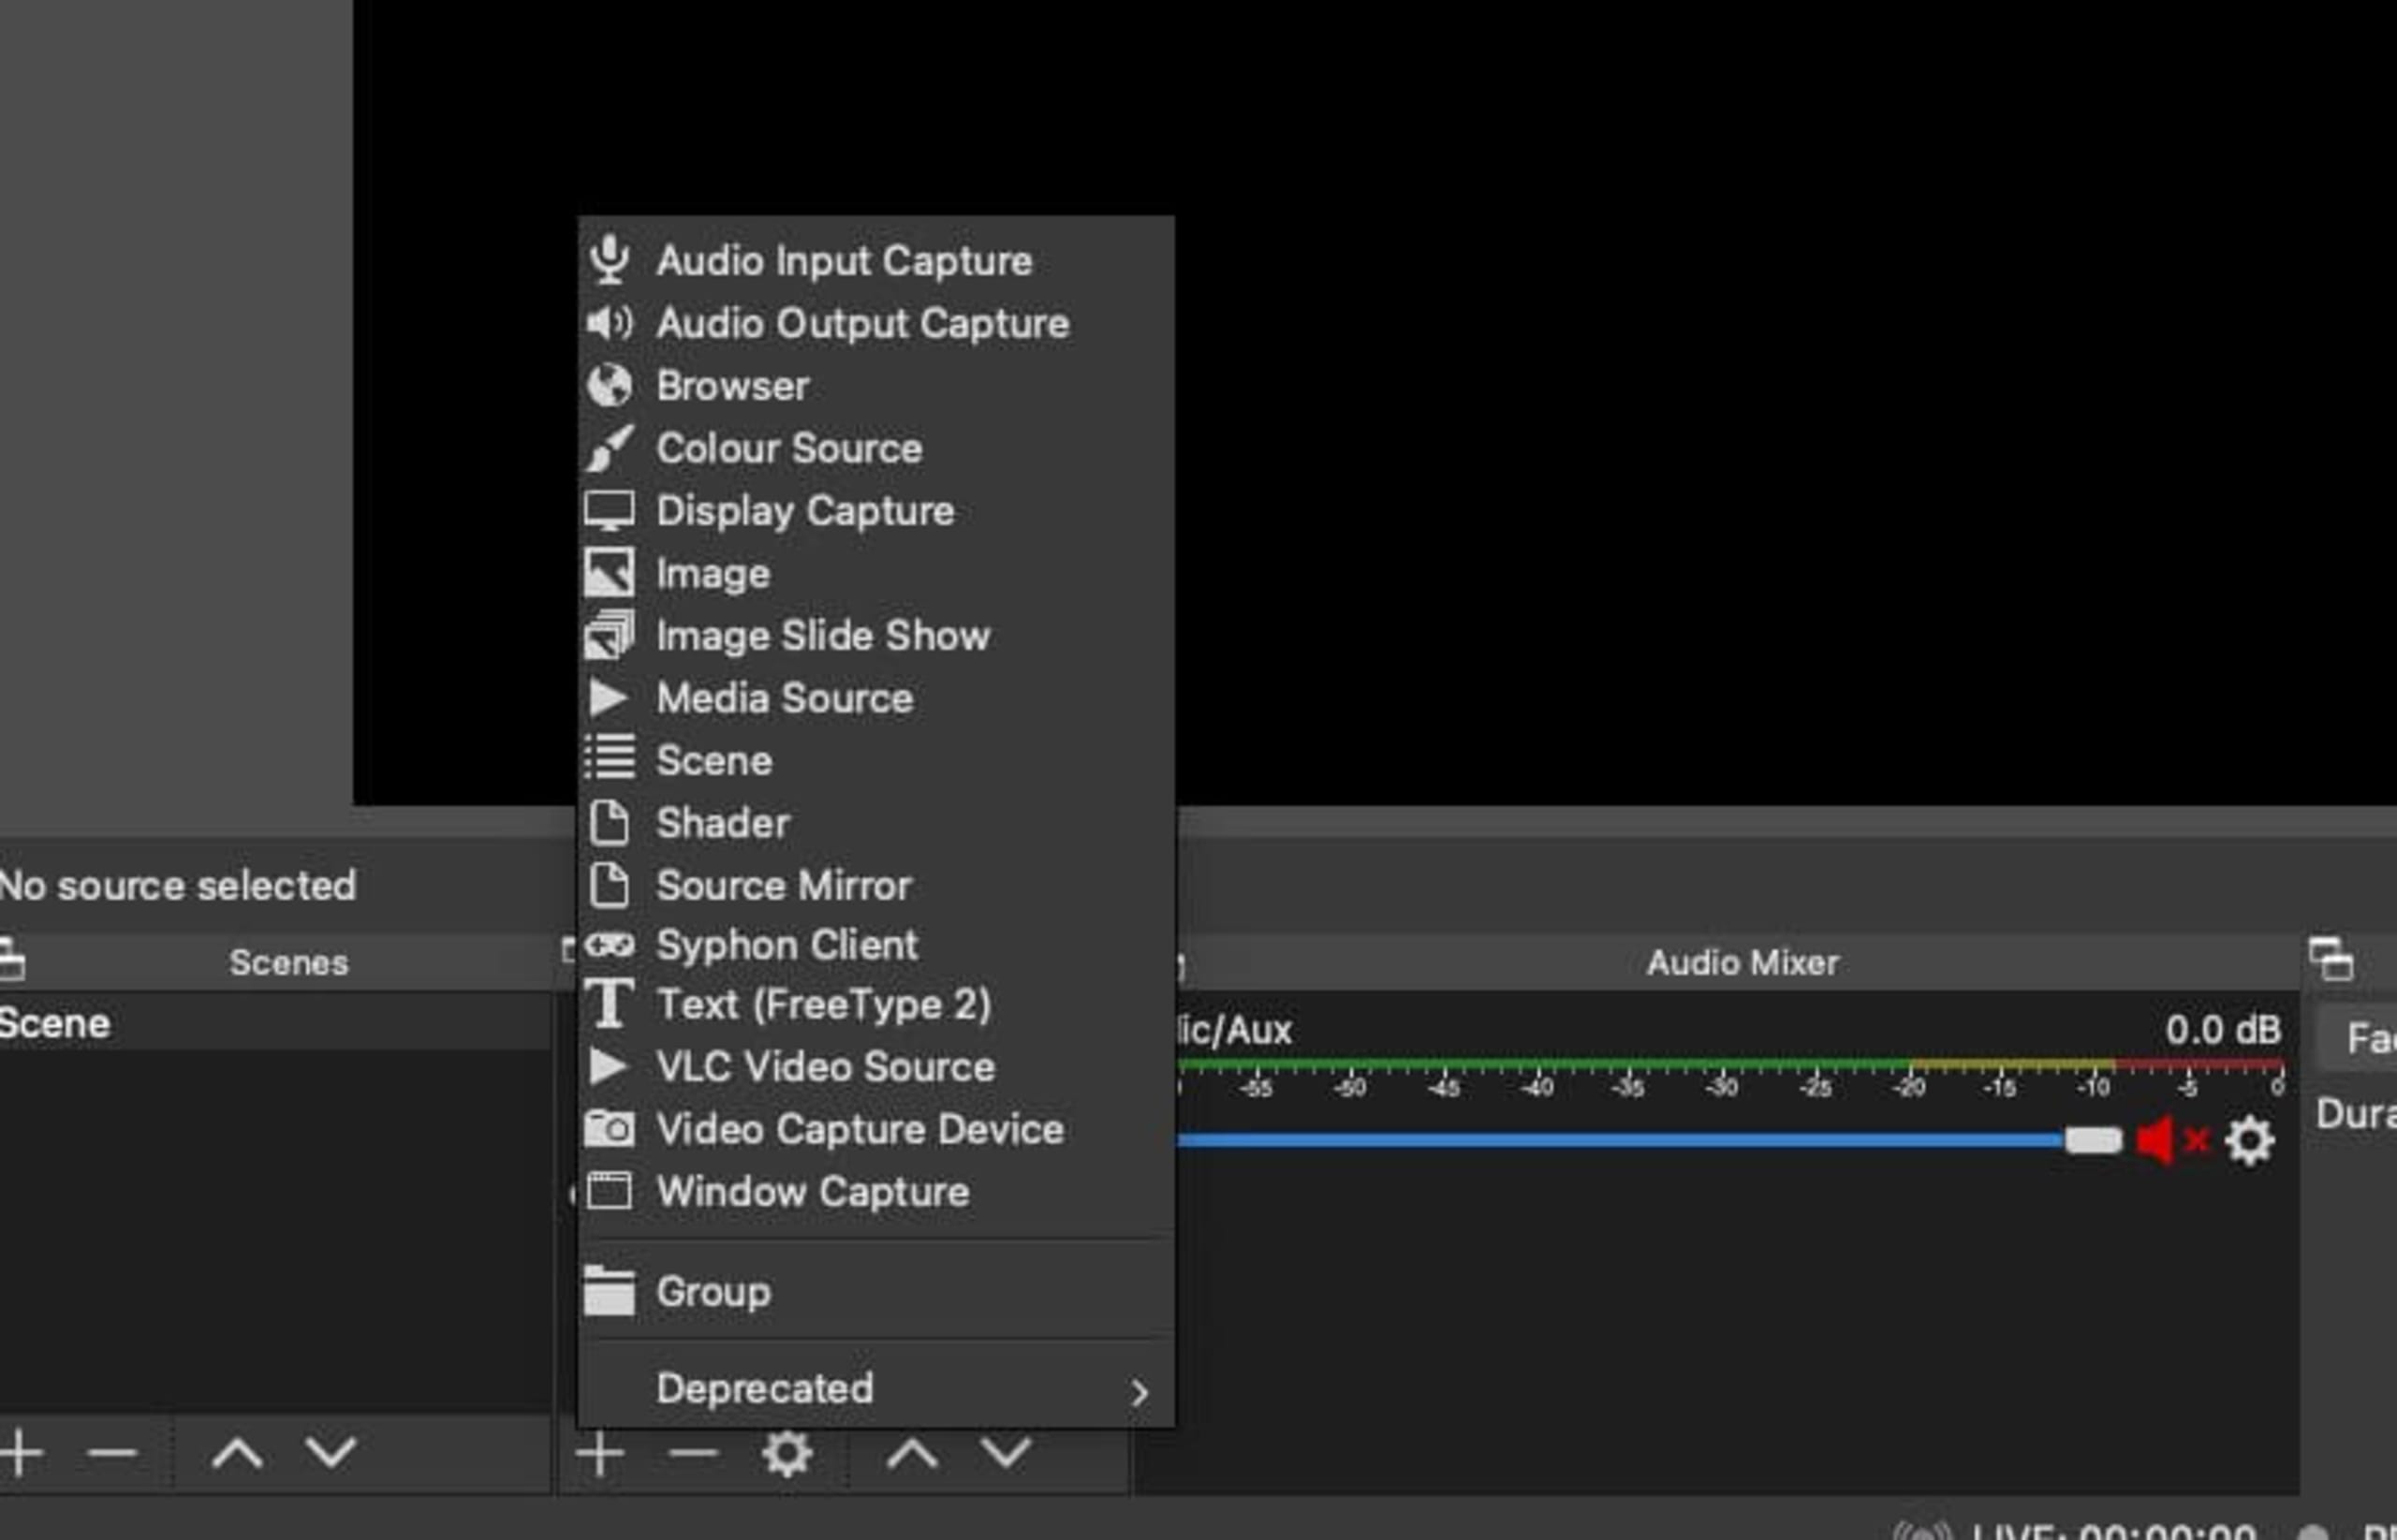
Haz clic en el signo + de Fuentes para abrir una lista de opciones. Luego haz clic en Fuente multimedia y asígnale el nombre “space”.
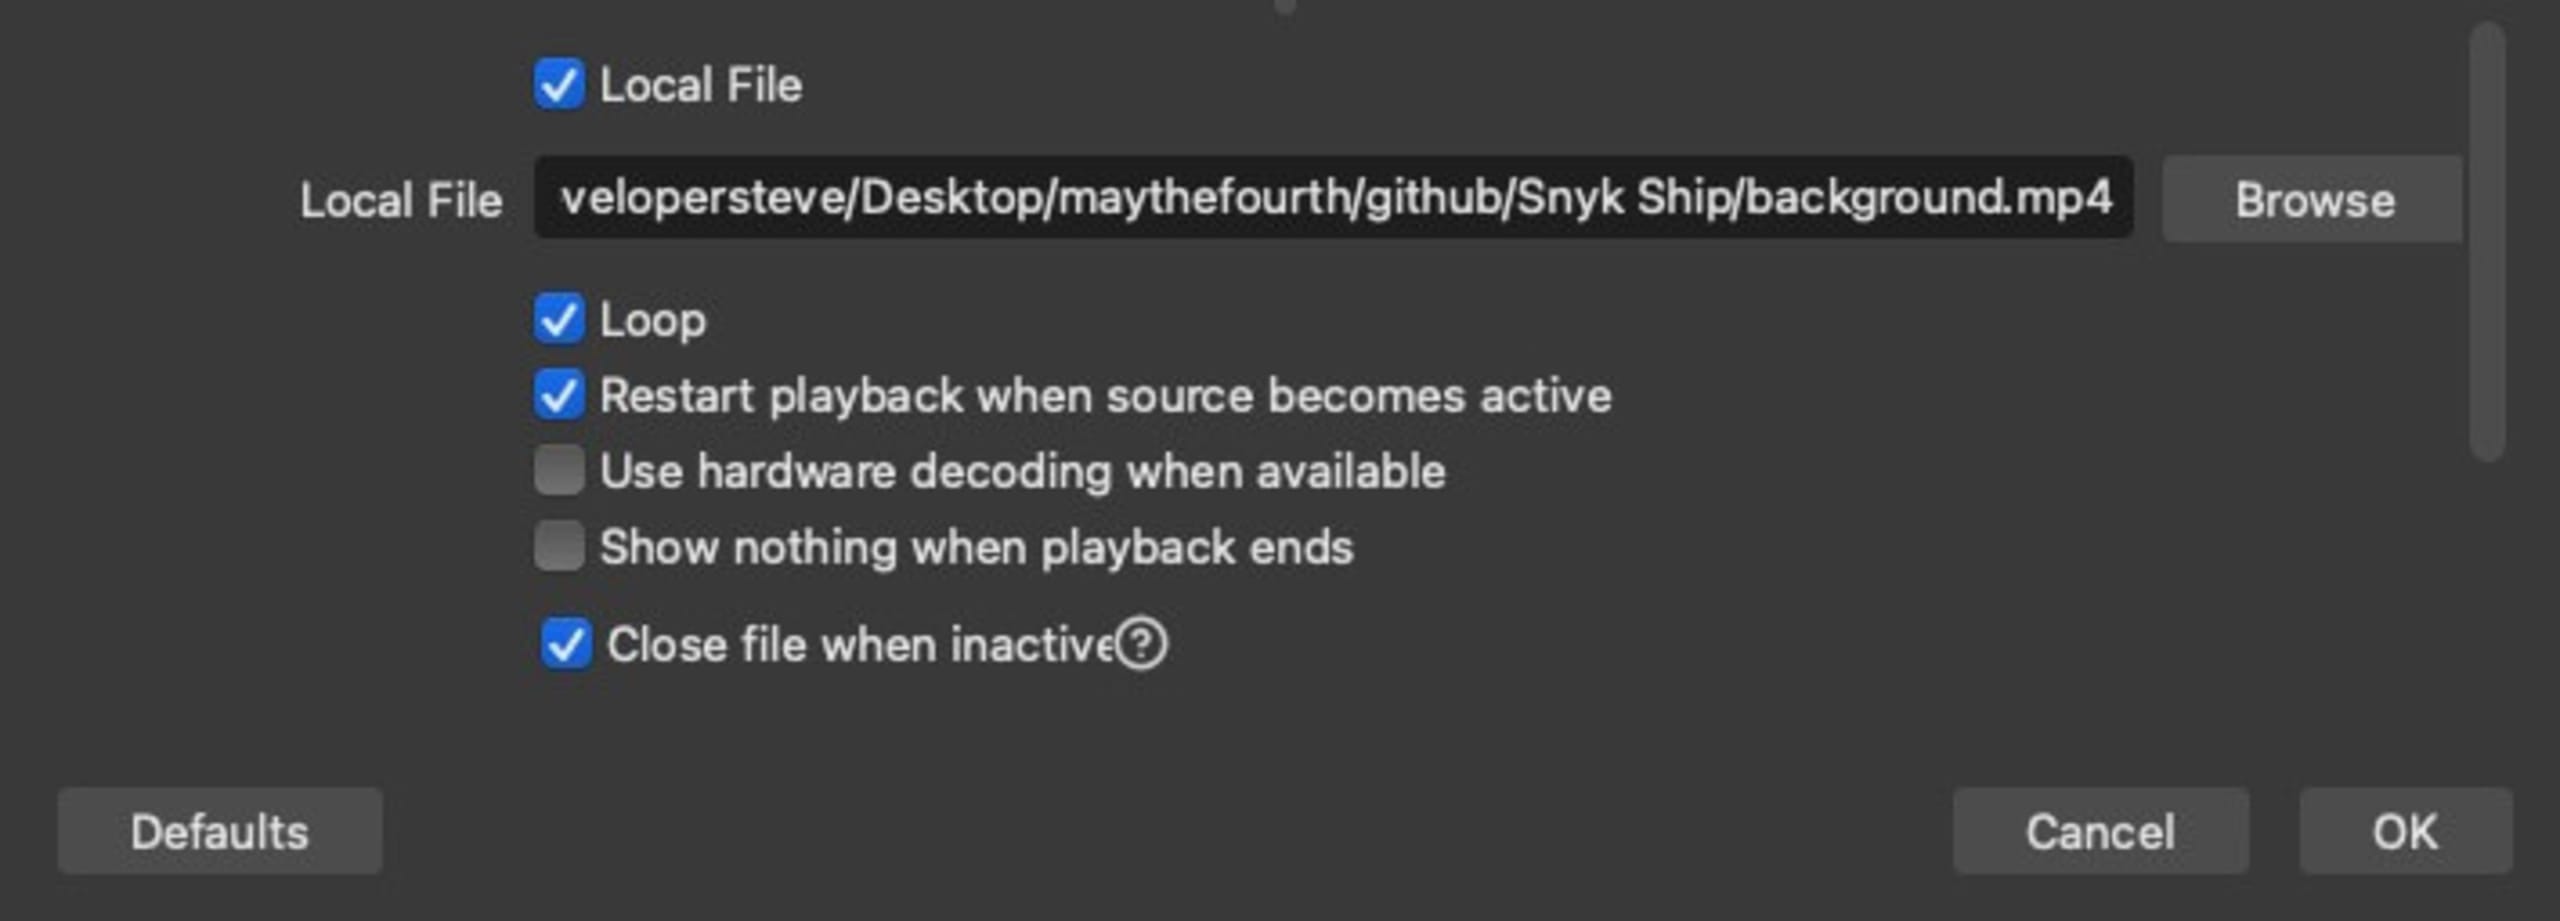
Luego selecciona background.mp4 en el repositorio de GitHub de snyk-labs. En esta pantalla, hay algunas opciones que debes tener en cuenta.
Repetir: activado. El video volverá a empezar cuando termine.
Reiniciar reproducción: activado. Esto resulta útil al cambiar de escena, ya que vuelve a iniciar el ciclo del video.
Usar aceleración por hardware cuando esté disponible: opcional. Si tienes una tarjeta gráfica, conviene activar esta opción.
Mostrar nada cuando termine la reproducción: desactivado. Queremos que este video de fondo se reproduzca continuamente.
Cerrar archivo cuando esté inactivo: activado. Si tienes varias escenas, las fuentes que no se usan en otras escenas permanecerán inactivas. Esta opción ahorra mucha memoria y capacidad de CPU.
Haz clic en el botón Aceptar. Ahora deberías ver un cuadro que puedes arrastrar en la ventana de vista previa de OBS. Arrastra el video del espacio para que ocupe toda la ventana de vista previa y habrás agregado el fondo de tu primera escena.
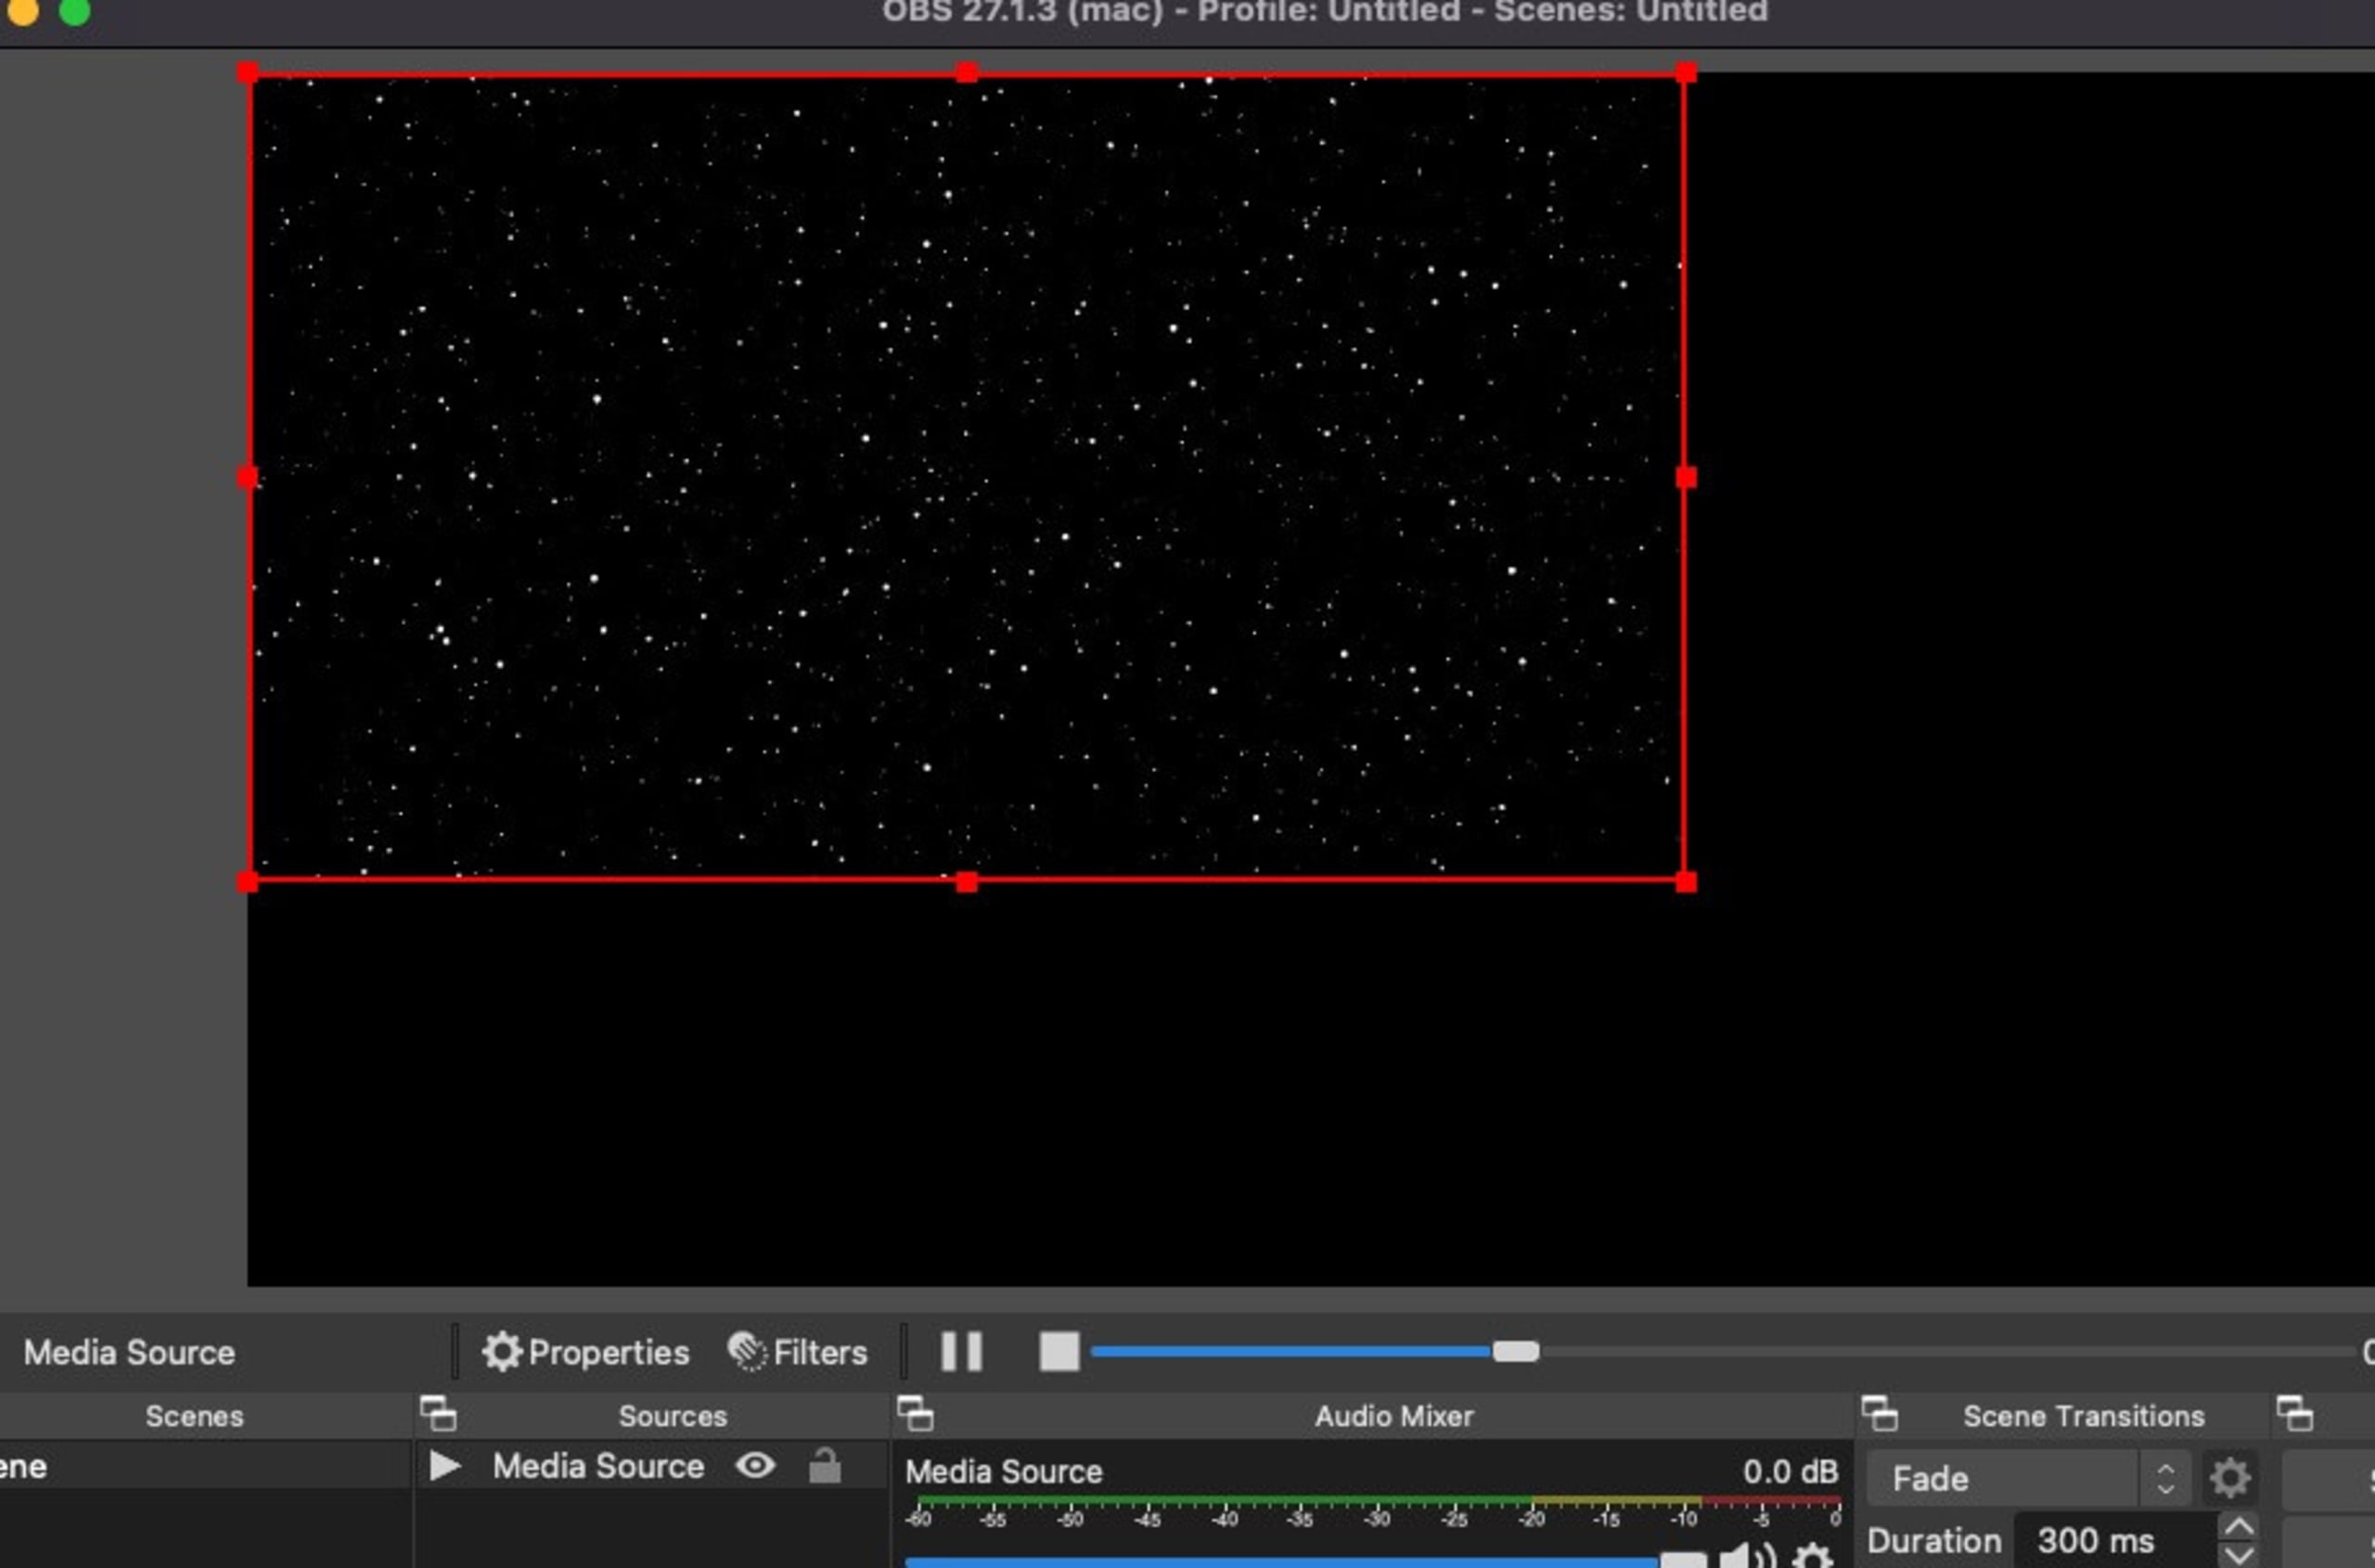
Ahora solo tenemos que agregar el resto de los recursos como fuentes a la escena.
Vuelve a hacer clic en + en Fuentes y en Fuente multimedia, pero esta vez selecciona el archivo ship_interior.mp4 del repositorio. Aplica la misma configuración que usamos para el fondo: también queremos que este video se repita.
Mueve esta capa de fuente al centro de la ventana de vista previa y cambia un poco su tamaño. Cuando agreguemos algunas capas más, tendremos que alinear algunos elementos.
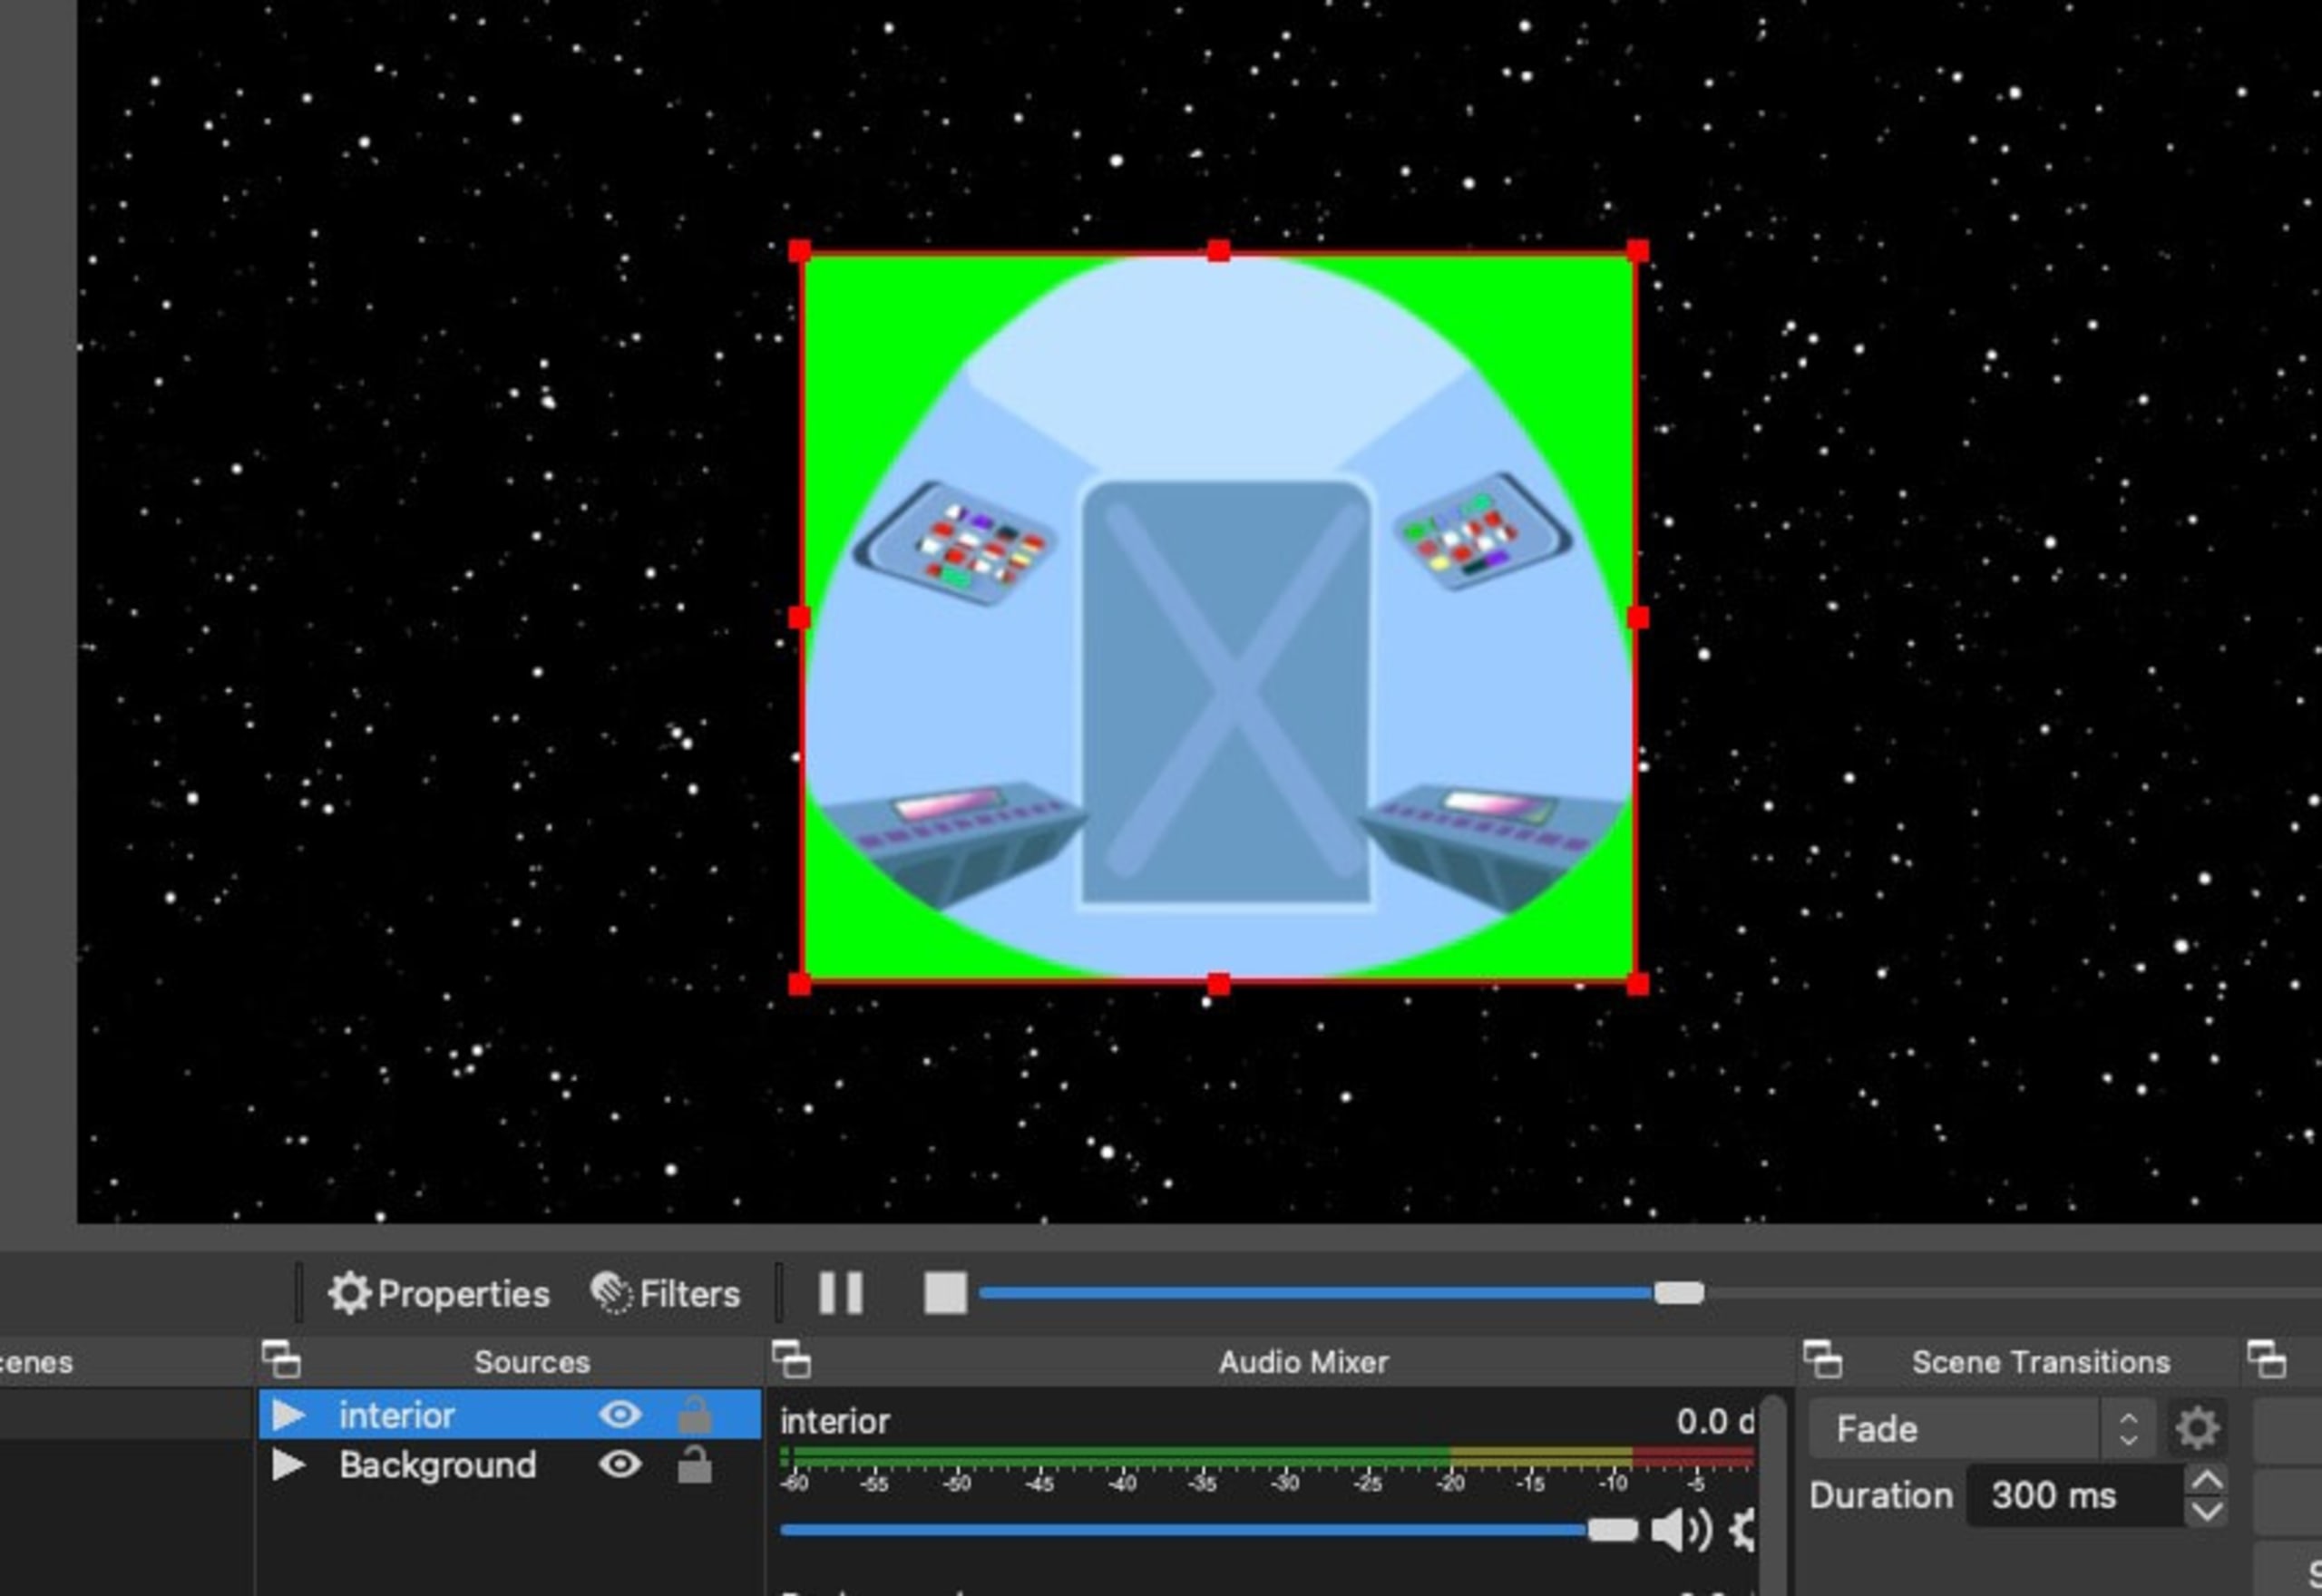
Ahora debemos agregar un filtro de clave cromática (pantalla verde) a esa fuente para eliminar el recuadro verde alrededor del interior.
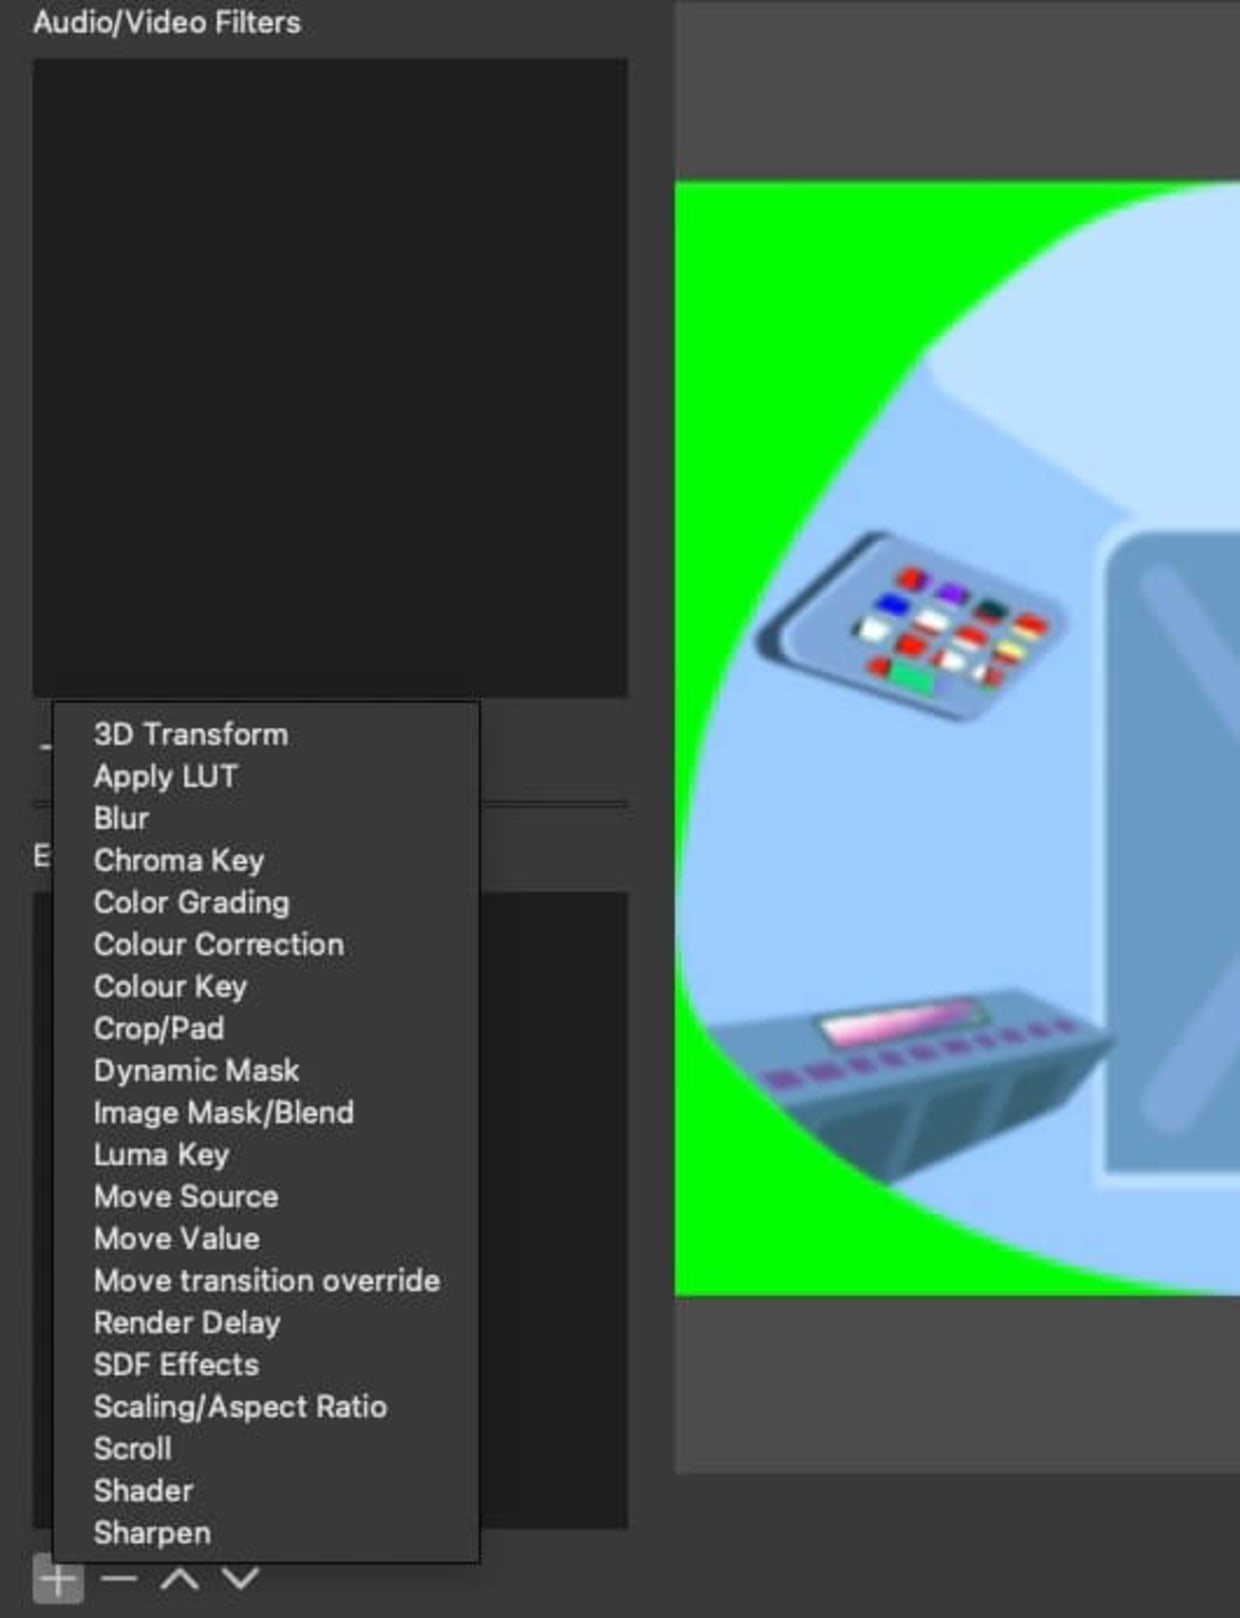
Haz clic en la fuente del interior que acabamos de agregar a la lista de fuentes y luego en la pestaña Filtros. En Filtros de efecto, haz clic en el signo + y selecciona Clave cromática en la lista de filtros.
Acepta el nombre predeterminado “Clave cromática” y cierra la ventana de filtros. Ya debería aparecer la primera parte de tu nave de MayTheFourth.
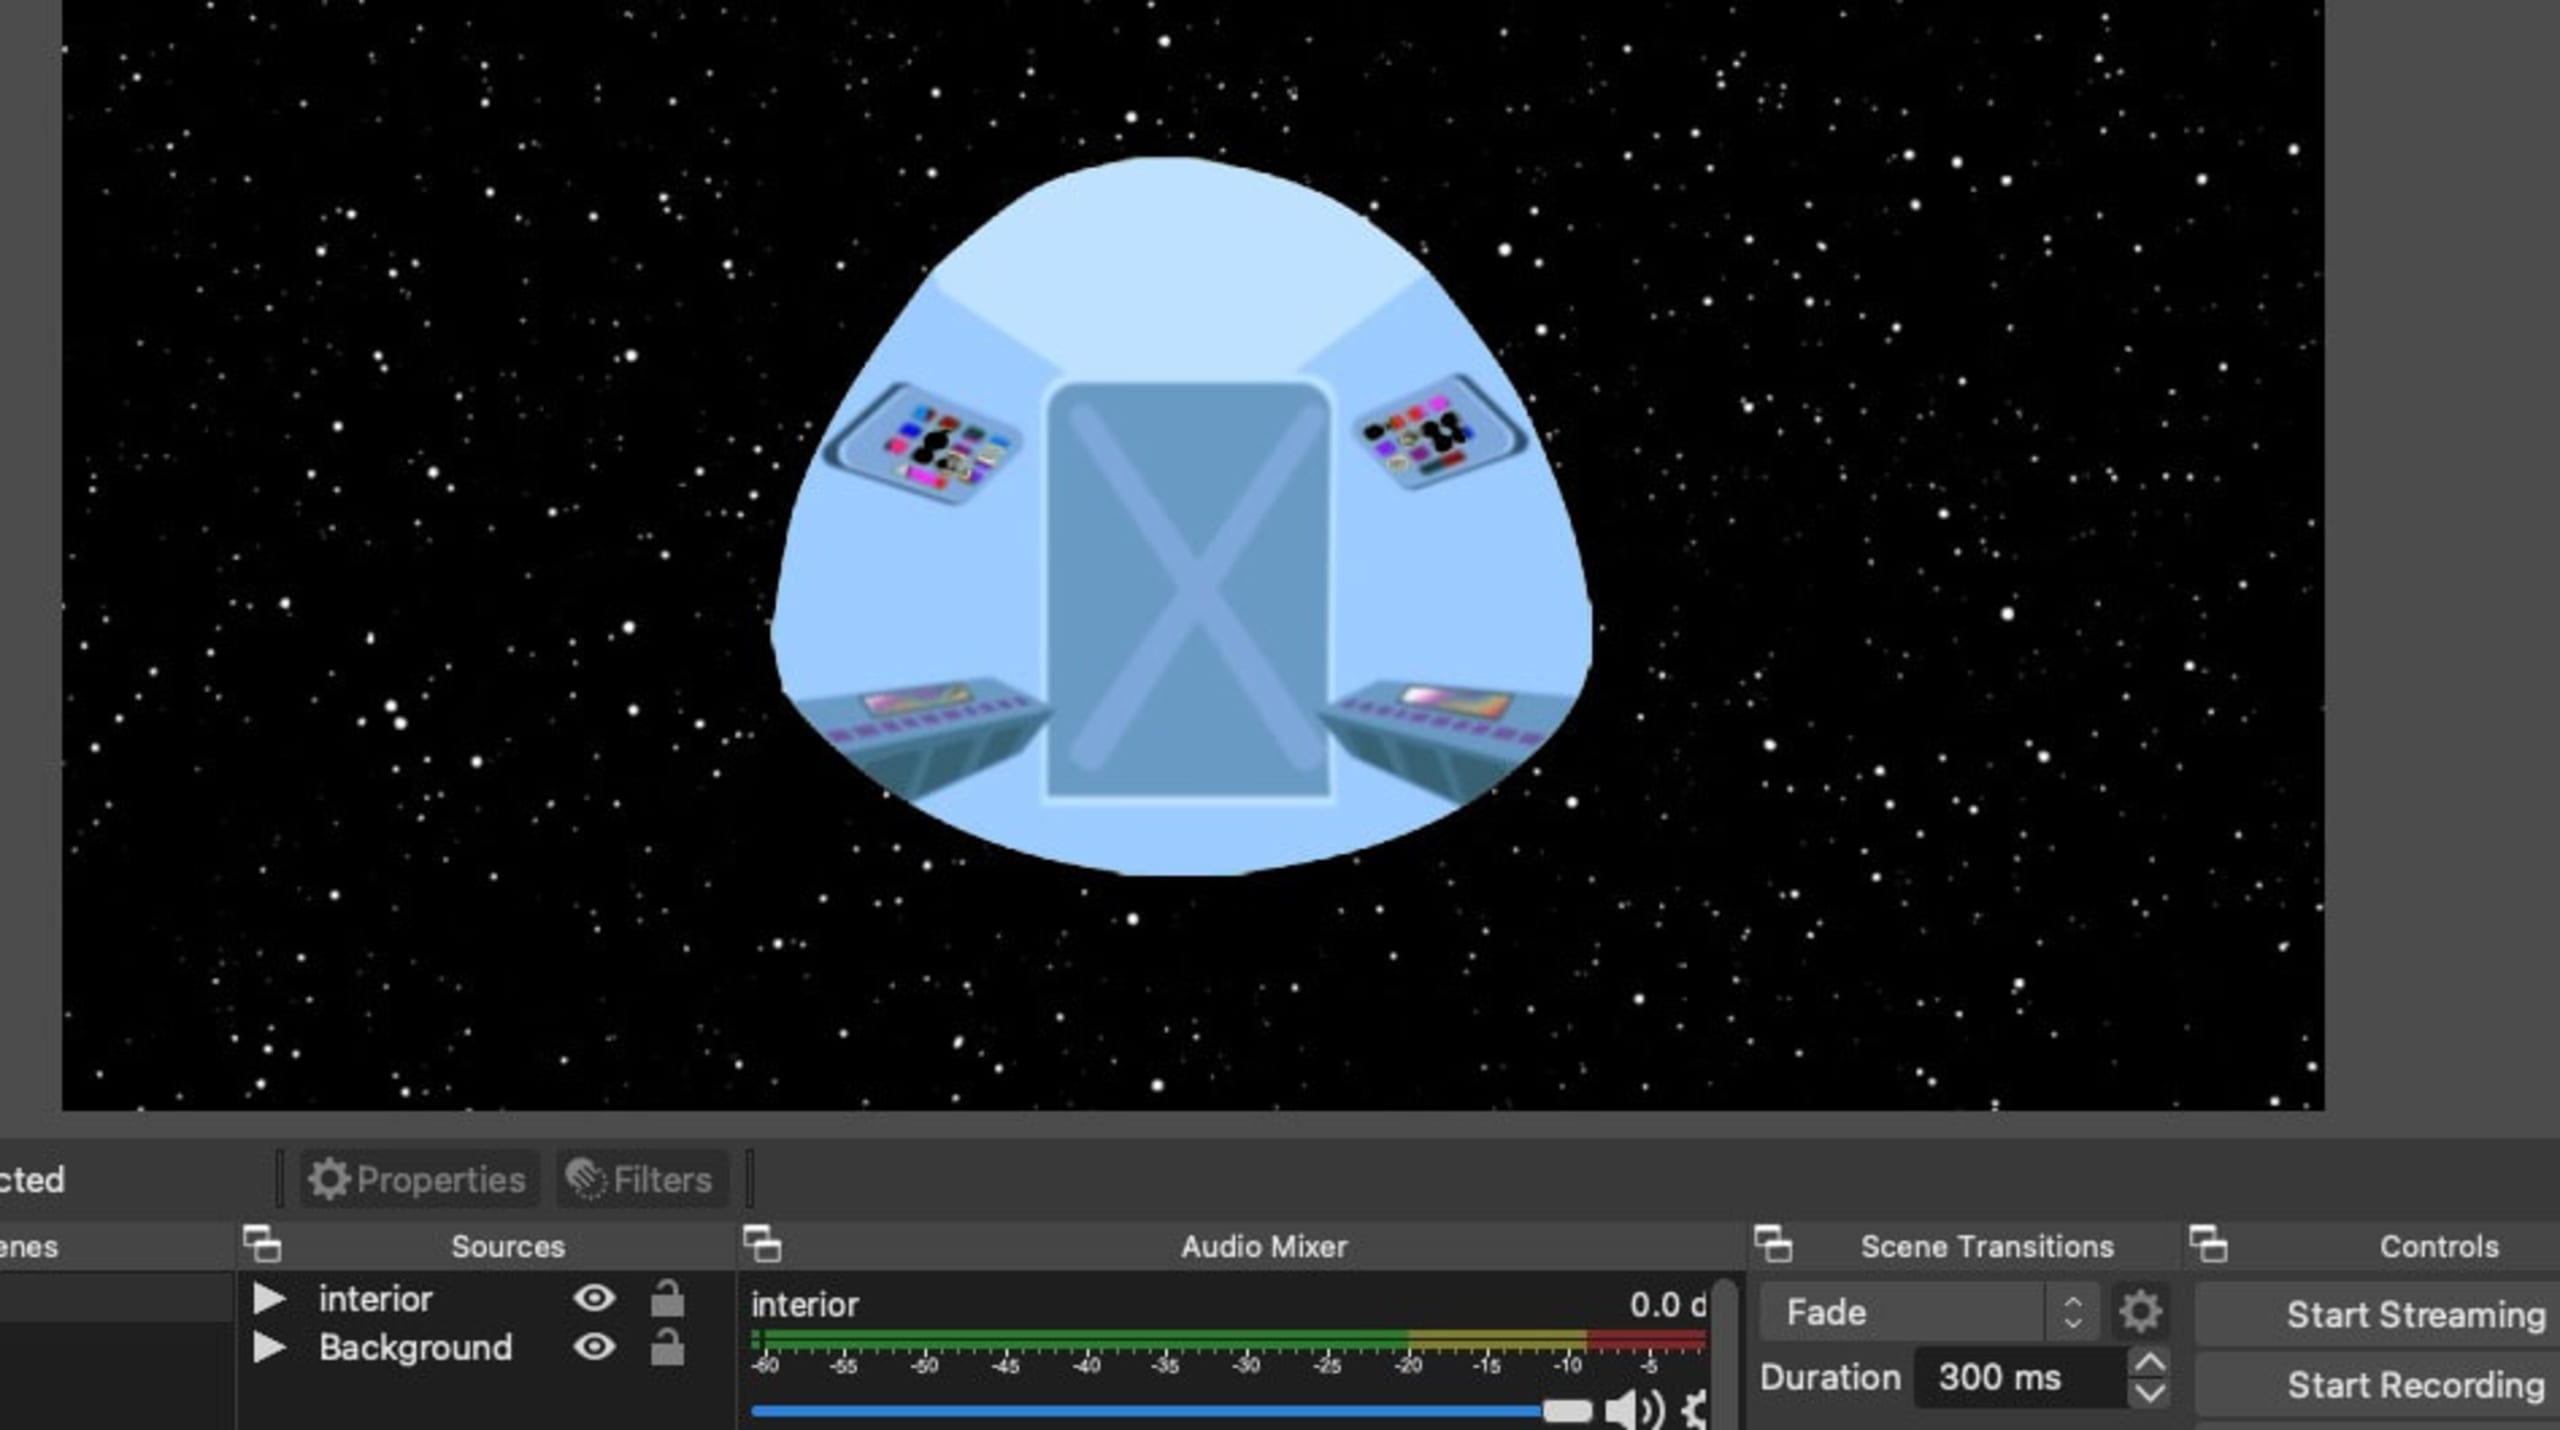
Agrega una cámara haciendo clic en + en Fuentes y seleccionando Dispositivo de captura de video. Selecciona tu cámara en la lista desplegable de la ventana emergente.
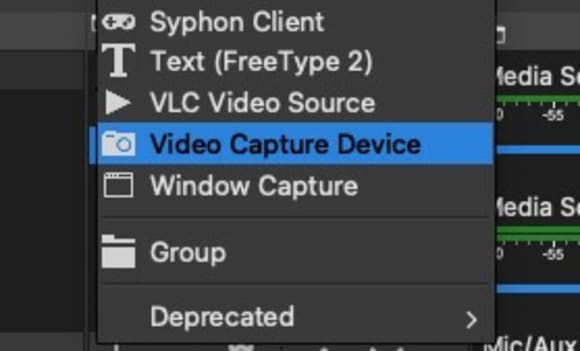
Haz clic en Aceptar. Luego cambia el tamaño y la posición del cuadro de video para que quede sobre el interior de la nave. Tendremos que ajustarlo más cuando agreguemos la nave, pero por ahora, coloca y ajusta el tamaño del video para que encaje justo dentro de la capa de fuente del interior.
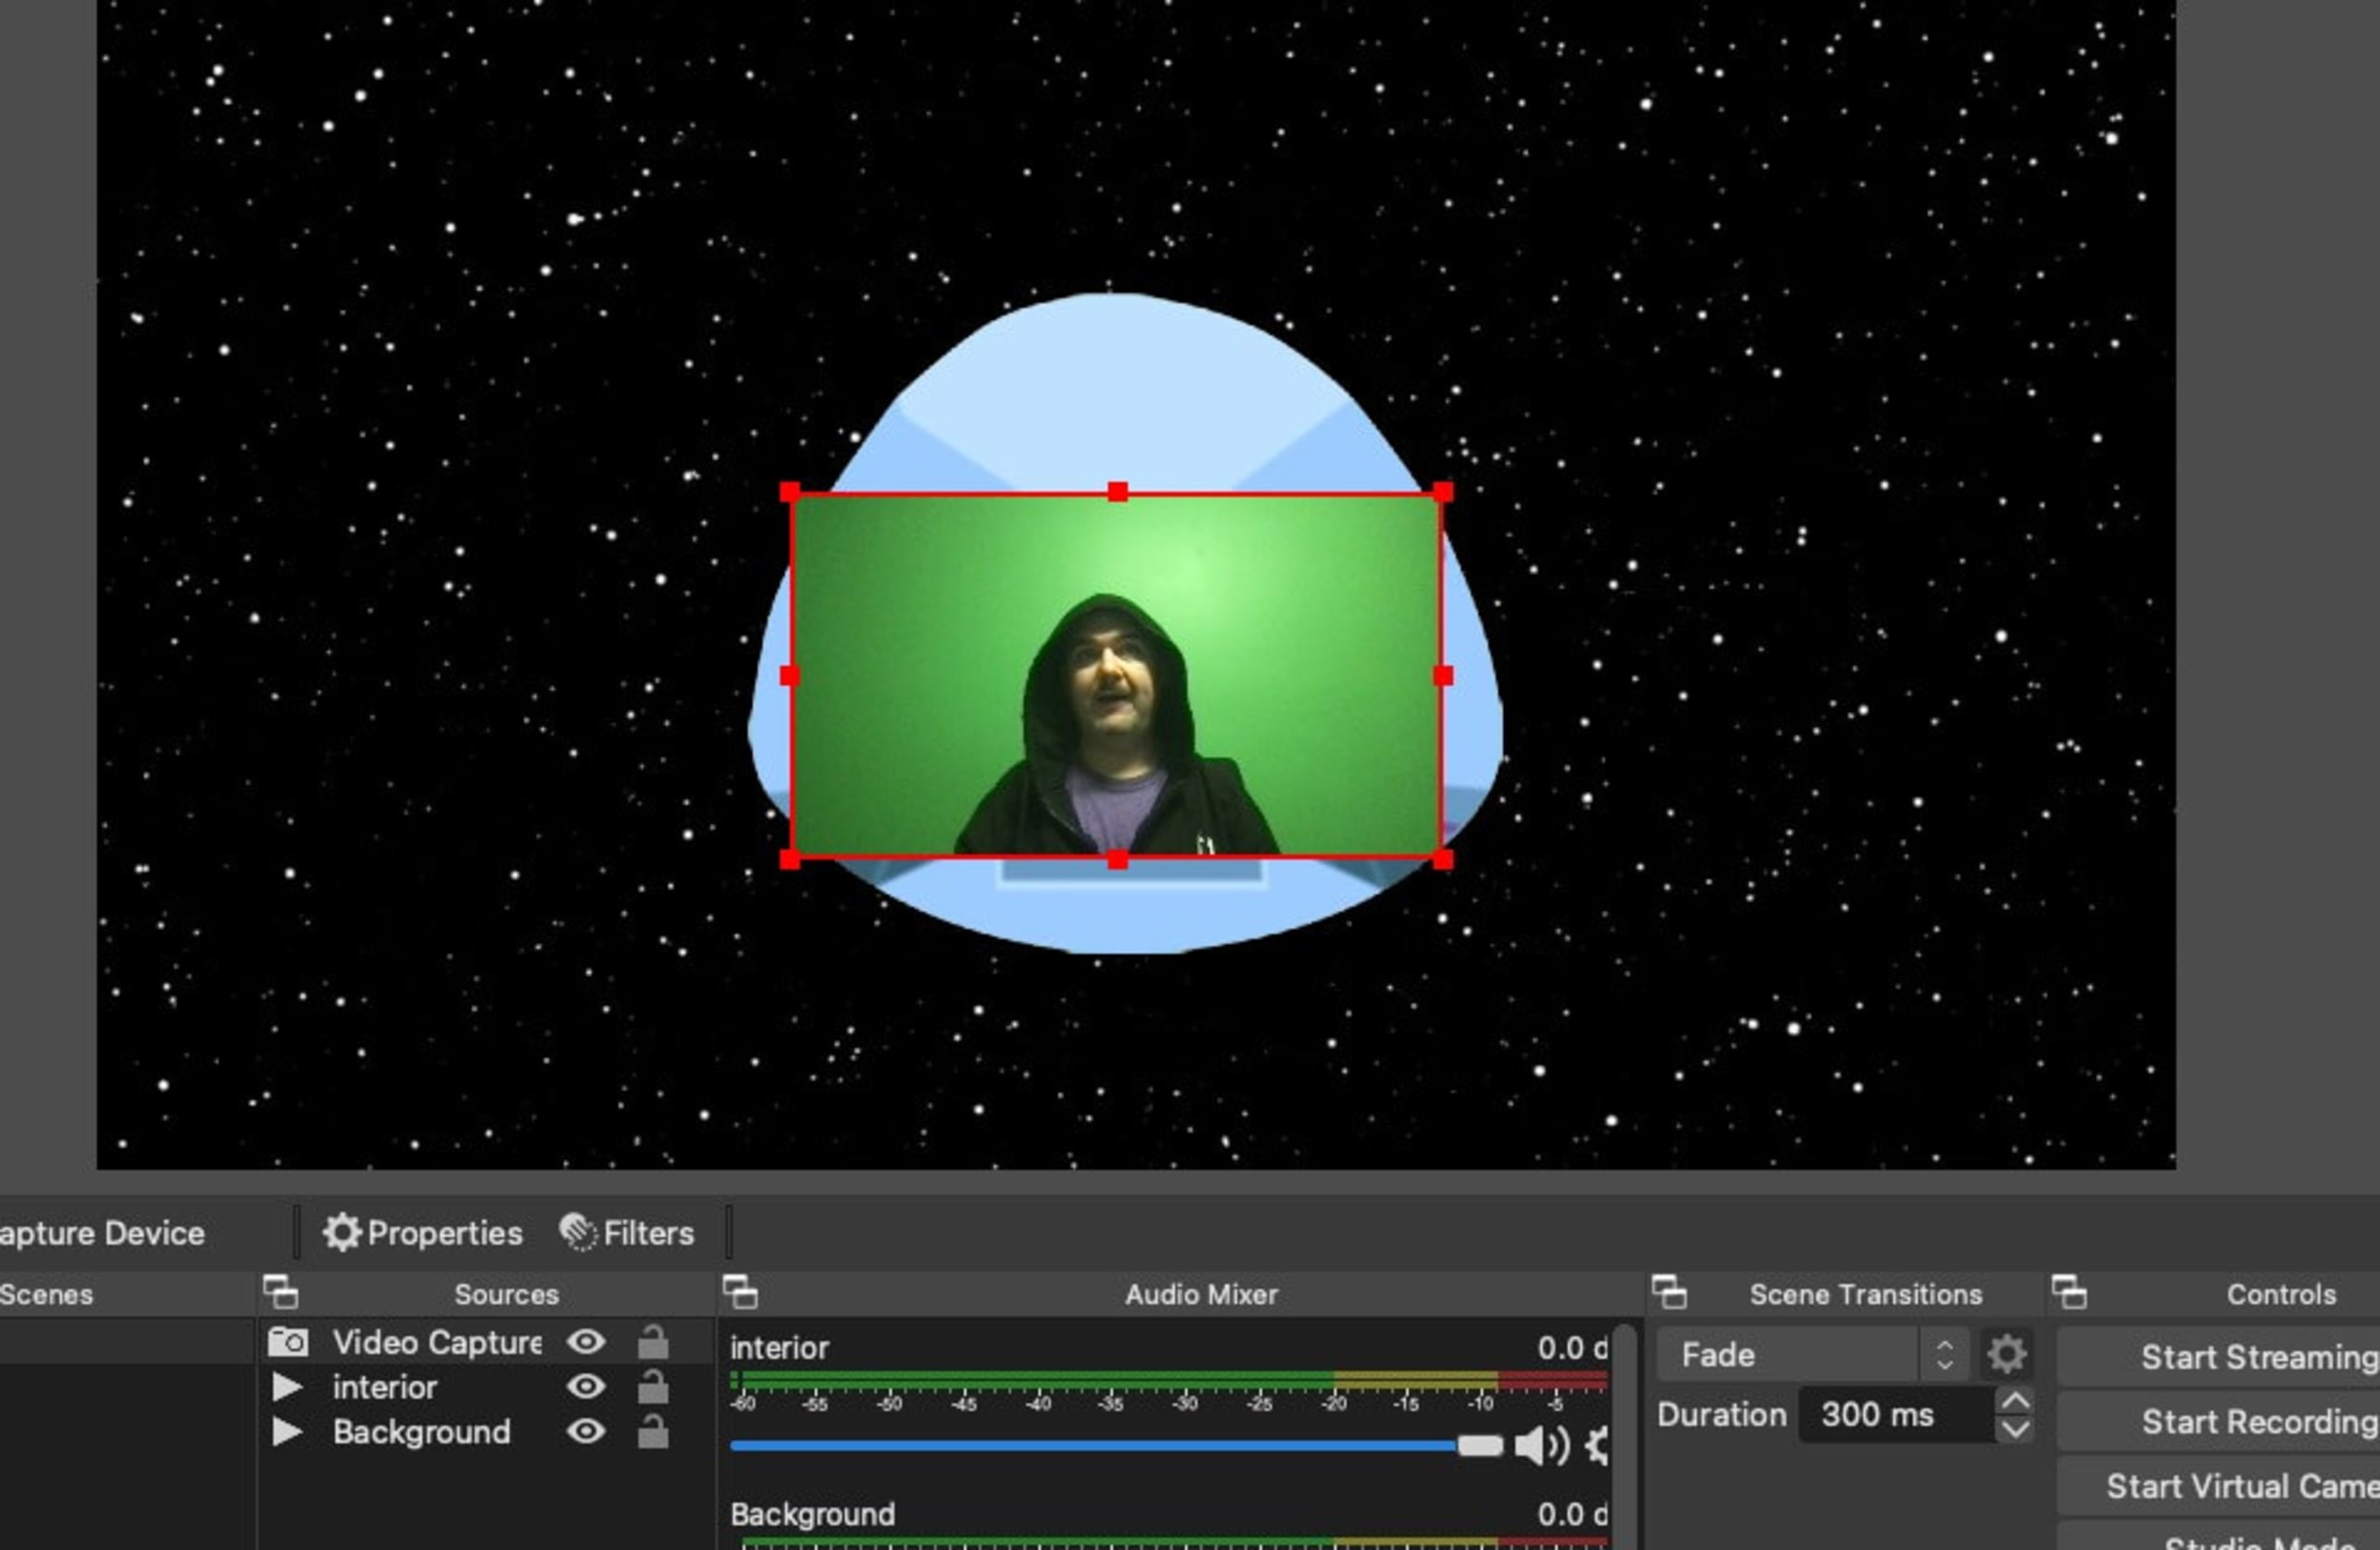
Ya casi terminamos. Agreguemos nuestra nave de Snyk.
Haz clic una vez más en + en Fuentes. Luego selecciona Imagen en la lista de fuentes y asígnale el nombre “Nave de Snyk”. Busca el archivo ship_green.png y marca la casilla Descargar imagen cuando no se muestre. Esto ahorra memoria y capacidad de CPU cuando tienes varias escenas.
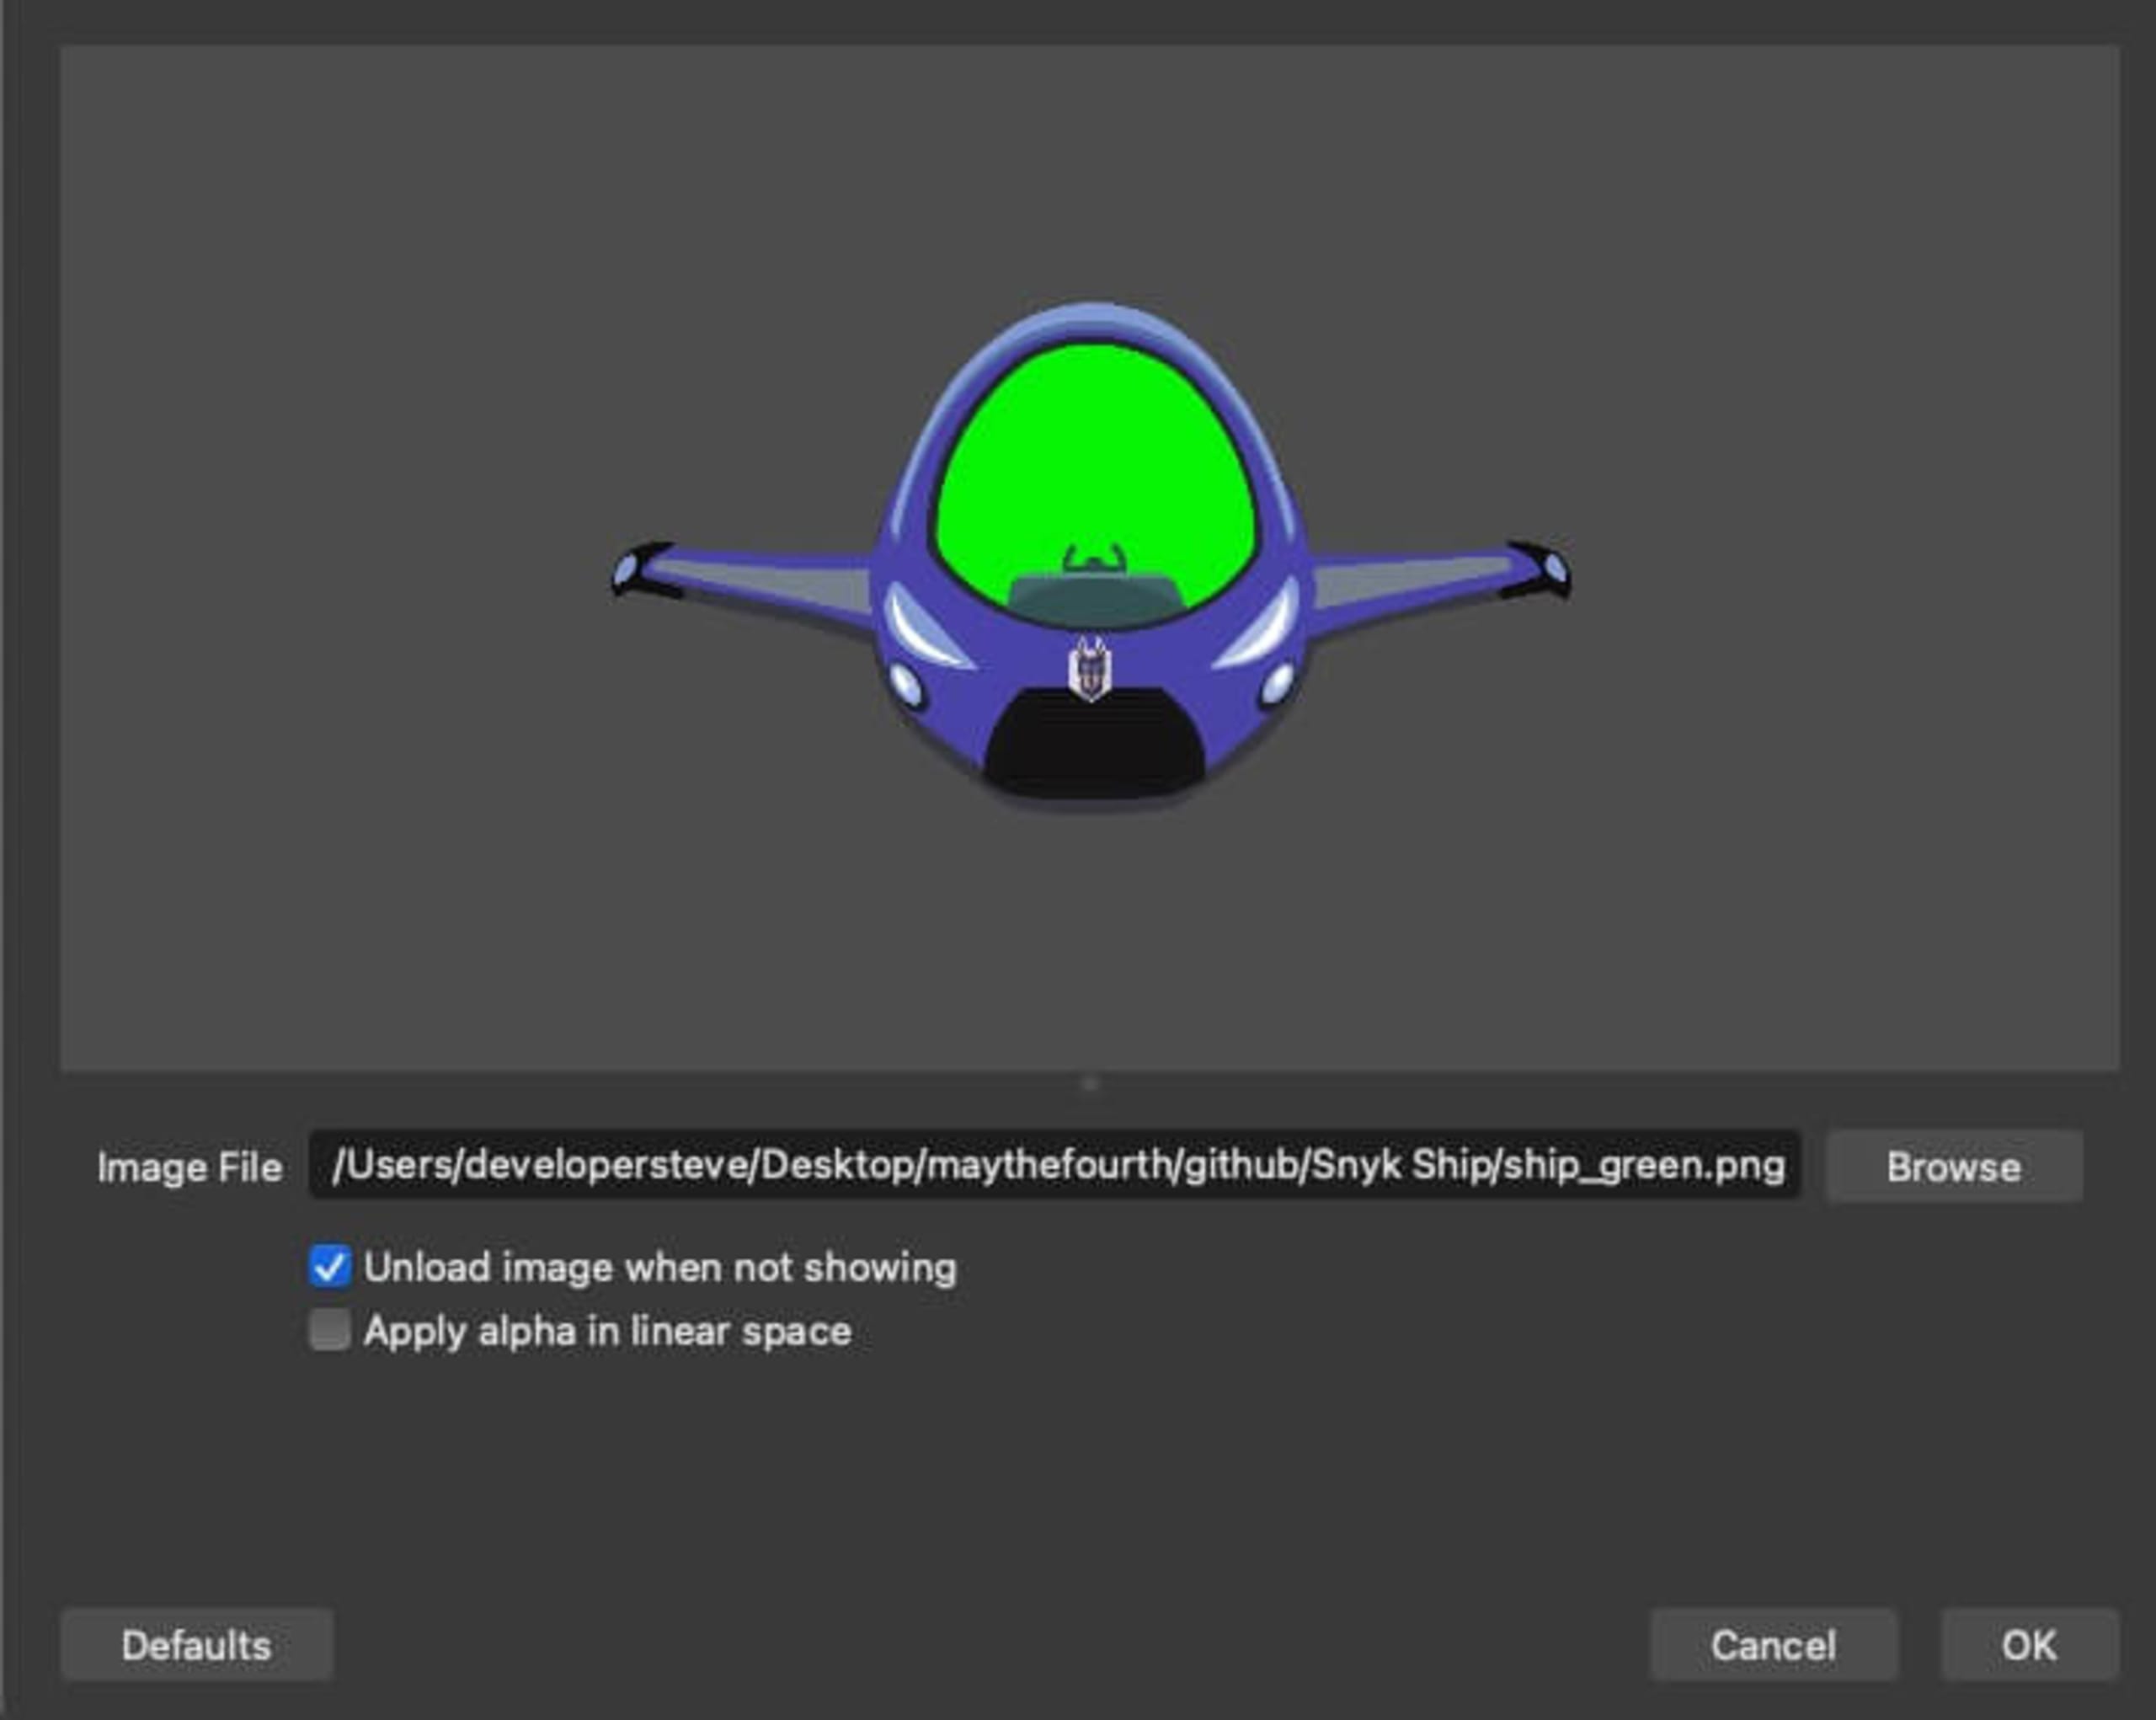
Haz clic en Aceptar y verás aparecer la capa de la nave. Agrega un poco de magia con la clave cromática en la pestaña de filtros, como hicimos con el interior. Luego, cambia la posición y el tamaño de todas las capas de fuentes para que encajen entre sí. Es posible que también tengas que mover un poco la cámara.
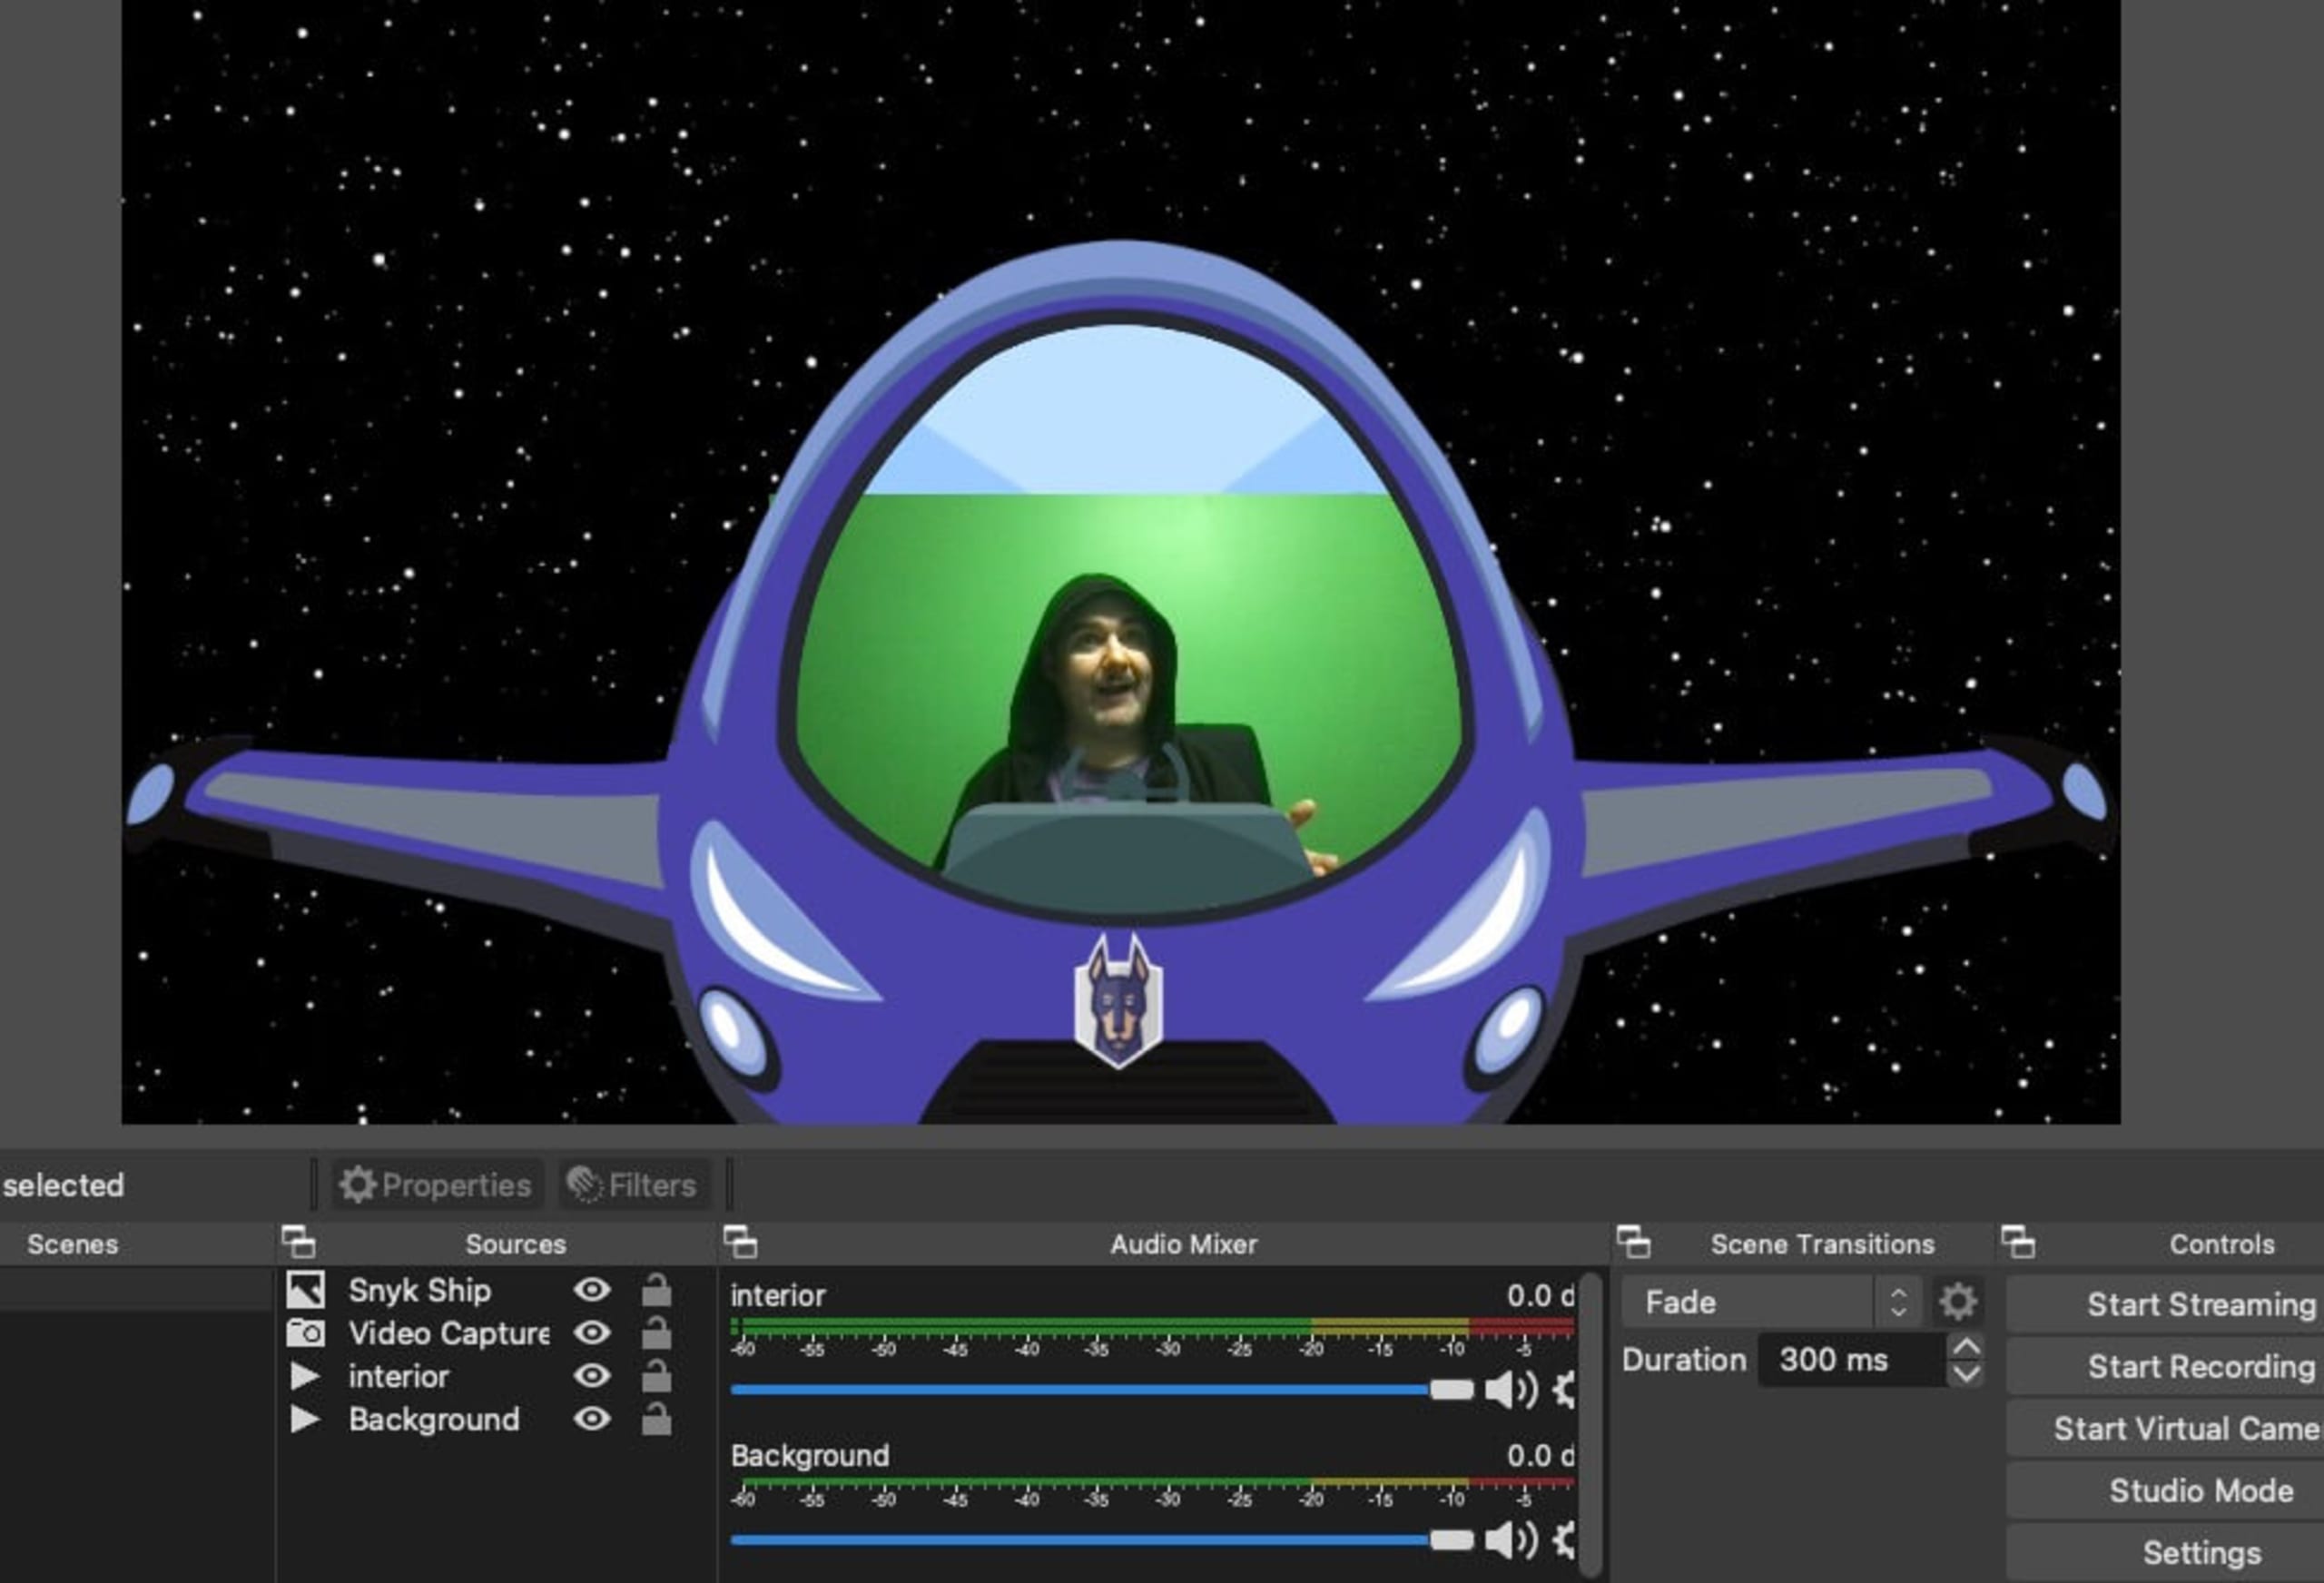
Este último paso es opcional, pero puedes colocar la ventana de la nave por encima del video para completar la escena. Carga una imagen como hicimos con la capa de fuente de la nave, pero selecciona el archivo ship_window.png.
Luego agrega un efecto como hicimos con la clave cromática, pero selecciona Corrección de color haciendo clic en + en la pestaña Filtros de la capa de fuente Ventana. Ajusta la opacidad al nivel que quieras para la ventana de tu escena. Yo suelo dejarla alrededor de 30.
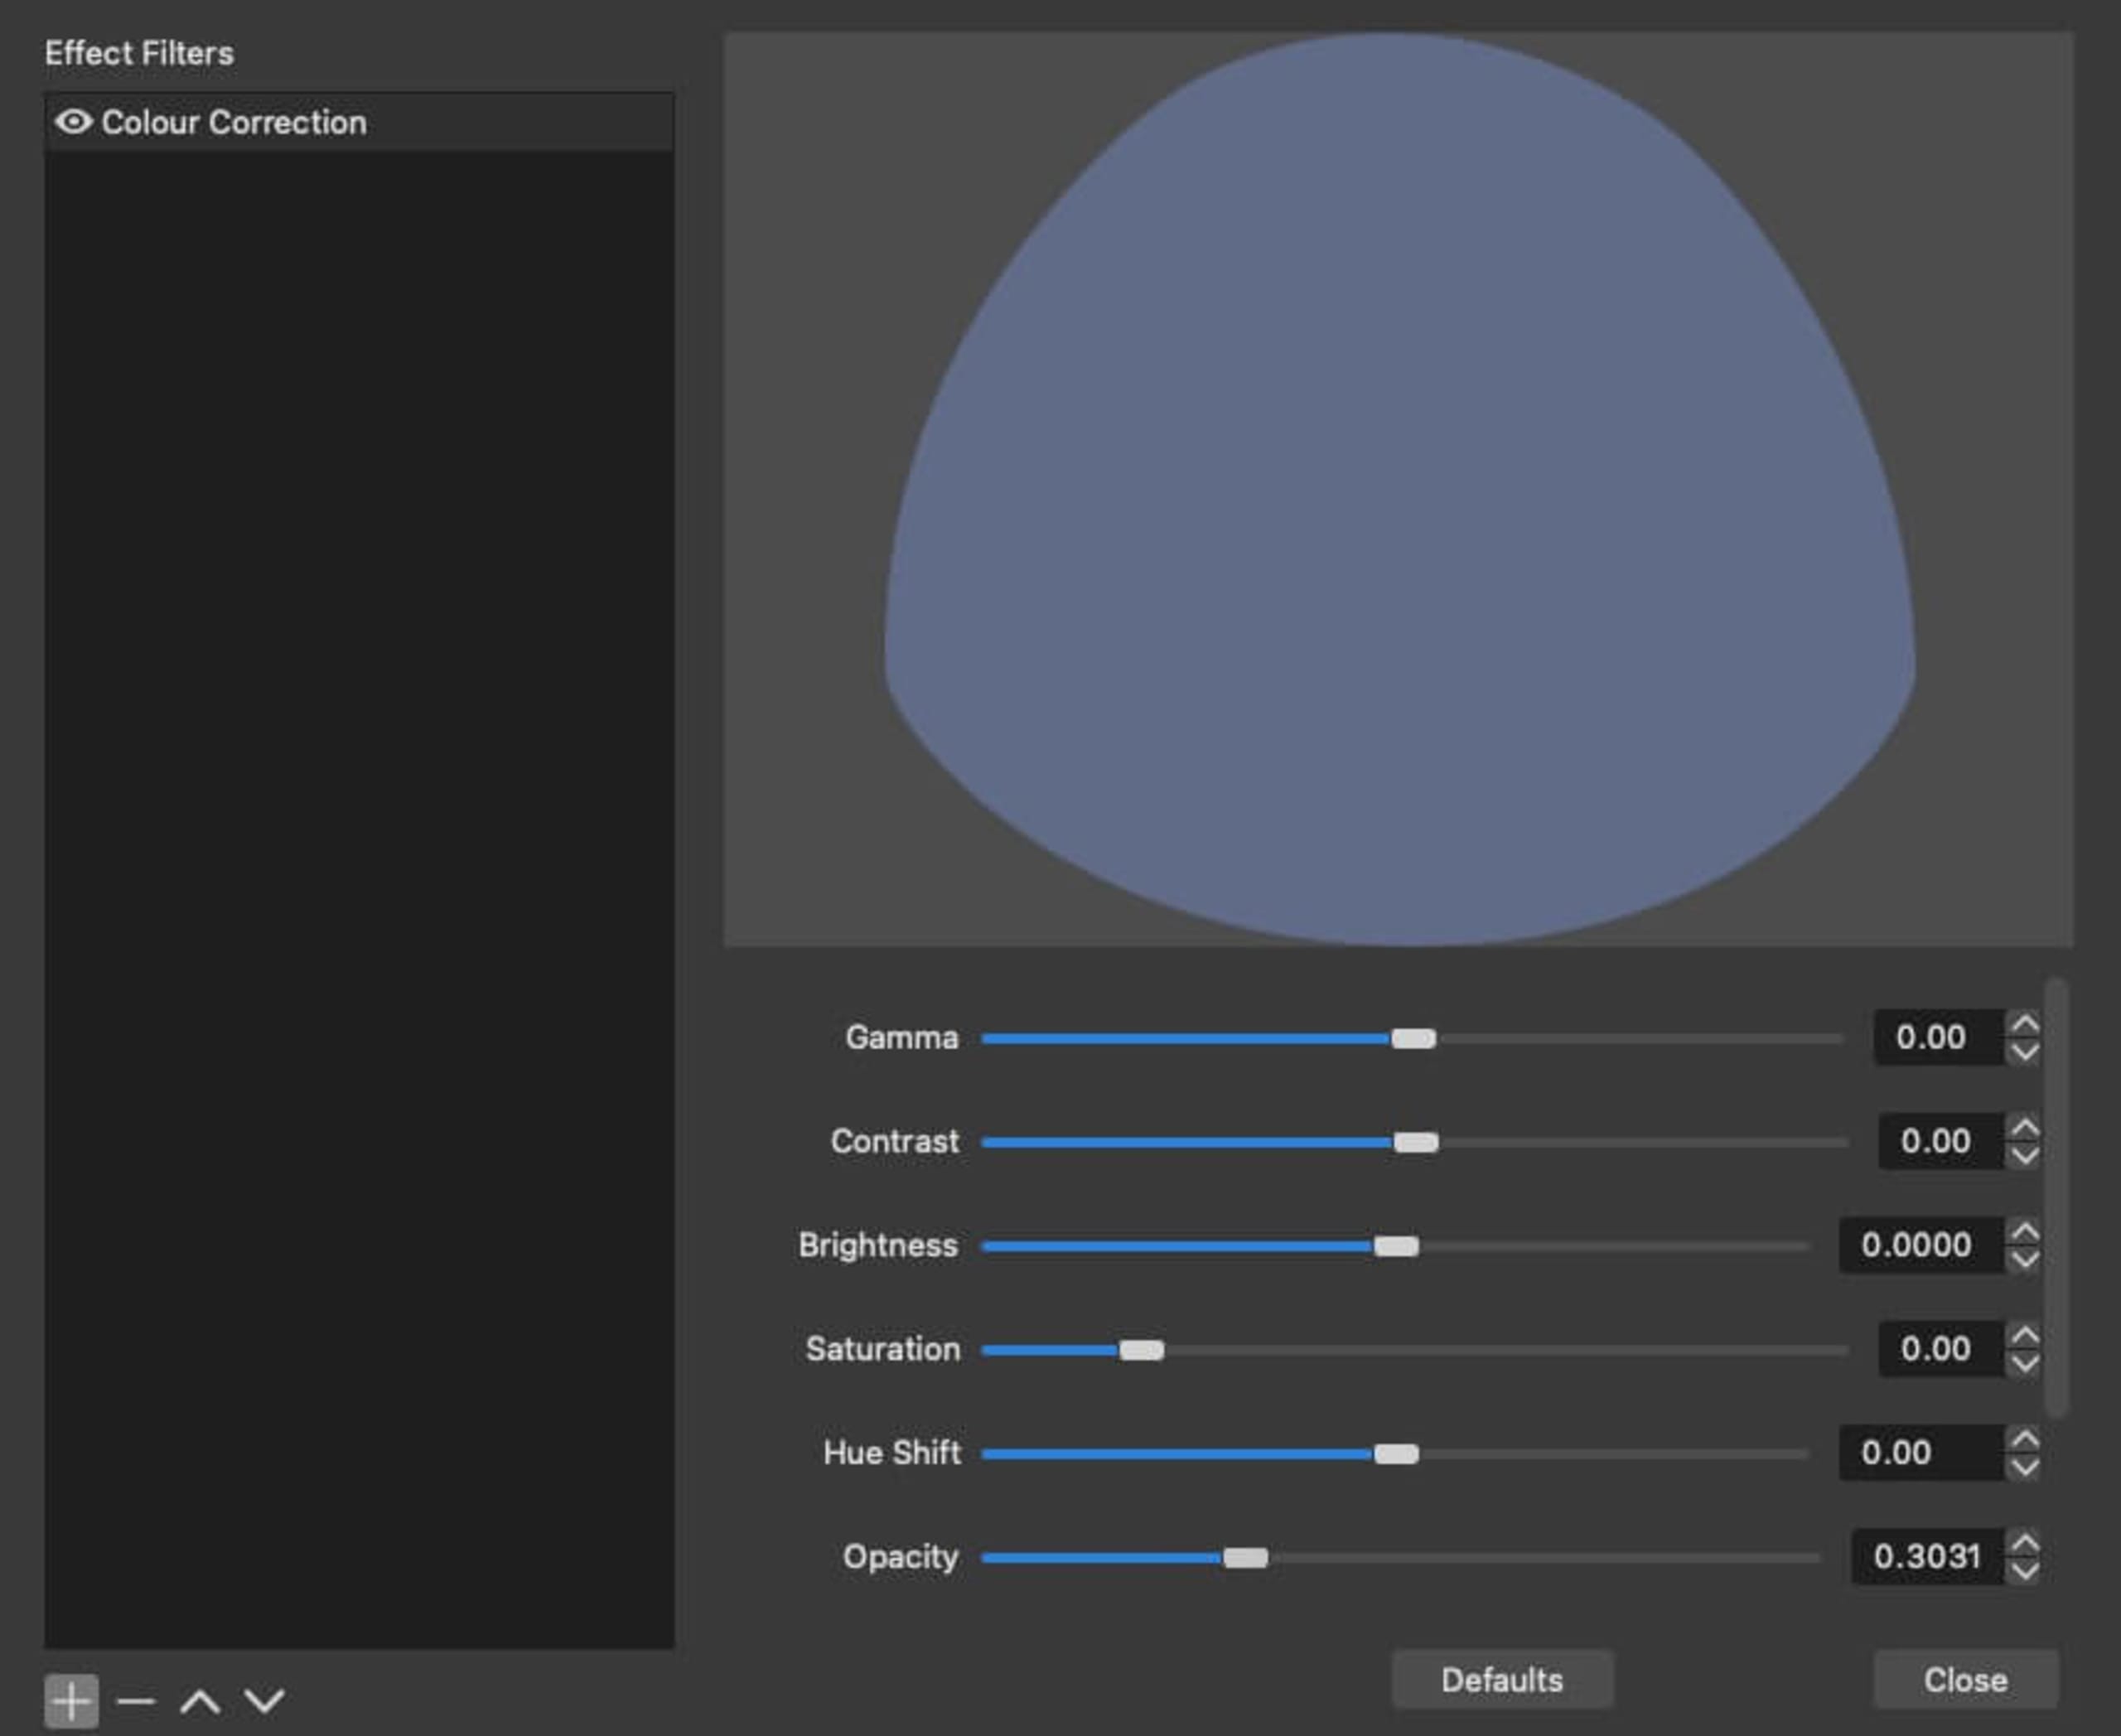
Sigue moviendo y cambiando el tamaño de las capas de fuentes hasta que todo quede alineado. Puede ser un poco complicado, pero el resultado final es… de otro mundo.
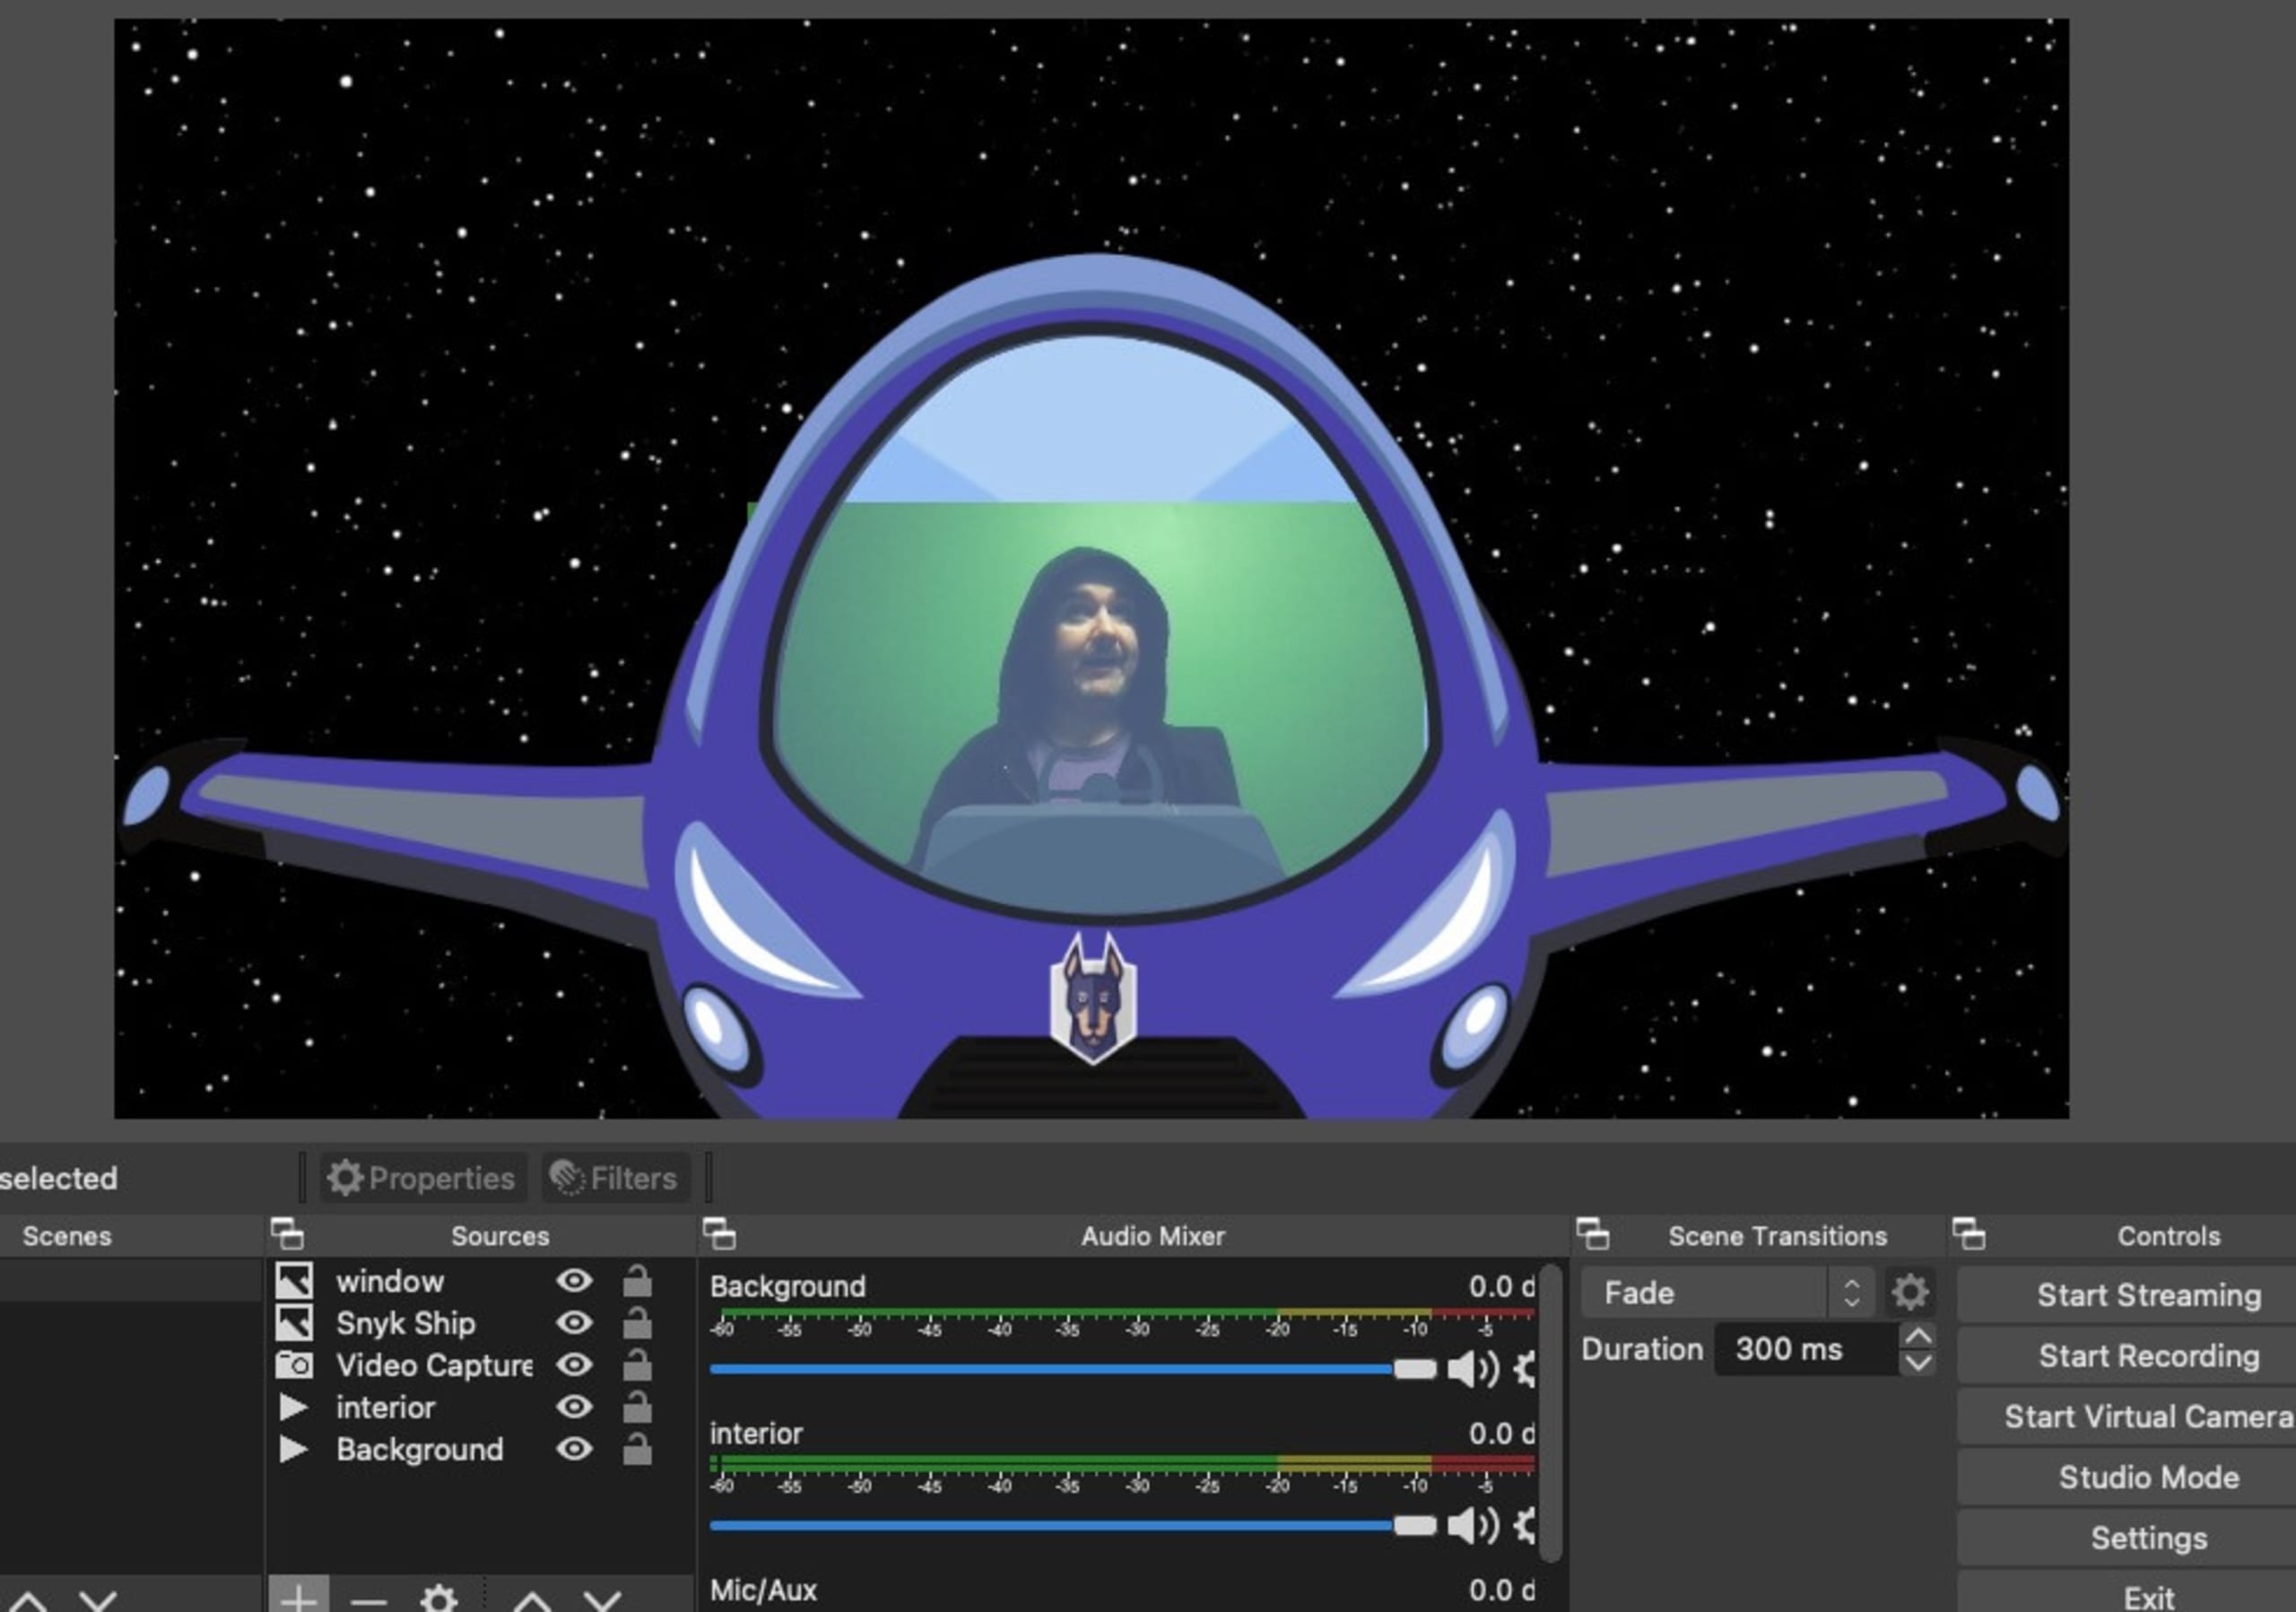
Cuando quieras probar tu nueva escena MayTheFourth en una llamada, haz clic en Iniciar cámara virtual. Ya debería estar disponible en las aplicaciones como fuente de video.
Dale rienda suelta a tu creatividad y crea tus propias escenas
Ahora puedes agregar tus propias capas de fuentes e incluso crear escenas nuevas. Basta con cambiar la fuente del fondo para transformar la escena y viajar a una galaxia muy, muy lejana…