VS Code extension: building auto CI/CD with GitHub Actions
Shai Mendel
6 de abril de 2020
0 minutos de leituraLet's talk about building a full CI/CD pipeline for a VS Code extension using GitHub Actions.
My basic requirement was to build an automatic CI/CD that will allow me to do the following upon pushing a new commit to master branch:
Test: run the tests on Mac, Windows and Linux.
Release: create a new GitHub release with automatic release notes based on Angular Commit Message Conventions.
Publish: publish the new version to Visual Studio’s marketplace.
One last thing — I wanted to do all of that based solely on GitHub Actions :) So I need nothing but the GitHub repository to configure and run everything.
Motivation
It all began when I wanted to write a small VS Code extension that will allow me to right-click on a Yaml file and apply/delete it from my local Kubernetes cluster.
Very soon I realized that VS Code’s documentation to how to write an extension is really good — I found myself writing and locally-debugging my new Typescript extension in no time, but then it occurred to me that the full CI/CD for it that Microsoft suggests in their docs is a bit lacking:
Tests
This part is actually relatively good in the formal docs, they specifically mention a GitHub Action that runs the tests on Mac, Windows and Linux, and I definitely used it.
Release & publish
The entire release and publish process is built on the vsce tool.The first things you need to do to set the ground is to follow the publishing docs and especially do the following:
get a personal access token from Azure DevOps
create a publisher (the publisher name has to match the
publishersection inpackage.json)
Once you have all that you can package, publish and unpublish your extension using vsce. Those are manual steps needed to be taken, less than ideal!
In addition, there is also a gap in how the extension version is set during publishing. there are a few ways to set that:
change the version field in package.json and call
vsce publishuse
vsce publish minorfor example (or major/patch accordingly) to automatically increment the versionuse
vsce publish 2.0.1to mention a specific version
This is really not handy, I want the version to be set according to my commit conventions automatically, with automatic release notes generation. Spoiler: I will use semantic-release for that. :)
Let's start! I’ll follow the steps I went through and we’ll build our CI/CD pipeline step by step.
Create an extension
I followed the formal docs and relatively easily created a new repository with my fresh templated Typescript extension. I then modified the functionality so right-clicking a YAML file allows you to apply or delete it from my local Kubernetes cluster. Super cool and useful to me!
Create an empty GitHub Actions workflow
Create an empty yaml file at .github/workflows/<workflow name>.yaml. I called it ci.yaml.
Mention that the workflow should happen on push to master
Change your yaml workflow to be:
The upper paragraph tells GitHub to run that action when a push to master happens. The lower part is the jobs that should be run (we will fill them soon).
Auto tests
As mentioned above I would like the tests to run on Mac, Windows and Linux. and the docs actually mention a specific action I will use now by adding a dedicated job:
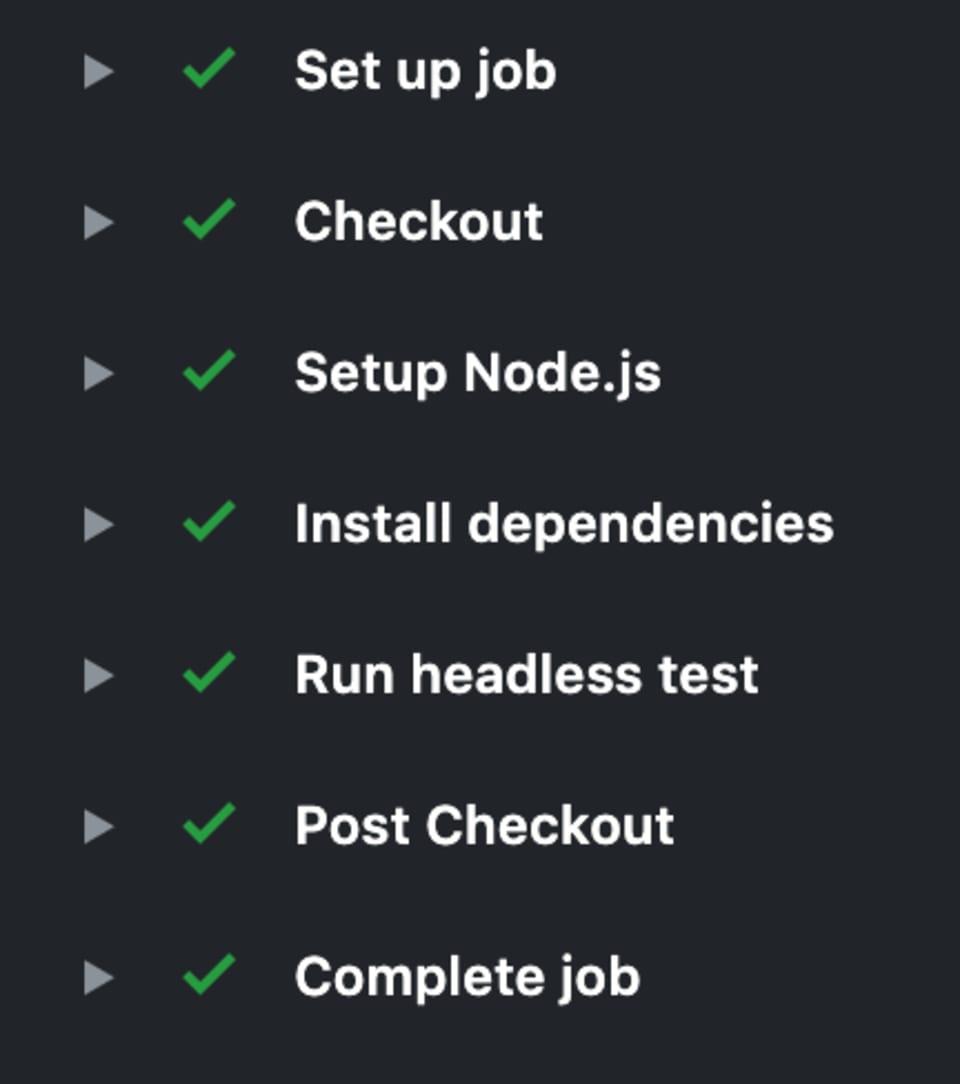
As can be seen, this adds a job called Test, that will run on Mac, Windows, and Ubuntu. This job contains 4 steps:
Checkout: use the builtin action to check out the repo
Setup Node.js: use the builtin action to set Node 12
Install dependencies: run
npm installRun headless test: runs the tests using the GabrielBB/xvfb-action@v1.0 action, as recommended by the formal docs (plus some improvements)
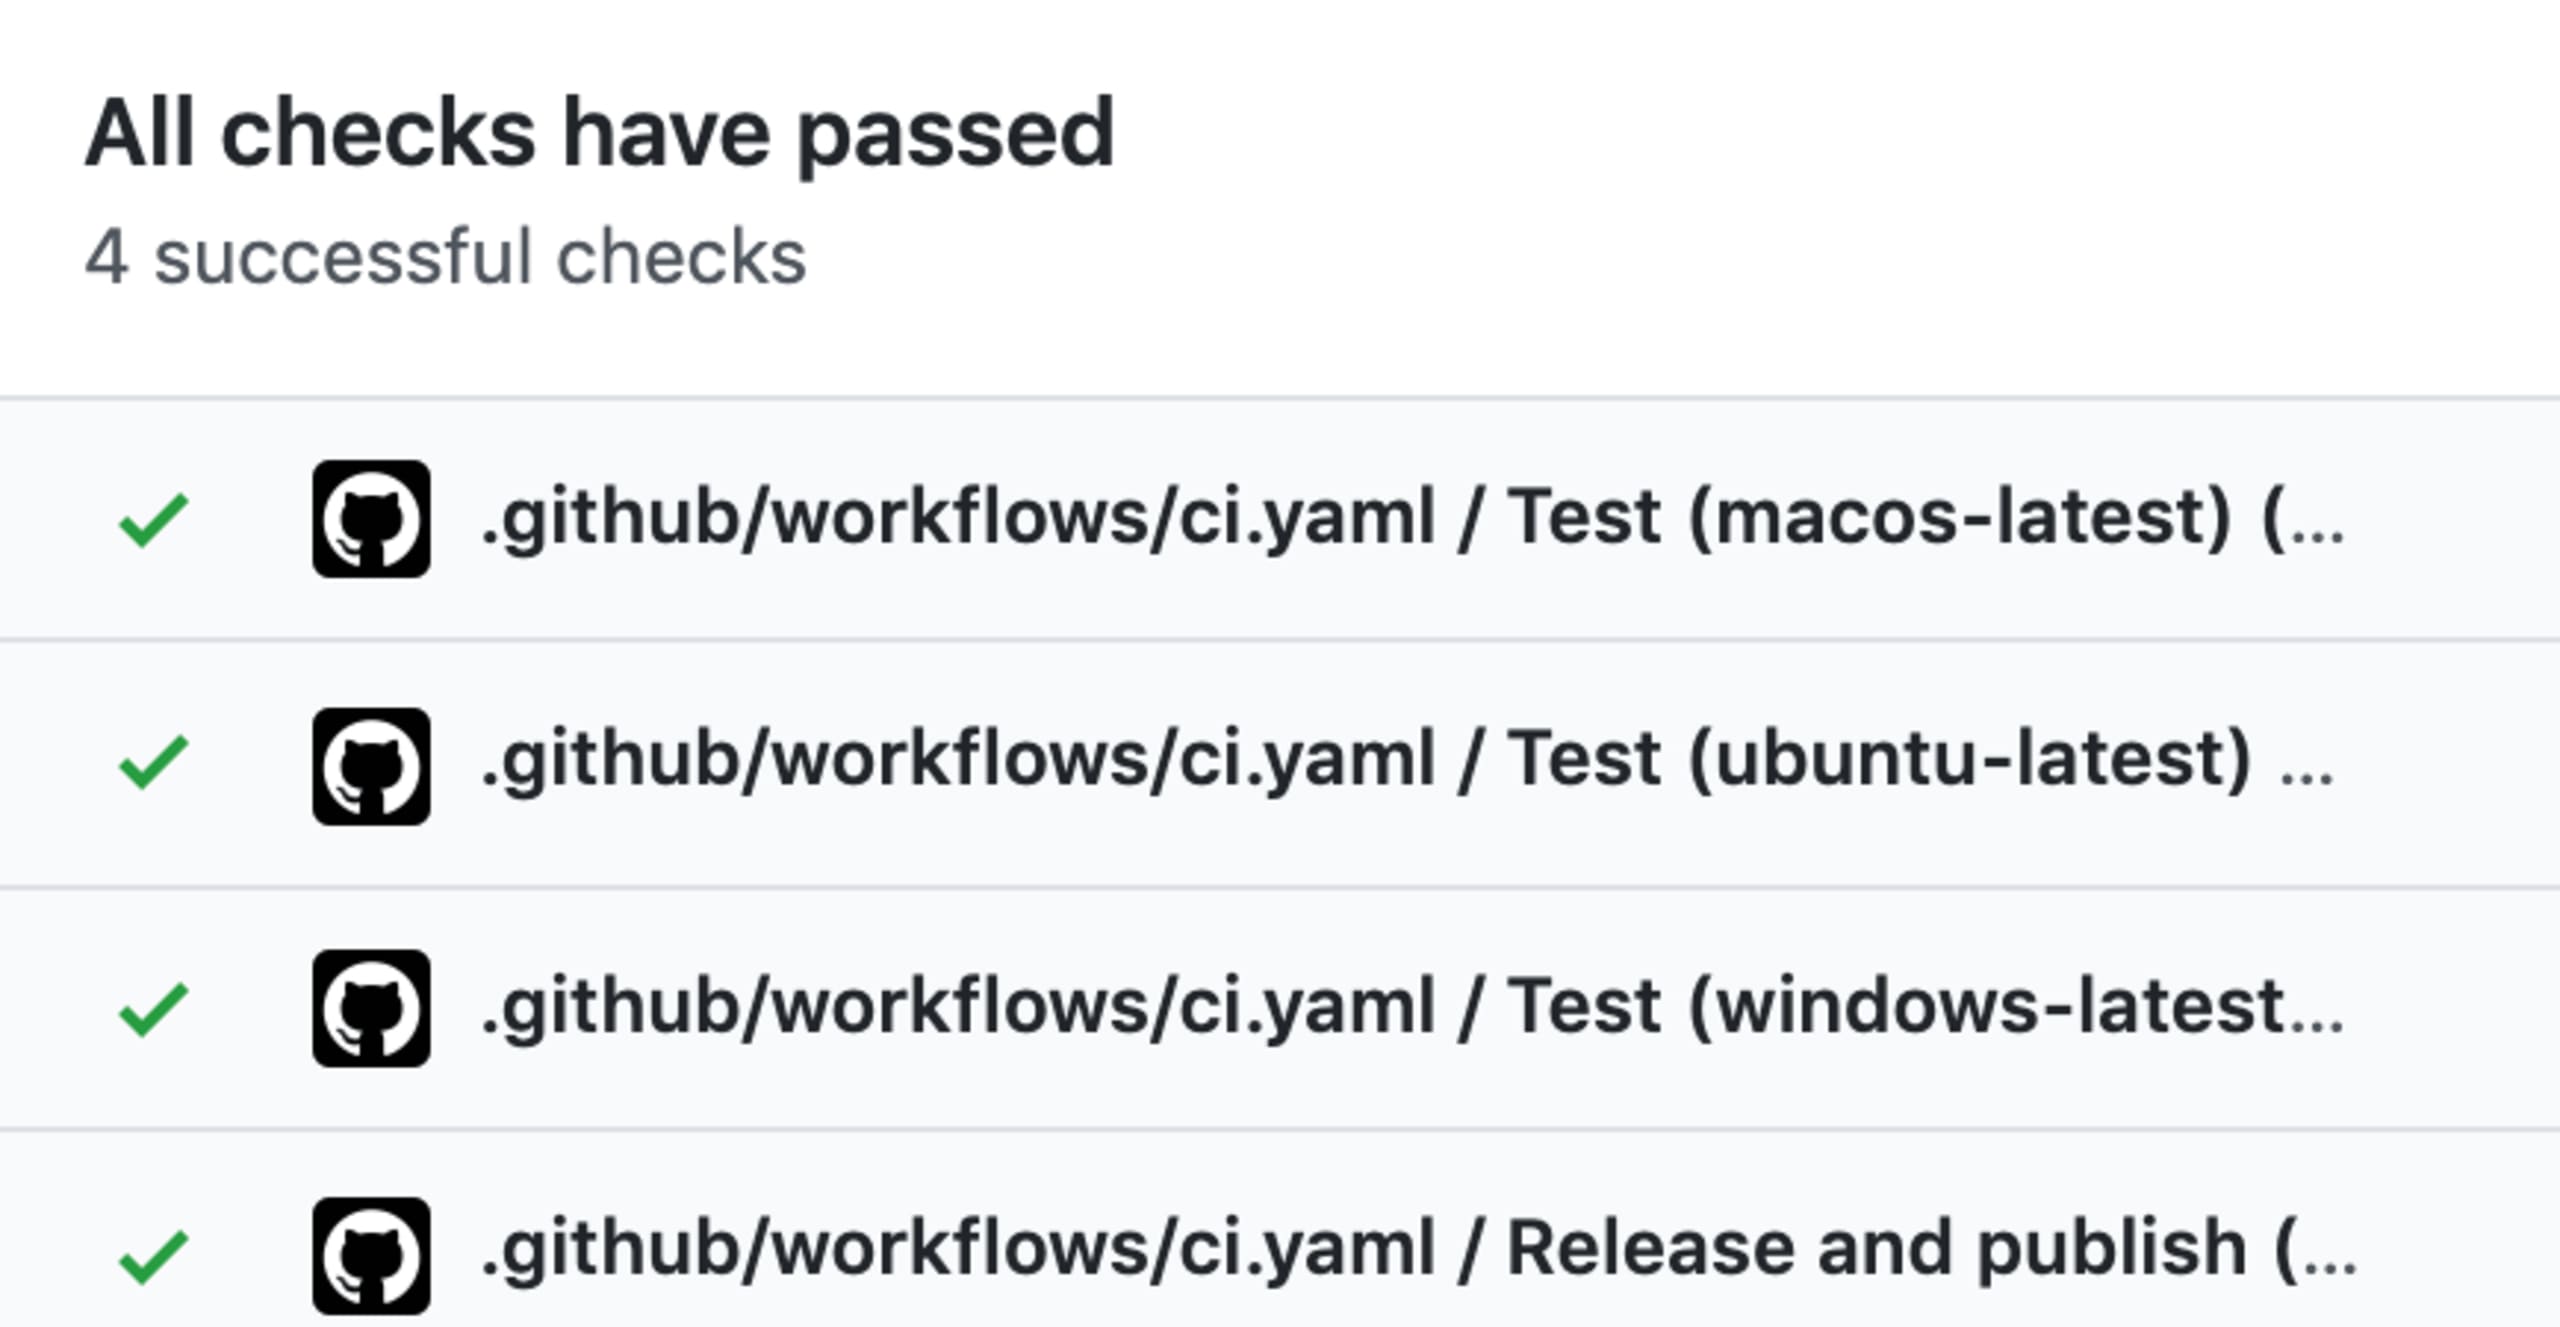
After this step I saw that on the Actions tab:
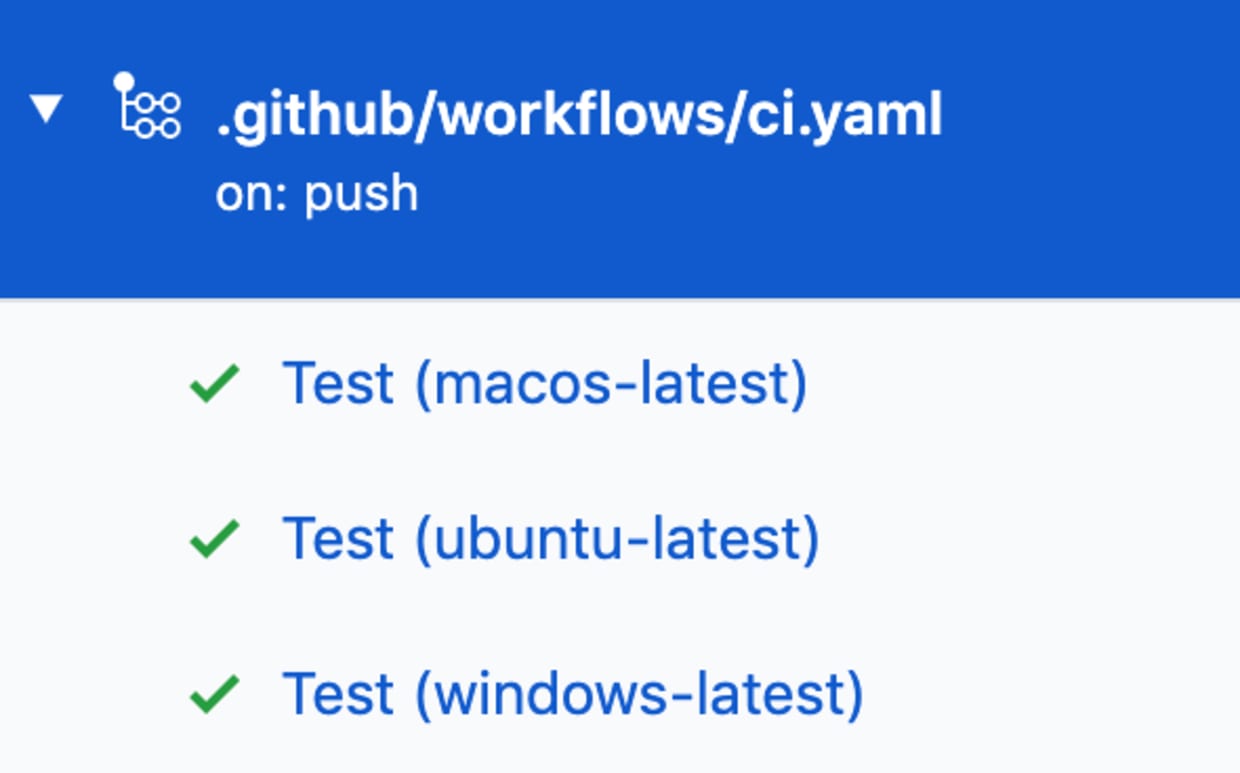
where each test had the following steps:
Publish and release
Let’s add a new step, which looks like the following:
We’ll go slowly through this, don’t worry!
So we begin with the previous steps of checking out the code, setting up Node 12 and running npm install. The next two steps are the most important ones and deserve sections of their own.
Release
The purpose here is to create and publish a new GitHub release with proper release notes. In order to do so I basically just call semantic-release :) This action runs through the commit messages, builds release notes and creates a new GitHub release with a semver version corresponding to the commits I added. It also sets that release version in the package.json, a useful fact for the next phase.
In order to properly configure semantic-release you need to:
pass the
GITHUB_TOKENenv var (as GitHub secret): your personal GitHub token, with minimalrepopermissions
pass the
NPM_TOKENenvironment variable (as GitHub secret): your npm token to release your npm package. In my case, I didn’t want to release an npm package. In order to do so, you need to configure"private": truein your package.json. after you do so you don’t have to pass this env var (found this fact here)install
@semantic-release/githubas a dev dependencyconfigure the following in your
package.json:"release": {"branches": "master","verifyConditions": ,"publish": ,"success": ,"fail": },
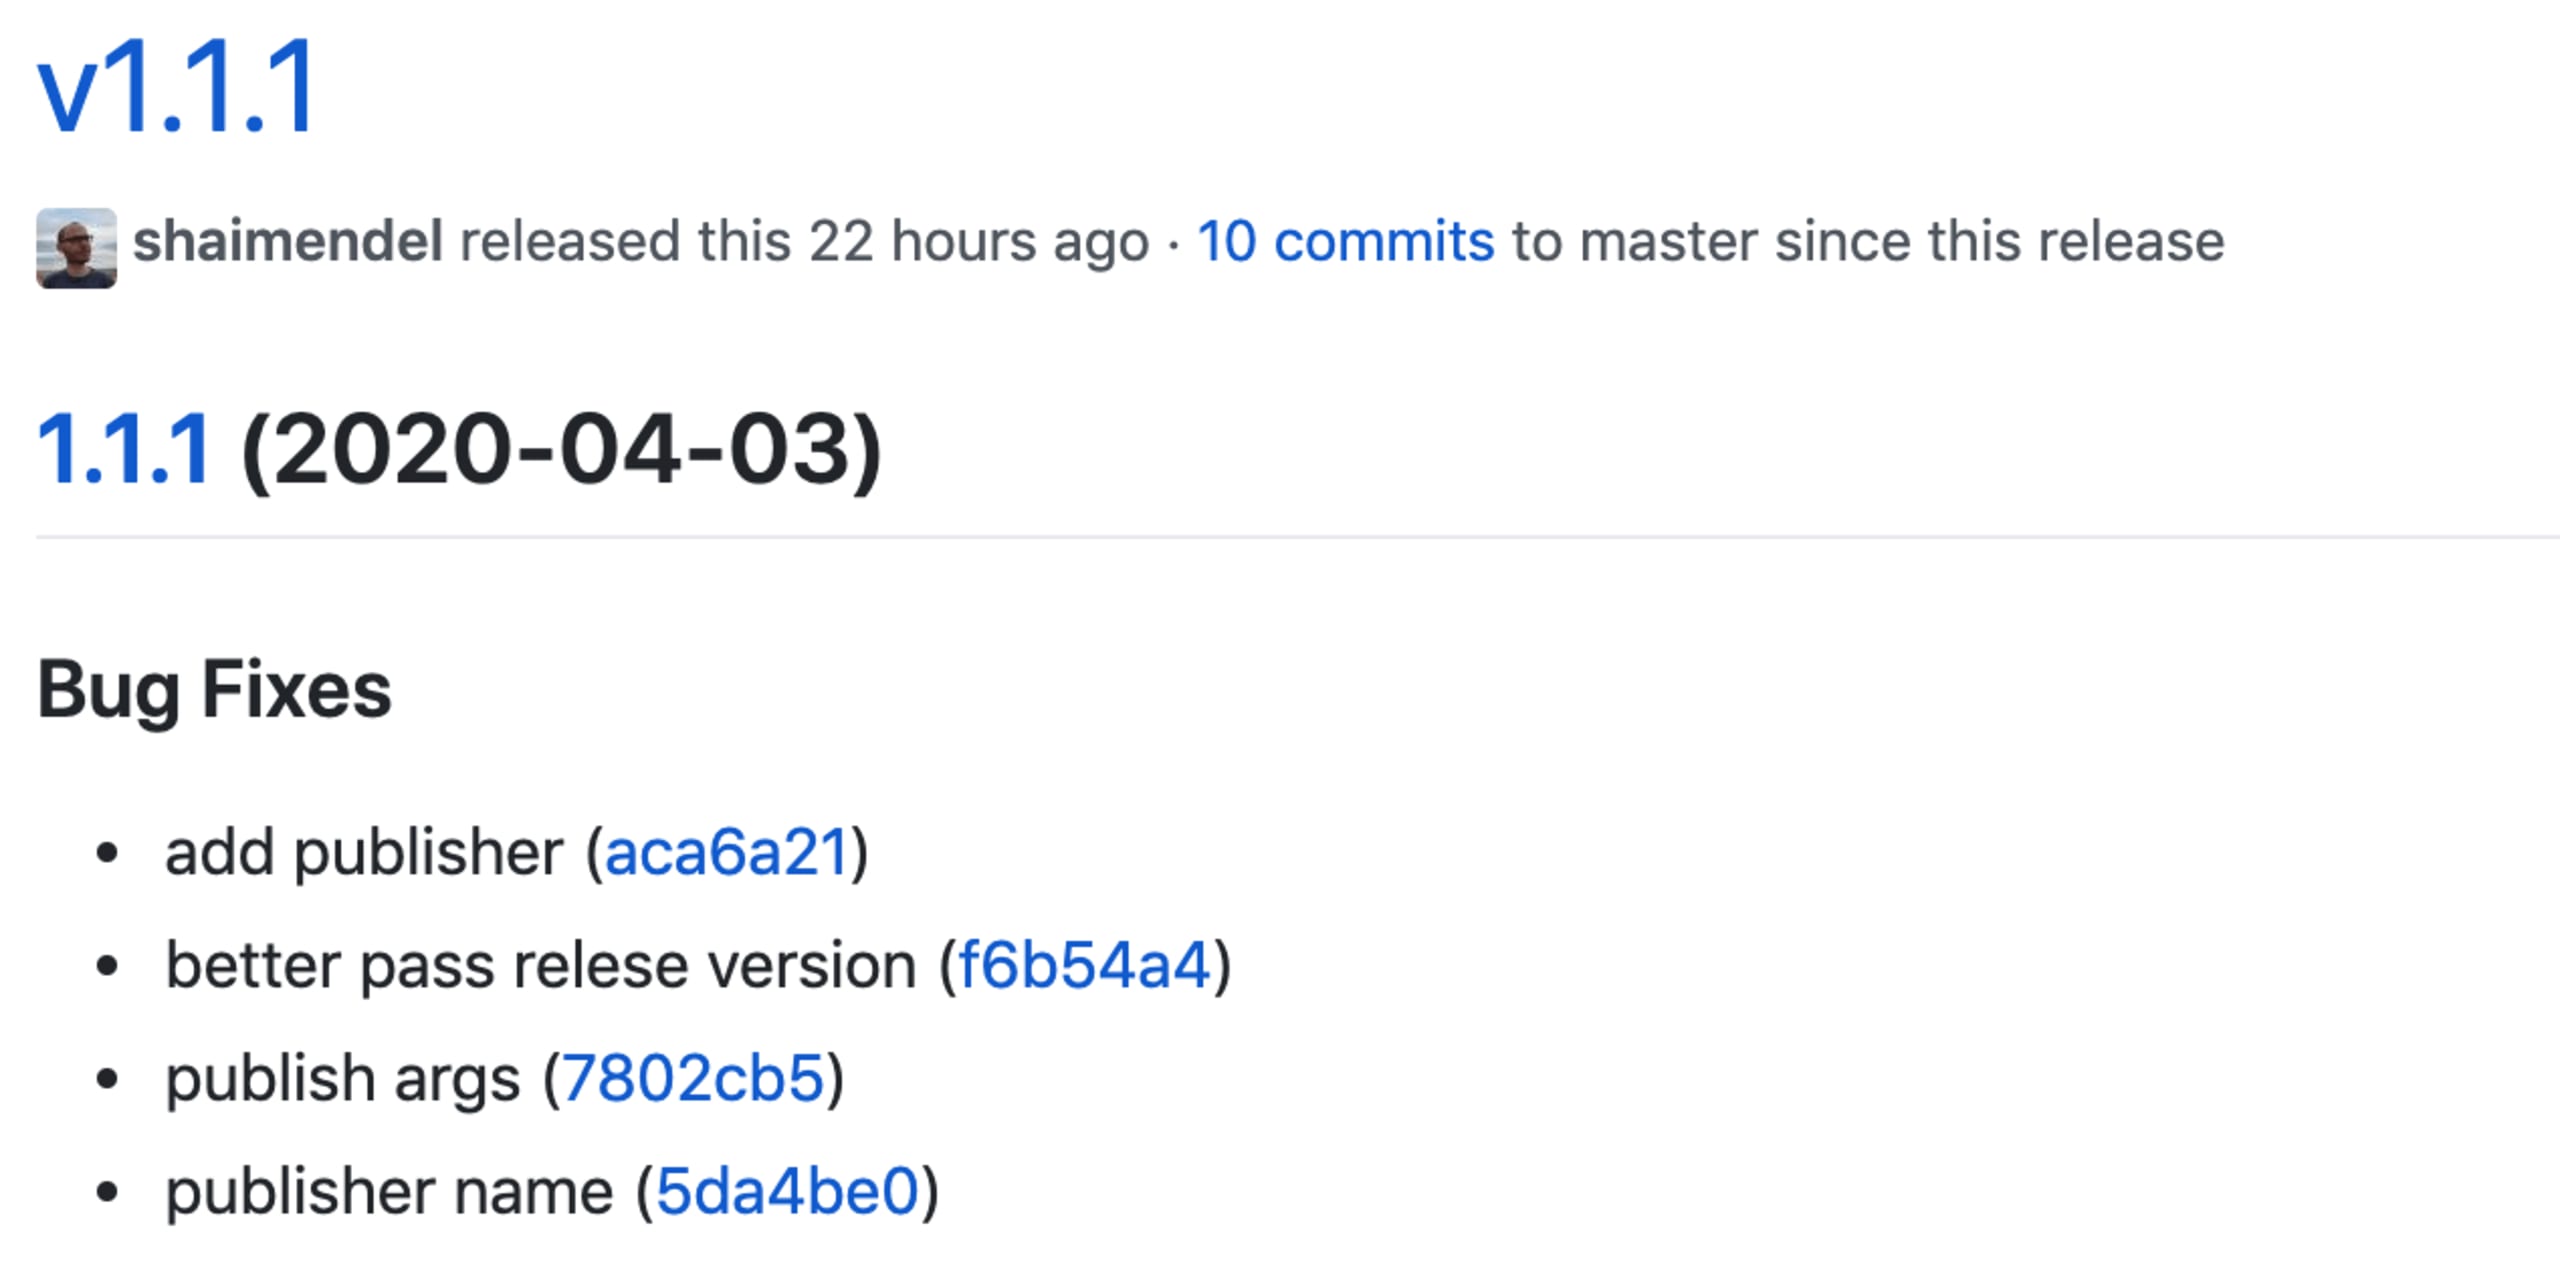
Once this step was done I could start seeing proper GitHub releases:
Publish
The purpose here is to upload a new version of the extension to the VS Code marketplace with the correct version. One of the benefits of the previous Release section is that the package.json now contains the right package version. All needed to do no is to call vsce publish -p <my token>.
I found an existing GitHub action to release a plugin, JCofman/vscodeaction. all you need to do is to pass your PUBLISHER_TOKEN as an env var (again, using GitHub secrets).
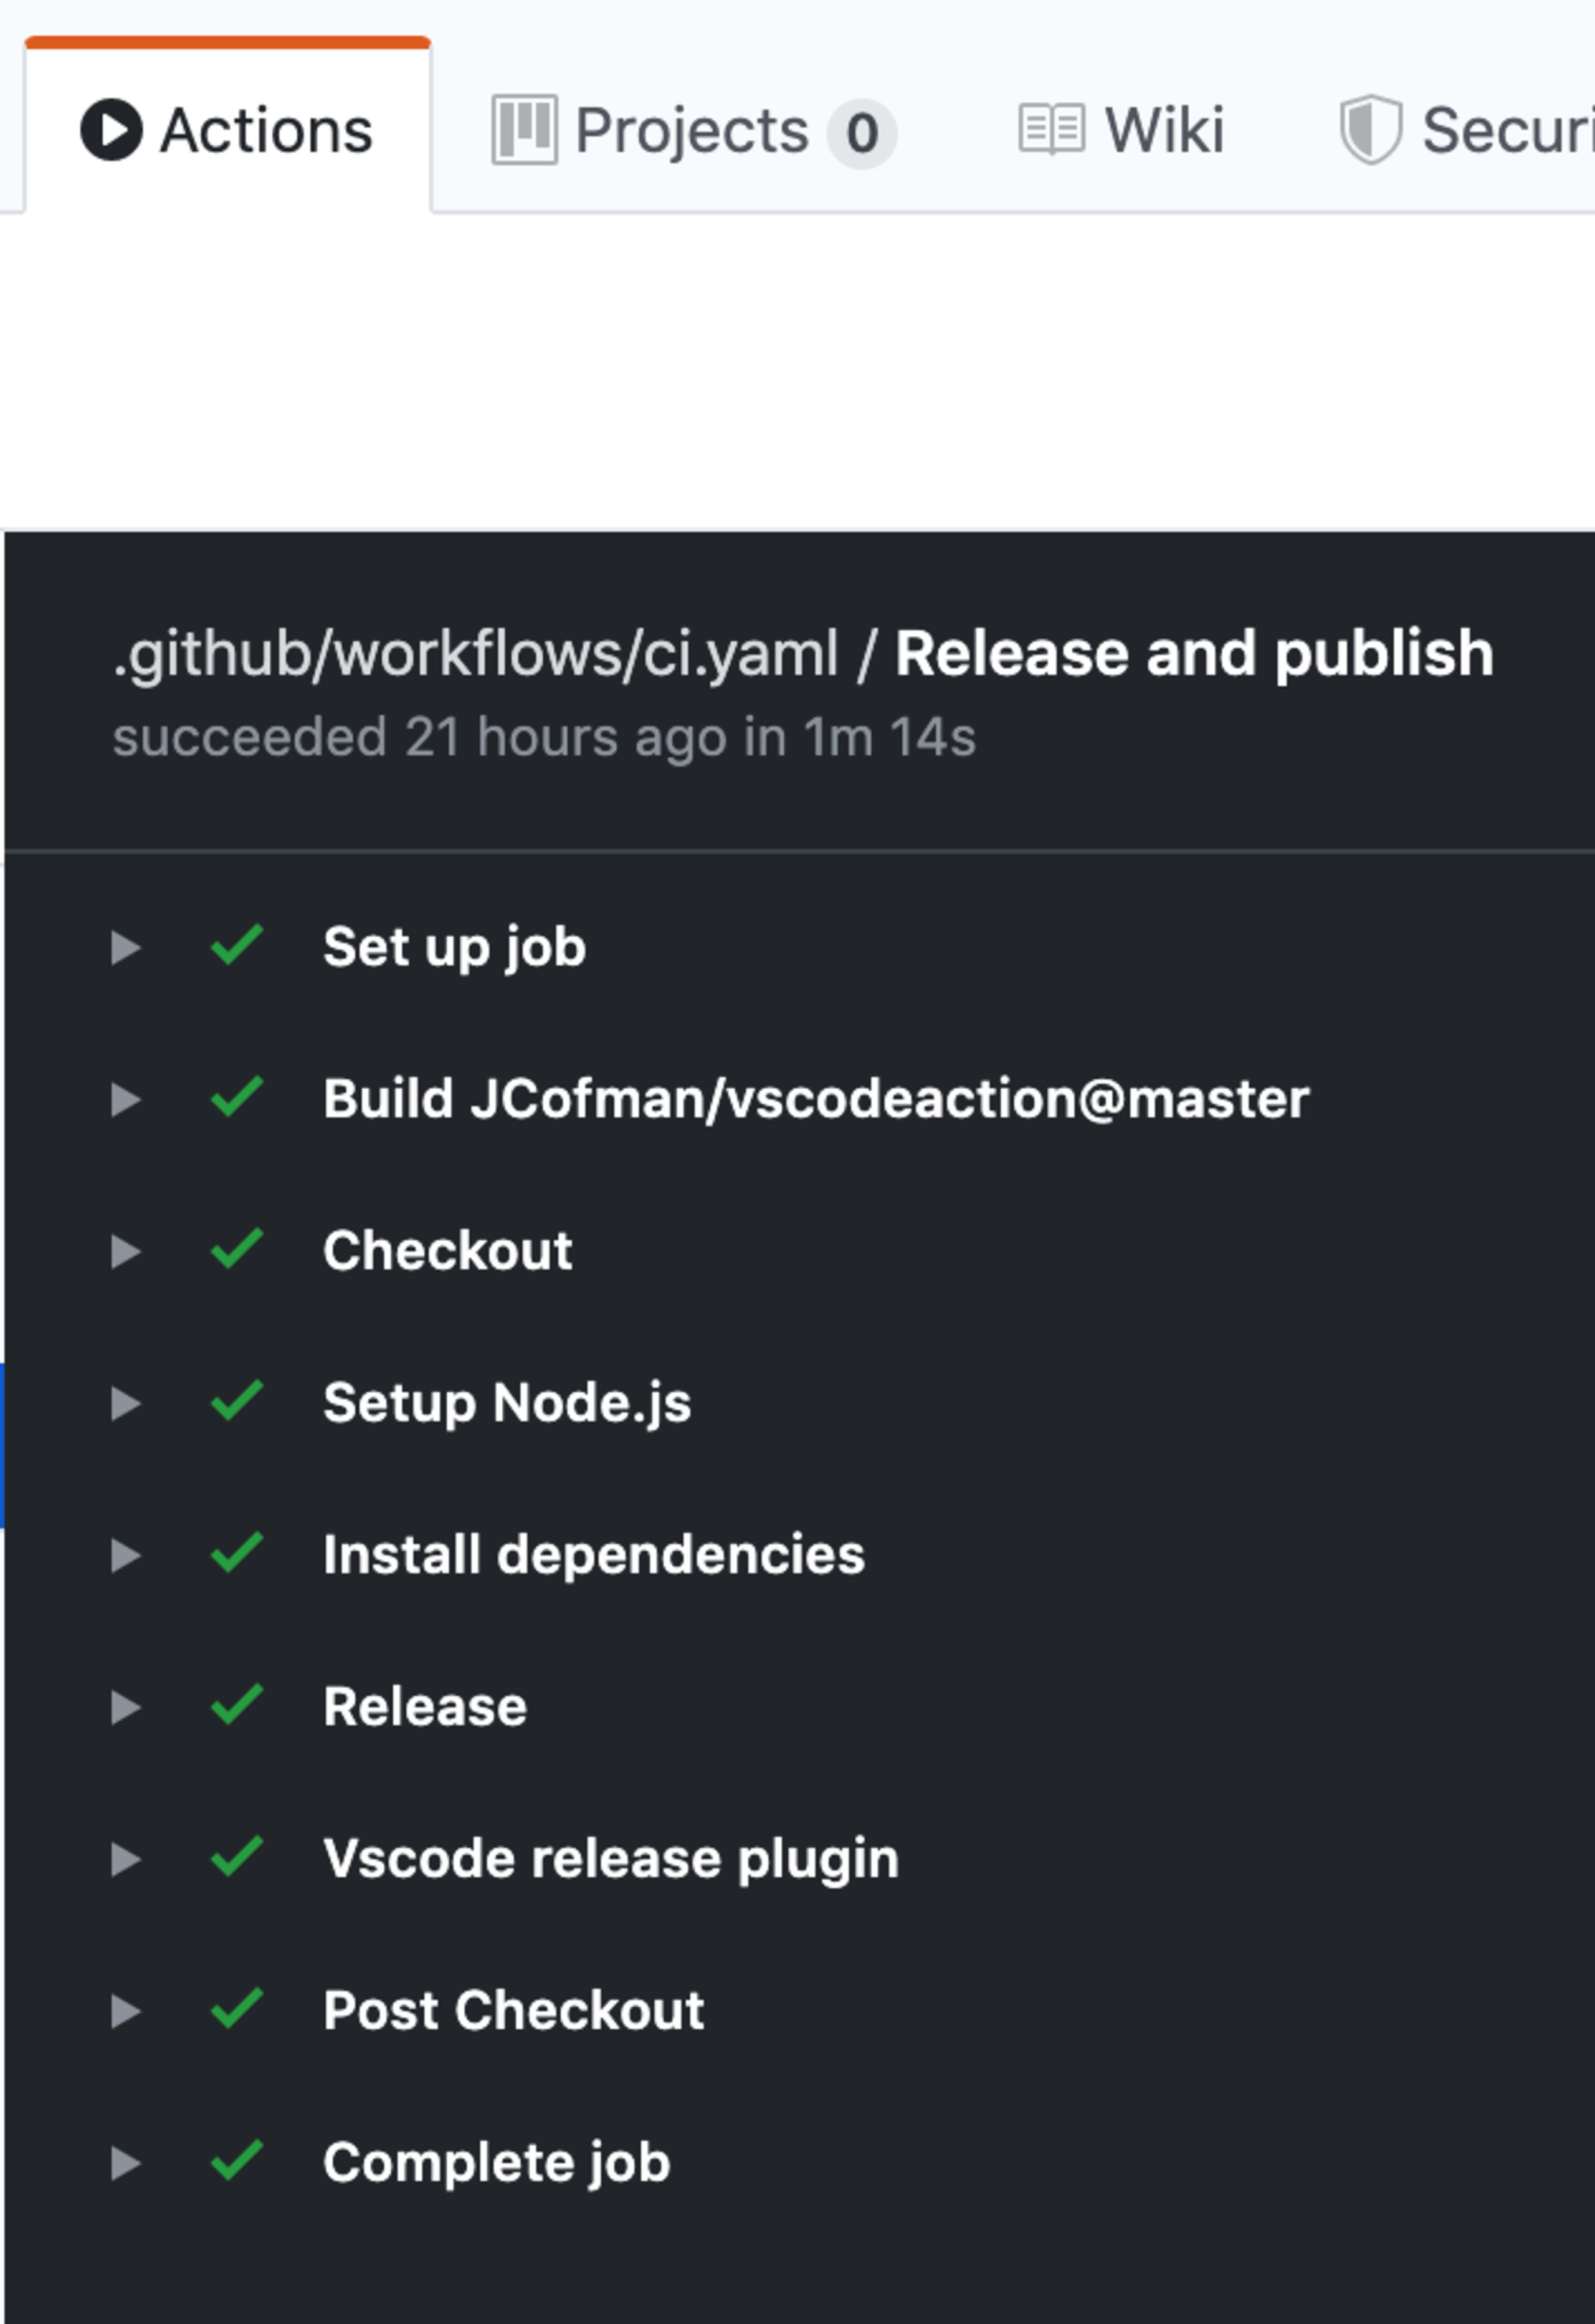
After this step you’ll see a new Release and publish job in the Actions tab that contains
Result
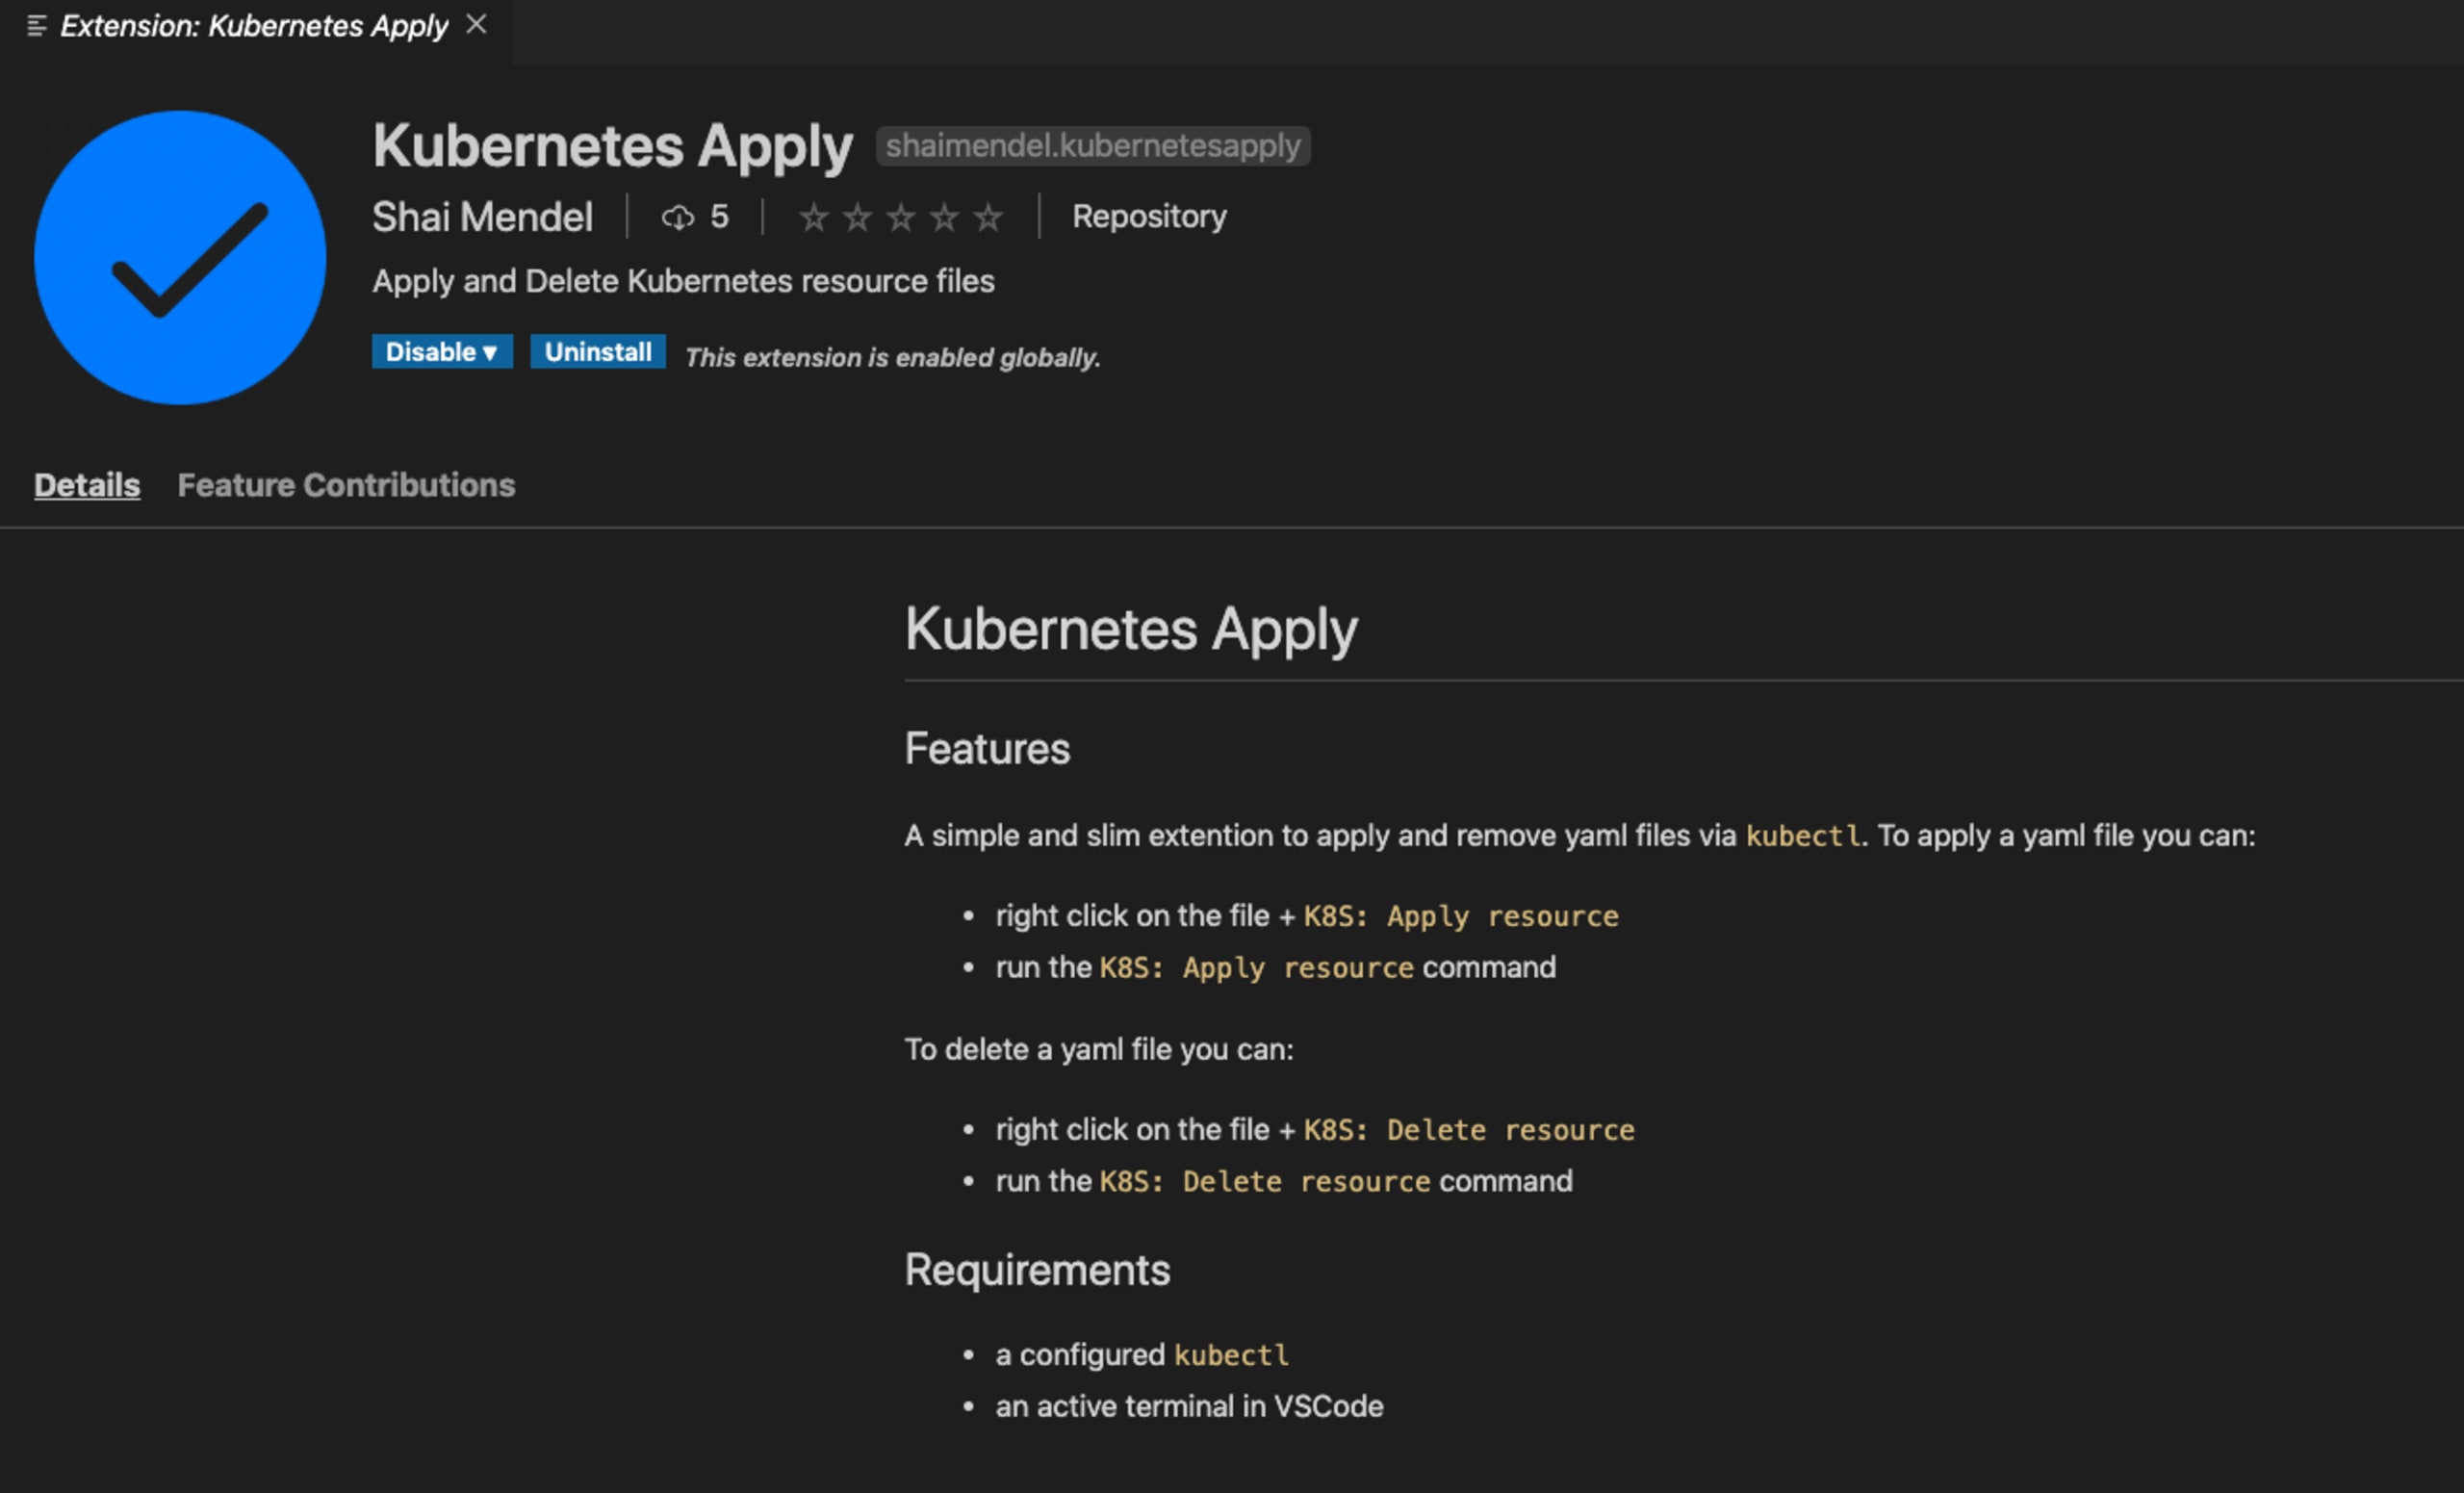
You can now find my new extension in the marketplace and in VS Code extensions search!
You can find my repository at https://github.com/shaimendel/vscode-plugin-cicd-github-actions, with the workflow configured at [ci.yaml].
Summary
We just build a fully automatic CI/CD for a new VS Code extension.every time a new PR is merged to master we:
test the code in multiple operating systems
release a new GitHub release with super nice release notes
publish a new extension to the marketplace
We did all of it purely using GitHub Actions! Great success. :)
Primeiros passos com Capture the Flag
Saiba como resolver desafios de Capture the Flag assistindo ao nosso workshop virtual de conceitos básicos sob demanda.
