6 stages of refactoring a Jest test case
4 de setembro de 2019
0 minutos de leituraAn underrated feature of Jest is customizing the way assertion errors that the console displays when tests fail are handled. Imagine the following test code, which needs to programmatically loop an object in order to ensure keys exist as expected (using the expect function):

The test is written fine. Now, imagine what happens if a developer on the team makes some changes to the code: adds a new file in one part and forgets to add it to another important part of the same project, such as ensuring it is exported correctly.
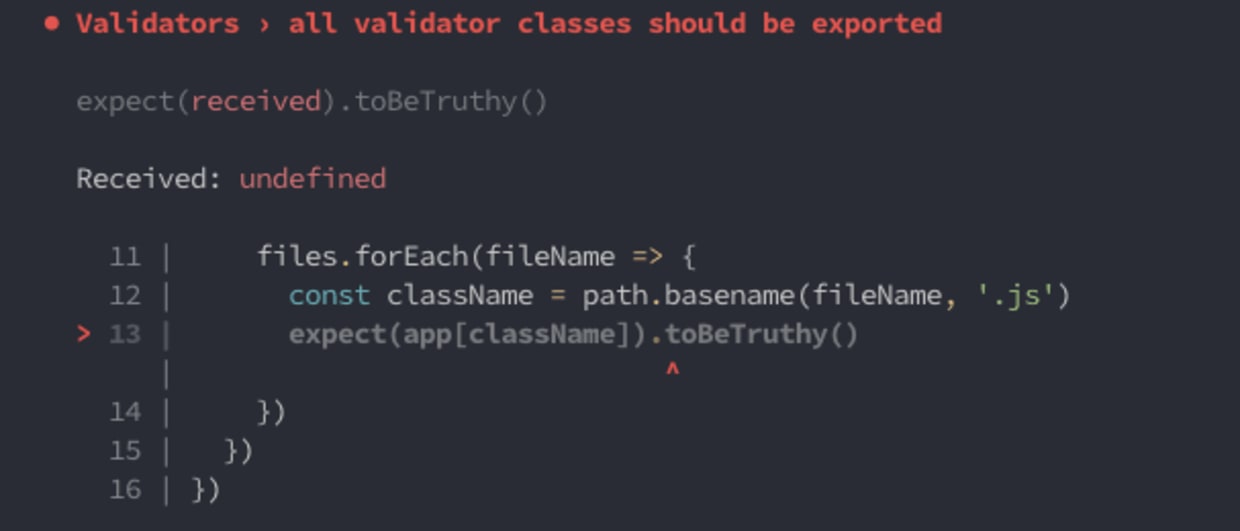
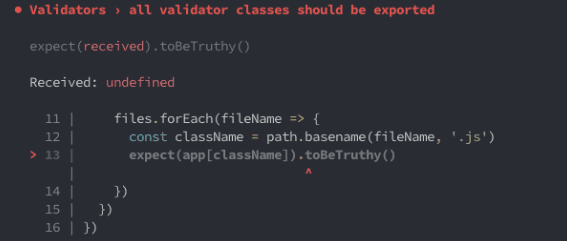
The next time the test runs, it will fail. However, the reason won't be obvious to most; and if you’re new to the code, you're likely not even to know what broke. Give it a try:

So for that reason, Jest also requires using a toHaveProperty() with expect, which looks like this:

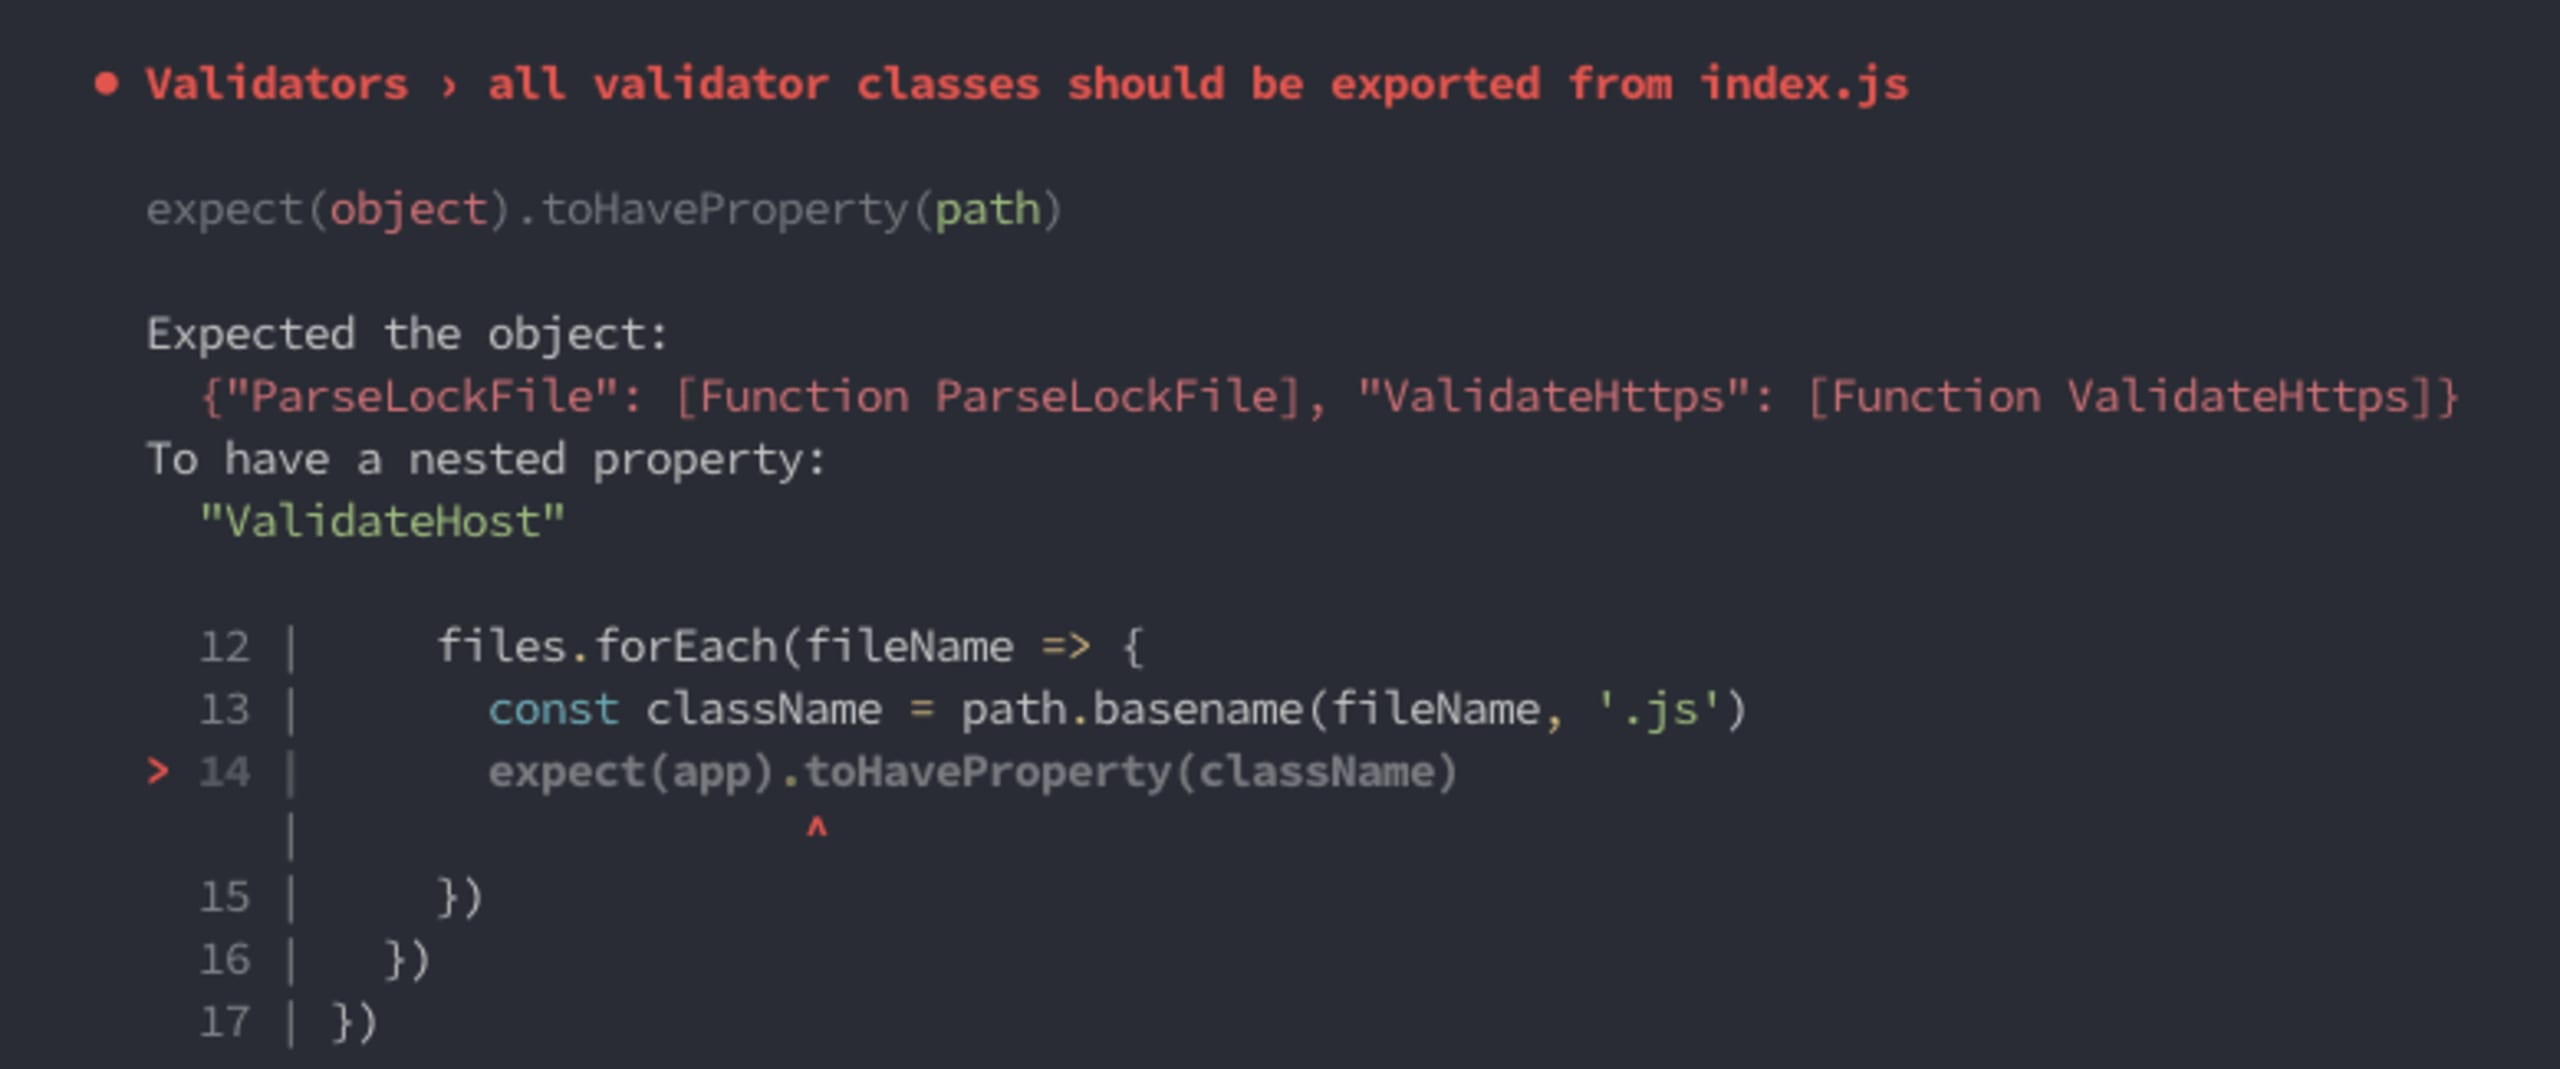
Now when a test fails it at least makes it clearer as to which property is missing. However, it’s still a bit cryptic as you can see in the next screenshot. What can we do? ?

At this point, it might be good enough with the annotations that are there already. The test name is self-explanatory, as you can see. But we only have one test case that fails, and when looking at a test trace, we can't clearly evaluate which validators were used.
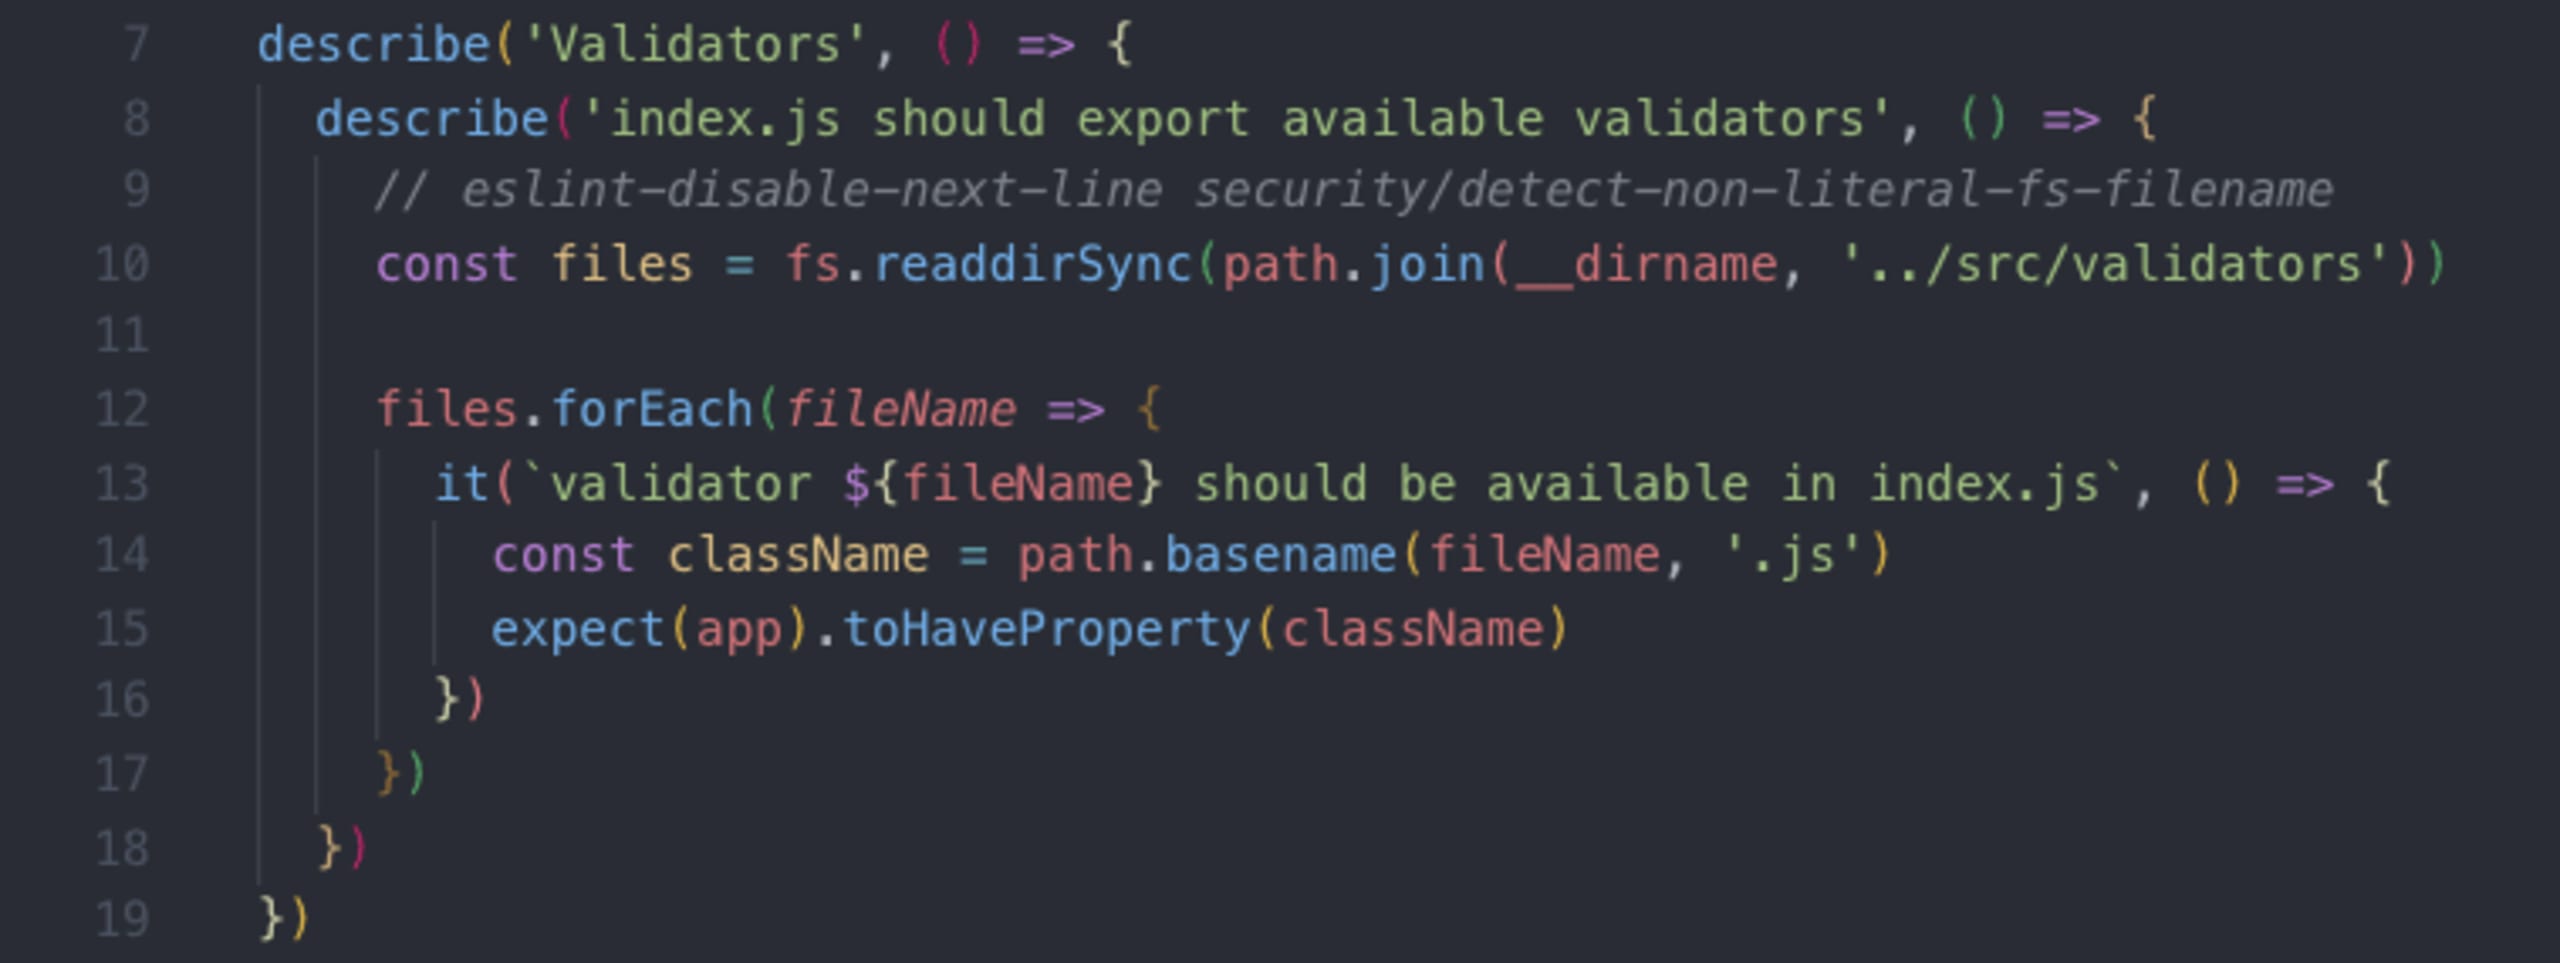
Let's refactor the code:

Now, when my test passes or fails, it is much more obvious and intuitive as to what exactly was tested, what exactly failed, and why:

Much better! ???
If you love Jest as much as I do (?) you might also be interested in reading some of my other pieces on Jest:
If you're into web security as well, I'd love to meet you on The Secure Developer slack community, or on Twitter if that's more your thing.
