Gradle dependencies: scanning with new Snyk Gradle plugin
23 octobre 2020
0 minutes de lectureGradle is one of the major build systems in not only the Java ecosystem but also for Android development. With Gradle, you can manage your dependencies, build, and test your project.
Scanning the dependencies for known security vulnerabilities in your project is important. The ideal time to start scanning your dependencies is the very moment you import them! To that end, we created a Gradle plugin so you can now scan your application for security vulnerabilities in third-party libraries as part of your build cycle.
Snyk Gradle plugin
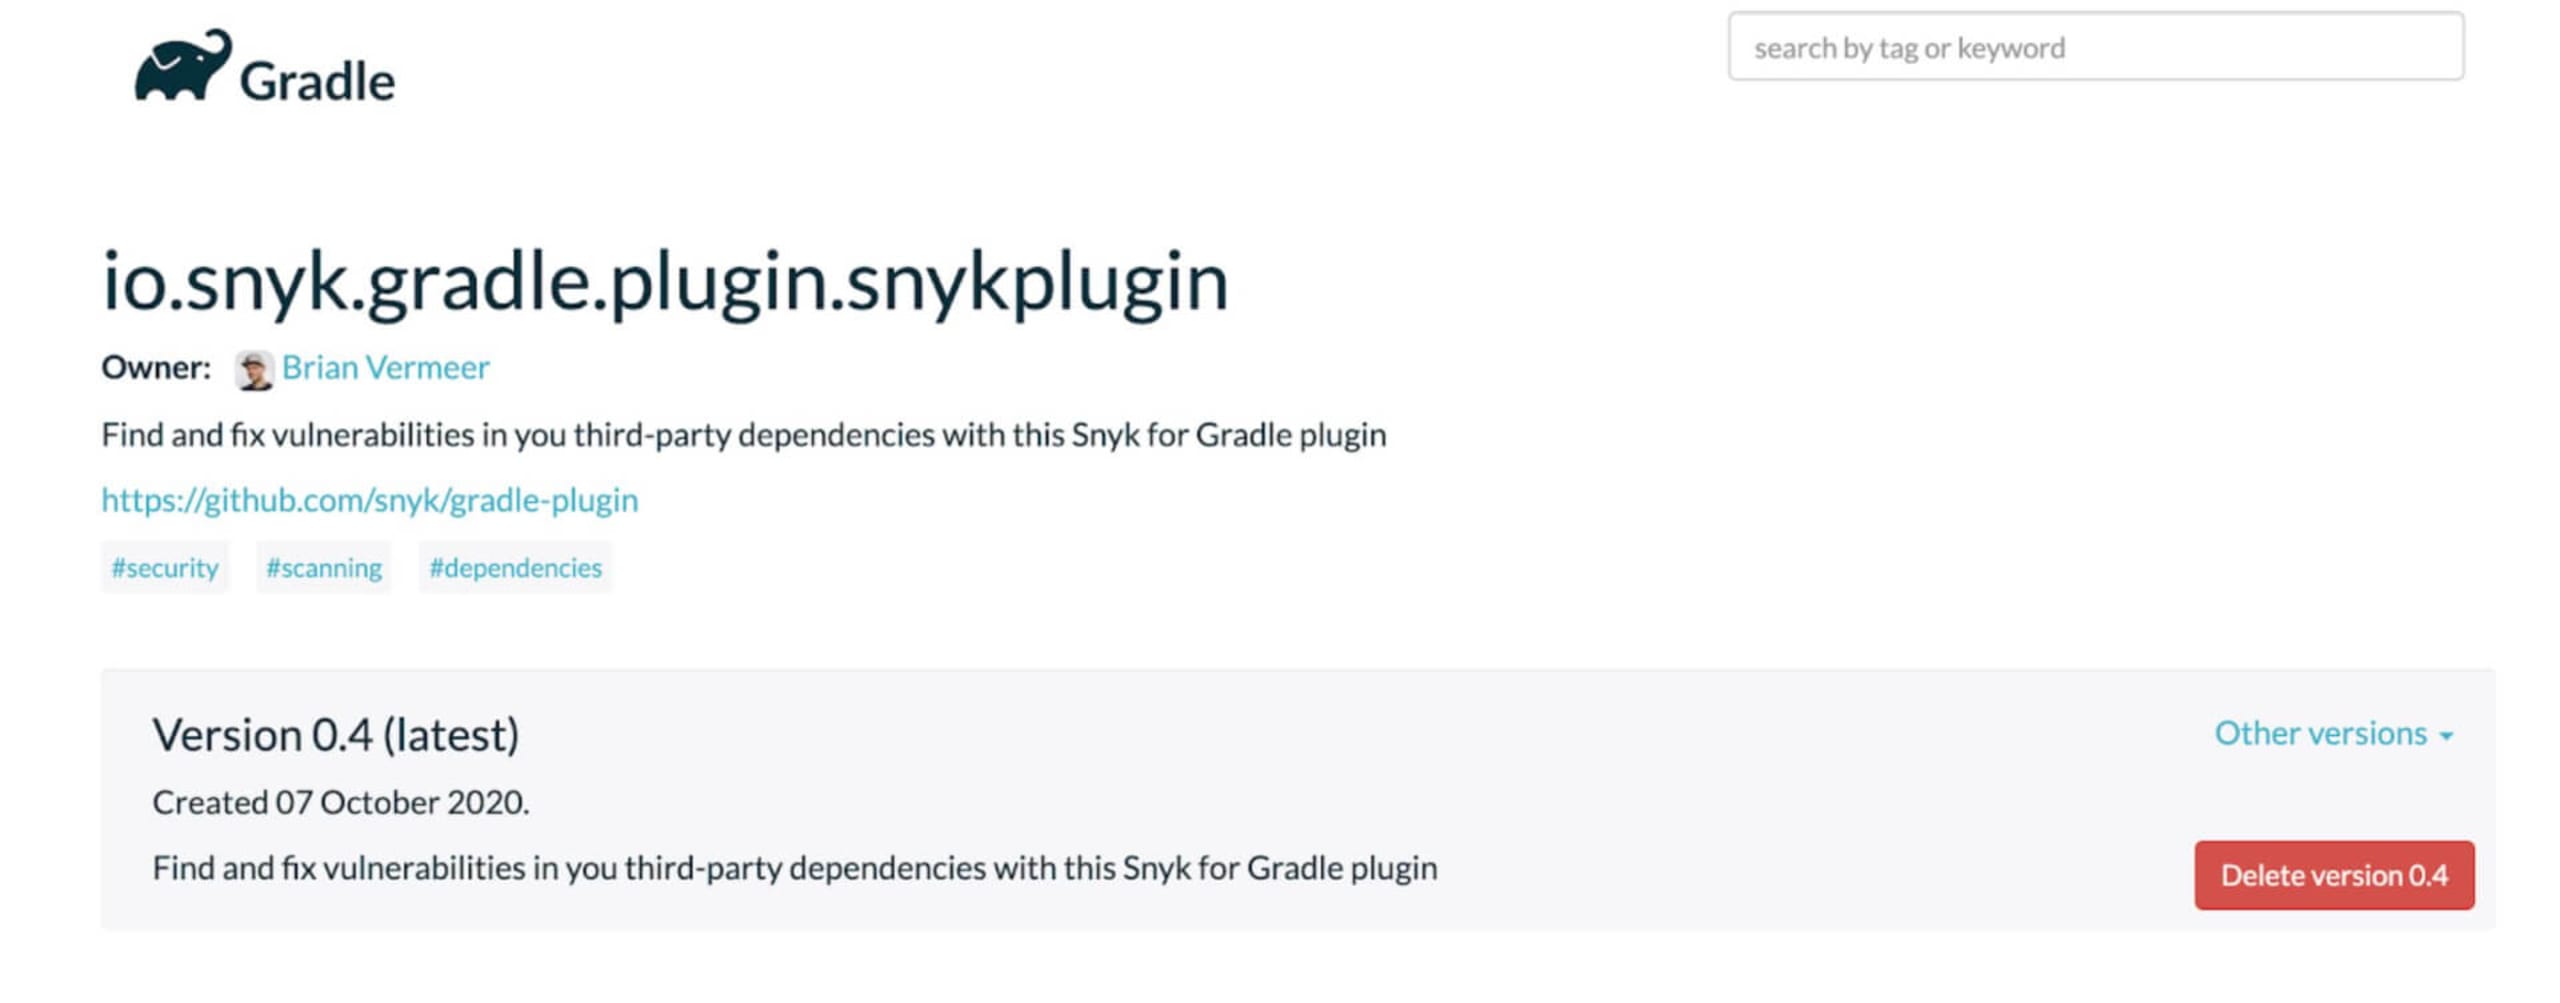
The Snyk Gradle plugin is published on the gradle plugin portal, so it is easy to include it in your Gradle project.

Declaring the plugin using the plugins DSL is all you need to do to use it.
Groovy:
Kotlin:
Configuration
To use the plugin you need a Snyk account. If you do not have a Snyk account yet, you can create an account over here. Did I mention that a Snyk account is totally free?!
There are multiple ways to set your API key:
You can set it directly in your Gradle file, as I will show you below. However, you might want to prevent this token from getting exposed publicly if your project is open source, for instance.
The alternative way is to set an environment variable SNYK_TOKEN containing the API key. This is also the preferred method if you want to utilize Snyk scanning in your CI pipeline.
Snyk plugin configuration
If you have set the API key as an environment variable you can use the plugin right away. Nevertheless, let me explain how to adjust certain settings for this plugin.
Add an extension object snyk to your Gradle file.
Groovy:
Kotlin:
apiThis is the Snyk API key. You can set it here or omit it and set the environment variable
SNYK_TOKENcontaining the API key.severityThis is the severity threshold you want to be warned about. It can either be low, medium, or high. All vulnerabilities from the chosen severity and up will be shown and your build will fail on it. If you omit the severity setting, all vulnerabilities found will be shown but it will not break your build.
autoDownloadSnyk uses the CLI binary to perform the scanning. If you have the CLI installed separately, for instance via npm, the Gradle plugin will use that instance. If there is no CLI found on your system, the Gradle plugin will automatically download the latest version. By default, this property is
true, so no need to specify this. If you don’t want the automatic download you specify this property and set it tofalse.autoUpdateIf you do not have the Snyk CLI preinstalled but have it automatically downloaded by the plugin, it can also be updated if a newer version is available. By default this version property is
false. Be aware that autoUpdate doesn’t work if you already have the Snyk CLI manually installed using for instance npm.argumentsThe Gradle plugin is using the Snyk CLI under the hood. This property is here to set extra arguments to the CLI if needed. For more information on possible flags check the CLI reference.Pro tip: if you are using sub-projects in Gradle, set the arguments property to
--all-sub-projects, like in the example above. This way all Gradle sub-projects will be scanned when performing a scan.
Running the Snyk plugin
The Snyk plugin will make two new tasks available to you:
snyk-testsnyk-monitor
You can add either of these tasks individually or chained:
Snyk test
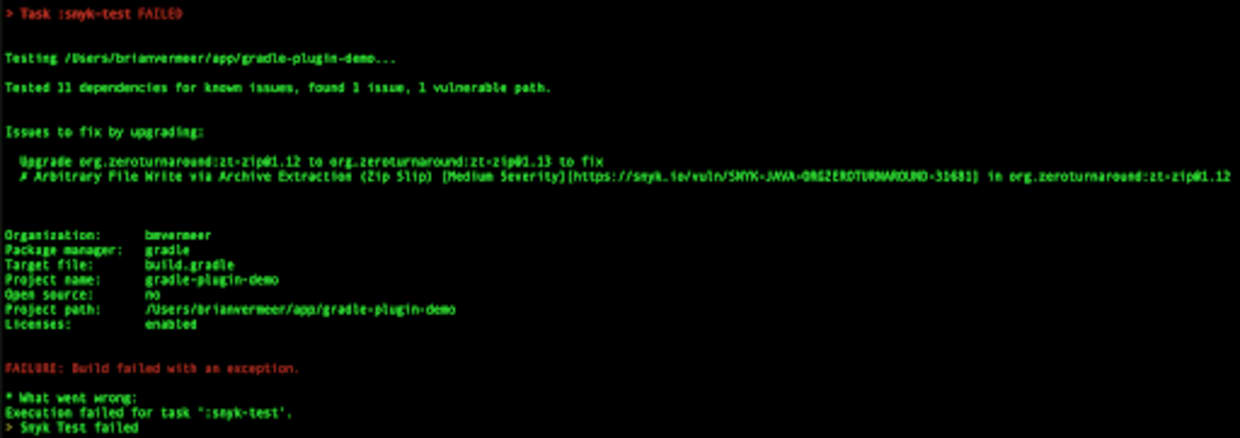
The Snyk test task performs a scan of your dependencies and checks if there are known vulnerabilities for both top-level and transitive dependencies. If any vulnerabilities are found that match your chosen severity level or higher, the vulnerabilities will be shown in the console and the build will fail.
If you want to get warned for dependencies but not fail your build, omit the severity in your configuration.

Snyk monitor
Snyk monitor will also gather all your dependencies in the same fashion as the snyk-test task does. However, it saves it as a snapshot of that moment in your Snyk account and will monitor that snapshot. As new vulnerabilities are found over time or vulnerabilities are fixed, you will get notified automatically. This is perfect for when a release hits production and you want to keep monitoring it. Snyk monitor will NOT break your build but only monitors.
Chaining
You can chain the new Snyk tasks to other existing tasks so your scans will happen automatically. In the following example, I connect the snyk-test task to the regular test task in the Gradle file.
Groovy:
Kotlin:
Now, every time the gradle test is called, the snyk-test task will be executed after the regular tests. This also means every time the application is (re)built the snyk-test task will be called. Depending on your context, such a strategy can be helpful to enforce testing and monitoring for vulnerabilities.

