How to add Playwright tests to your pull request CI with GitHub Actions
14 de outubro de 2022
0 minutos de leituraIf you’re like me, you really appreciate a test automation step as part of your pull request (PR) CI for that added confidence before merging code. I want to show you how to add Playwright tests to your PRs and how to tie it all together with a GitHub Actions CI workflow.
If you’ve never come across Playwright before, the Playwright test automation framework has had its first release in 2017, but has recently grown in popularity as another one of Microsoft’s developer tooling (in addition to Visual Studio Code and others).
The Playwright test automation framework is a great way to easily write end-to-end (E2E) tests and also target cross-browser compatibility. I’ve used both Selenium and Cypress in the past, and if you’ve had any similar experience, then Playwright will surely remind you of the latter. It’s easy to get started, easy to write tests, and has built-in measures to ensure tests aren’t flaky.
In this article you will learn:
The basics of how to write end-to-end tests with Playwright
How to run Playwright tests in your GitHub Actions CI
How to run Playwright tests for your deployed Netlify preview URLs
How to preserve Playwright debug traces and make them available as build artifacts in GitHub Actions CI
One note before we get started. This Playwright tutorial is JavaScript focused, but you can easily apply it to other projects, such as a Playwright Python project, as it is mostly teaching you about integrating it into CI rather than how to write advanced Playwright tests. If you’re a Java developer there’s even a Playwright Java SDK.
Adding Playwright to a project and testing it
We will be adding Playwright to an existing JavaScript project, which translates into the following tasks:
Install the Playwright npm package:
npm install @playwright/test --devAdd an npm lifecycle hook specifically for the Playwright end to end tests
Those changes will reflect as follows in your package.json file and should look roughly like the following code snippet as part of the other contents and configuration inside the package manifest:
We can then proceed to add a new Playwright test file in the following location ./e2e/home.spec.ts. Indeed, we’re creating a new e2e/ directory in the project root, if you haven’t had that existing already.
Add the following code snippet as a contrived Playwright example of an end-to-end test which sets up a Playwright test case navigates to the URL at http://localhost:3000 and validates that the website’s title (often defined via its <title> HTML entity) matches the string of Dogs security blog. A Playwright example:
If this is the first time you are adding Playwright automation to your stack, then the above package.json configuration and code snippet for ./e2e/home.spec.ts should be good enough to get you started with a working Playwright example.
Make sure that you have the server or web application listening to requests. Then you can run the command npm run test:e2e to ensure that Playwright tests can run and complete successfully.
Playwright’s test output should look similar to the following:
Hurray! We have a working Playwright test!
Playwright automation with GitHub Actions
Next up, let’s set up our continuous integration (CI) so that when new code contributions are created for our project, either by us or by external contributors. This way we can run tests and have the confidence that contributions won’t break existing functionality.
If you’re managing your projects on GitHub, then working with GitHub Actions as a CI/CD workflow is really easy as it is built into the platform already. Let’s set it up so that new code contributions made via PRs will trigger our Playwright tests workflow and run an end-to-end CI pipeline.
First, we begin by setting up Playwright with a predefined configuration that instructs it to run a command in the background to start our server. Then, we can keep the URL as part of the configuration instead of hardcoding it in our Playwright tests code like we did previously.
Add the following to a new file called playwright.config.ts in your JavaScript project’s root directory (where your package.json file is):
If your local web server runs on any other port, you need to tweak the url setting above to reflect that and make sure that Playwright can navigate to it within the CI environment.
Also, note that depending on how your project is built, you might need to update your start npm lifecycle hook to something like this in package.json which includes a npm run build before the server starts:
We can then create a Playwright GitHub Actions workflow.
Add the following contents to a new file in the following file path .github/workflows/e2e-ci.yml:
That’s it!
Open a new PR in your GitHub repository and confirm that this tests_e2e workflow executes and runs as expected and that all tests pass.
Please note that you may have seen some Playwright tutorials or articles referencing the use of the Playwright’s GitHub Action repository (https://github.com/microsoft/playwright-github-action) or directly referencing the action microsoft/playwright-github-action@v1, however these aren’t needed anymore and that official GitHub Action is deprecated in favor of installing and using the playwright CLI in the way that we installed it via npm above.
How to run Playwright tests for your deployed Netlify preview URLs
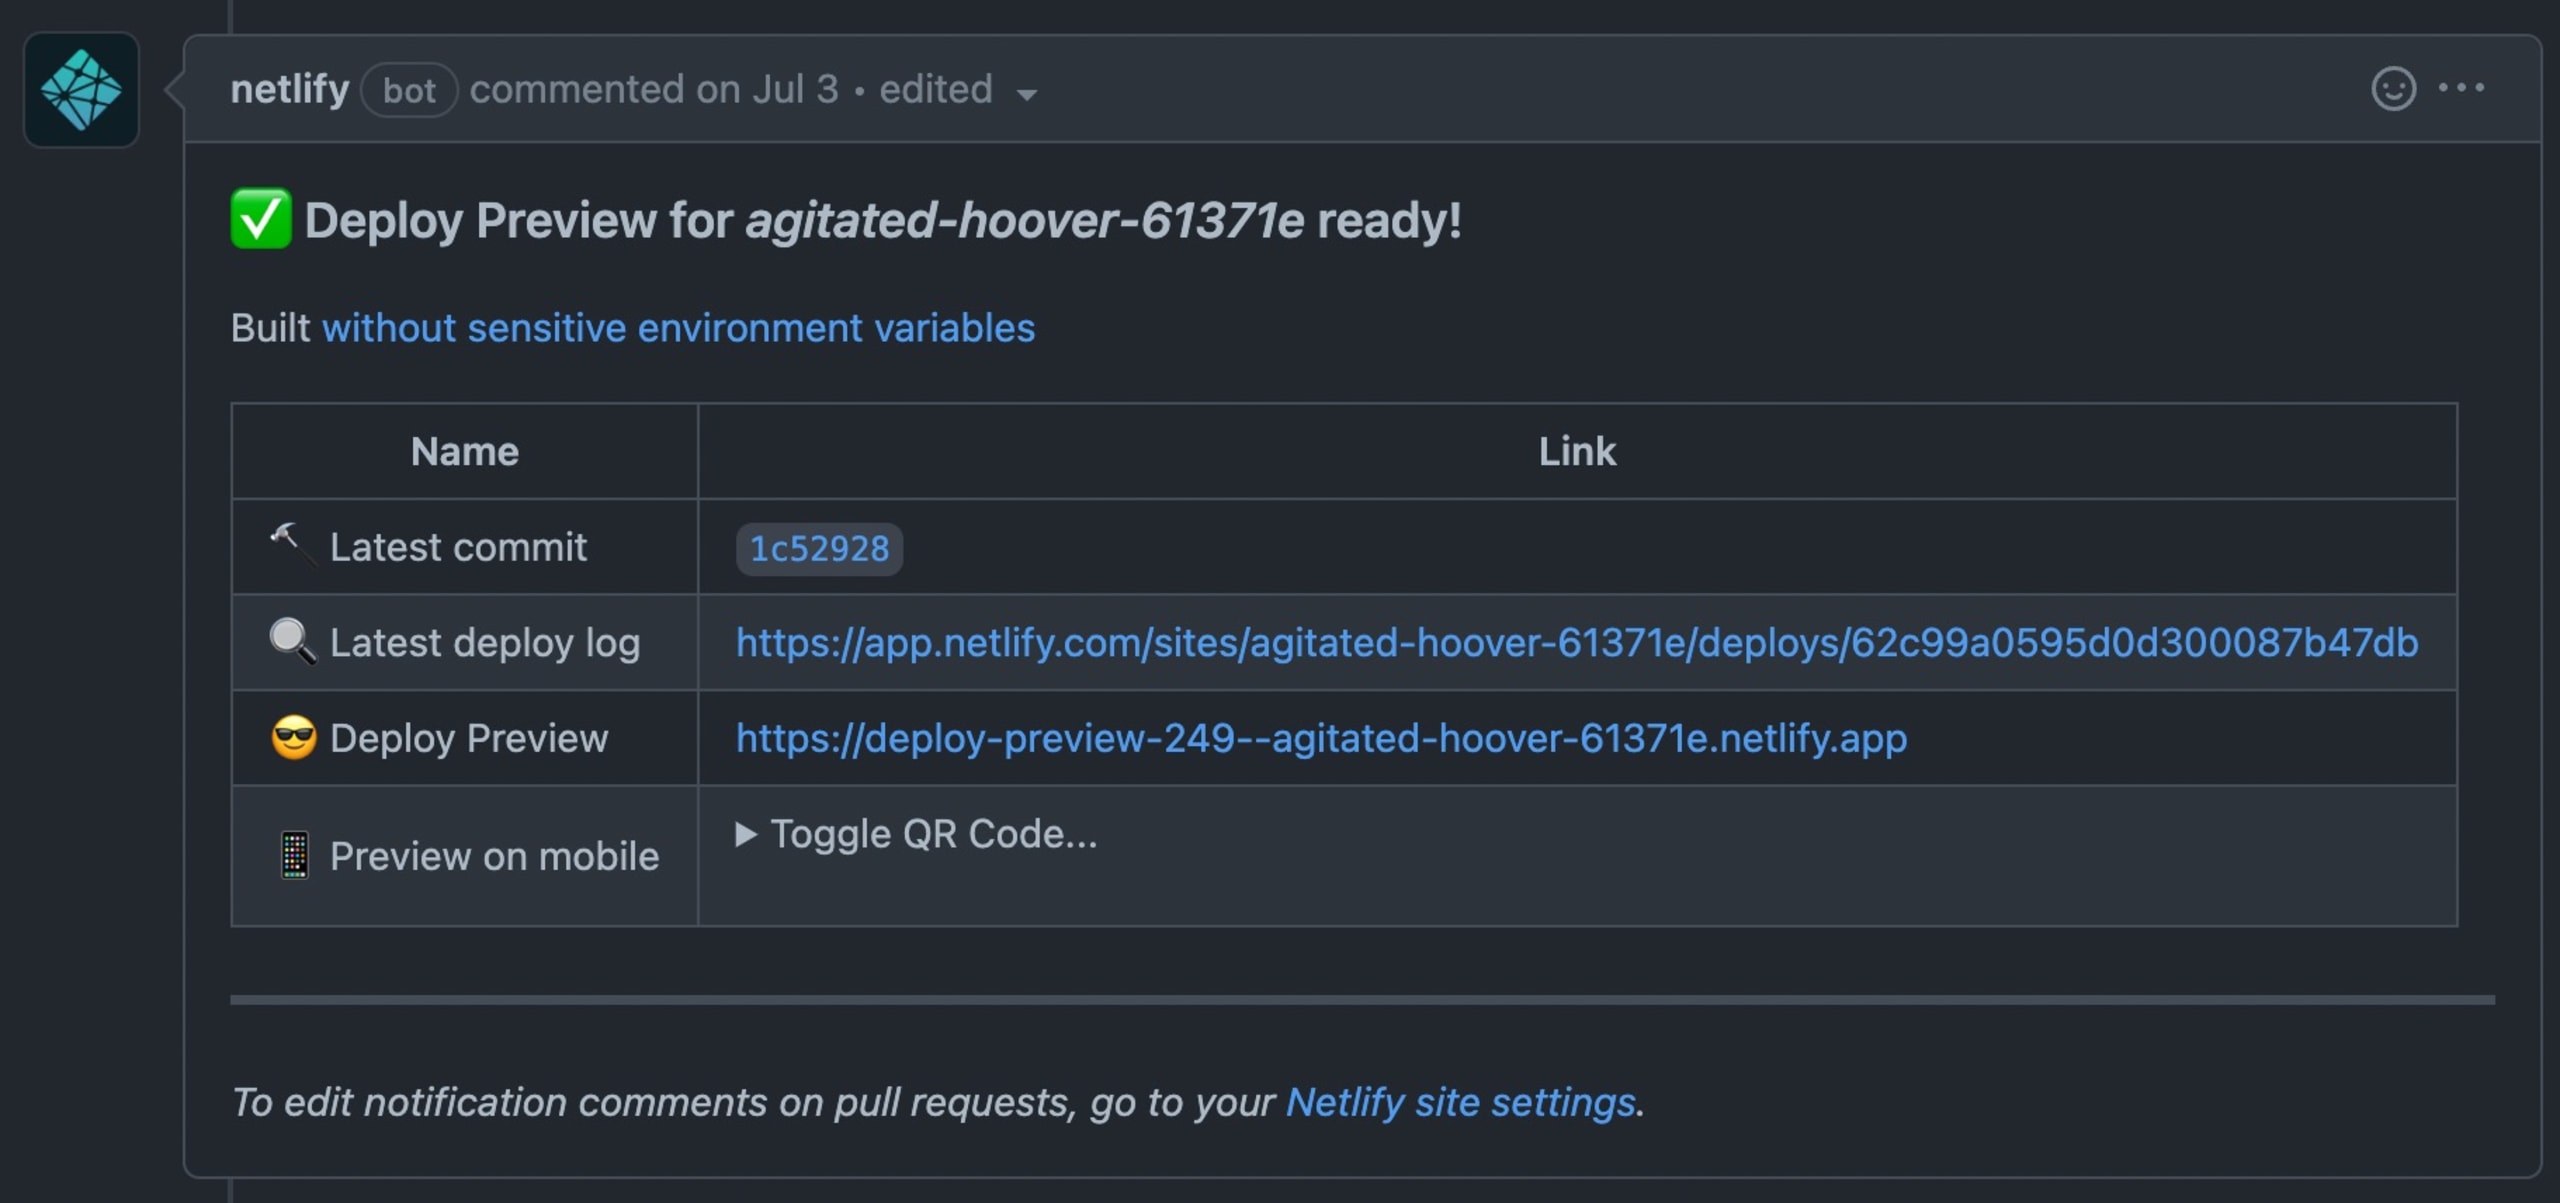
If you’re using Netlify to build your frontend project and deploy the client-side build to an actual live website, then an added benefit is Netlify Previews — which integrate with your PRs. Every time a new Pull Request is created or modified, Netlify deploys the project to a URL so you can visually inspect and interact with the state and quality of the frontend build for that PR.
A native GitHub integration with the Netlify bot looks something like this:

To run our Playwright test for a Netlify Preview URL we need to do the following:
Update our base URL for the Playwright configurable to be something that we can set dynamically or revert back to the default
localhost:3000for a locally involved Playwright test (in our development environment, or in CI).Extract the PR number, which is how Netlify identifies and creates a unique URL for the frontend build.
Wait for the Netlify Preview URL to be up and running.
Execute our end-to-end Playwright test towards the Netlify Preview URL.
Let’s begin by updating the Playwright configuration file:
With this configuration, we can now set the environment variable PLAYWRIGHT_TEST_BASE_URL dynamically in our environment or in the CI.
Next, the Playwright test case itself also needs to be updated to avoid the hardcoded URL and instead use the baseURL that is taken from the configuration file above. Update your ./e2e/home.spec.ts test file as follows:
And finally, update the .github/workflows/e2e-ci.yml file with two new steps, one that uses a GitHub Action to wait until the deployed URL is available and the other to run tests for it. The following code snippet is the entire workflow file for your reference:
You can take note that the second step, identified as tests_e2e_netlify_prepare, can be configured to a timeout that you control. In this case, I’ve set it to 3 minutes.
Next, the third step identified as tests_e2e_netlify is similar to the locally running Playwright test (which we kept, as the first step of this workflow), but has an extra configuration that includes the environment variable PLAYWRIGHT_TEST_BASE_URL that we dynamically set and format for the expected Netlify Preview deployed URL.
Also, I’ve explicitly turned on Playwright debug capabilities to provide more verbose output, using DEBUG: pw:api as a new environment variable added to that last workflow step.
Open a new PR and test that your end-to-end test workflow completes successfully:

Congratulations, you have successfully built a robust end-to-end Playwright test automation that is very well integrated into your project’s continuous integration with GitHub Actions.
How to add Playwright debug in CI
Playwright makes debugging a test using several of its built-in features quite easy. For starters, it has the Playwright Inspector, which is a graphical interface that allows you to inspect HTML elements, and essentially run a step by step debugger through your Playwright test cases. Another feature that is built-in is the Playwright Trace Viewer which allows you to replay a recorded test.
The Playwright Trace Viewer is especially useful when you experience flaky tests, meaning they are indeterministic and are hard to reproduce. When you experience these type of challenges with your end-to-end tests, you can enable a Playwright debug feature which keeps a trace of all the interactions and saves it to a file. Then, using the Playwright Trace Viewer, you can load that file and investigate why the Playwright test failed.
Let’s continue from where we left off by setting up the CI workflow to enable Playwright tracing so that we can access these files later.
We can use GitHub’s official actions/upload-artifact GitHub Action to preserve files or directory contents from builds and save them as artifacts. Just to note though, be careful not to use this technique to save log files or other data that may include sensitive information because this is made available publicly for everyone to view.
We will add the following step to the existing local end-to-end tests, identified by the job ID tests_e2e:
You may choose to add this to other steps for Playwright debug other CI workflows such as testing the Netlify Preview URL.
Then continue to update your .gitignore file to make sure that those trace files aren’t committed to the repository by adding this to the file:
Finally update the Playwright configuration file playwright.config.ts to toggle on tracing. This is how it should look like with the added update:
That’s it. However, you might wonder where do you see the debug artifact?
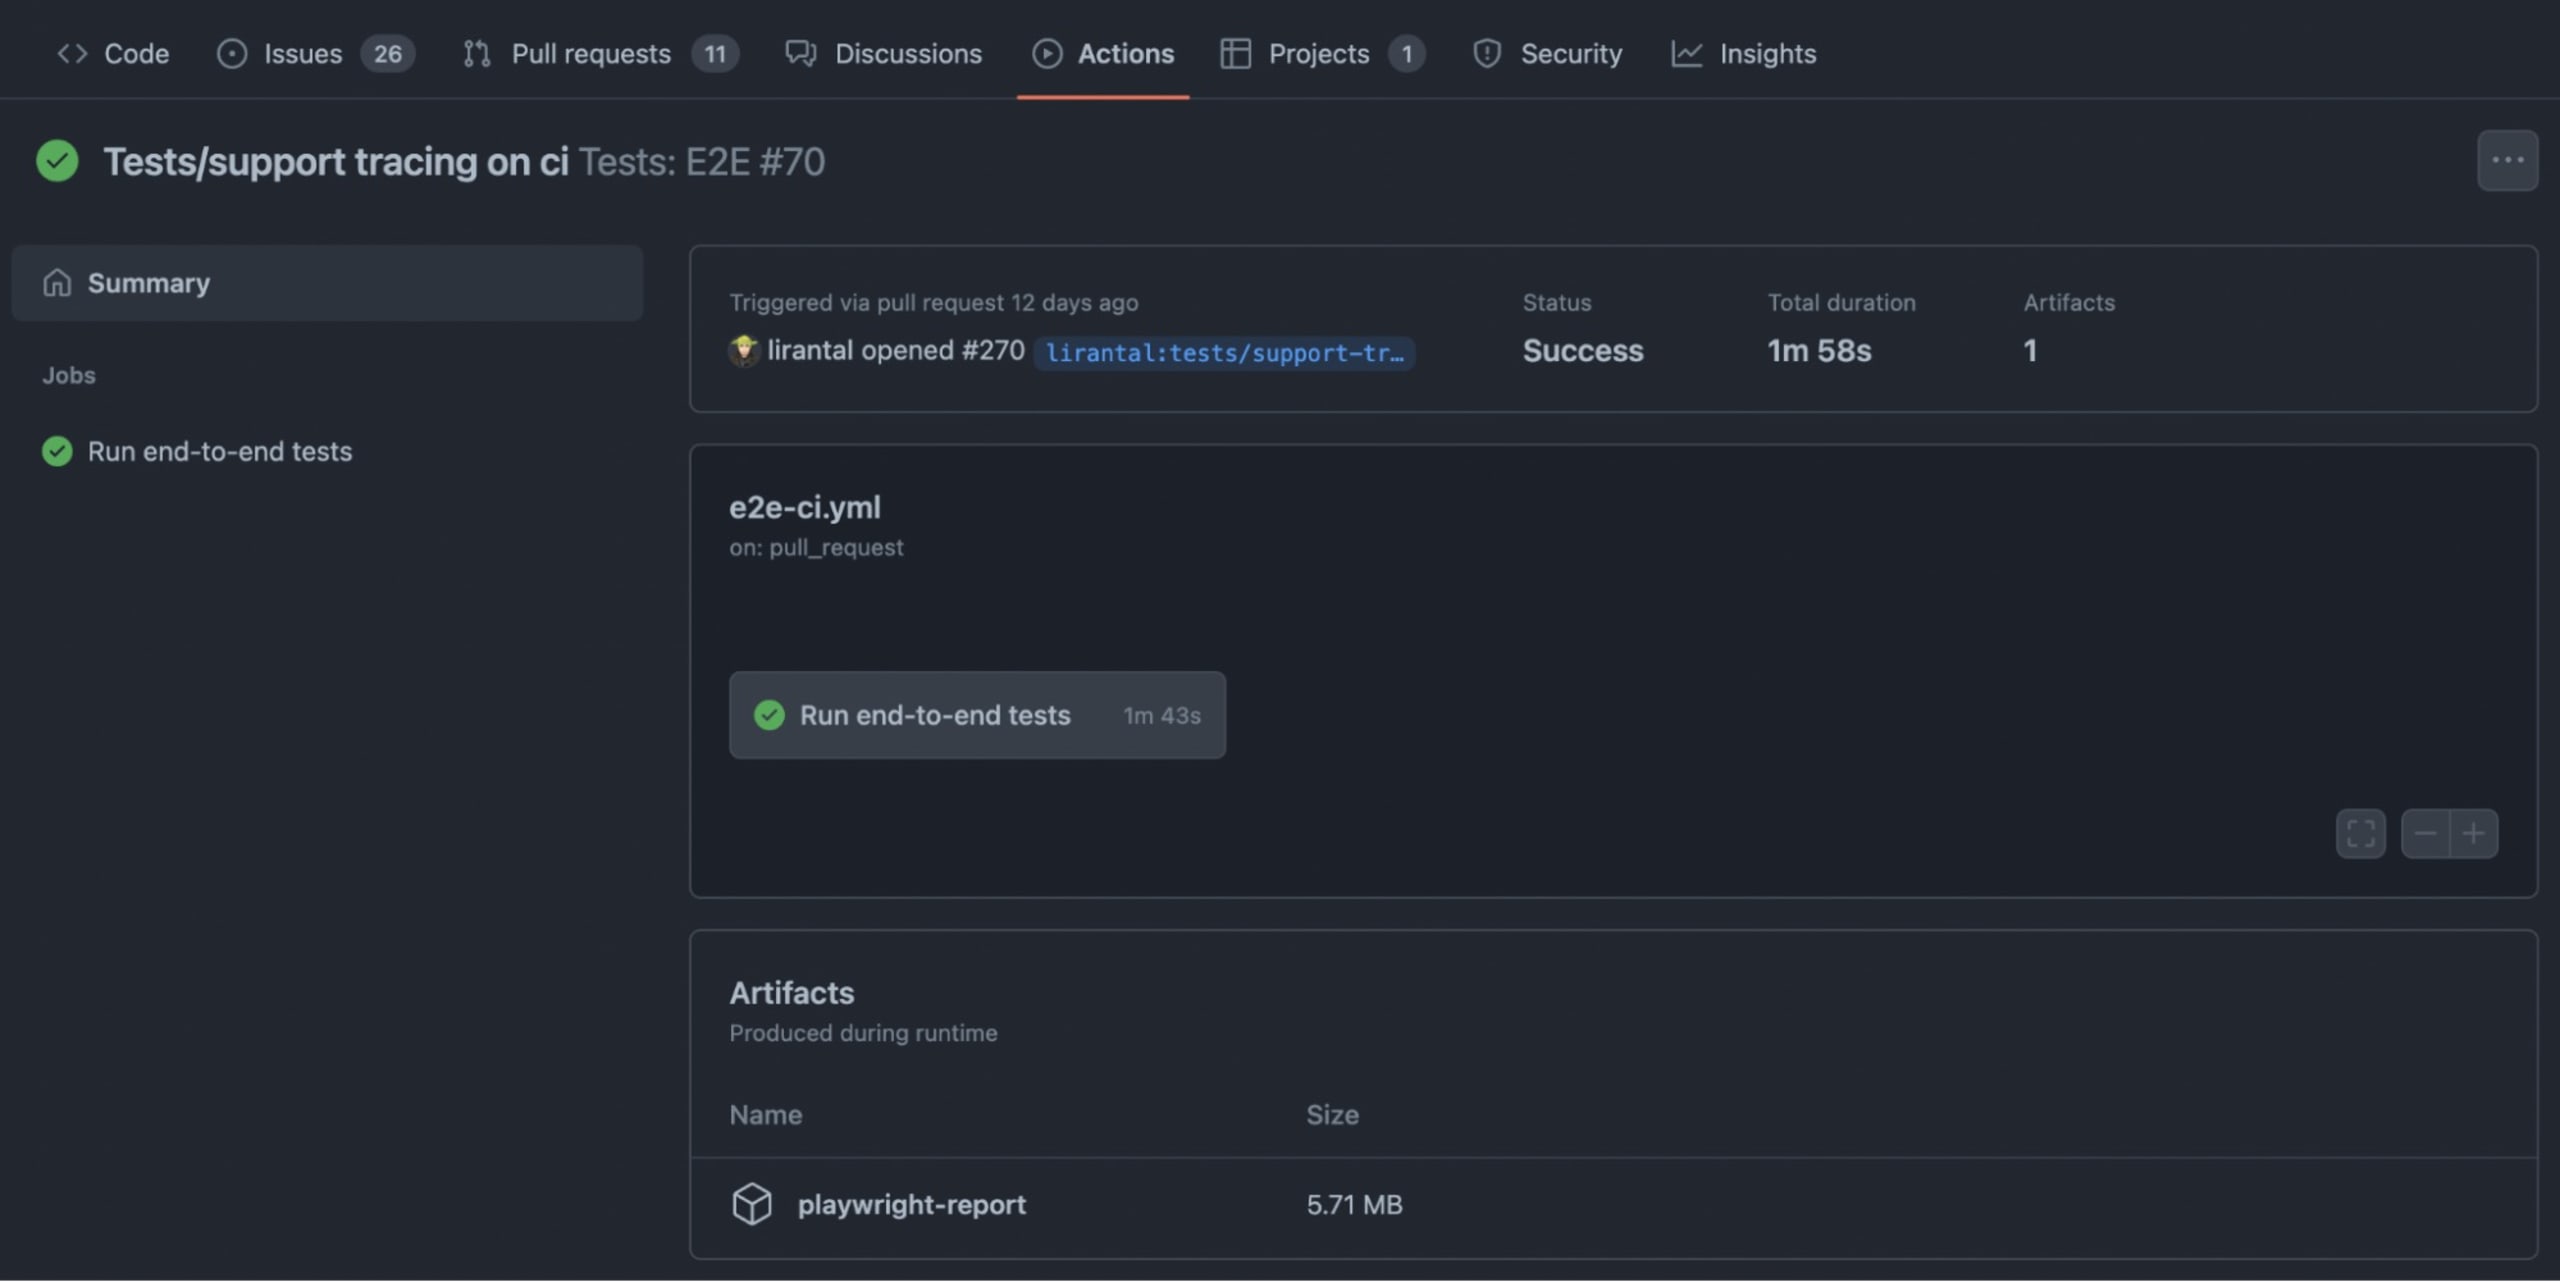
Accessing CI artifacts happens in the Summary tab of a GitHub Actions execution. In the following screenshot, you can see it showing up in the bottom part of the job that finished successfully in my CI:

At this point, I’d like to point out that we’re generating the Playwright debug trace file for every build, regardless of whether it was successfully completed or not. We’ve instructed the CI configuration to do that when we used the if: always() directive in the step above identified as the tests_e2e job.
To view the trace file you can now download the artifact, extract it to a local folder and find the Playwright debug information inside it as an archive file. You can easily run it with Playwright’s own CLI as follows:
Playwright vs Cypress
If you’ve used Cypress before, then the Playwright automation tool will feel very similar and comfortable with regards to what you would expect from the CLI, a live graphical user interface for inspecting and debugging Playwright tests, and overall language mechanics.
How does Playwright work?
Unlike Cypress, another test automation tool, which injects itself as a library to the web page DOM as its primary architecture to control the browser, Playwright uses native browser APIs to control the automation. For example, it will use Chrome’s CDP as a remote debugging protocol to communicate with a Chrome browser. Additionally, Playwright supports all the major browsers such as Chrome, Firefox, Edge, and Webkit and it has similar capabilities to that of Cypress, such as test resilience which is a useful feature to auto-wait for elements and action and avoid flaky tests.
What is Playwright automation?
Playwright is an open source project from Microsoft that provides end-to-end testing framework with multi-browser support. It uses APIs of native browser automation framework to control and interact with the browser and provides cross-language SDKs for the Playwright API. Its unique selling points, beyond being open source and free to use, are resilience (mitigating flaky tests), full browser automation, tracing, and debugging.
Continue learning Playwright test automation
If you enjoyed this article and want to further expand your knowledge on Playwright, I recommend the following resources:
The Playwright documentation over at https://playwright.dev is wonderful. It has specific sections such as Playwright debug and features Playwright examples so that developers new to this test framework can get started quickly.
For news, tutorials, and other Playwright developer content I highly recommend following Debbie O'Brien on Twitter, as she’s the program manager for Playwright at Microsoft and regularly speaks at events about it.
