Snyk scanning capabilities are now embedded in Jira Software
Sarah Conway
June 6, 2023
0 mins readToday, development is faster than ever. More apps and code are being written than ever before. There are more third-party dependencies in use to speed development, more containerization, and even code that controls the deployment and configuration of apps and the cloud.
To ship quickly, developers need to stay on top of security issues. They want to understand how to build secure applications by getting feedback as they work. And security teams want to make it simple for developers to know what issues to prioritize and how to fix them, without slowing developers down.
Introducing Snyk Security in Jira Software
Snyk Security in Jira Cloud is available in open beta in the Atlassian Marketplace. This builds on our widely adopted native integration in Atlassian’s Bitbucket Cloud. Snyk Security in Jira Cloud brings application security vulnerabilities into the context of developer sprints. This allows Jira users to plan and track security tasks alongside the rest of their development work, and align security with production sprints.
Vulnerabilities in third party dependencies, detected by Snyk Open Source, are now visible within Jira to enable security and development teams to collaborate in a unified dashboard. Support for first party code issues, container vulnerabilities, and IaC misconfigurations will be added to the integration soon, for customers of Snyk Code, Snyk Container, and Snyk IaC, respectively. Snyk’s scanning, embedded directly within the Jira UI, facilitates conversations around security posture as it surfaces vulnerability information in a shared space where teams manage their work.
Atlassian and Snyk teamed together to bring Security in Jira to our customers and improve their DevSecOps workflows. We have a longstanding partnership with Snyk and it made sense to collaborate with a trusted partner on our Early Access Program. Thanks to that collaboration we're now ready to share Security in Jira with the world.
- Suzie Prince, Head of Product Management, Atlassian
Why Snyk Security in Jira Cloud?
For developers:
Quickly find vulnerabilities without leaving the Jira UI.
Leverage your existing development environment and automatically embed security into your DevOps processes.
Build, test, and release secure software faster and more reliably.
When you can tackle issues as they arise, in the tools you use every day, security scales to handle the mountain of issues on your plate.
For security leaders:
Instill a culture of collaboration and gain the trust of the engineering team.
Improve visibility into the security actions taken by developers, and provide guidance directly through the tools they are already using.
We have a shared security team across multiple product development teams, and we all would like a common way of addressing vulnerabilities and meeting targets. Snyk's Security in Jira integration will help standardize our security rituals and make the process more effective for all teams.
- Charles Illingworth, Software Engineering Team Lead, Motability Operations
Getting Started in Jira Cloud
You can install Snyk Security in Jira Cloud in the Atlassian Marketplace in a few easy steps. All first-time app users will receive a free, 45-day Snyk trial with unlimited tests and extra features. Follow the step-by-step guide below to get Snyk Security in Jira Cloud up and running — and check out our documentation for any additional help or details.
Installation process
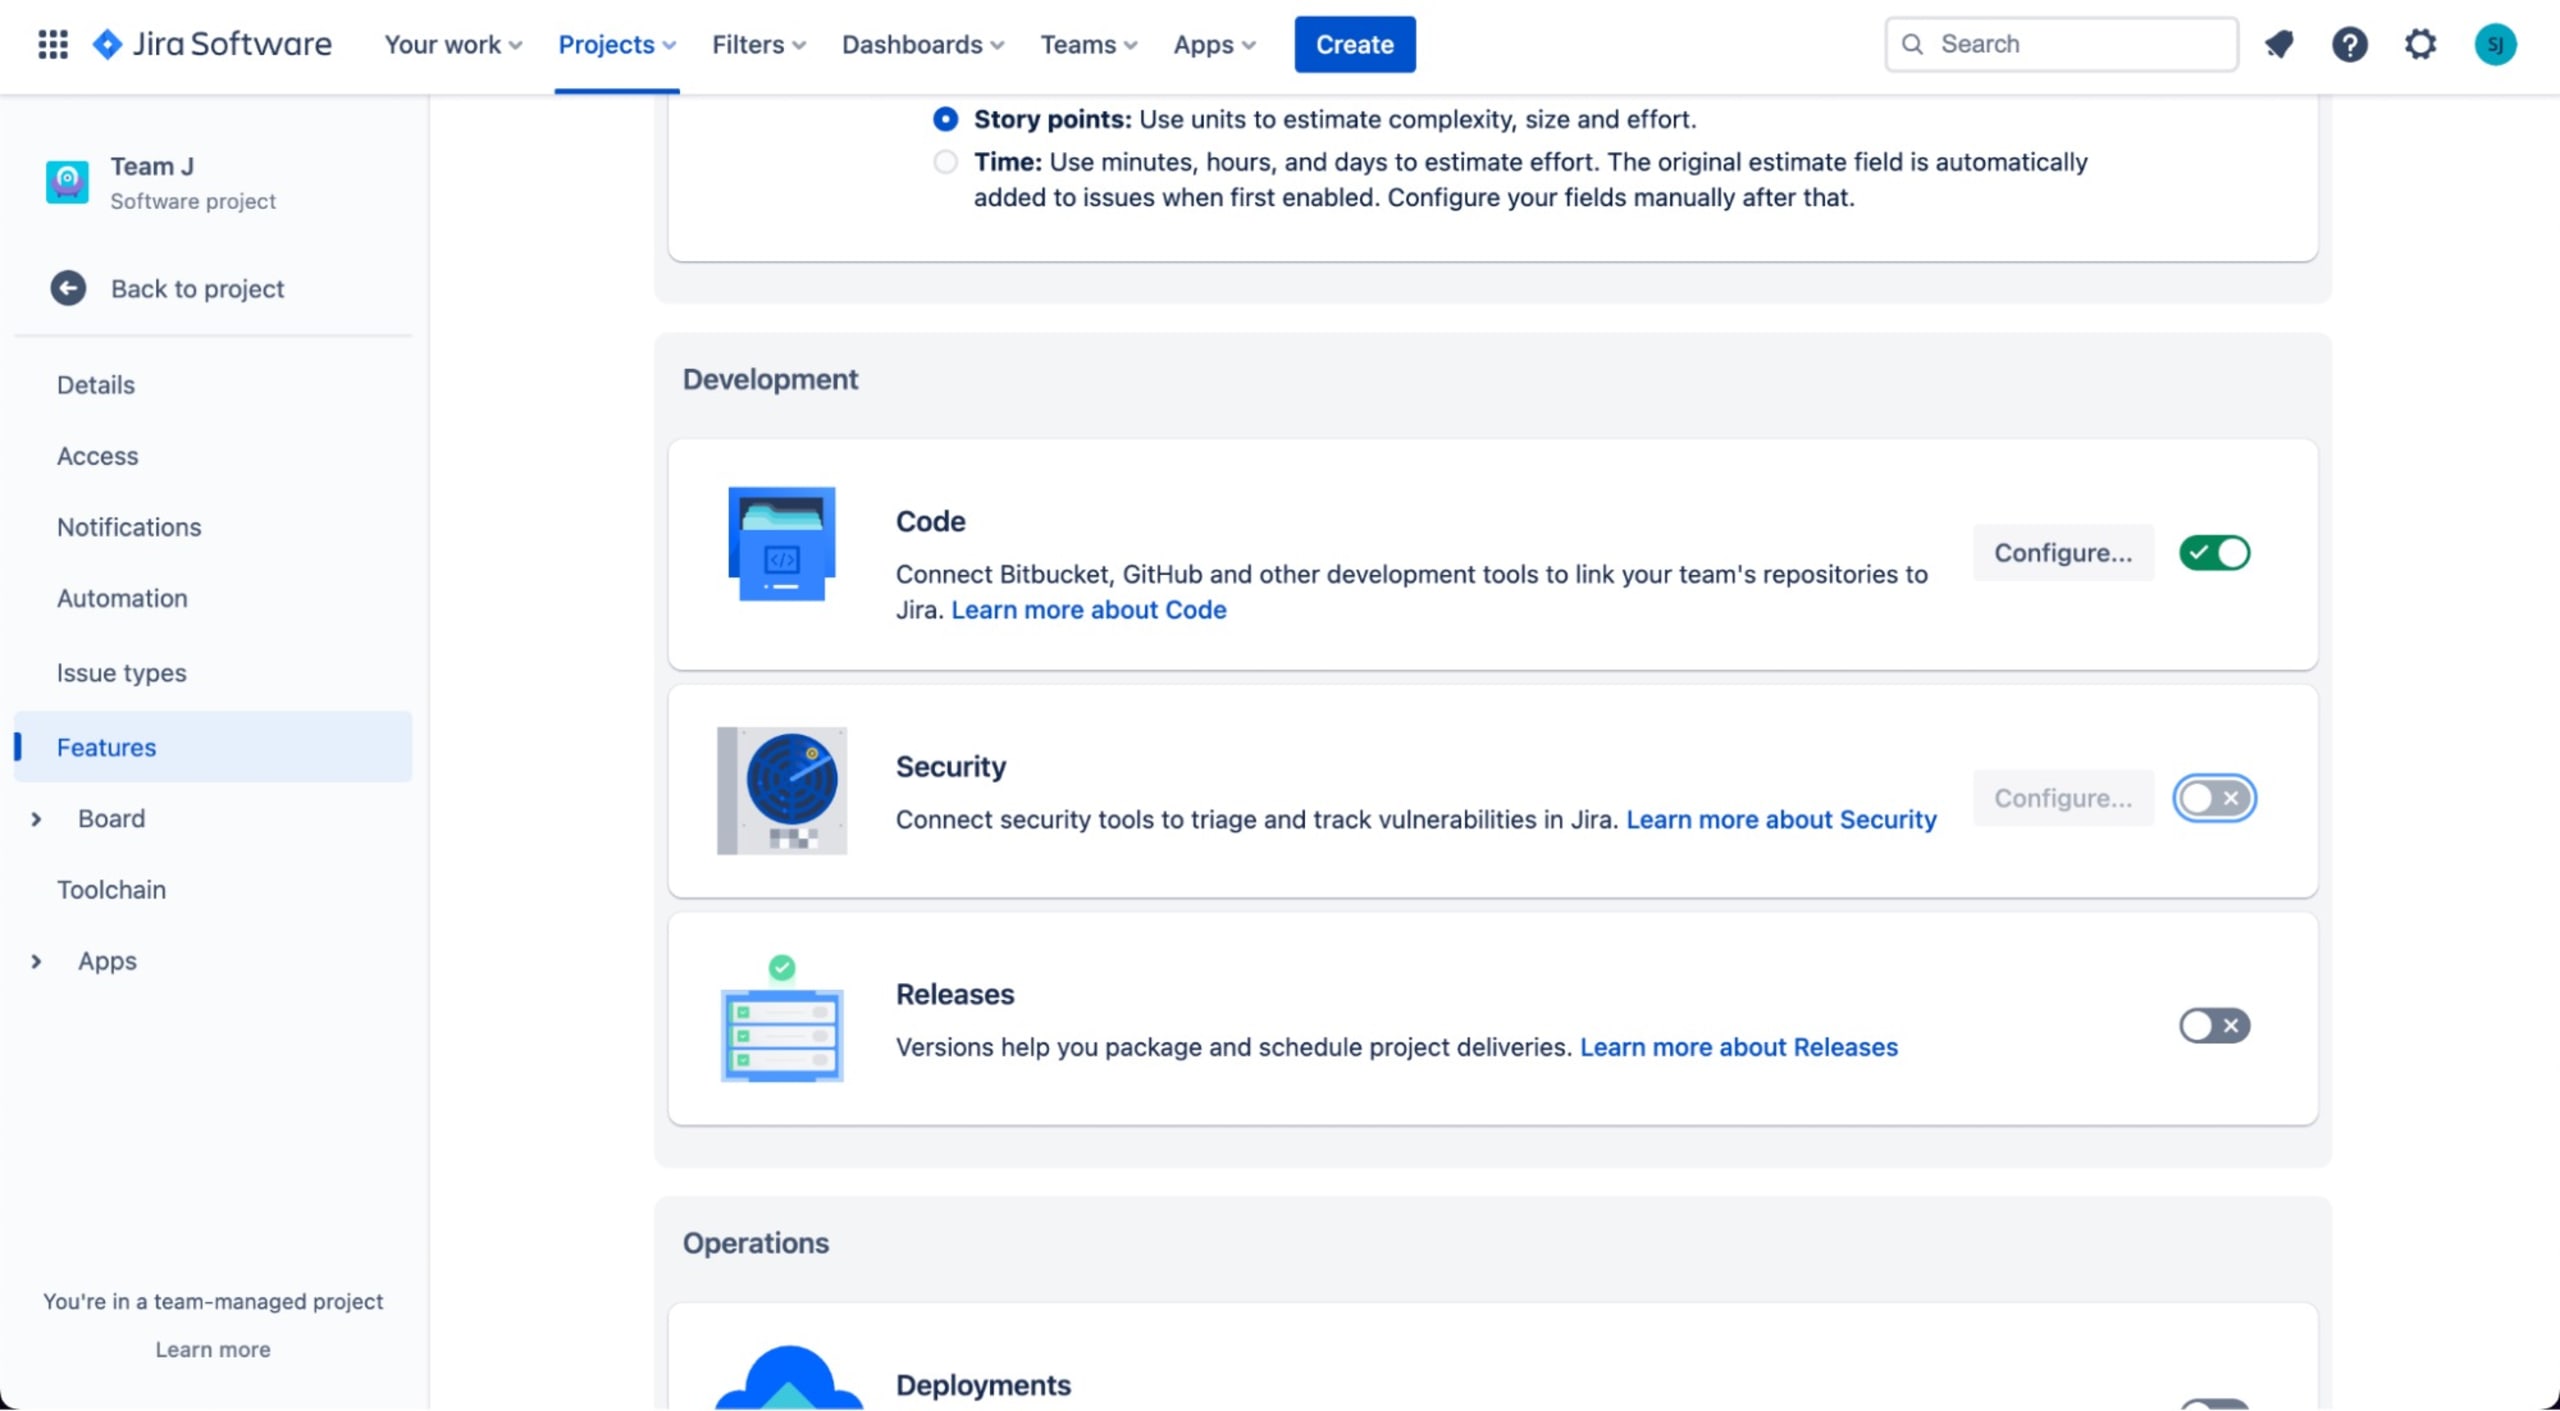
Under your Jira project’s settings, navigate to Features > Development > Security and toggle Security to On.
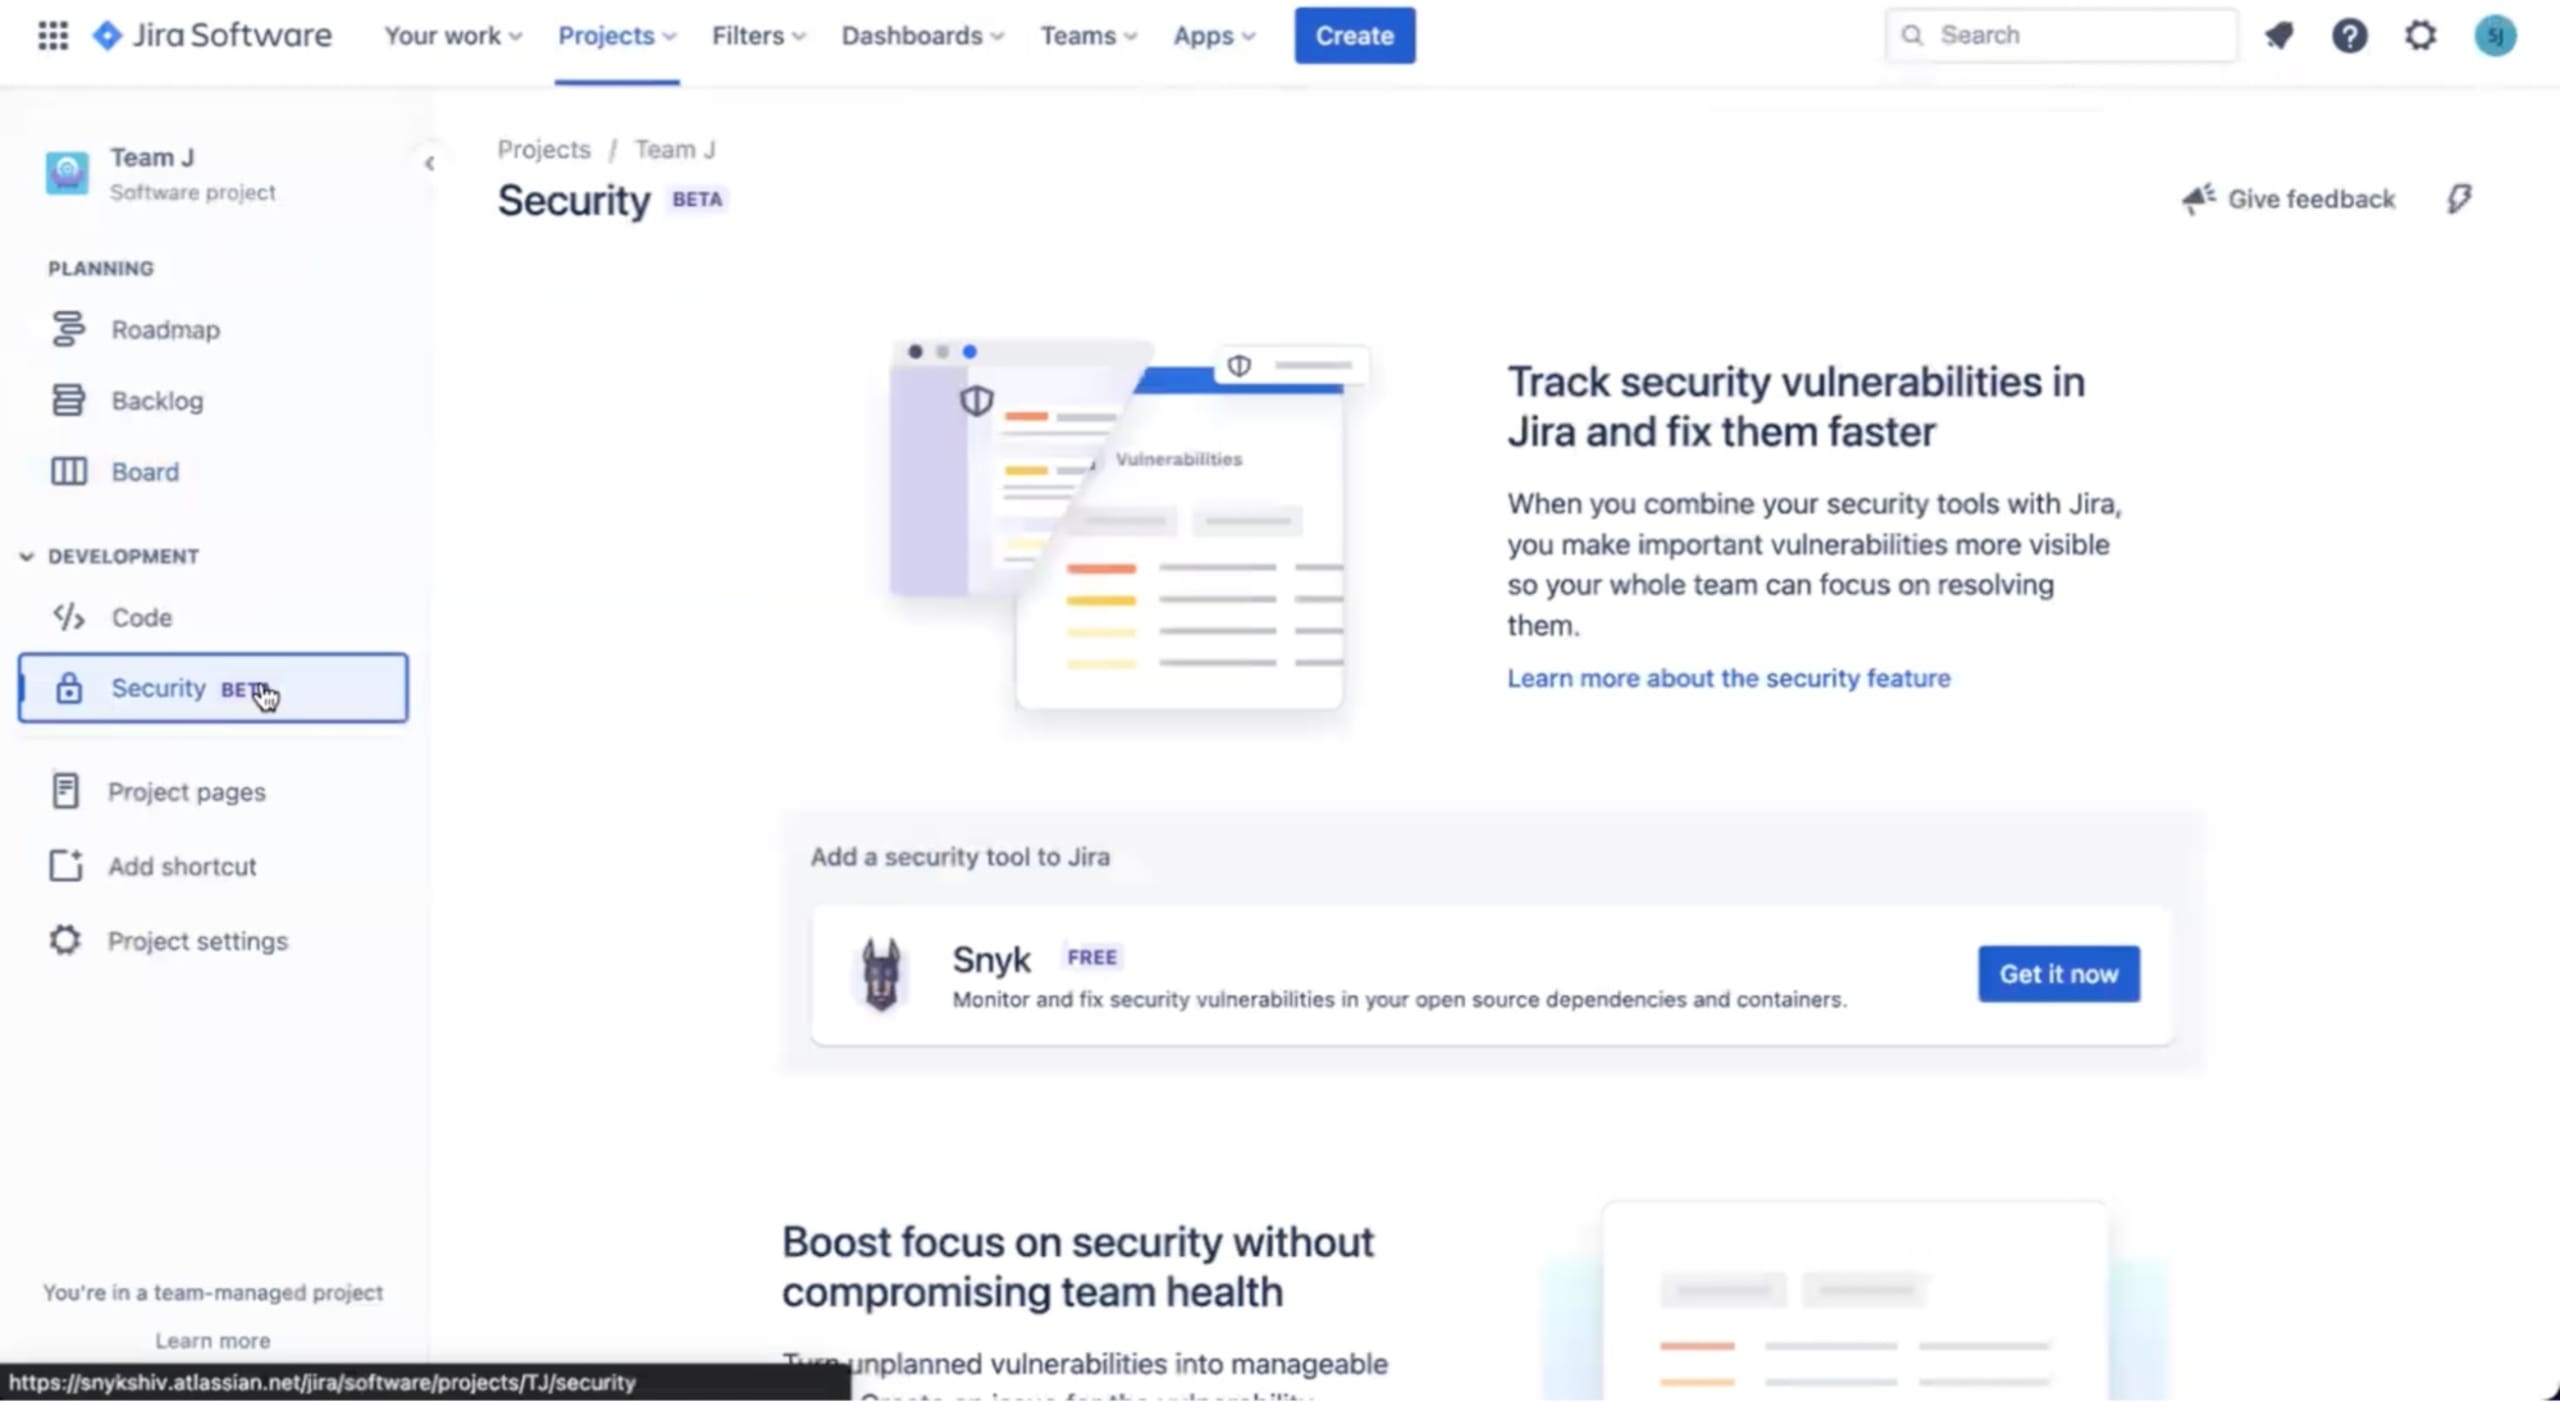
Navigate to your Jira Project > Security and click Get It Now under Snyk to install the Snyk Security in Jira Cloud app for your Jira tenant.
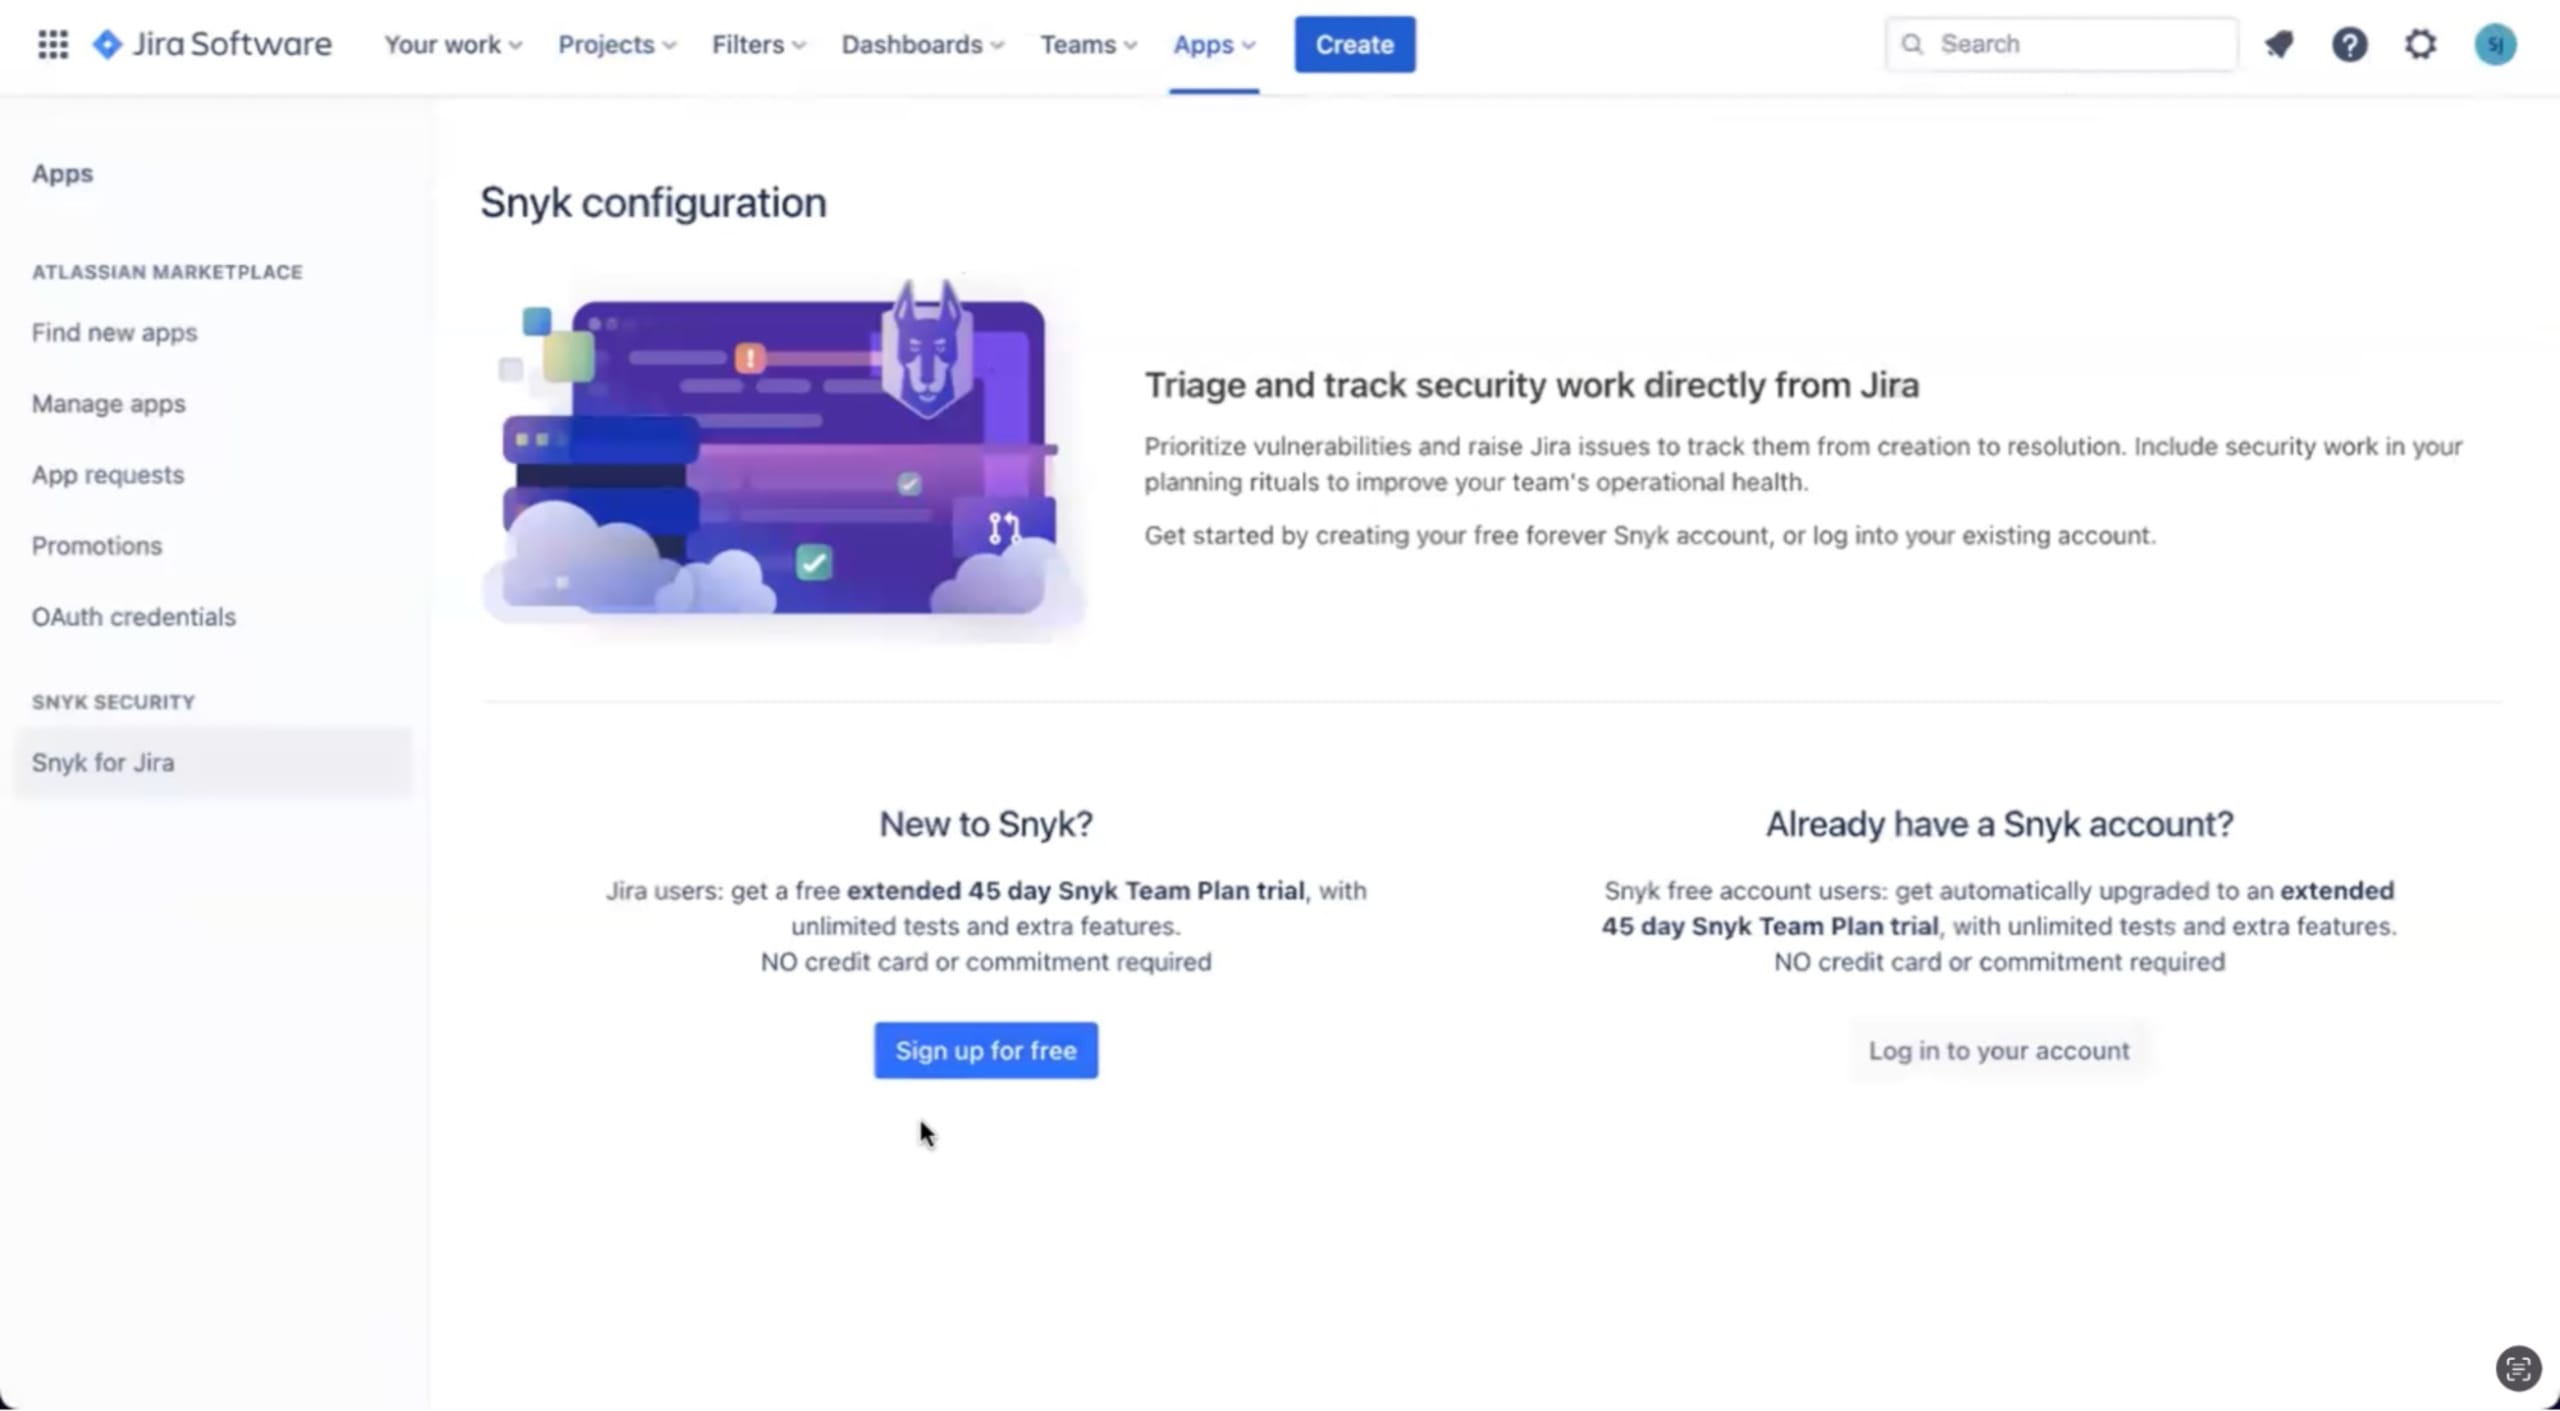
Once installed, Navigate to Apps > Snyk for Jira, and log in.
Select the Snyk Group and Snyk Organization you want to connect to Jira.
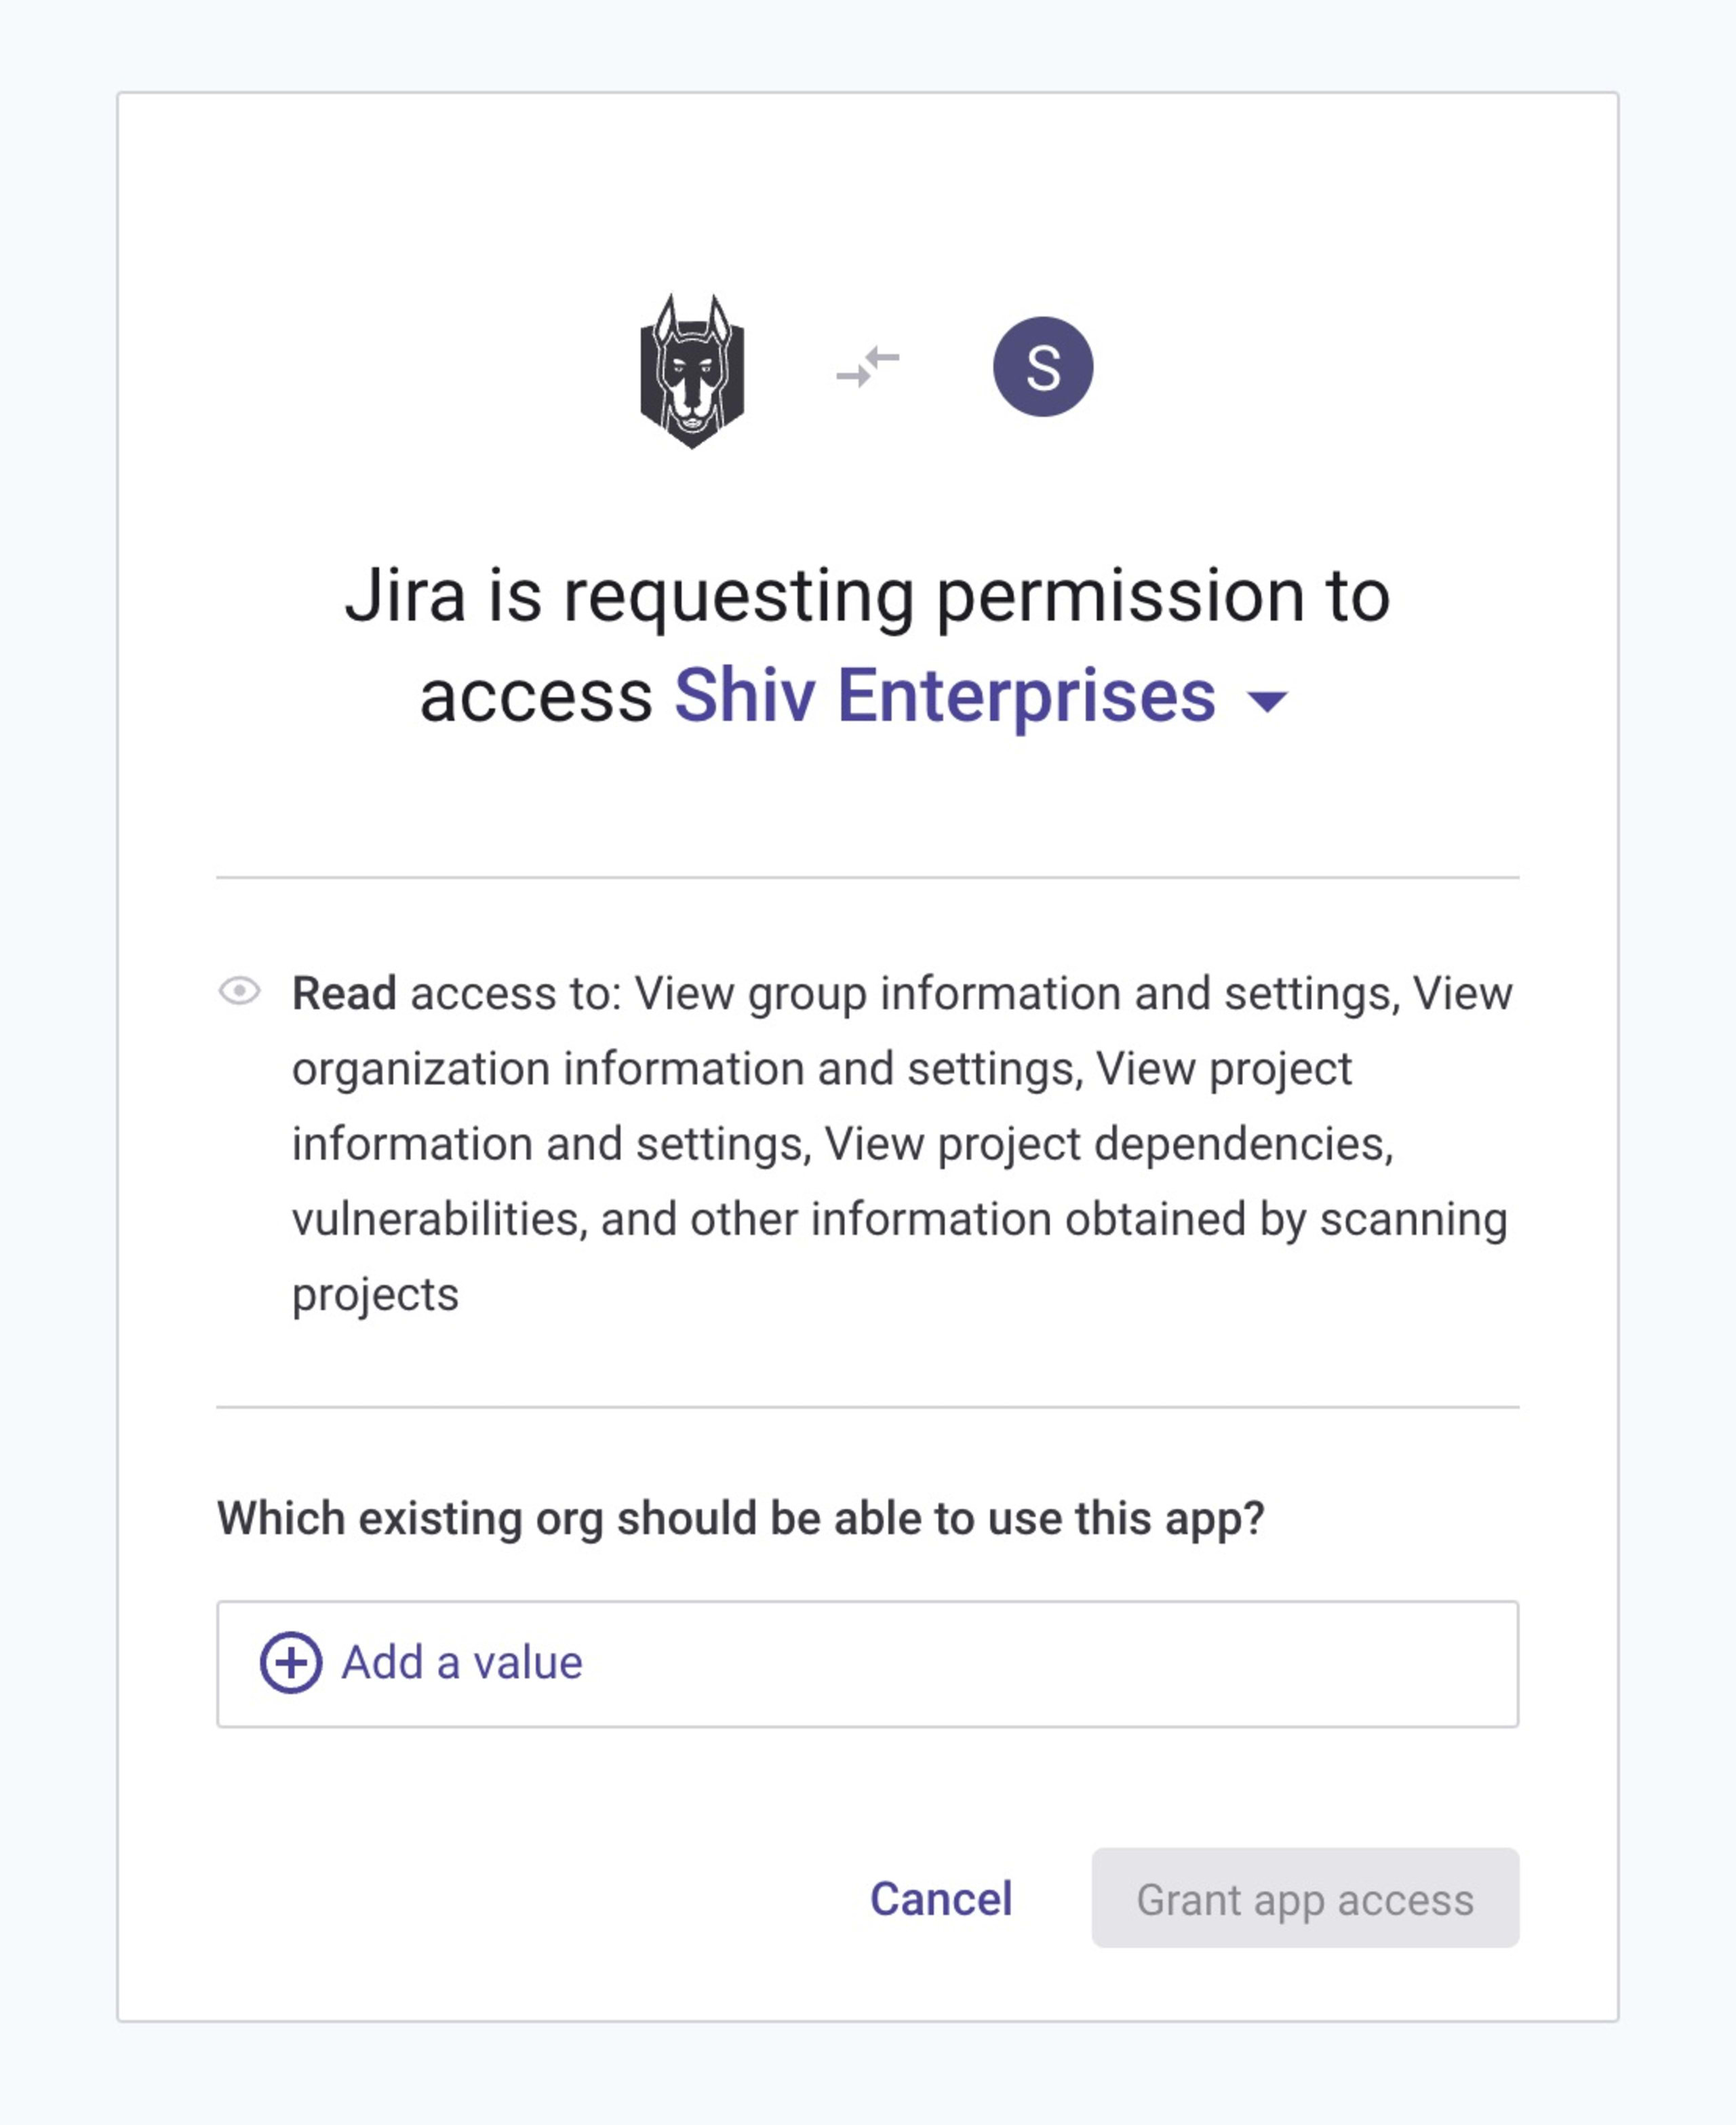
Go to your Jira project > Security tab, click on the Link security containers button and follow the instructions to add Snyk Security in Jira to Toolchains.
Then, pick the Snyk Target you want to import into Jira and click Add Container.

